Introduction
There is a big market out there for PC products that are unique, that have that certain X-factor that really makes them stand out. This is especially true in the gaming market, where custom rigs and flamboyant chassis design often prove popular with those building their own gaming system, there is often a desire to have something awesome next to your desk that you would want to show off to your friends. Aerocool have already produced some pretty epic chassis designs over the last few years, just look at the X-Predator, the BX500 and the Dead Silence Cube, they obviously know how to make a great product that can stand-out, question is, can the do it again?
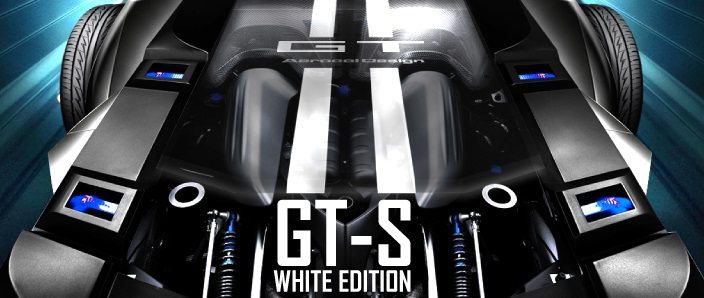
The GT-S White Edition has been designed to look like a blend of PC case and sports car, maybe even a little bit of Transformer thrown in their for good measure. There is a black edition of the case available, but Aerocool were kind enough to send us the white edition, of course specifications remain the same between each colour choice.
As you can see from the specifications below, the GT-S is a very capable chassis, it has room for a wide range of motherboards all the way up to XL-ATX, which you’ll need if you’re wanting to take full advantage of the 10 expansion slots, making this a tempting choice for quad-GPU configurations. Those looking for plenty of storage will not be disappointed either thanks to a large set of 5.25″, 3.5″ and 2.5″ drive bays.

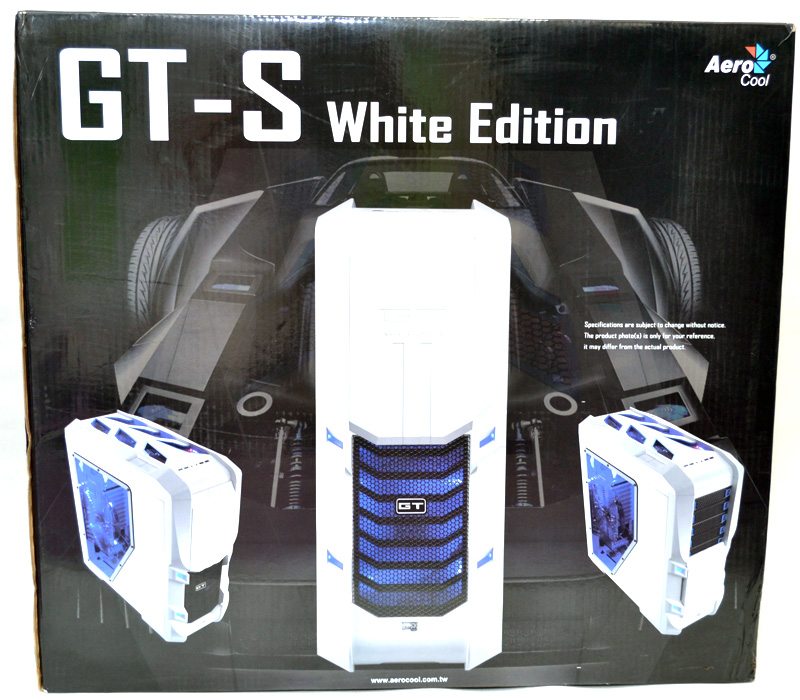
The packaging is really nicely designed and gives us three clear photos of the chassis design with a sports car inspired theme.
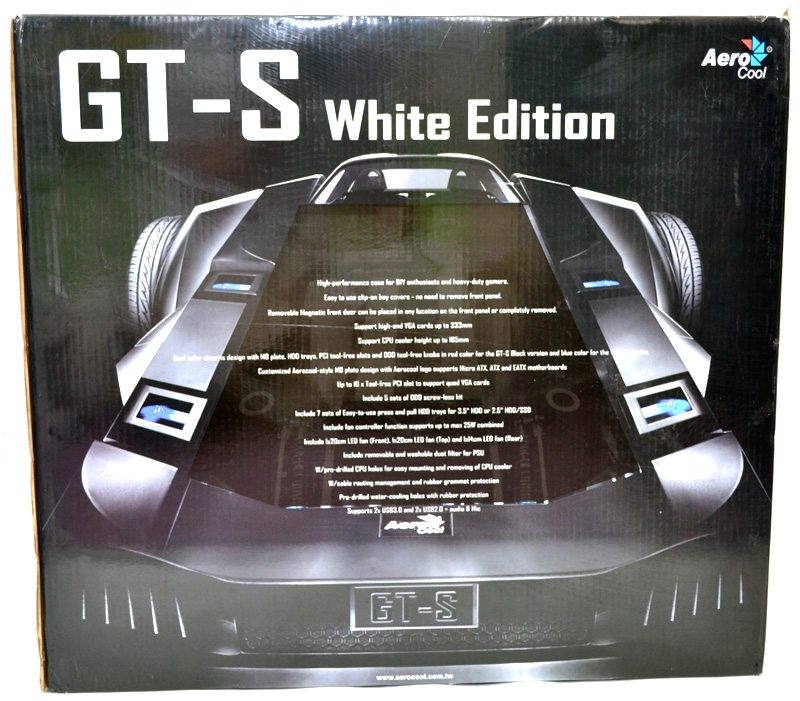
Around the back of the box you’ll find a run down of the major features and selling points of the GT-S, these include support for multiple long GPU’s, tall CPU coolers, heavy-duty design, tool free hard drive bays and pre-installed fans.
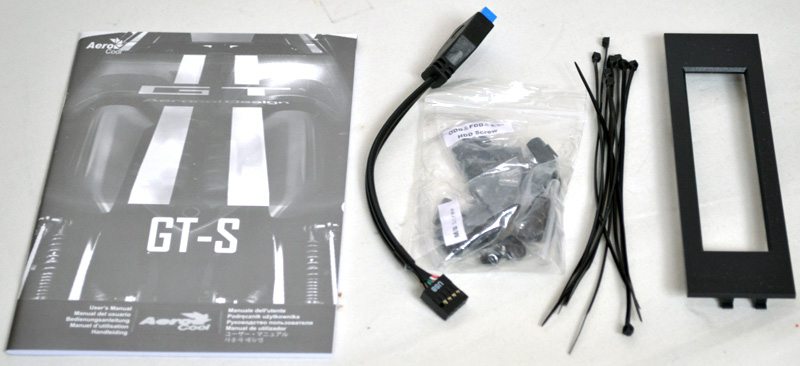
In the box you will find a user’s manual that will guide you through the installation process and features of the chassis, and you’ll also find a USB 3.0 to 2.0 adaptor, screws / bolts, cable ties and a 5.25″ front panel adaptor.
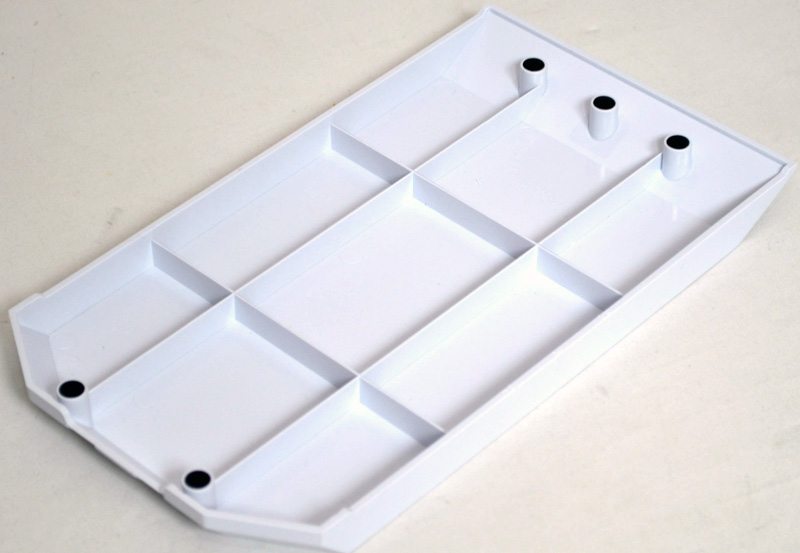
Tucked in the side of the packaging was also this white front panel, this goes on the front of the case and we’ll take a look at what that looks like in our build section.
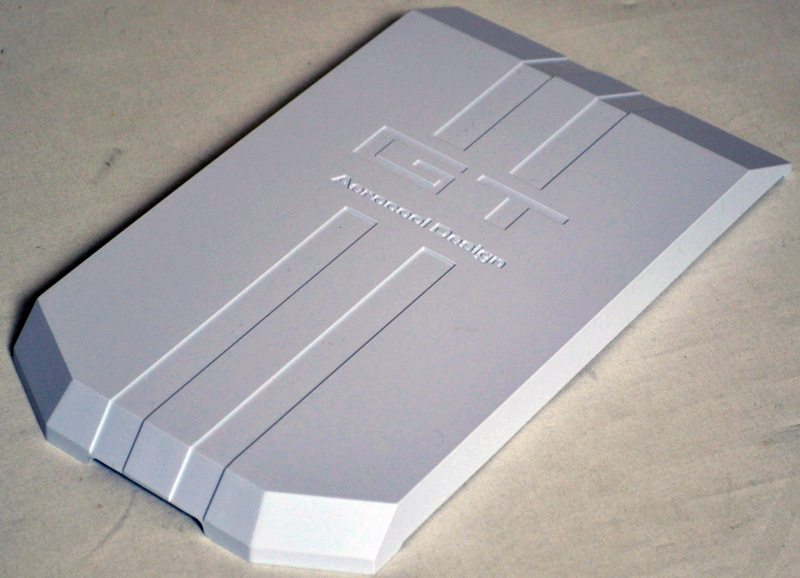
It is very easy to install and uses five strong magnets to hold it in place.