Lian Li PC-CK101 “Train” M-ITX Chassis Review
Peter Donnell / 11 years ago
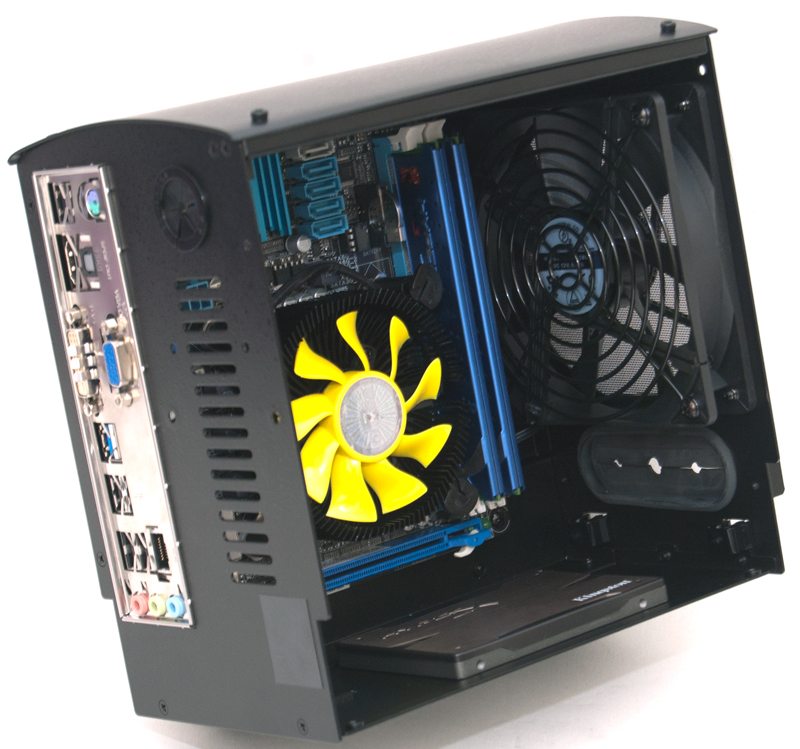
Here is a pre cable installation shot of the motherboard and you can better see that the rear ventilation holes are the only exhaust in this section, but given the only major heat generator in this section is our i5 2500k, I don’t think we’ll have too much trouble in a non overclocked setup.

The intake fan looks huge next to our motherboard and should be capable of driving some impressive airflow directly over all major components.

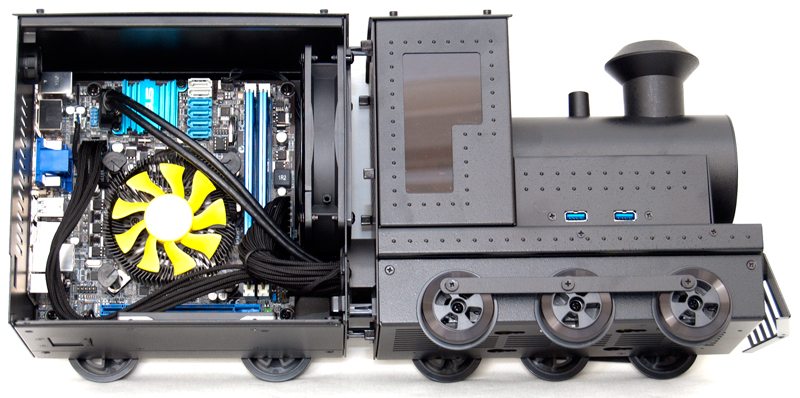
Here we can see the final build and doesn’t it look EPIC! Total build time was around 40 minutes including motherboard, PSU, HDD and cable installation and that’s simply because I was careful, took my time and the fact that the cable routing requires three hands, but the end result was definitely worth it.

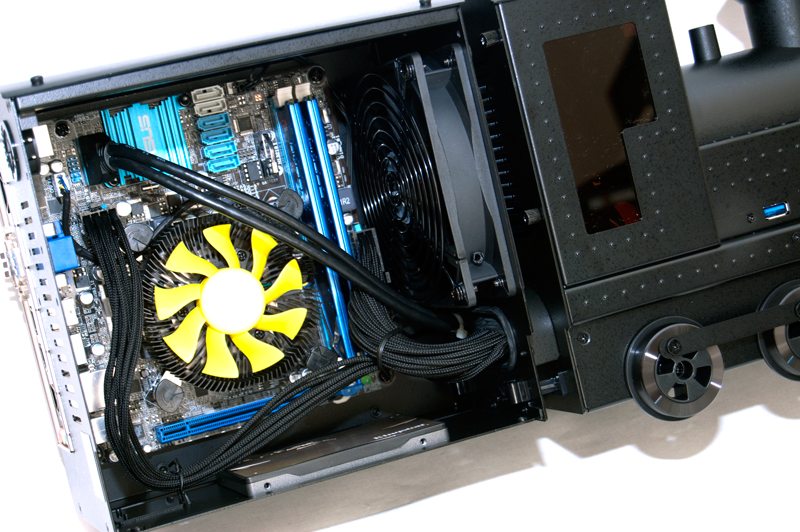
While the standard PSU cables were more than long enough, I haven’t got any ODD or HDD’s installed in the engine car, so it seemed the perfect time to use that extra space for our premium cable extensions to keep the build looking slick and clean.
Our Kinston SSD fits nicely in the bottom and there is plenty of airflow from that 120mm fan since there is no expansion cards taking up all the space. The USB 3.0 cable barely reached and you can see I’m straining the port on the motherboard just a little.

There are no major obstruction in the top of the chassis either and our Akasa CPU cooler has plenty of space to vent heat, there is certainly room for a larger CPU cooler.


