Swann DVR8-4550 8-Channel Full HD Security Kit Review
Bohs Hansen / 8 years ago
Introduction
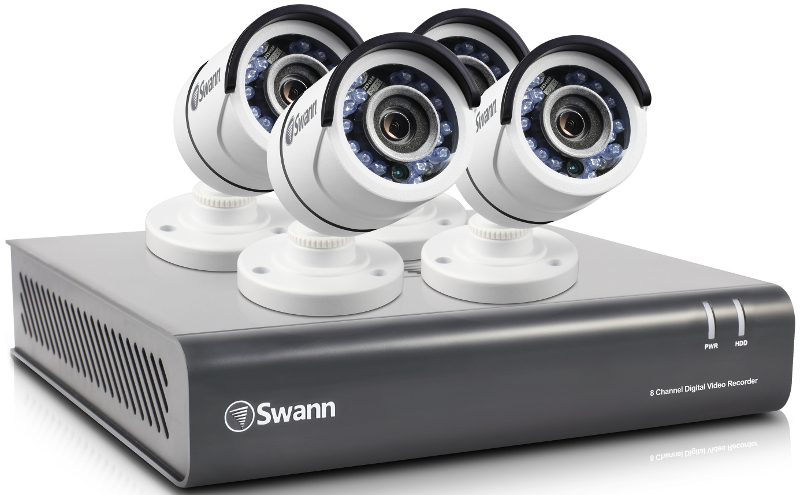
Whether you want to secure your home or your business, one of the easiest ways to get started is by getting a quality starter kit that has everything you will need to get started included in a single box. Today, I am taking a closer look as just such a kit as I got the Swann DVR8-4550 8-channel 1080p HD digital video recorder kit in the office and this set comes with four full-HD cameras and all cables that we will need to set it up included.
There can be quite a few reasons why you might want a security system. Maybe you just want an extra layer of security at home, just in case, or maybe you want to secure your business with it – or maybe even just keep an eye on your pets and kids while you’re out. Whichever reason it might be, the Swann DVR8-4550 kit will suit most needs.

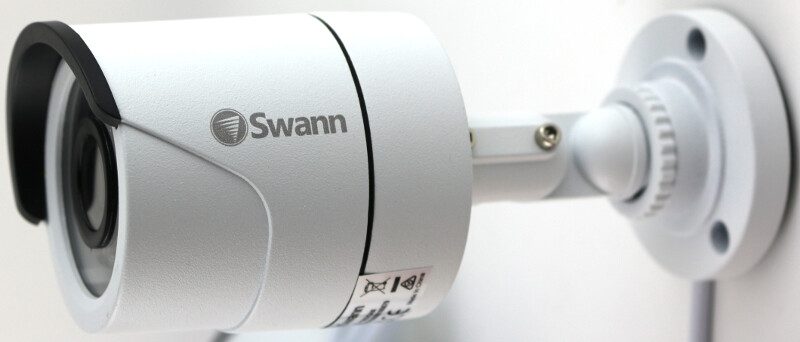
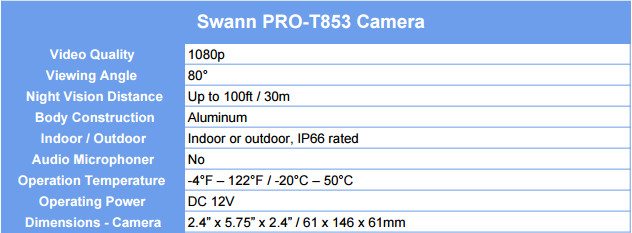
We do get a lot in this starter kit. It comes with four cameras included and supports the addition of another four cameras to the video recorder. The four included cameras are Swann PRO-T853 cameras and they’re quite nice with their full HD video recording and 80-degree field-of-view. They can be used both indoor and outdoor as they are IP66 rated which means that they are “dust tight” and protected against heavy seas or powerful jets of water.
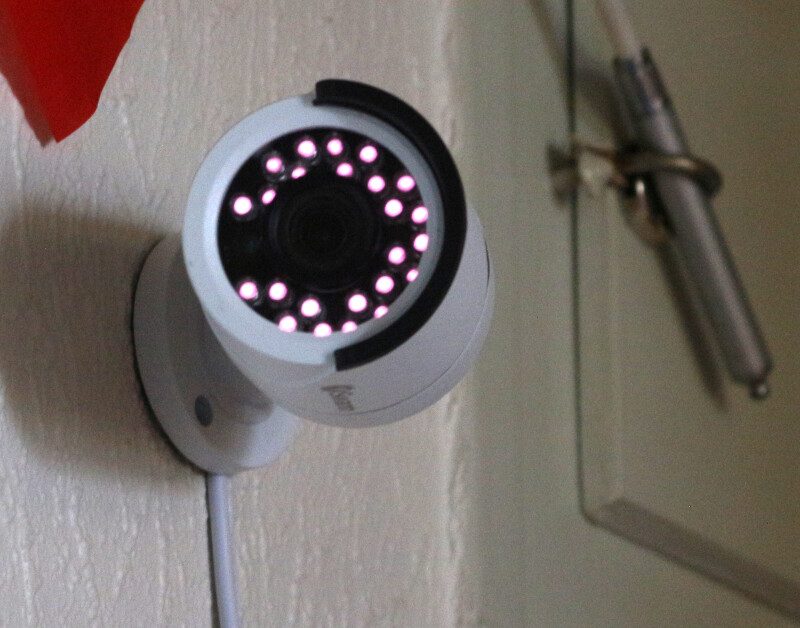
A lot of the time, a security system’s importance is during the night and that’s no issue for these Swann cameras either with their 30 meters night vision capabilities. As outdoor-rated cameras, they also need a good temperature tolerance and that’s present too with a rated operating temperature from minus 20 degrees to plus 50 degrees Celcius. The only thing missing from these cameras is a microphone, that is if you also want sound.
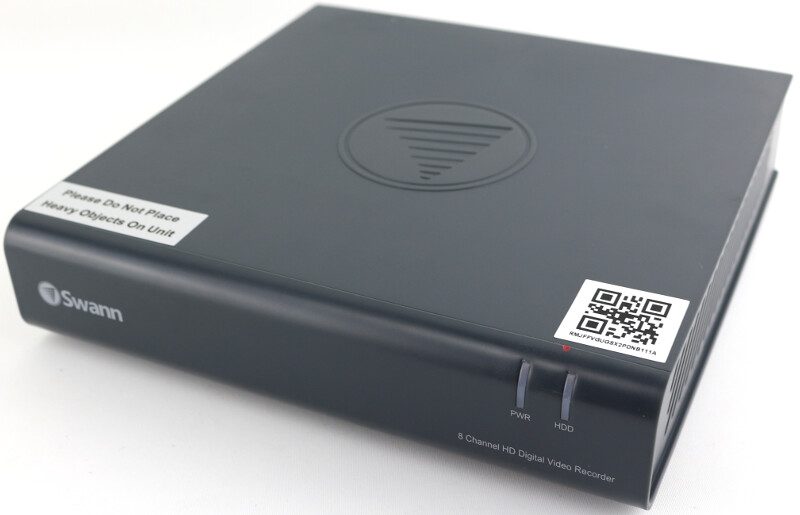
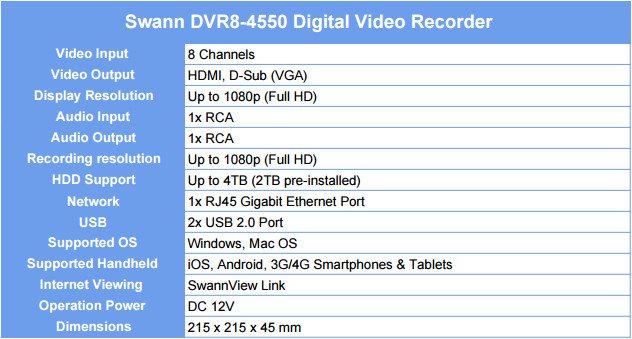
The included DVR8-4550 digital video recorder supports 8 channels and comes with both HDMI and VGA (D-Sub) output for a resolution up to 1080p. The built-in 2TB hard disk drive allows for easy “set & forget” as that can hold recordings from 8 channels for 160 days (with 15% motion events at lowest settings). Where the cameras didn’t have any microphone, the DVR has both an RCA connector for audio input and one for audio output.
The two built-in USB ports allow you to connect external storage for backups as well as a mouse for the control of the system – and Swann even included a mouse in the package. As I mentioned above, the set comes with everything you need to get started right out of the box. Where USB 2.0 is slow for storage, the Gigabit Ethernet port allows for network and internet connection to the surveillance system. This way, you can remotely monitor your setup and that includes mobile phones and tablets thanks to the Android and iOS apps. Sadly there isn’t a Windows 10 app yet which would suit a surveillance system well.
Overall, a pretty amazing system with live view or playback of video in high definition on your HDTV, LCD screen or monitor via HDMI connection as well as surveillance in the palm of your hand with live viewing on smartphone and tablets including using the free SwannView Link app.
Cut the cost of crime & know what’s happening with this expandable HD security system to suit homes, offices, small businesses, and retail stores. The included stickers for doors and windows might even prevent crimes from happening in the first place as criminals will know that the premises are under surveillance.
Another bonus to owning a Swann security set is the lifetime of customer support. For the entire product’s life, you’ll have 24/7 customer support to help you with any problem you might run into.
Feature Highlights
- View 8 cameras at once, 4 in quad mode, or one at a time
- Amazing HD Live viewing and playback from four 1080p cameras
- Long 160-days recording to pre-installed 2TB hard drive
- Powerful day and night vision up to 30 meters
- Durable camera casing with IP66 rating
- Visible cameras and stickers deter crime from happening
- Easy do-it-yourself installation with cables and connectors included
- Motion Detection
DVR Specifications
Camera Specifications
Packaging
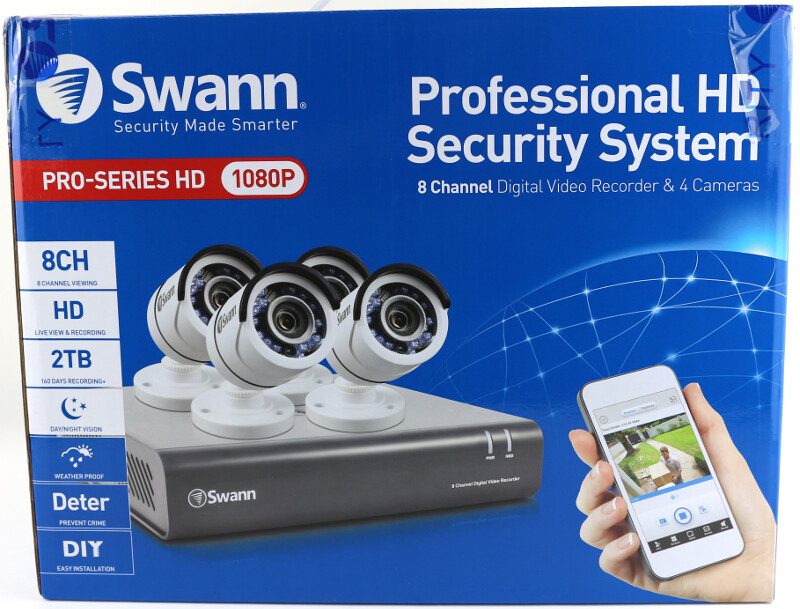
There is no doubt about what you’re getting when you look the box for the Swann DVR8-4550 kit. The front displays all the vital features as well as the included DVR and cameras.
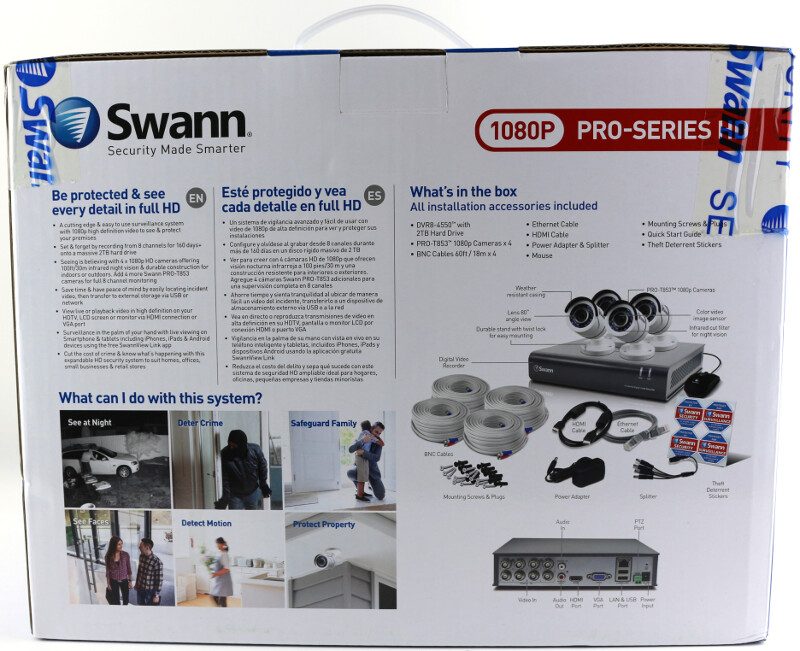
The rear side explains the kits purpose in more detail and also lists the complete package content.
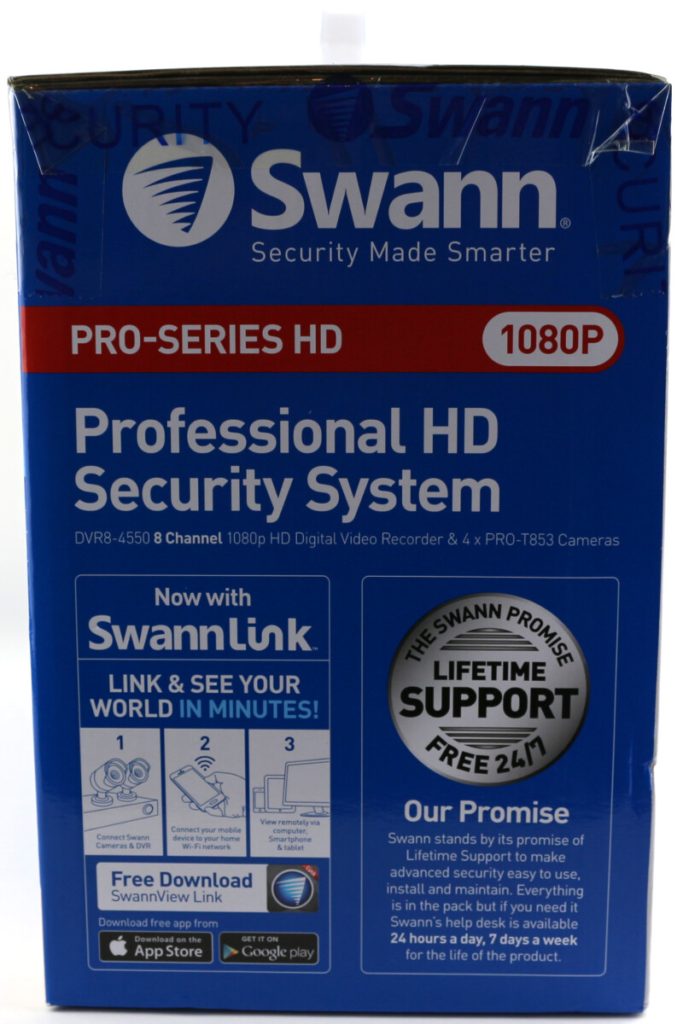
The box sides also provide us with a lot of information such as the SwannLink support and Lifetime 24/7 customer support for the full life of the product.
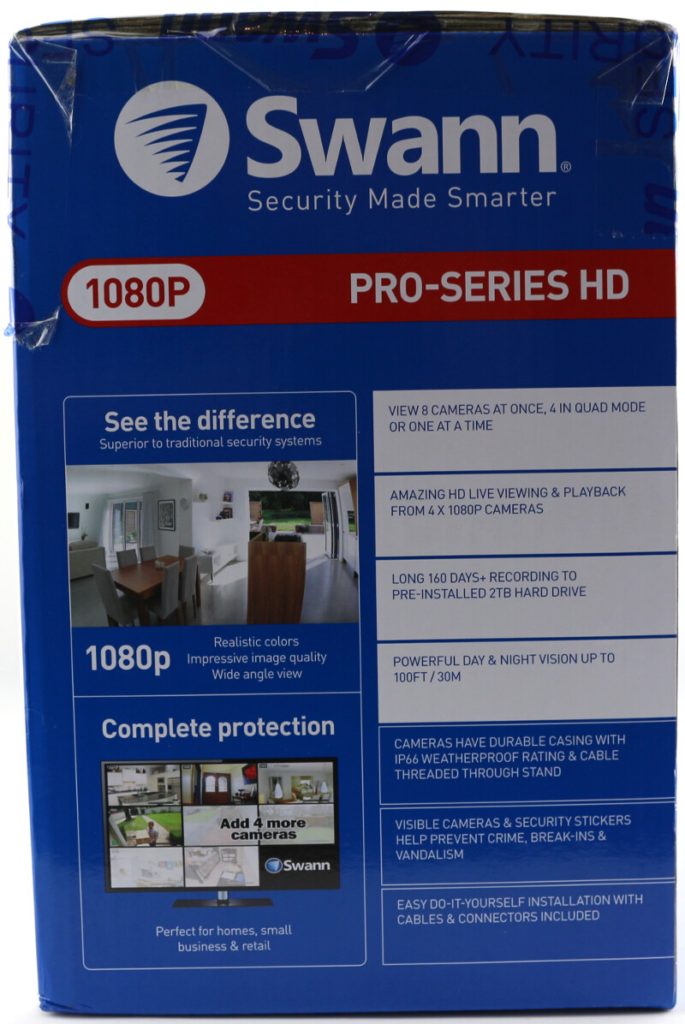
The other side features some info on the DVRs dashboard and the camera’s quality along with more feature highlights.
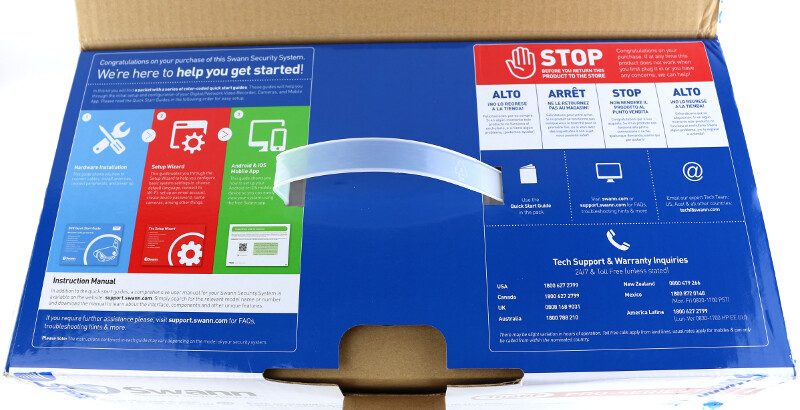
Even while we’re unboxing the device we’re presented with more information that will help us set our new surveillance kit up in the right order. Colour coded leaflets help with that.
Inside the large box, we find two smaller boxes and we’ll take a look at what’s inside those on the next page.

Unboxing the Content
The first of the two smaller boxes contains the four cameras and everything we need to set them up, connect them, and power them while the second box has the video recorder and its accessories.
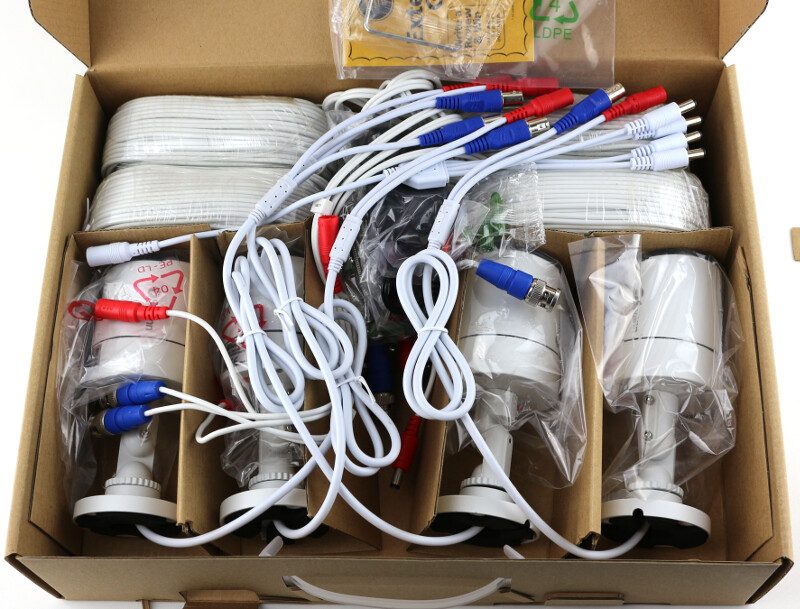
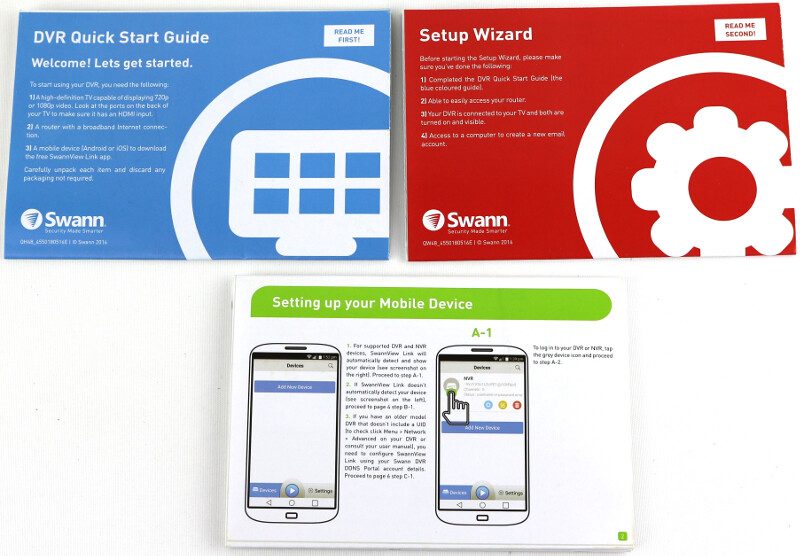
We find a lot of things as we unpack the two smaller boxes, starting with a lot of notes and quick start manuals that will assist us with the installation and setup as well as the later connection to it from our mobile devices.

The quick start guides and setup wizard notes are color coded in blue, red, and green and they also feature notes in which order you should read them. That makes the whole setup a lot easier as you can get started without a lot of investigating.
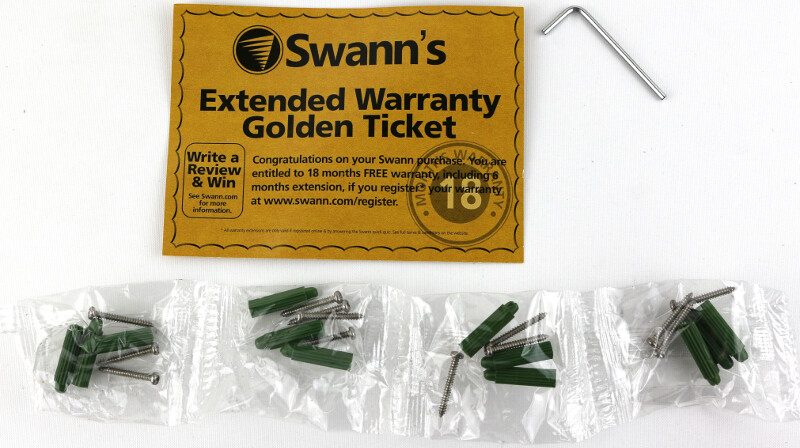
The camera kit contains four sets of screws for the four cameras as well as a tool to adjust the camera angle.
There are two door/wall stickers and one reverse-printed window sticker included too. Place those stickers where they’re seen and scare away potential criminals before they do their misbehaving.

The four cameras are identical in every way. They can be turned 360 degrees and angled up to 90 degrees for an optimal placement.

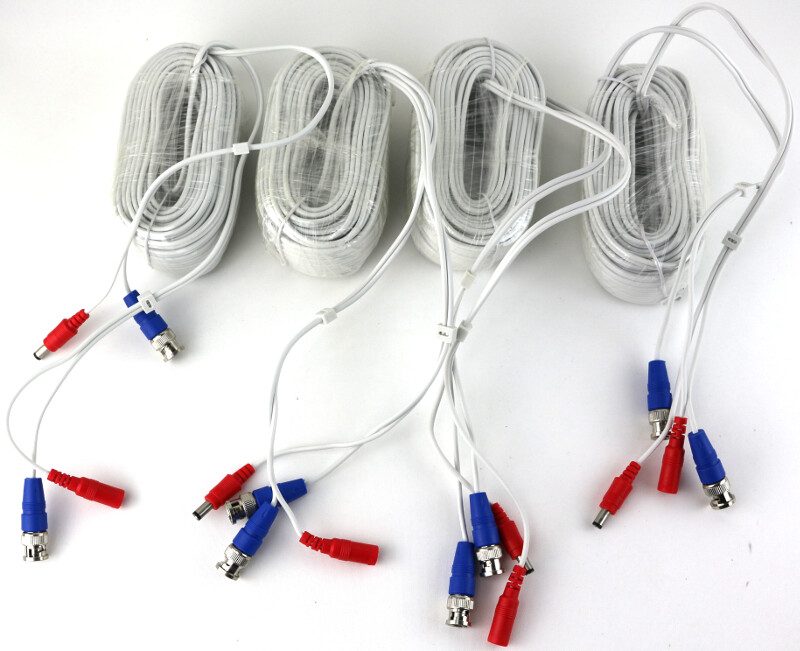
The four connection cables for the four cameras are 18 meters long each, which gives you a good reach. You can also get optional extension cables that will extend your reach even further.
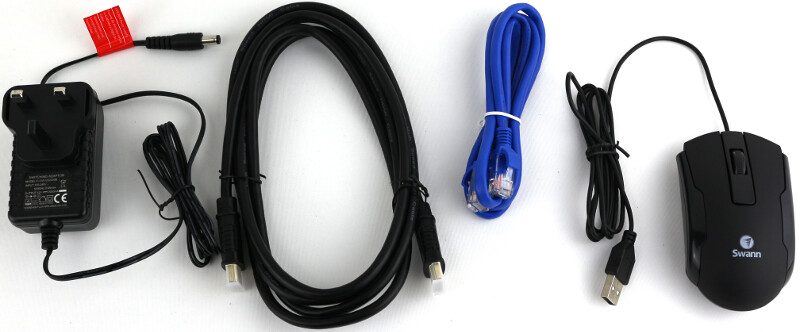
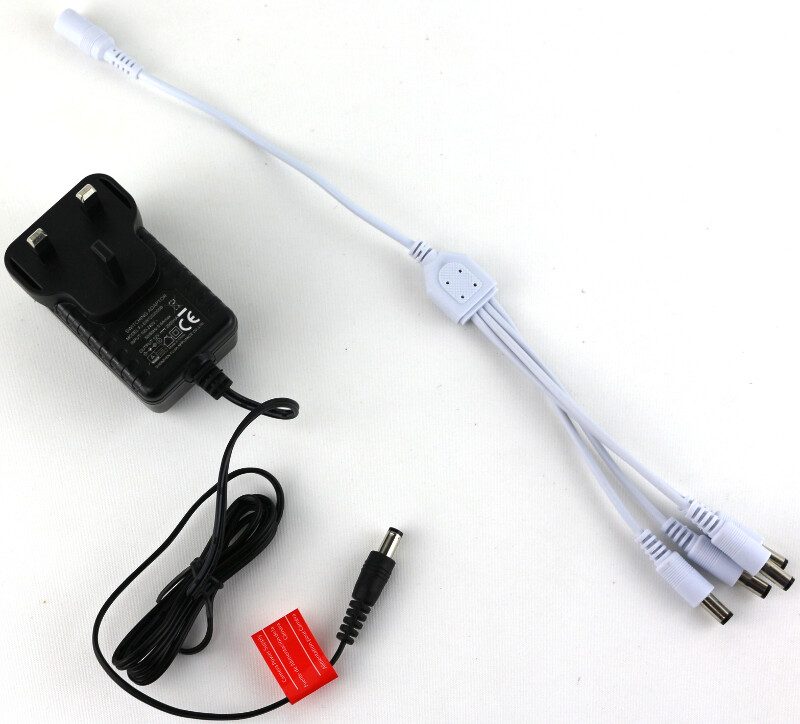
The DVR box contains three things we would expect and one we wouldn’t. There is a 12V AC/DC power adapter, an HDMI cable, and an RJ45 Ethernet cable which we need to power the DVR, connect it to a monitor, and a connect it to our network for remote viewing. But there’s also a small USB mouse included. Sure, it’s absolutely nothing special, but it allows us to use the kit without the need for anything that isn’t in the box.
The four cameras are all powered by a single power adapter that connects to a power splitter. This makes the installation very easy and requires a lot fewer power outlets than it would if they all had their individual power supplies. This way, they’re also powered from the same location as the DVR.
Of course, we also get the DVR itself.

A Closer Look
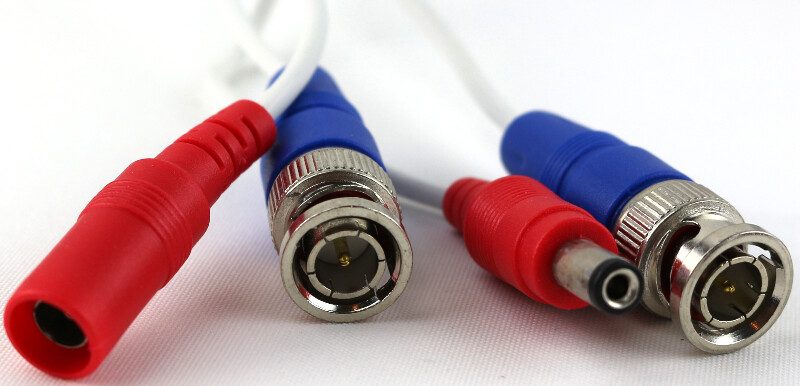
Such a comprehensive pack requires a closer look and why not start with the connection cables. Seen here are the two ends of the extension cable that will connect the camera to the DVR box and power to the camera.
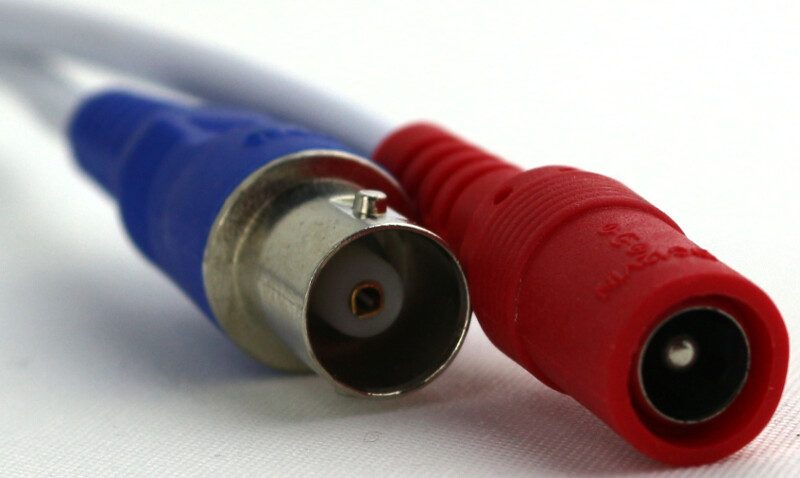
The camera itself has the matching connectors on its short cable.
The included mouse is nothing special, but I love that Swann included it. The USB mouse features a scroll wheel and two buttons and it will allow you to set your new DVR system up without the need for any other hardware – okay, you’ll need a monitor too, but that’s a given.

We got two things more to take a look at, starting with the digital video recorder box. Swann kept the box as small as it is possible with the sheer amount of connectors it has.
The front itself is kept simple with just a logo and two LEDs for power and video.

Both sides of the DVR are fitted with vent holes, allowing the unit to draw plenty of fresh air.

The rear side is the most interesting here as that’s where we have all the connectors. To the left are the eight camera connectors followed by the two channel audio and dual monitor output. To the right, we have the RJ45 LAN port on top of two USB 2.0 ports before we get to the power connectors and additional grounding option.

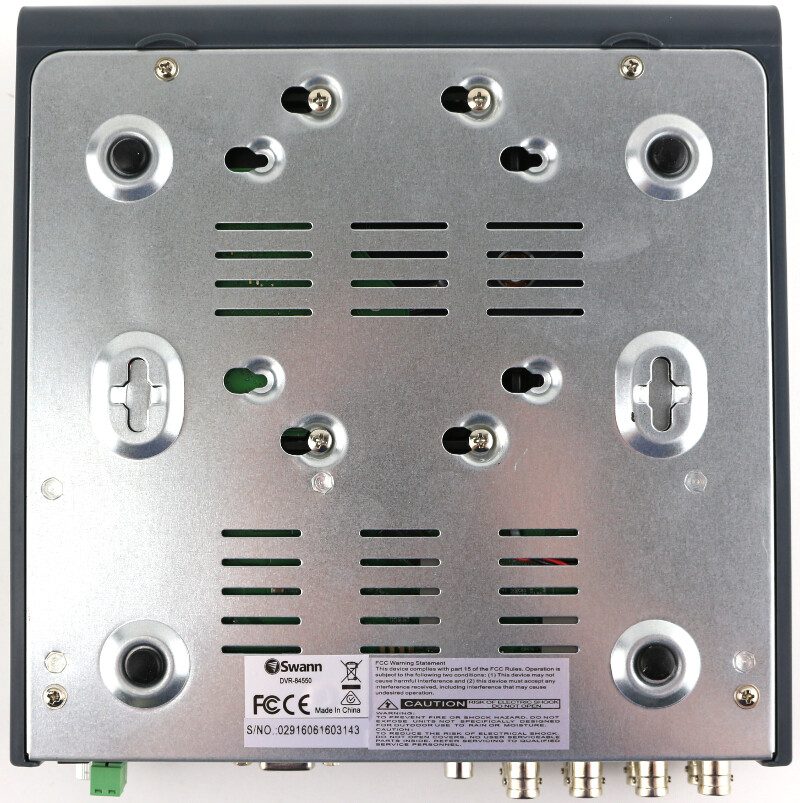
The bottom of the unit has four small rubber feet, but it also supports wall mounting with the ports facing up or down. We also see additional ventilation holes here and the hard disk mounting screws.
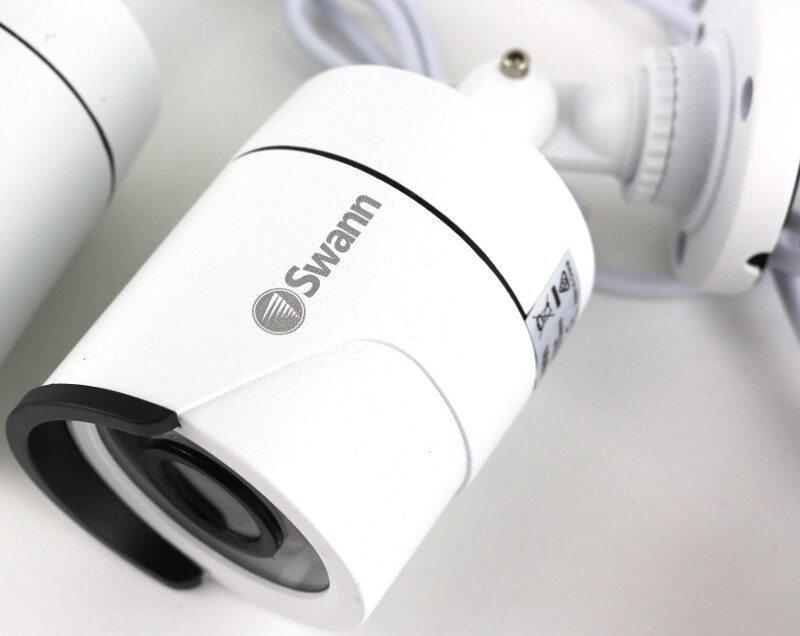
It is time to take a closer look at the included cameras and then we can get onto the installation of everything.
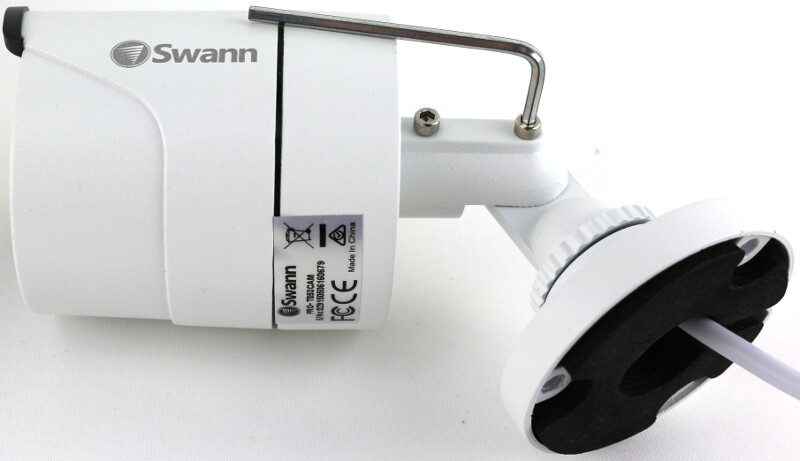
The cameras are easily adjusted to the right angle with the included tool, allowing you to point it in just the direction you want it to.
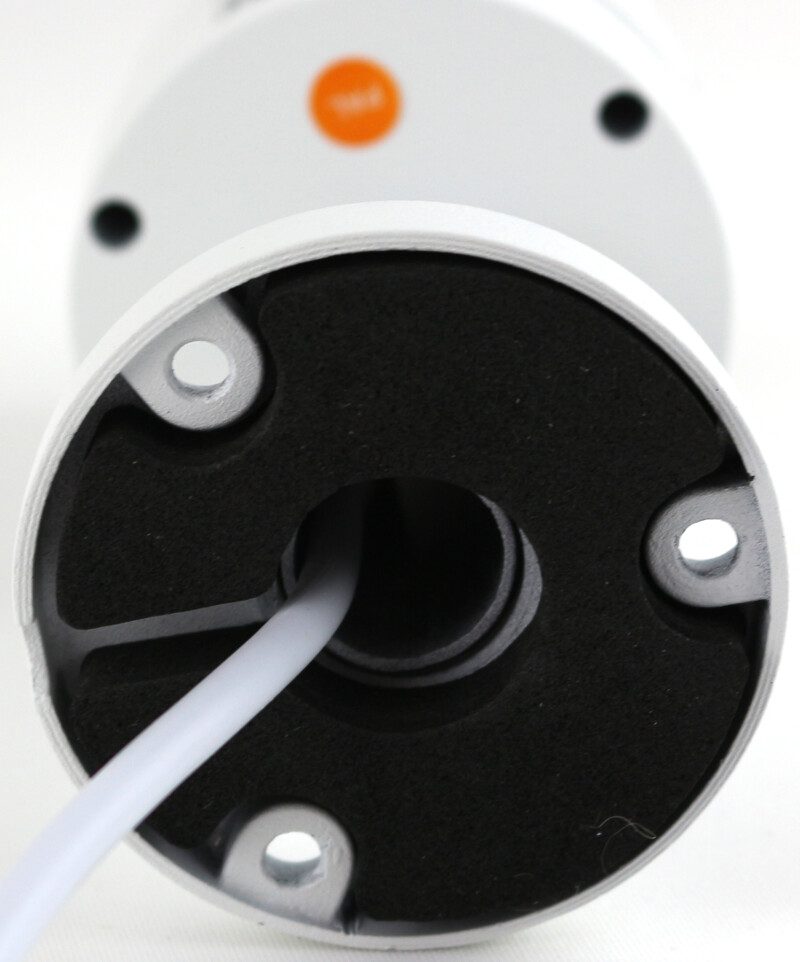
The camera feet are padded for a secure and wobble free mounting and they can each be secured to the wall or ceiling with three screws.
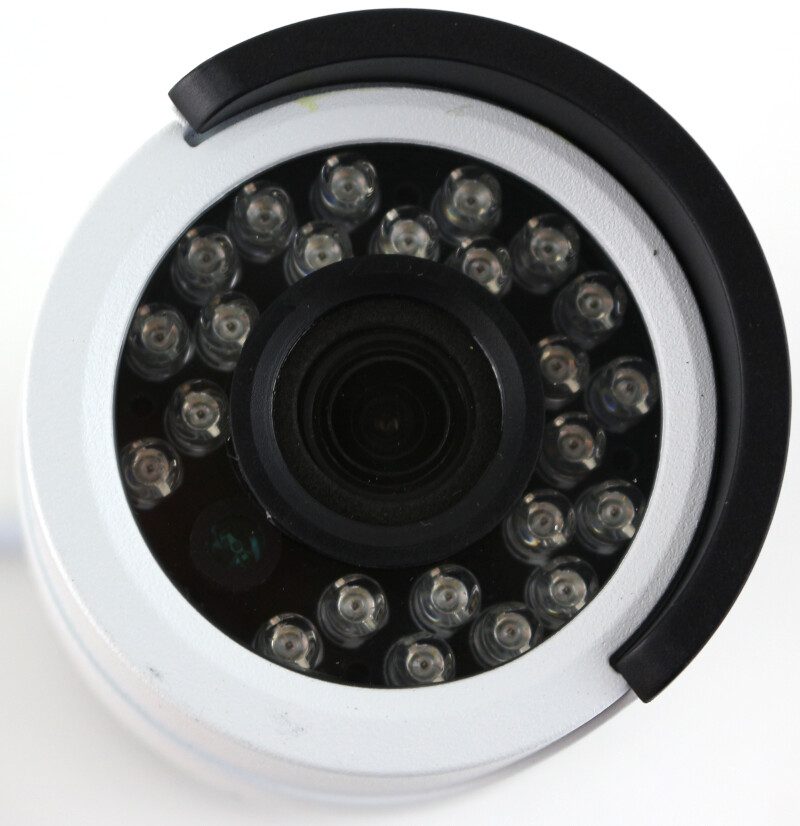
The lens is packed with IR LEDs which gives these cameras such a great night vision, which we’ll see on the following pages.
In case you want to upgrade the hard drive then that’s an easy job too. Remove four screws from the bottom and it opens up. Inside we find a classic 3.5-inch hard drive and a small PCB for the system itself.
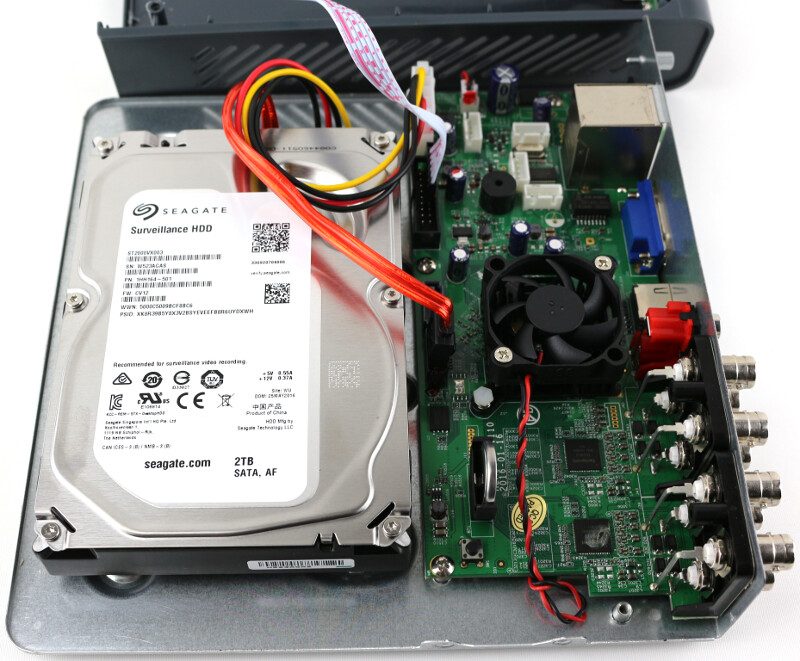
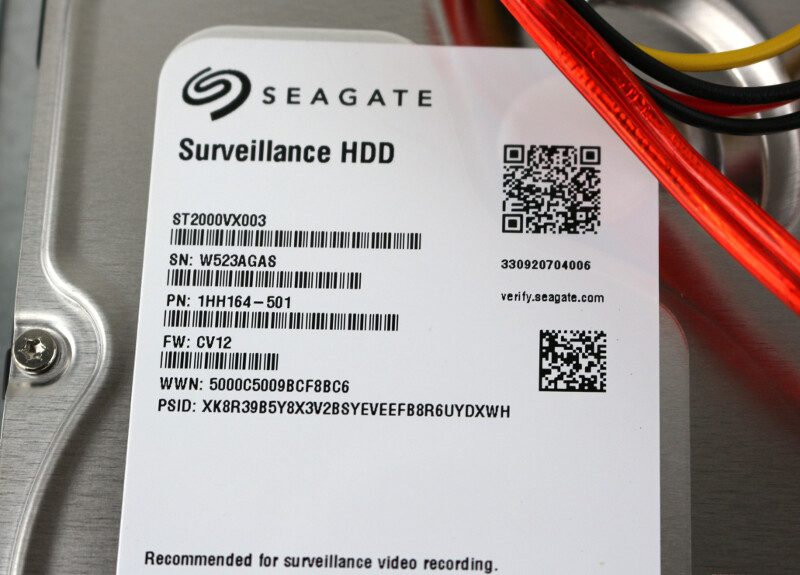
The included hard drive is a Seagate surveillance drive which is perfect for a DVR system. Officially the DVR supports up to 4TB drives, but there shouldn’t be anything preventing you from installing let’s say a 10TB Skyhawk drive in the unit.
It’s also noteworthy that there are two SATA ports, but only one SATA power connector. However, with a power adapter and a bit of ingenuity you should be able to fit two SSDs in the system too. But if you do, pick the drives with care as a lot of writes will be performed on a system like this.
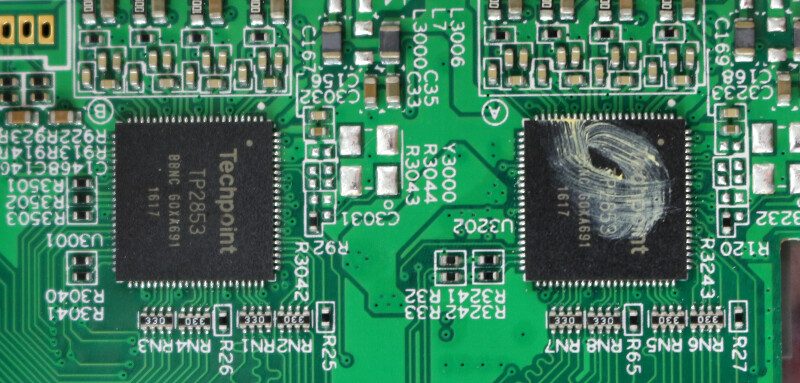
A little negative surprise was the use of capacitors. I had hoped to see solid caps in a system designed for 24/7 usage, but you can’t get everything for the asking price.
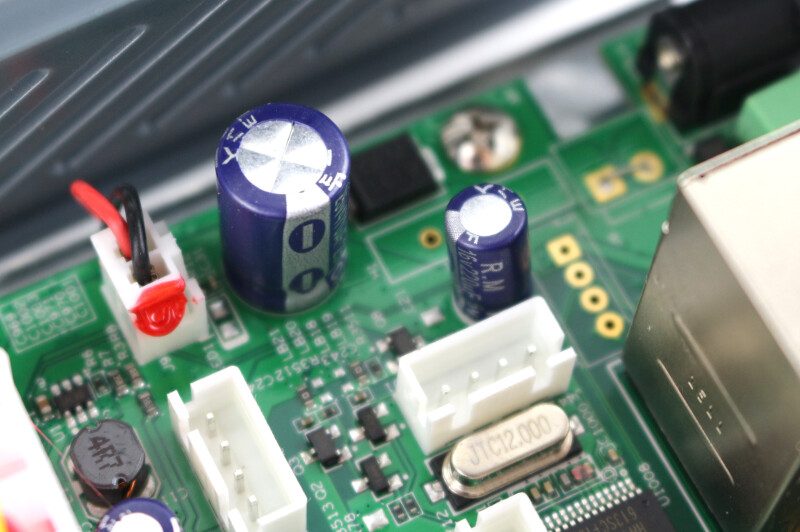
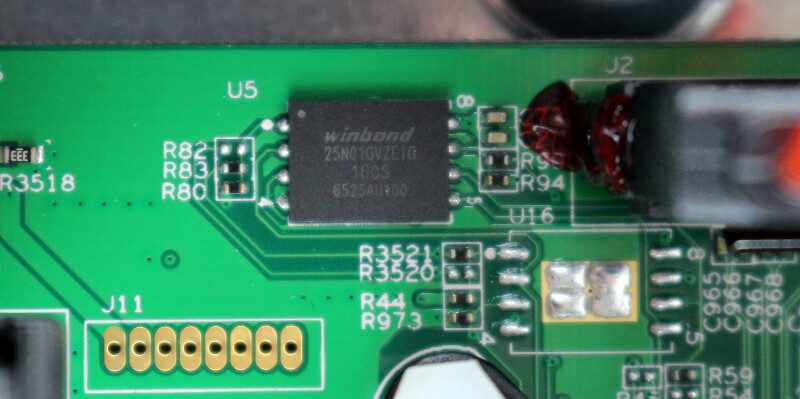
There are a couple extra chips around the board too that control the various features, but nothing spectacular.
Installation and Setup
The first thing we need to do is select a place for our DVR unit and mount our cameras to the walls or ceilings around the place to secure. For this review, I won’t drill three holes for each camera and instead use locations where there are nails or screws present that I can use to mount them. This will result in the cameras not being placed as optimal as you would place them yourself, but for a temporary test such as a review is, it’s a lot to drill holes in all my walls.
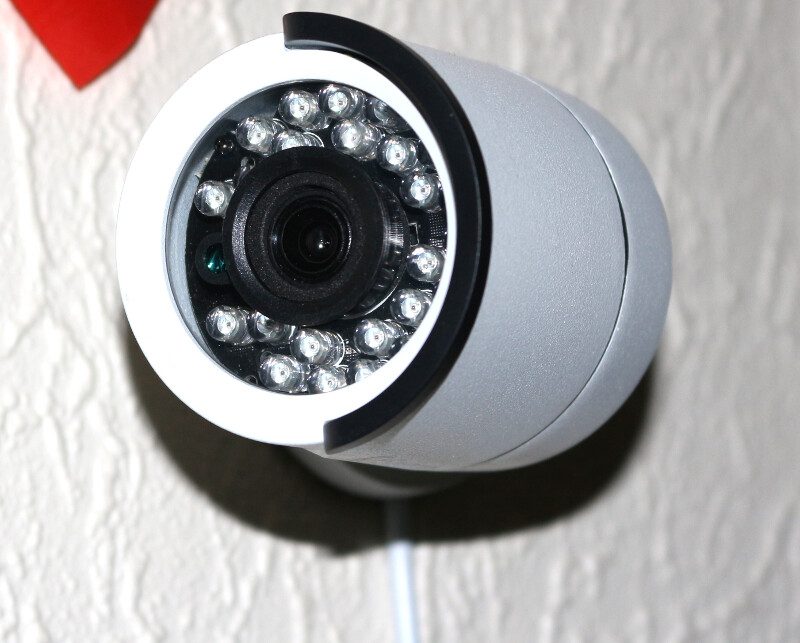
Once we have mounted our cameras, we can connect them to the DVR unit and connect the unit to our network, monitor, and mouse.
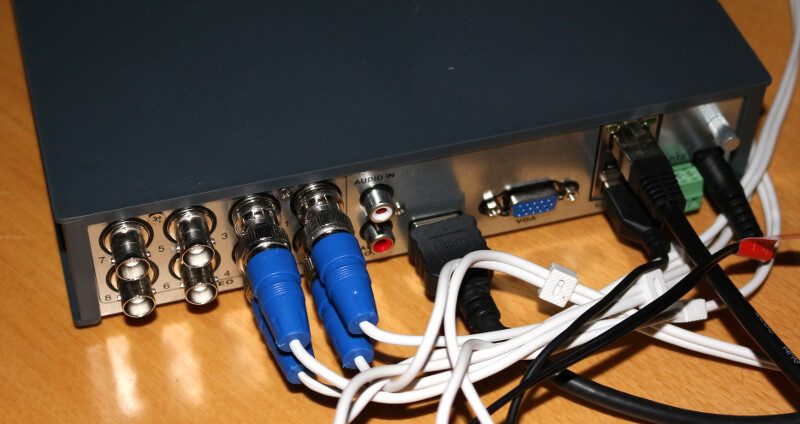
With all that done, we can power the unit on and get started with the initialization
Initialization
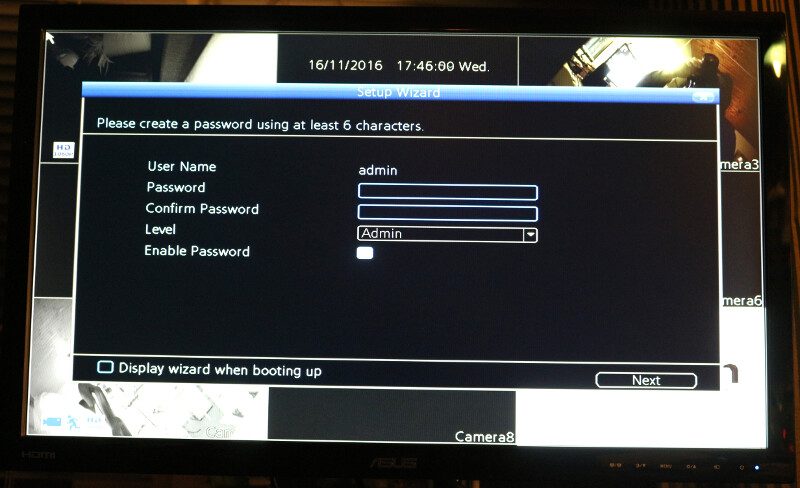
The first thing we’re asked for in the setup guide is to enter a password for our admin user.
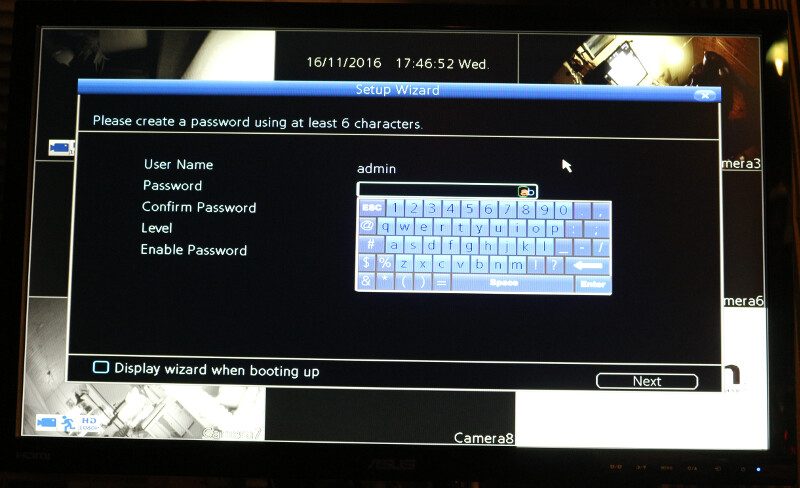
There is no need for an additional keyboard or another input device as the system features an on-screen keyboard which we can use with the included mouse.
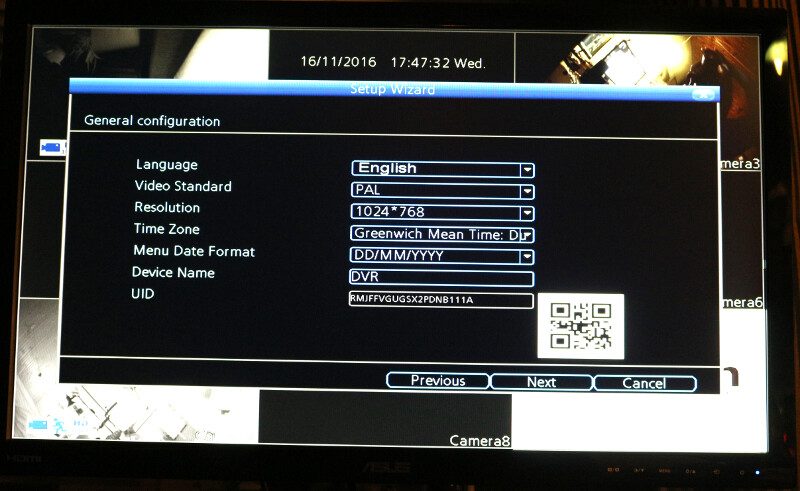
Next up is the general configuration of the unit with settings such as the language, video format, and time zone. We can also change the video output resolution to full HD, which you most likely will want to do.
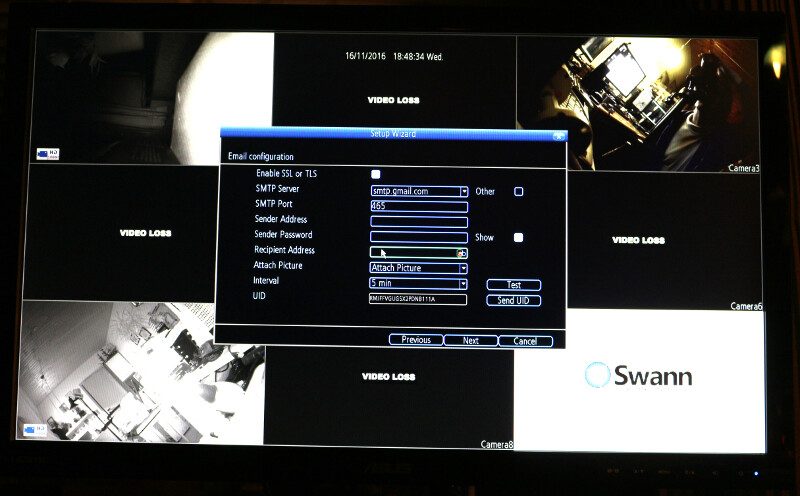
We can configure the the DVR with an email account to which will be used to send alarms.
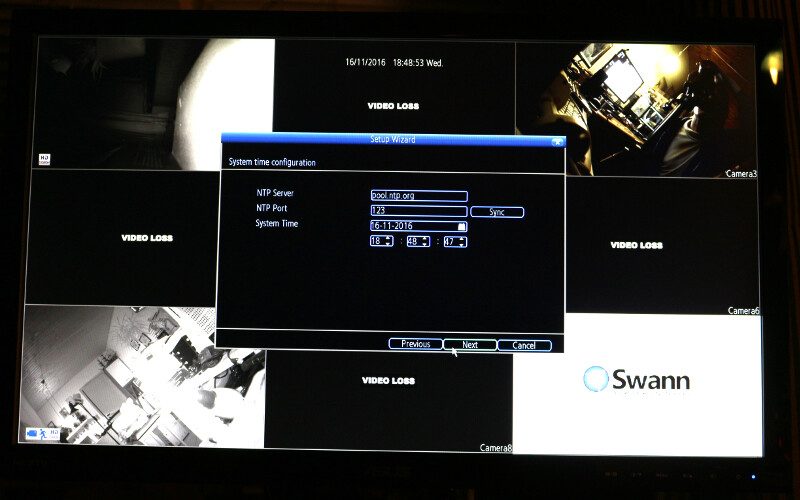
Two steps left and the device is ready to be used. Having the correct time stamp on the videos can be important in order to identify when something happened and the Swann DVR8-4550 can update both time and date from NTP servers automatically.
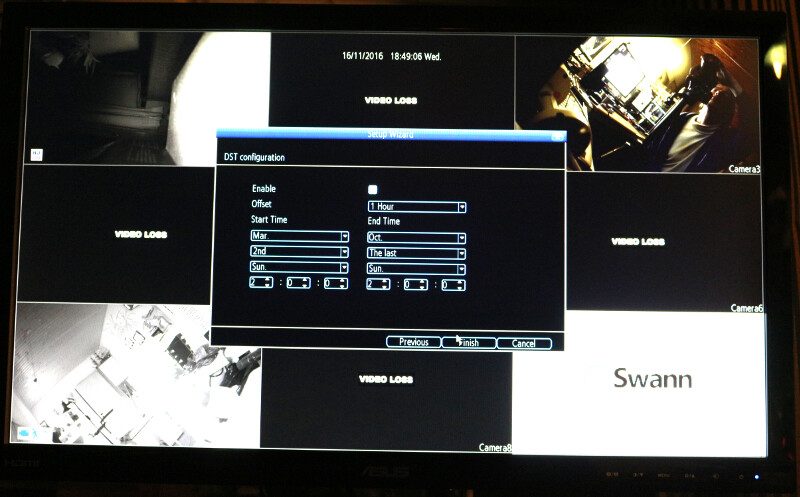
Daylight Savings Time can also be configured manually to match your actual location and setup.
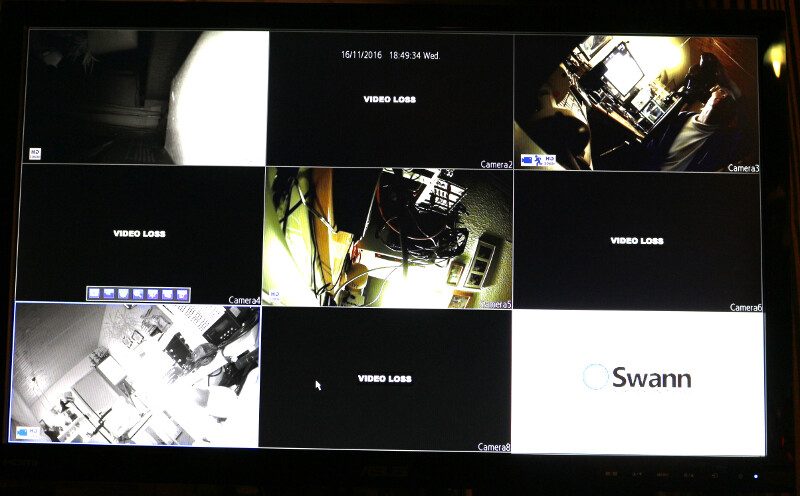
And that was all. Our system is now running and recording on the available channels, activated by motion.
Browser Connection to the DVR
Now I’ll briefly switch back to my normal PC and connect to the whole setup via the network. I can do this through my browser – at least through Firefox. It requires an extra plugin and it seems there is none for Chrome and Edge doesn’t have extension support yet, as we know.
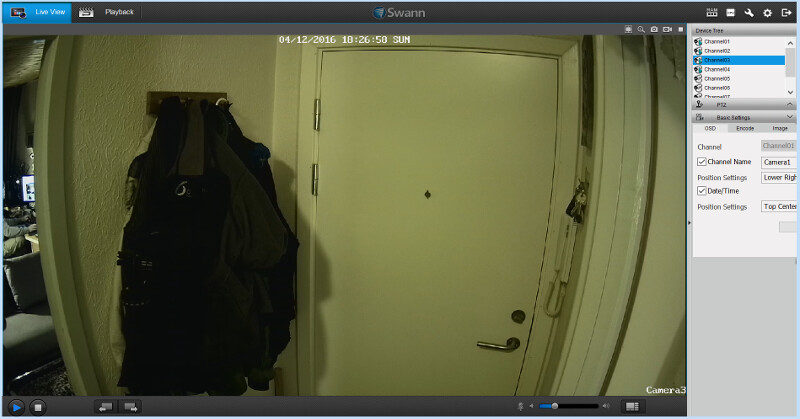
We can watch the live feed right through the easy to use Swann View which gives us access to camera features such as tilt and rotate (the included cameras don’t support this) as well as basic video and channel settings from the sidebar. Sadly this sidebar isn’t 100% optimized for its measurements and things do overlap borders at times.
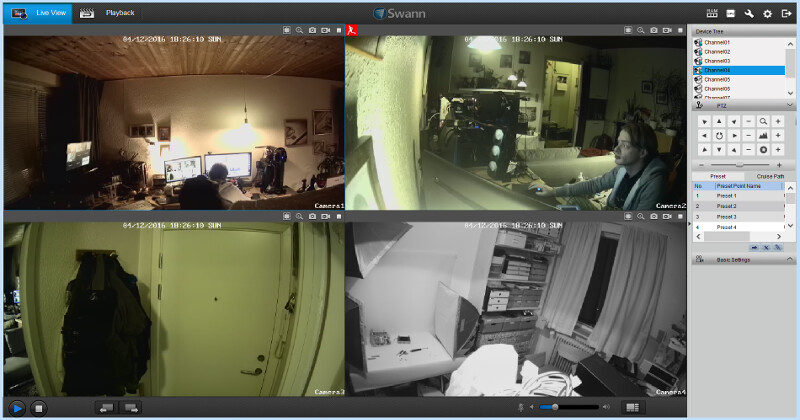
We decide ourselves whether we want to view multiple cameras at once or just a single one in full screen.
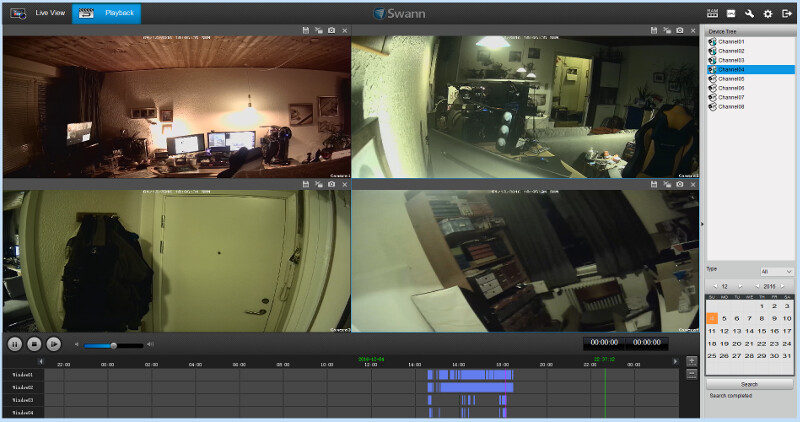
Within the same interface is a playback function too where you can search for recordings based on dates and then view them. The bottom timeline highlights where recordings were made for easy location. You can also zoom into the timeline for easier selection.
The Swann View plugin also provides access to all the DVRs settings, but this menu has a bit of the same issue as the side panel with overlapping fields and areas that are too small for the content. Still, it allows us to access all settings from everywhere and even with the slightly cluttered layout, it’s easy to use.
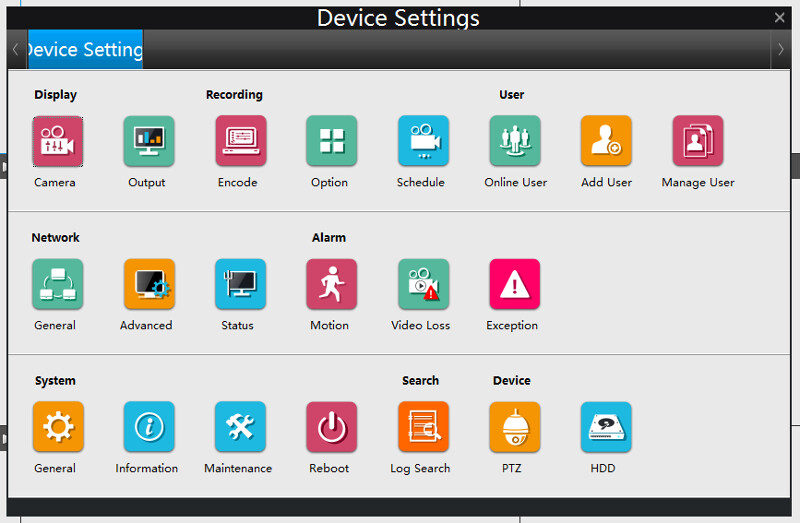
There are settings for almost anything and I’ll show most of them on this page. Some are so obvious that there’s no point and those will be left out.
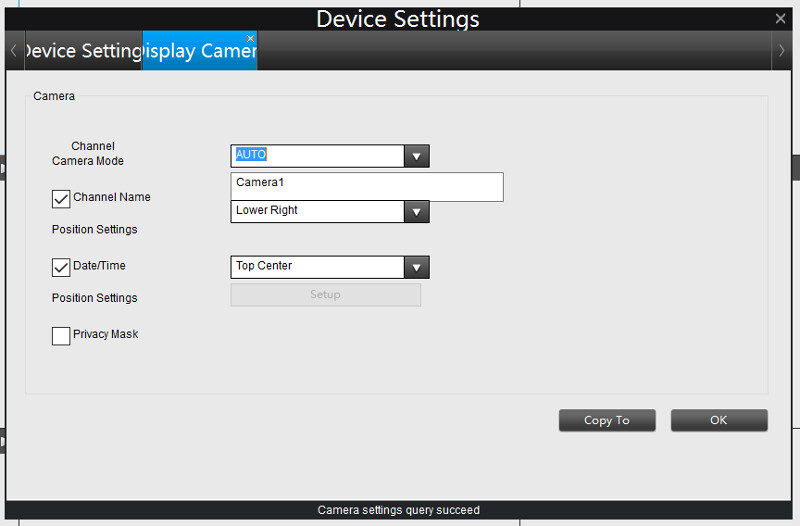
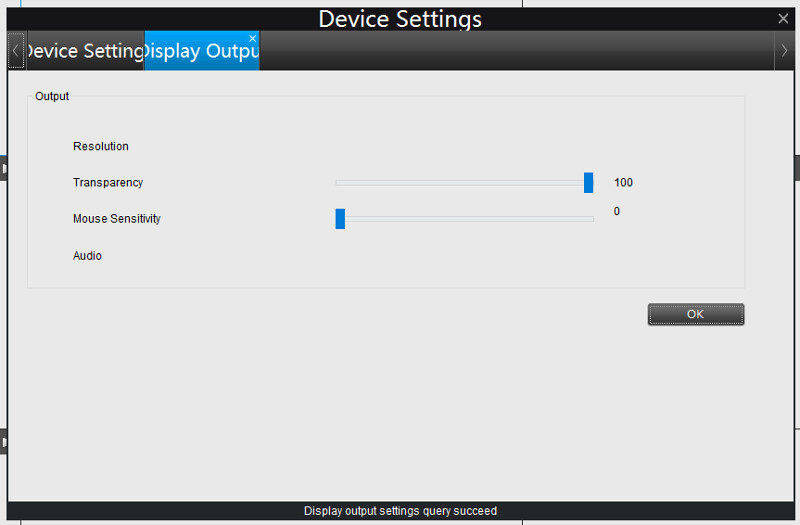
The first available settings panel is for the Display of the cameras and the second is for the display outputs.
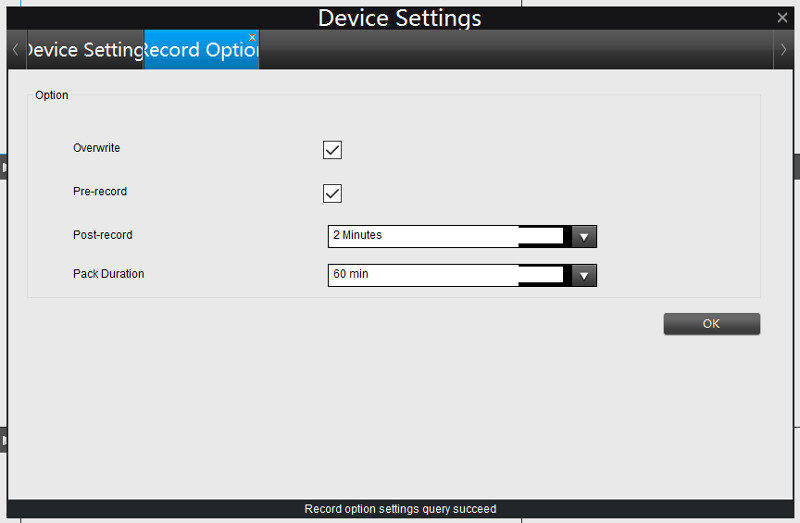
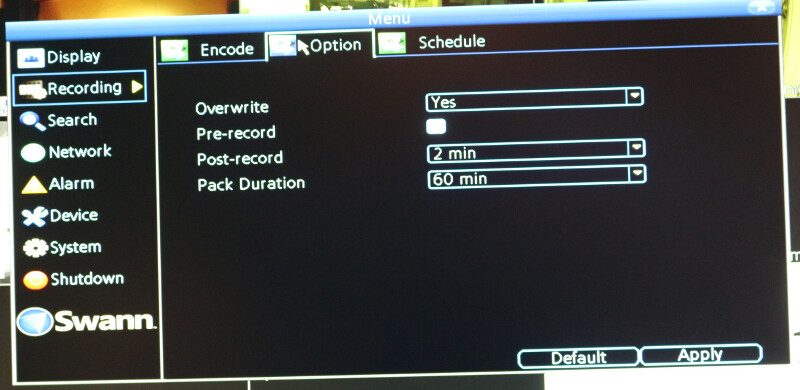
The Video Record Options are some of the important ones. Here we can select how far ahead of a motion detection the camera should record. Basically, it records all the time, but only permanently stores what is relevant.
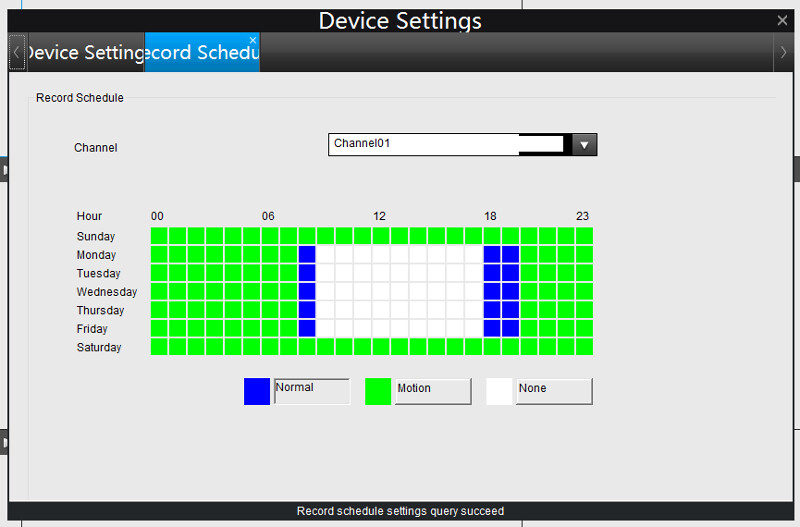
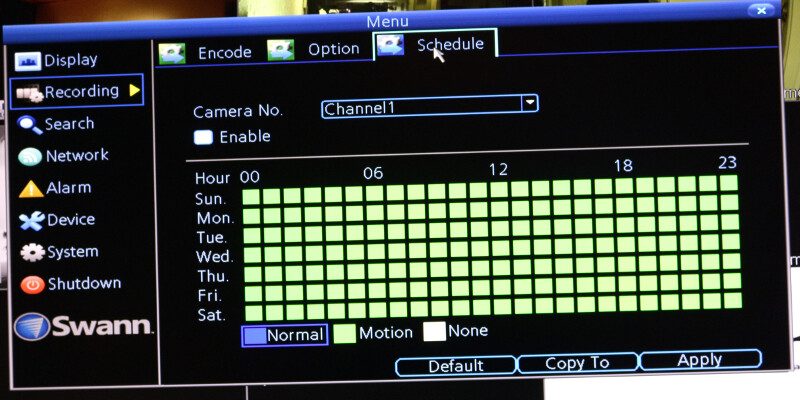
Of course, all this can be changed and you can record permanently. But that does take up a lot more storage. With Video Record Scheduling you can adjust the behavior depending on the day and time.
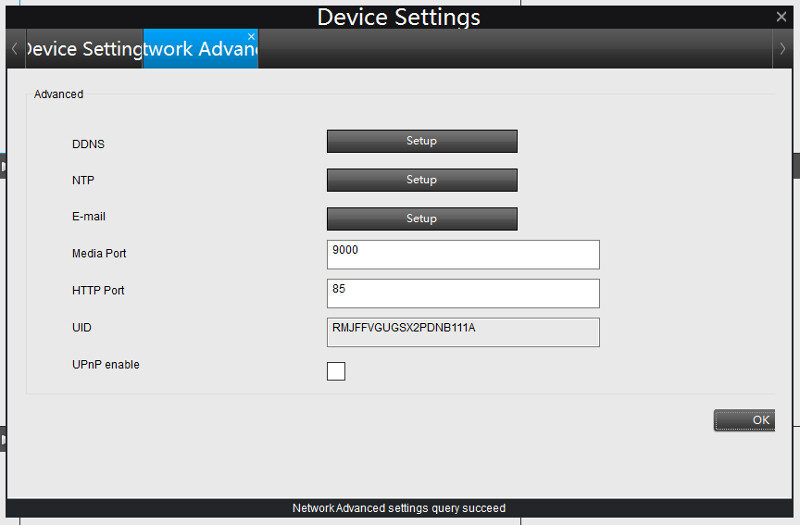
The Network settings are another vital point to visit. You can configure the basic locale and remote connection abilities from here. Dynamic DNS, NTP, and Email settings are all access through this menu.
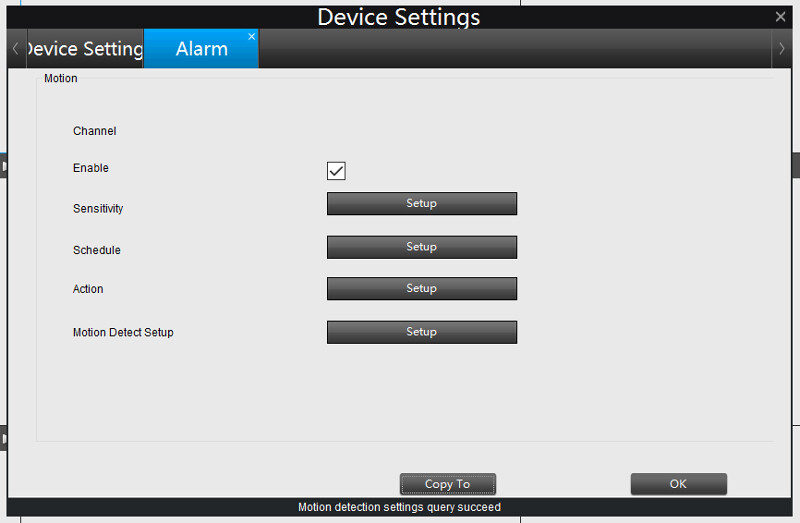
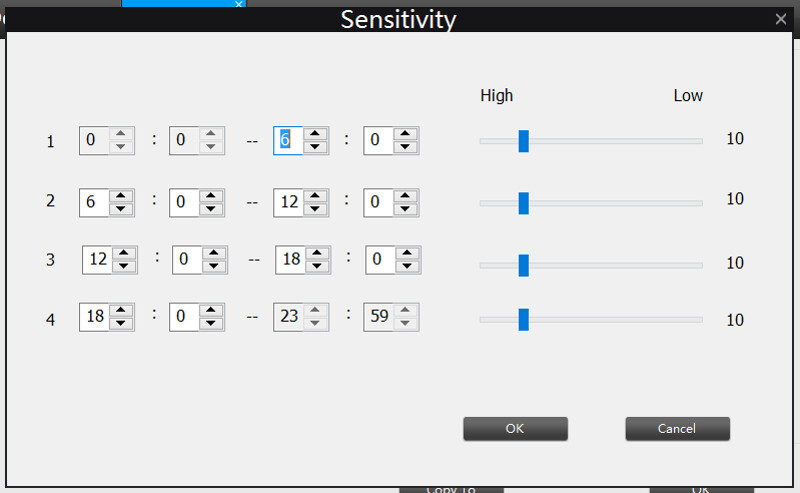
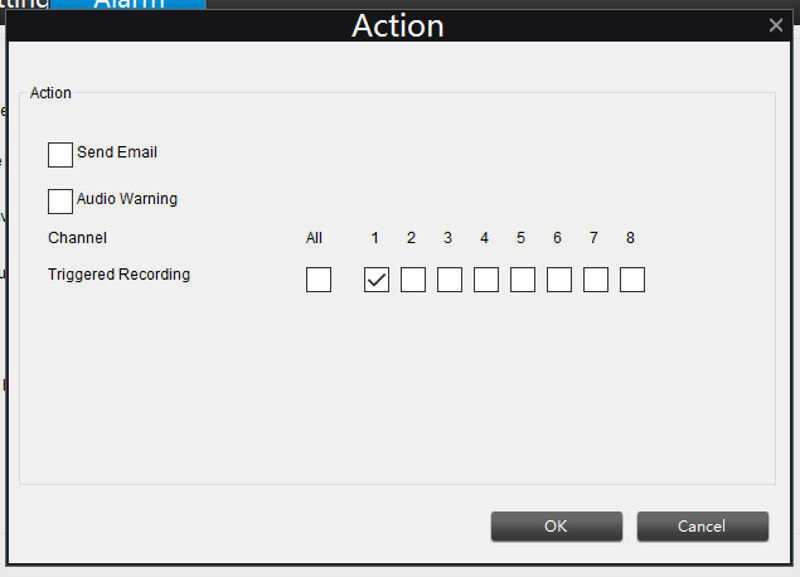
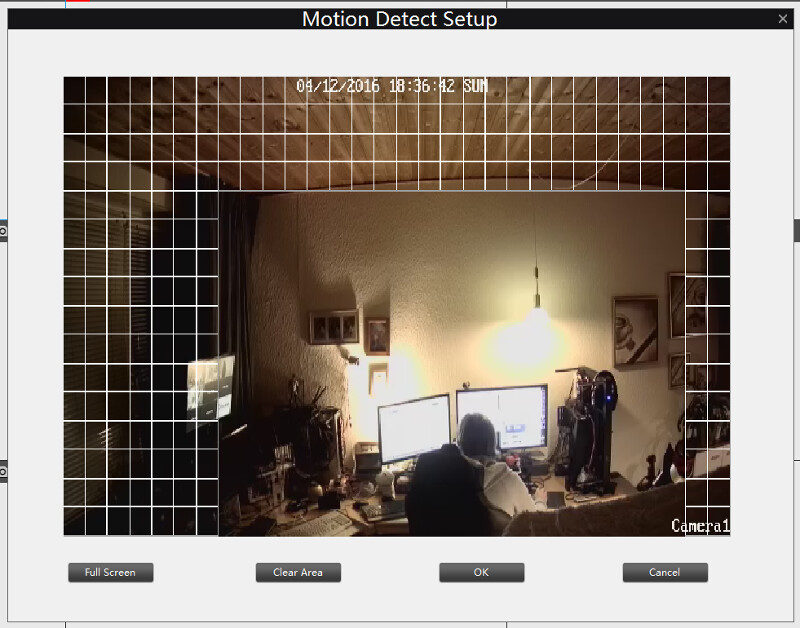
We’re able to control the sensitivity, scheduling, and motion detection within the Alarm settings.
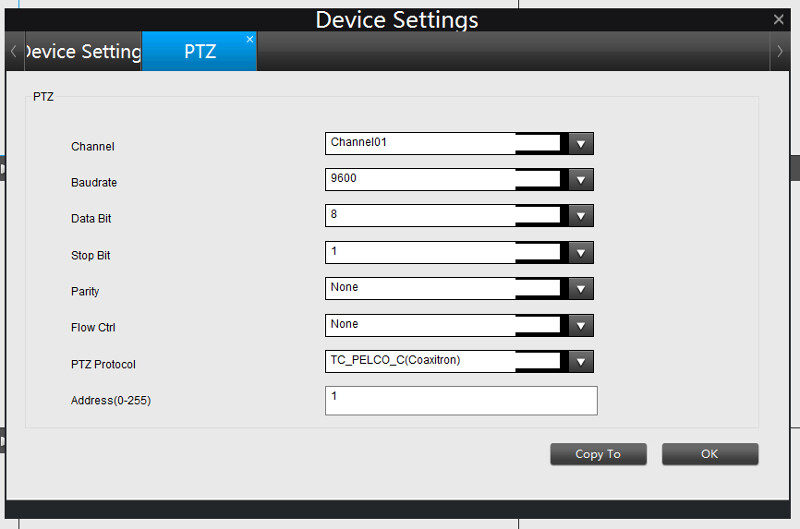
Pan, Tilt, and Zoon are all features that are relevant to other cameras than the included ones which can’t pan and tilt. The settings are still important for those with extra dome cameras, for example.
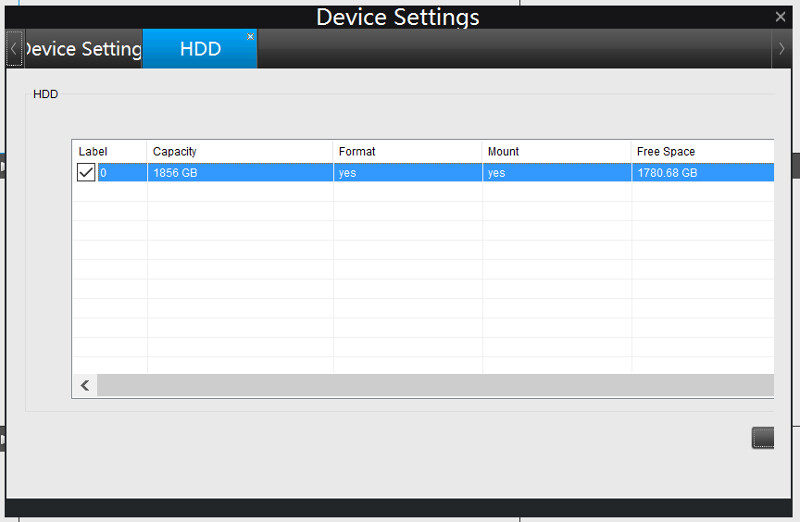
As the DVR has a built-in hard disk, we also have access to this and its settings.
Direct Usage – Available Settings
When you got direct access to the DVR, then that’s definitely the easiest way to control it and we don’t have the page alignment issues as with the browser plug-in. So I’ll use this to show the settings instead of doing it through the browser – also for the simple fact to show you how it looks on the DVR.
Display
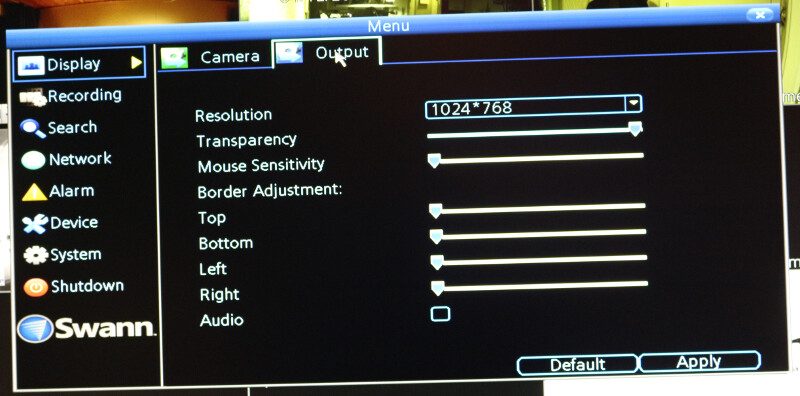
Using the included USB mouse, changing the settings is as easy as clicking. We have access to the camera and output settings for the video display. Drop down menus let you select what to control and the rest is quickly changed from there.
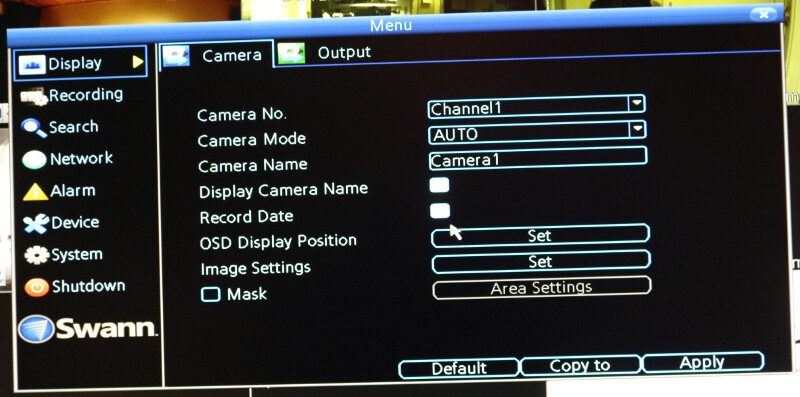
We might, for example, change the video output to full-HD, but the mouse sensitivity is another vital point here that can make the usage a lot easier. It’s nice to see that they also considered such small things.
Recording
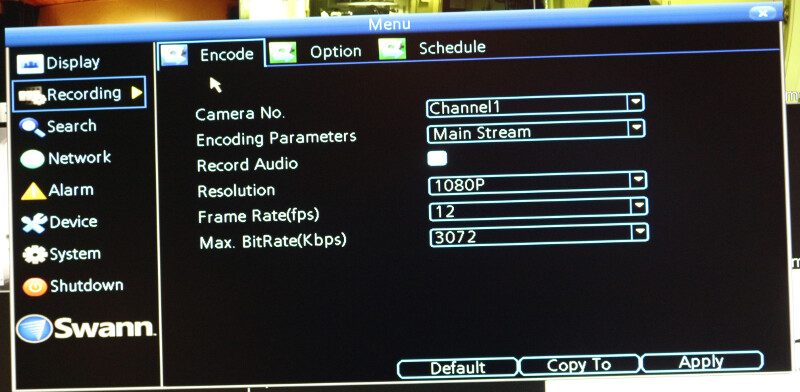
Within the recording settings, we can change the quality of our recodings, the frame rate, and the bit rate along with the storage settings
The scheduling system is the same as we saw through the web interface on the last page.
Search
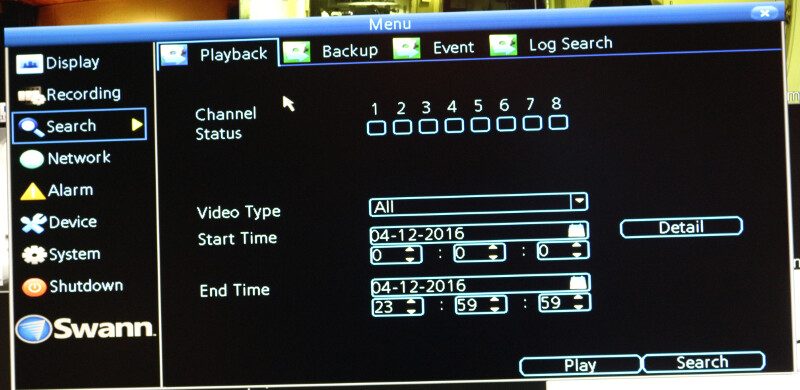
The search section is used for the playback of recorded video. You can specify which channels to search and the time frame to perform the search within. Then just hit the play button and you’ll get a similar view as we saw previously through the web interface.
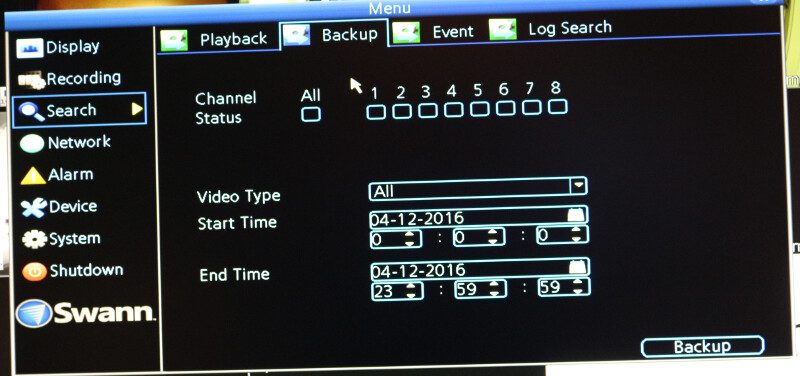
The same way we can backup files from the internal storage
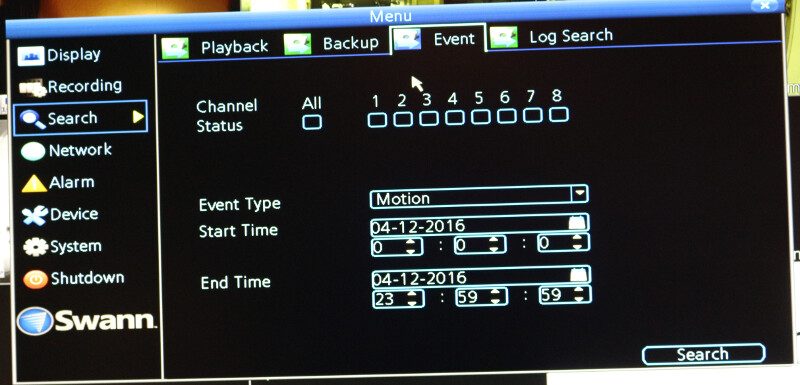
Or check for events within a specified duration.
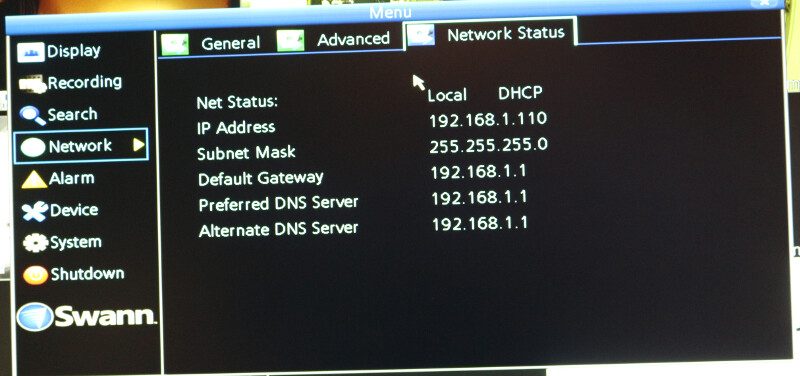
Network
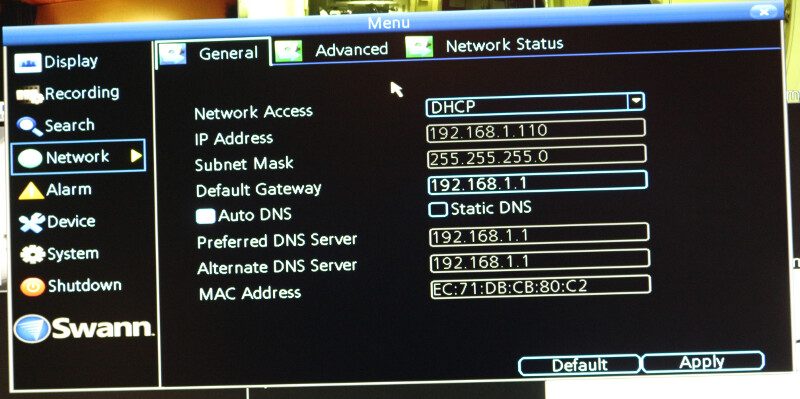
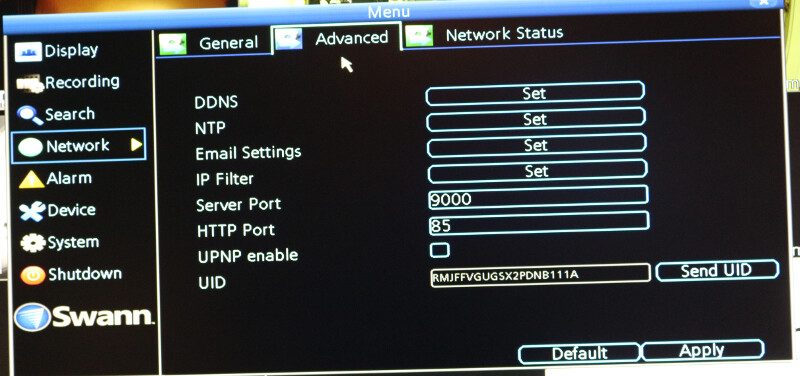
The network settings are probably not settings that you’ll change a lot, but we have access to all the individual settings should we need to.
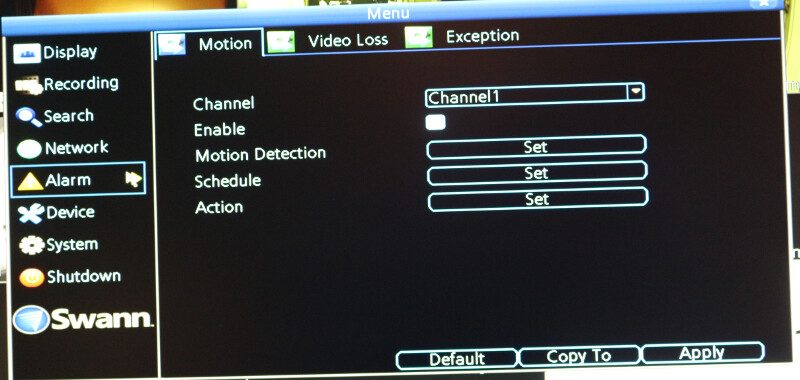
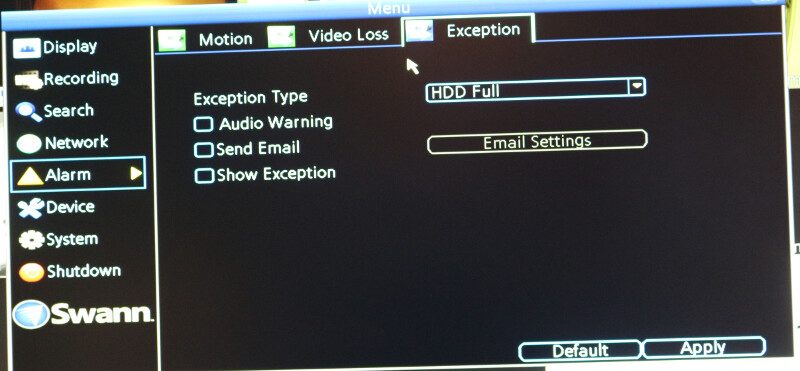
The Alarm section is one of the most important ones as it contains our rules on when to record what and how.
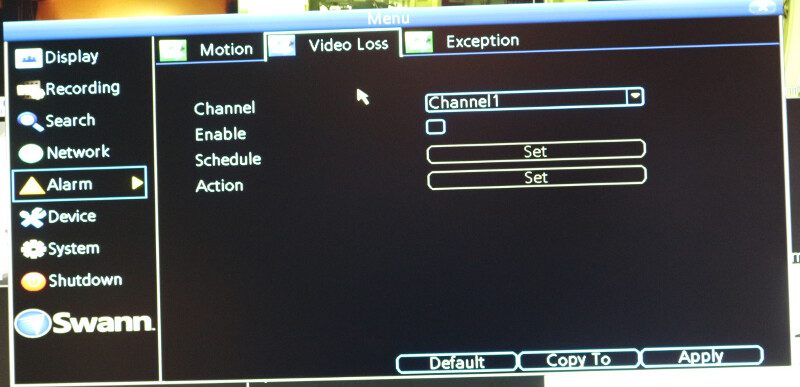
We can also set action should we lose the video on a channel, such as sending an email to the administrator or watch personnel.
Device Settings
The device settings page contains both hard disk and camera features.
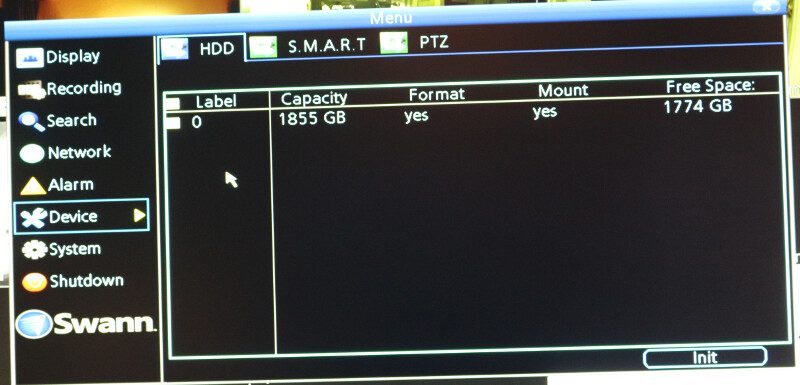
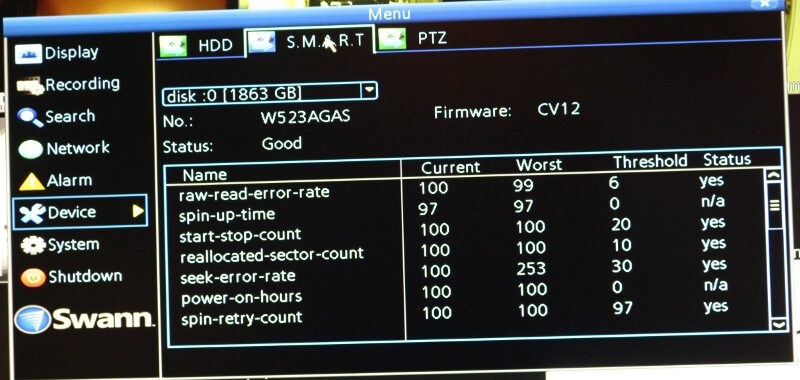
We can check up on the health of our installed drive.
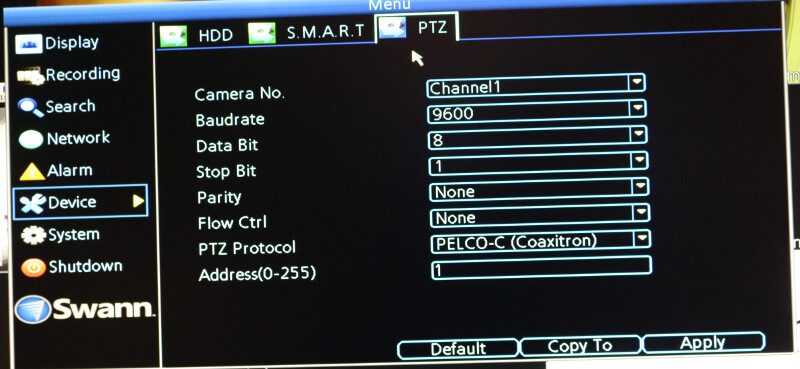
And we can change the PTZ settings.
System
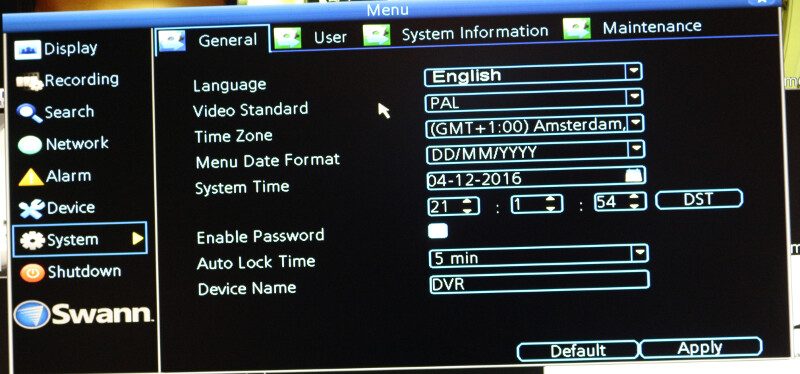
The last page with settings is for the system itself and this is where we can change the time, date, video standard, language and so forth.
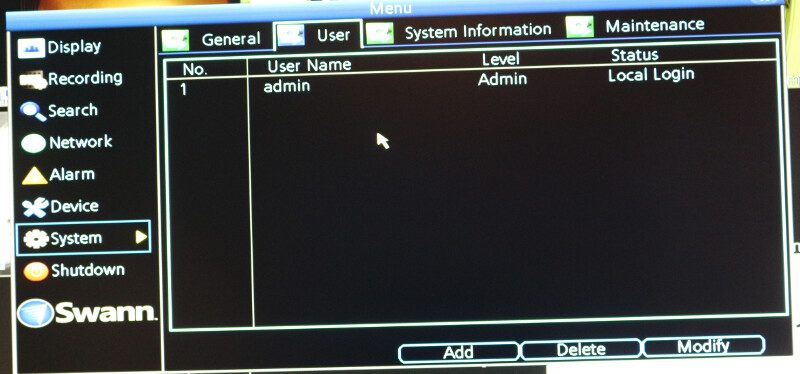
We can check up on our users with access to the DVR.
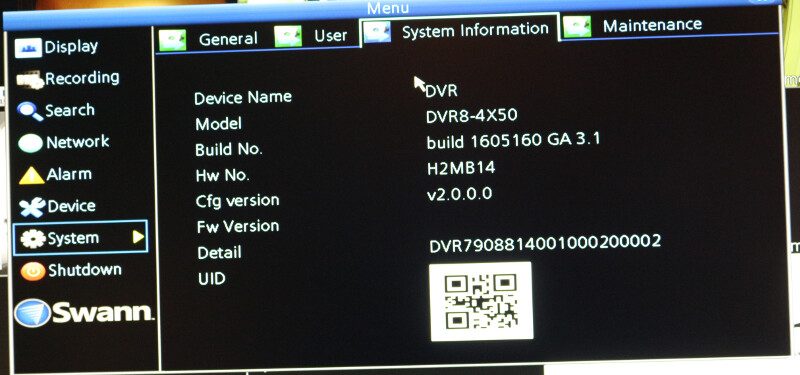
But one of the most important features here is our UID which you need in order to connect mobile devices to it. Simply enter the code or even better, scan the QR code, and you’re good to go.
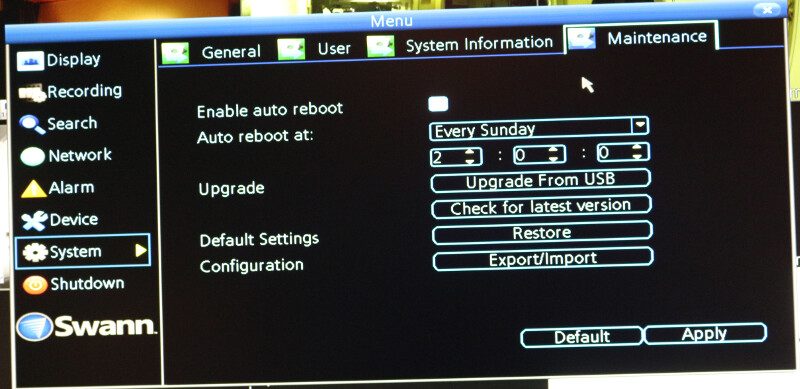
An automatic reboot schedule can prevent hick-ups from prolonged power-on times and as such be a great thing.
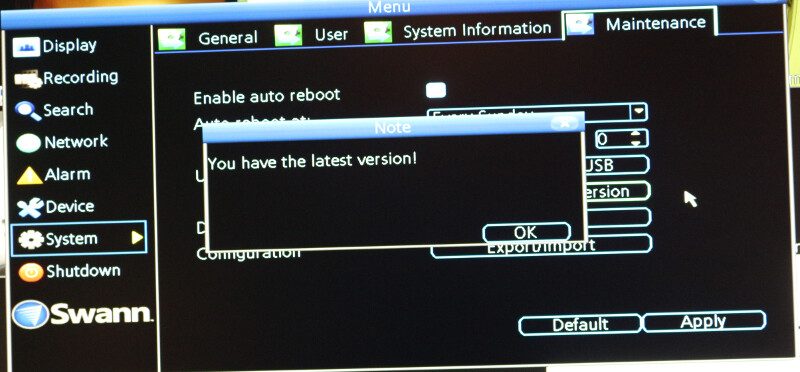
But this is also the place where we can check for a newer firmware and upgrade it.
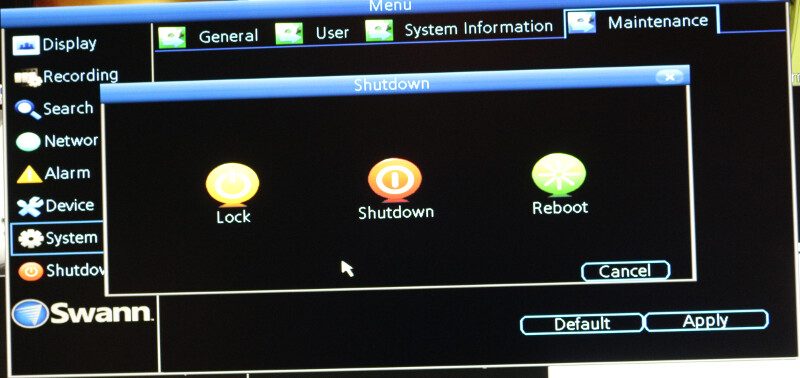
The last point controls the lock, shutdown, and reboot features.
Direct Usage – Video
There are multiple ways to watch the live streams and the entire system, as we’ve just seen on the previous pages. The layout can be changed between 1 channel, 4 channels, or 9 channels (limited to 8 by hardware). We can also select a picture in picture mode.
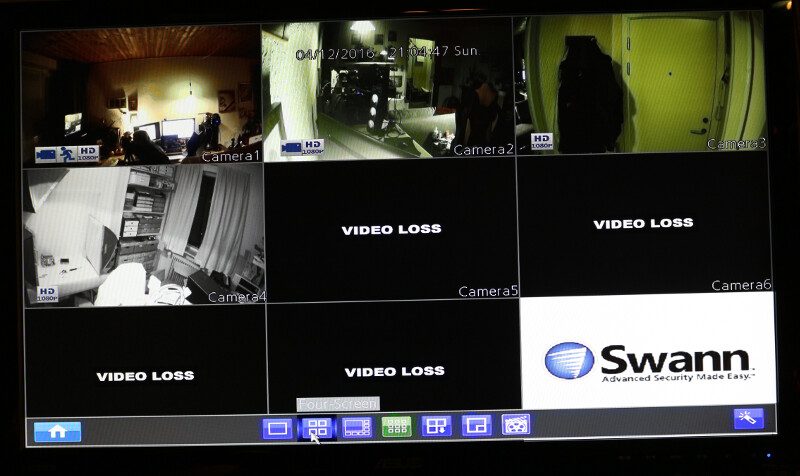
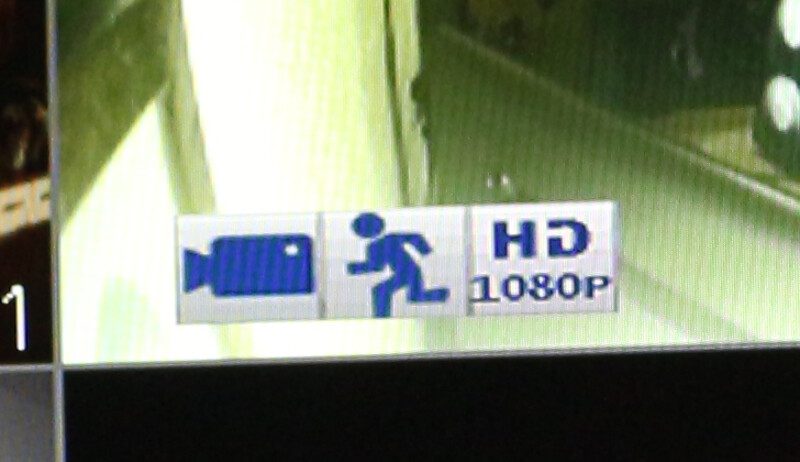
Each channel will show the camera icon when it’s recording, the quality its is recording in (here it’s 1080p), and also a motion icon when a motion event happens.
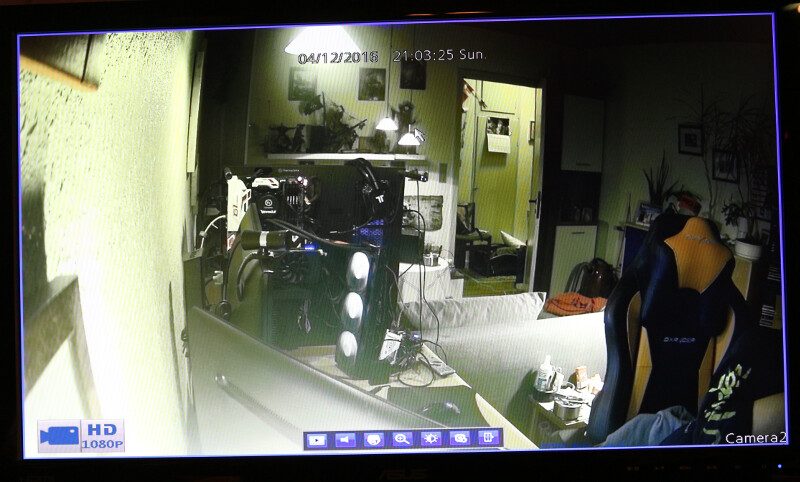
The live videos are of a great quality and you get access to all the relevant features as soon as you select a channel. You get access to playback, zoom and video settings for each channel directly which makes changes quick and easy to make.
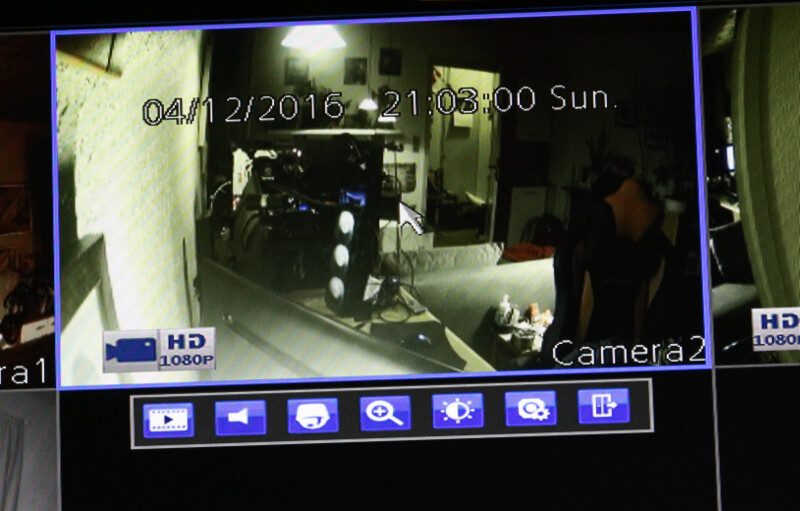
Here we have a closeup on the previously mentioned icons with the motion icon shown too.
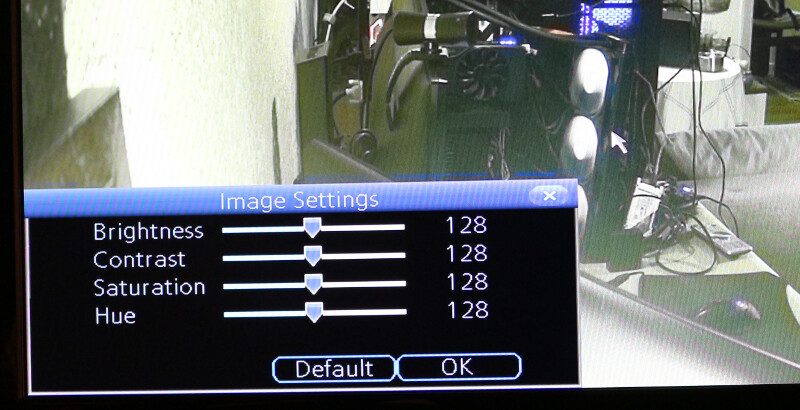
The image can be manipulated in a variety of ways, allowing you to get a perfect image in almost any setup.
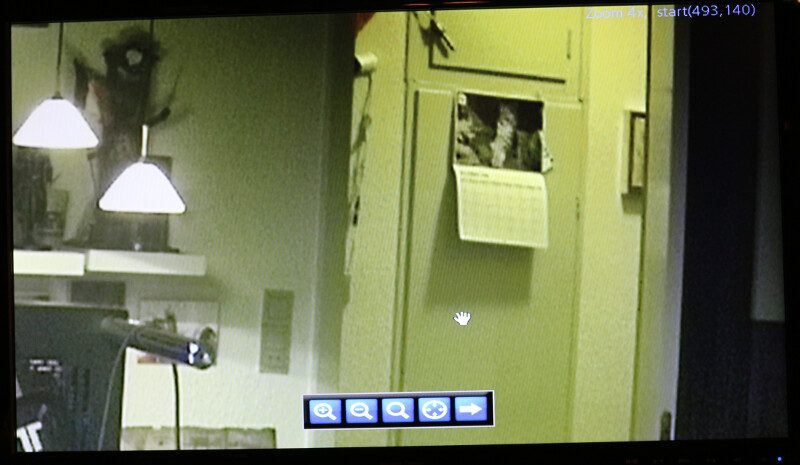
The zoom is quite effective as we see in the shot below.
Video Tests
We can’t review a video kit without showing some videos too. I had to improvise a bit and play dress up since there isn’t much action going on here in my apartment besides my cat and myself walking a bit about.
https://www.youtube.com/watch?v=46trjOiIYKw
A small view like we see above doesn’t show the quality as good as a full window would, so I’ve cut the videos together after each other. These videos are taken in almost complete darkness in all rooms and the last one was so dark I couldn’t see what I was grabbing for. Still, the Swann cameras capture a crystal clear image.
https://www.youtube.com/watch?v=XGyHJodoORc
Final Thoughts
Pricing
At the time of writing, the Swann DVR8-4550 8-Channel Security System Kit with 4 Cameras can be yours for just £319.99 through Amazon. That’s a bargain considering what you get and it is with a £110.00 discount. US customers don’t seem to have this set available, but they can find a lot of other cool Swann sets instead.
Overview
This was my first complete DVR setup out-of-the-box that I’ve tested and I was pleasantly surprised. Okay, I had expected quality from Swann, but I was still surprised when it comes to the overall value. The bundle is complete and you can get started with just the things that are in the box. Okay, you probably need a power drill to hang the cameras, but other than that. You get a DVR recorder with built-in 2TB HDD, four cameras, all the cables needed, and power supplies are all included and it allows you to get going right away. It even comes with a USB mouse included that you’ll need to control the system.
The video quality is superb and the cameras do a great job of capturing video as well as the motion detection. The DVR is recording at all times and as such it’s possible to start the saved video file at an earlier time frame than the motion event happened. The night vision capabilities are also impressive as the cameras make complete darkness look like a daylight recording in black and white.
The DVR box is a joy to use and navigate. It is easy to find the settings you want as everything is clearly labelled. There’s also a mobile app available for iOS and Android, but not all devices are supported. My Android tablet wasn’t. Swann also has a browser plugin that allows you to remotely connect to the system and fully control it as if you were sitting at it locally. It’s not perfect in its design, but it works and it allows you to do the job.
The built quality is overall nice. The DVR seems sturdy enough but comes with a warning not to place heavy things on top of it. The cameras are quite resilient and are rated for outdoor use too.
So there’s nothing holding you back from a quality, easy to use, and cheap to purchase surveillance system for your home, office, or kind of business.
Pros
- Easy to use
- Everything you need is in the box, even a 2TB Surveillance HDD
- Great video quality
- Remote controllable
- Amazing value for the price
- Lifetime 24/7 support
Cons
- The browser plugin could use a little work
- Not all Android devices are supported
- USB ports are only USB 2.0

Swann DVR8-4550 8-Channel Full HD Security Kit Review
“The Swann DVR8-4550 8-Channel Security System Kit provides a superb image quality and great features in a complete pack that doesn’t cost a lot.”
Thank you Swann for providing us with this sample.


