ADATA XPG Battlecruiser PC Case Review
Complete System
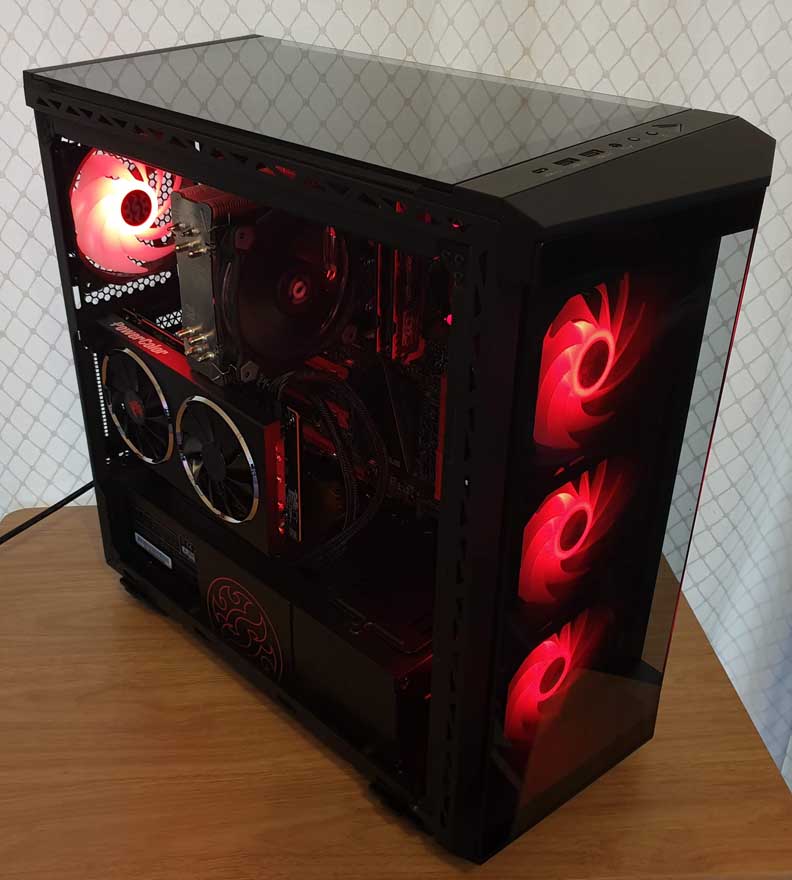
The XPG Battlecruiser is a bit of a swiss army knife when it comes to layout. The exhaustive cable routing setup really works its magic with ease. If you had a load of extra cables from water cooling gear, fans, lots of storage, etc, you’ll have no issues here. The end result is a very clean looking build and even better if you manage to grab yourself a riser cable for the GPU.

There’s plenty of room for a large CPU air cooler. However, there’s also a lot of clearance up in the top for radiators or at least additional fans.

GPU
OK, so the eagle-eyed readers out there will see that I don’t actually have a riser cable installed. Amazingly, I didn’t have one spare. However, the GPU still fits, and it’s a great way to show you the full potential of this case. With all that tempered glass, you can really show off your sexy GPU cooler here.

I like their PSU installer bracket too, partly because it wasn’t already installed. I hate having to remove them to install my PSU. XPG took that step out and made the process a little easier for their customers. Thank you ADATA!

ARGB
The fans in this case, look stunning. They’re bright but not too bright like some brands fans. What they do have though is rich and deep colours. The fans complement the tempered glass design really well, throwing light throughout the case. Plus, with the tinted window, they don’t over illuminate the room either.

Plus, with the ARGB button on the front panel, changing the colour, mode, and effects (or turning them off), is just a single button away. However, you can plug them into your motherboard if you wanted to.


Overall, it’s a very clean looking build, which is impressive given how exposed everything is. However, the matte black interior does a damn fine job of hiding cables and fittings out of sight. The lighting shows off the highlights, and that’s perfect.

With all the glass back in place, it looks even better. So what now? RGB gallery, that’s what. Bring it on!


