Aerocool Aero-800 Mid-Tower Chassis Review
Peter Donnell / 8 years ago
Complete System
First things first, I installed my PSU by simply sliding it in from the right side and screwing it in place at the back. There’s a good amount of room remaining behind the PSU too, so fitting cables and storing excess shouldn’t be a problem.
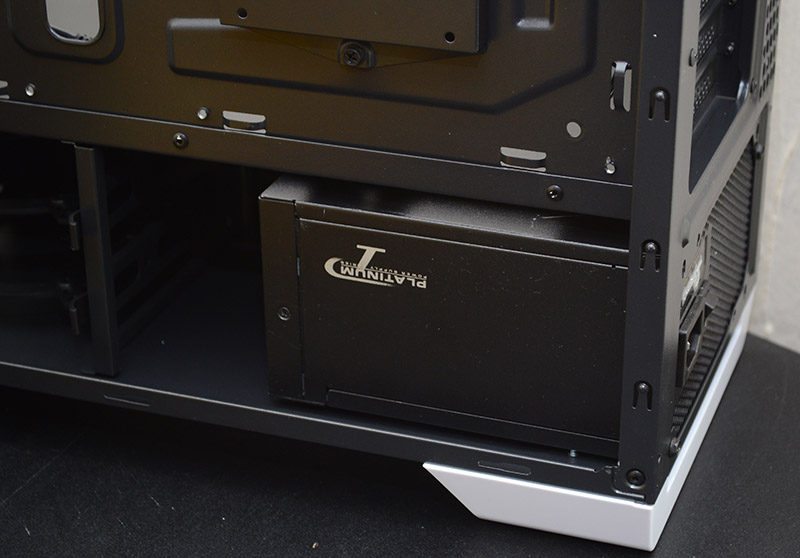
On the other side, we can really see the benefit of having that PSU shroud, as with the PSU, some hard drives and a lot of cables hidden out of sight, the build looks super clean and tidy.
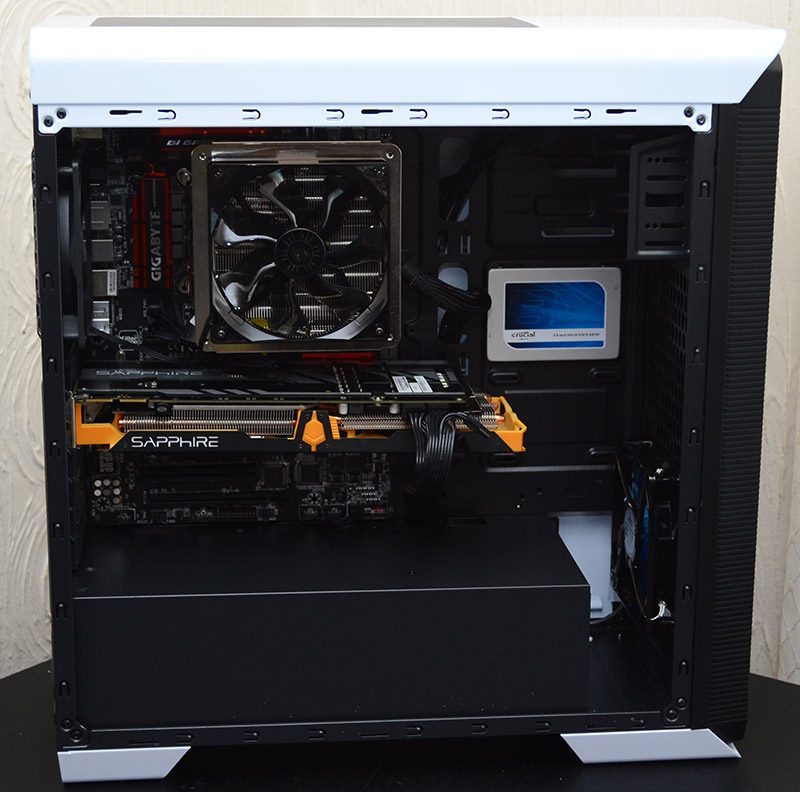
There are two cable routing holes in the top of the PSU shroud too, meaning you’re not trailing GPU and motherboard cables too much.
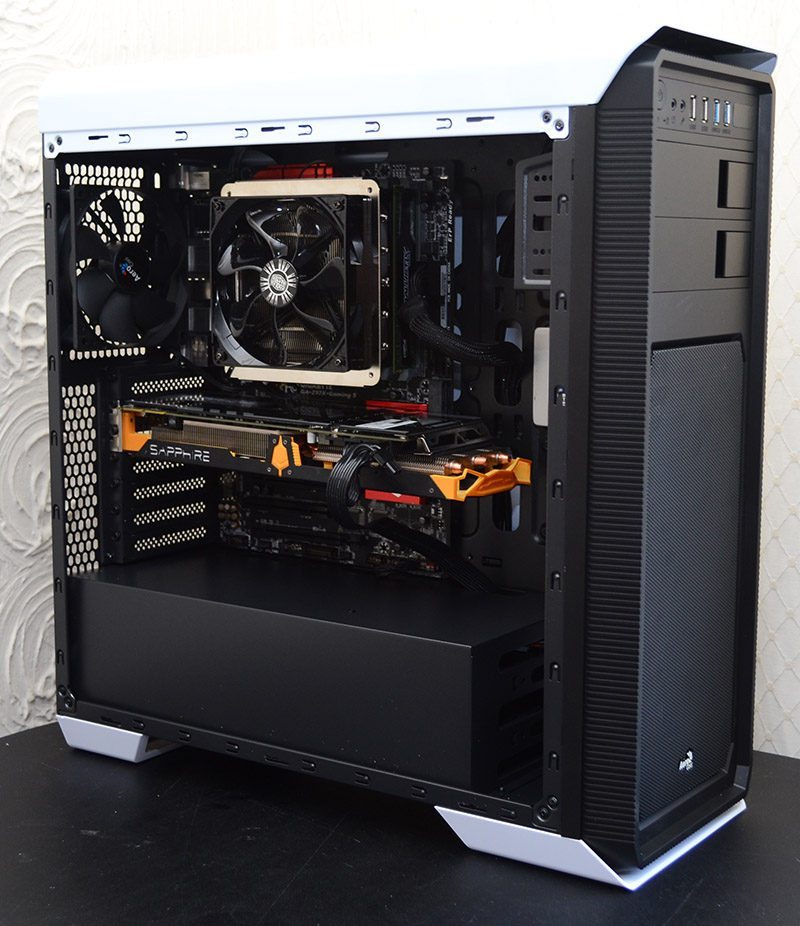
CPU cooler clearance is excellent, with enough room in the rear or top for slim radiator designs or AIO coolers.
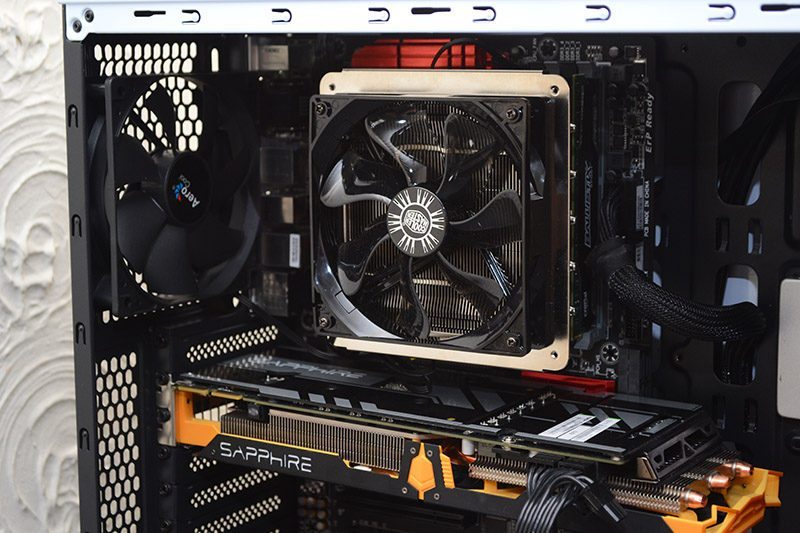
Seven expansion slots mean that there’s easily room for two or three large expansion cards.
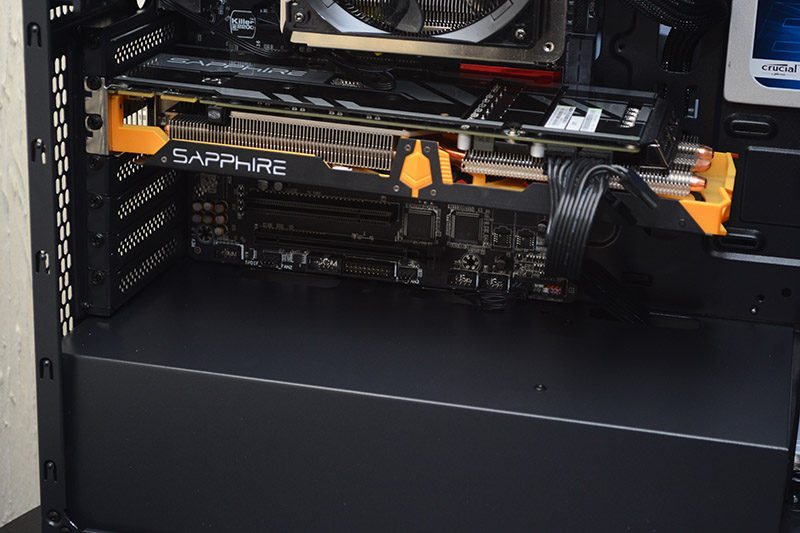
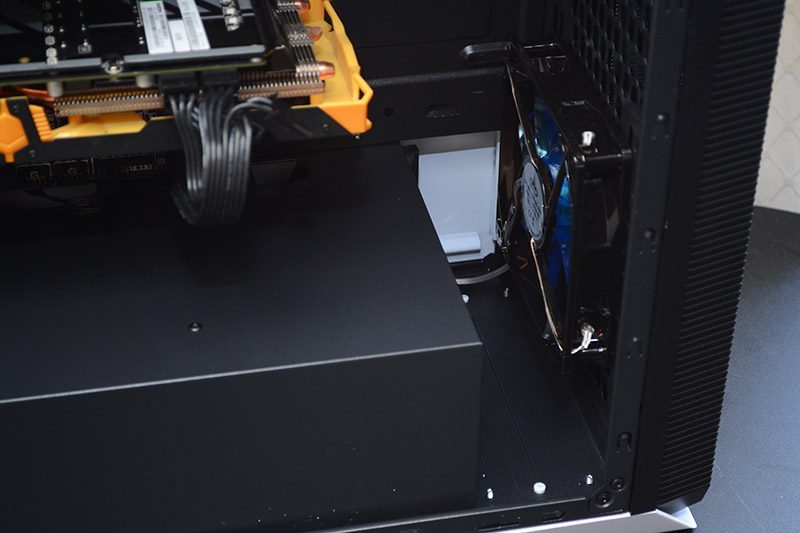
A small cut-away at the end of the PSU shroud means that if you want to install more fans or a larger radiator, you shouldn’t have any conflicts with the case.
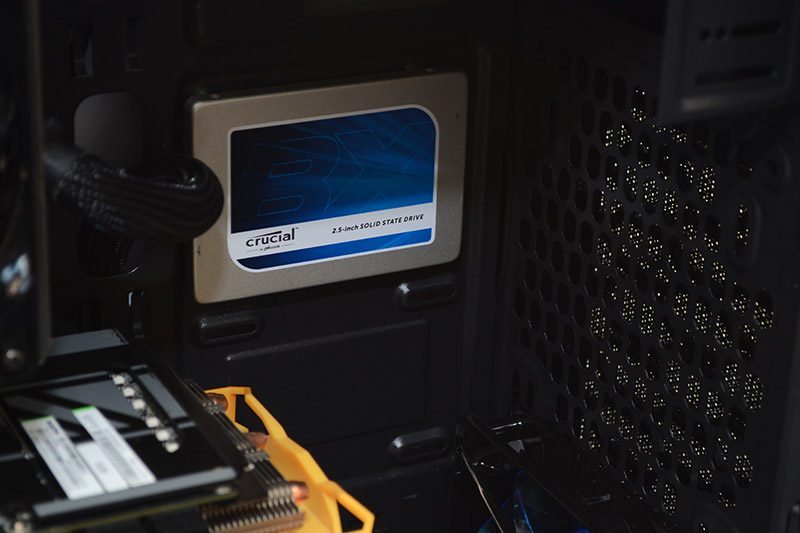
The SSD mount is a nice touch, putting it up on display for all to see and taking up less space than a conventional drive mount.
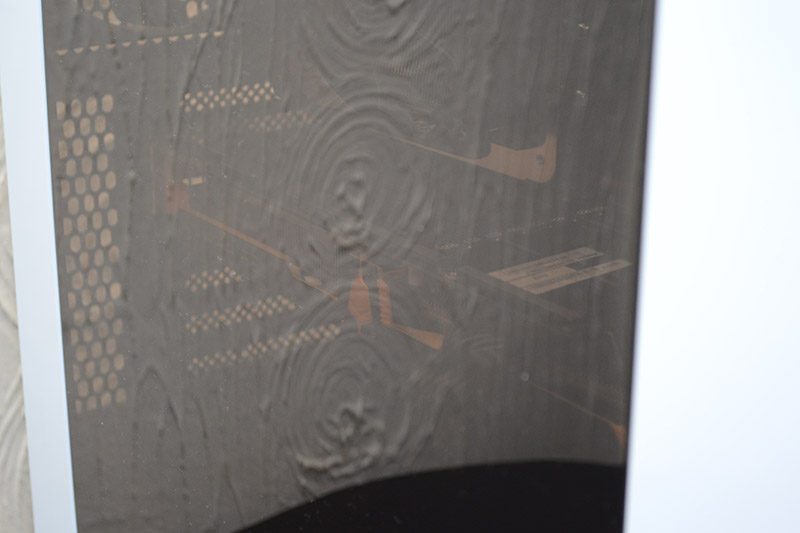
With the side panel back in place, the build looks pretty slick and the heavy tint on the window means that while all the black details such as the fittings and cables are virtually hidden, the highlights of your components shine through nicely.
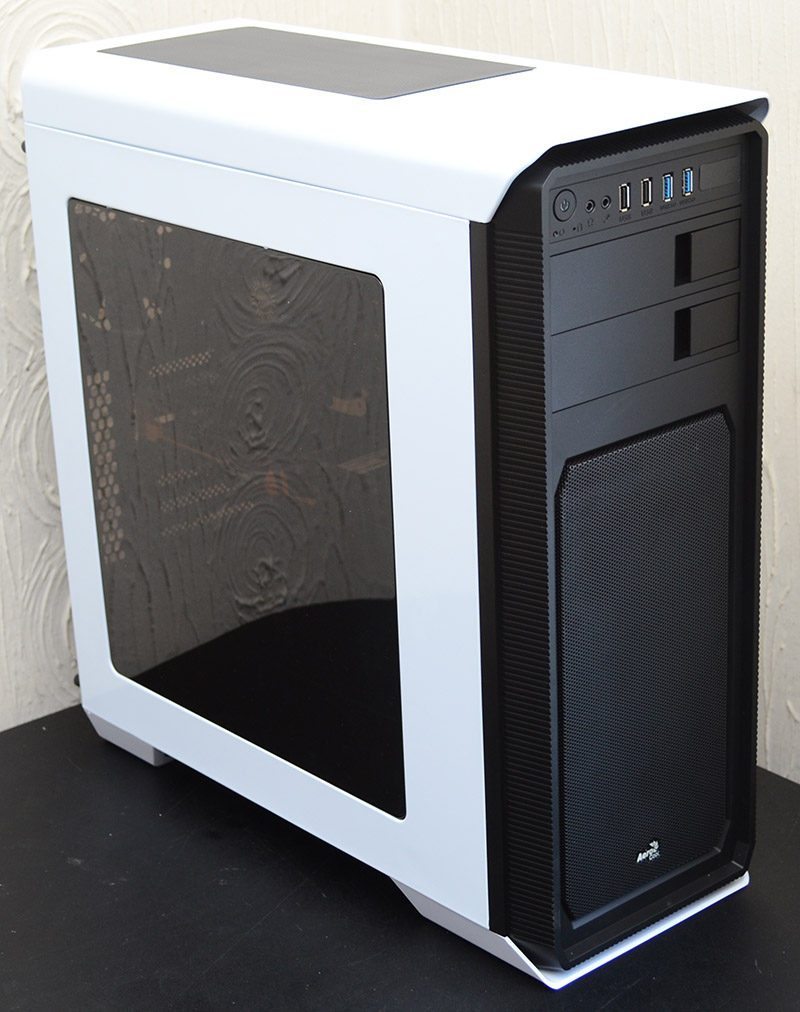
I must confess that it was easier to see through that pictures would suggest, but it was pretty bright in here today and the camera was having a hard time of things.
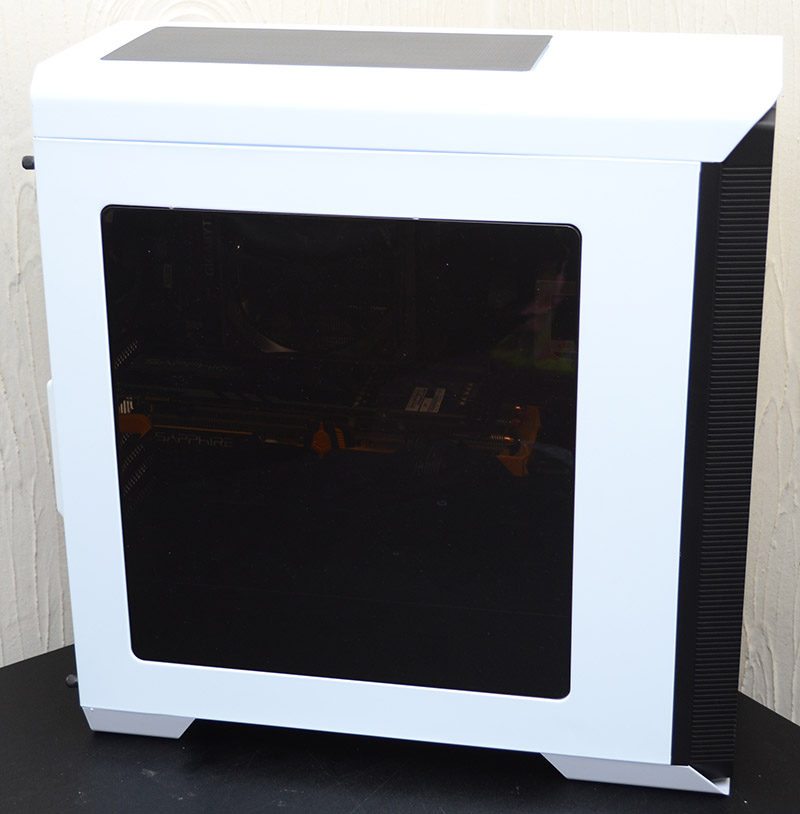
If I get up close, you can certainly see a little better, as well as a nice reflection of my wall, sorry about that.
