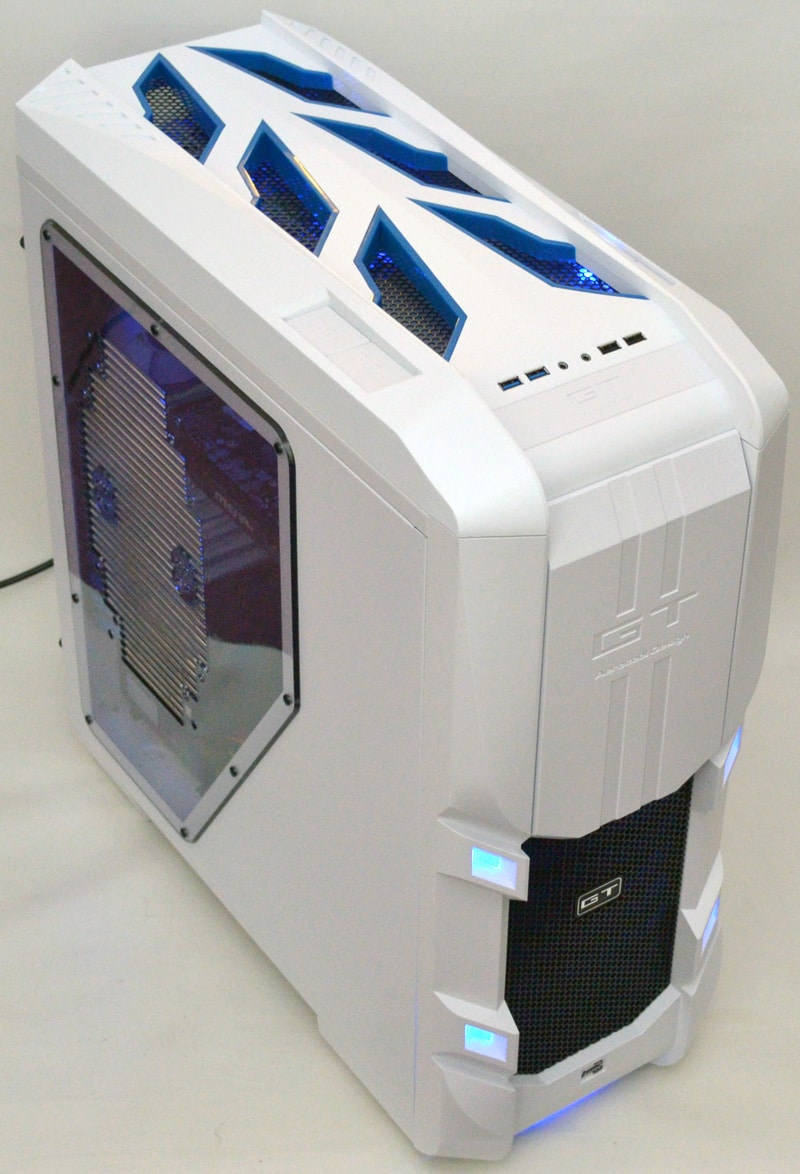
Aerocool GT-S White Full Tower Chassis Review
Peter Donnell / 11 years ago
Complete System
The whole build only took me twenty minutes to bolt together, there is a lot of space to work with on the interior of the GT-S and my test components clipped into place with ease.
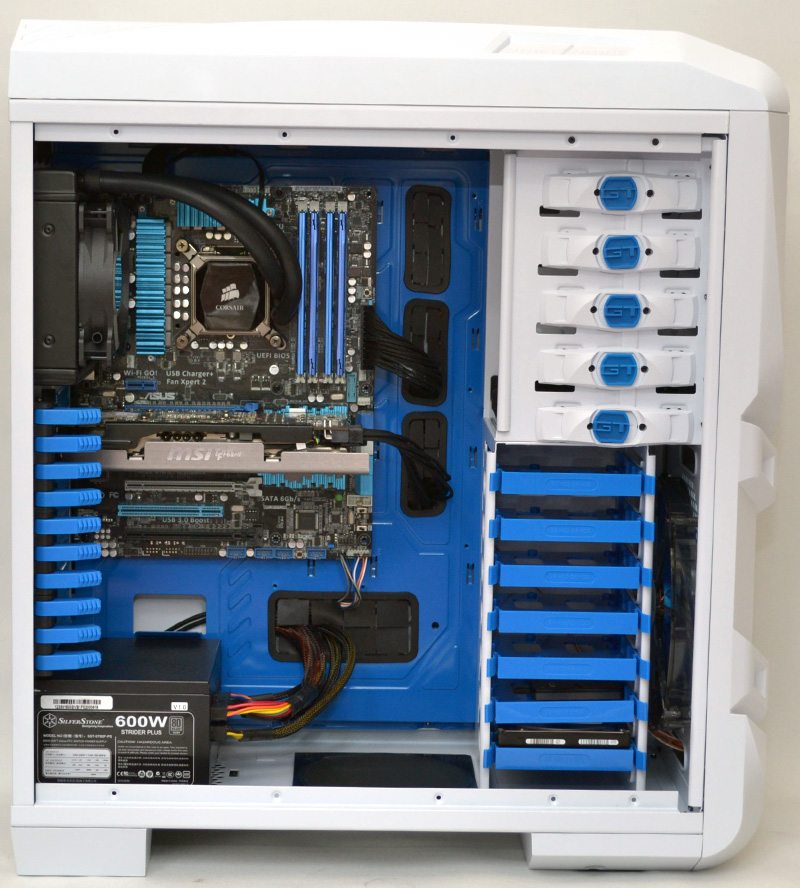
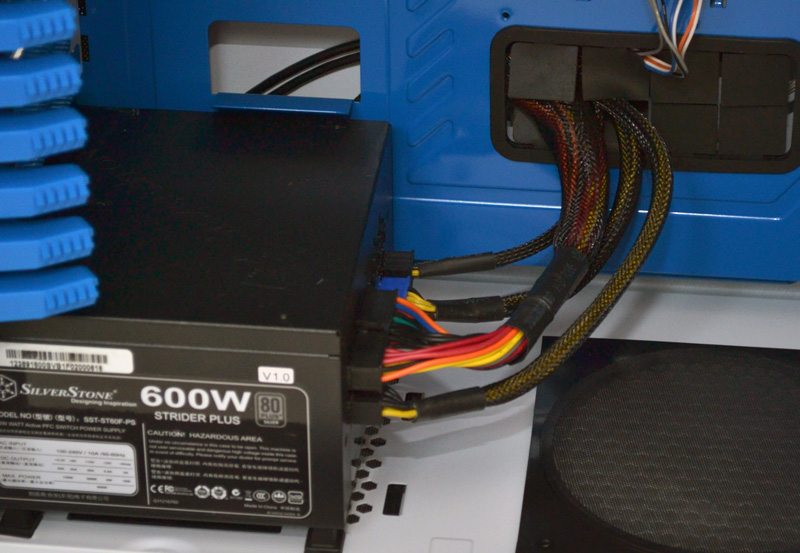
Cable routing is really good and all that space behind the motherboard made it easy to get a clean-looking final build. The PSU mount is perfect for our ATX PSU and it’ll no doubt benefit from the bottom air filter.
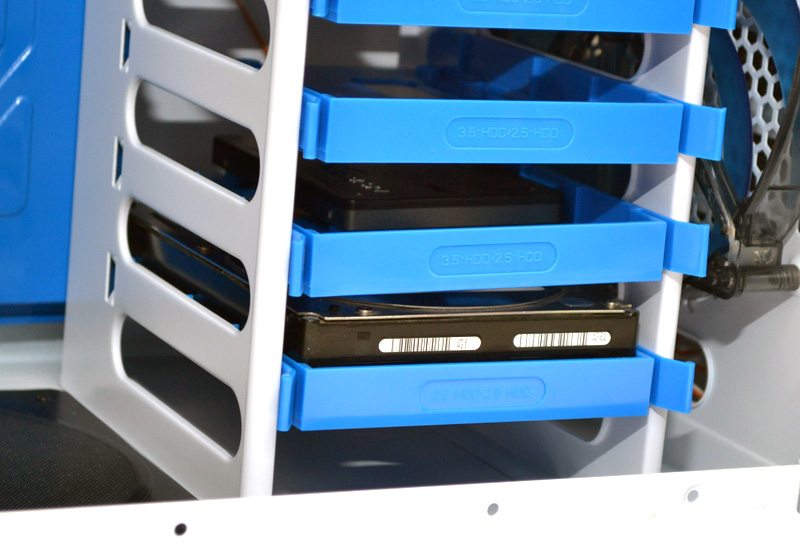
The hard drive bays look great finished in blue and offer up plenty of room for airflow to keep the drives cool and let air through the bays to feed the rest of the system.
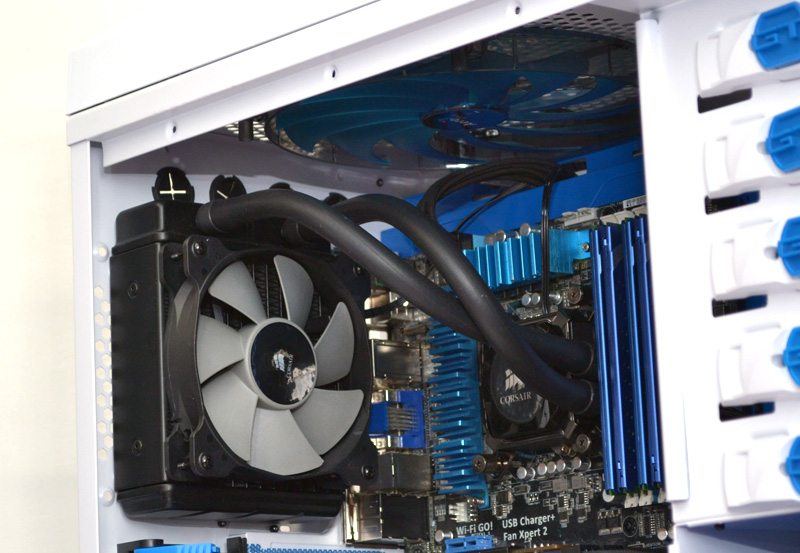
I decided to remove the rear fan in favour of our Corsair H80i, which means I’m still able to use the 200mm fan mounted in the top of the case.
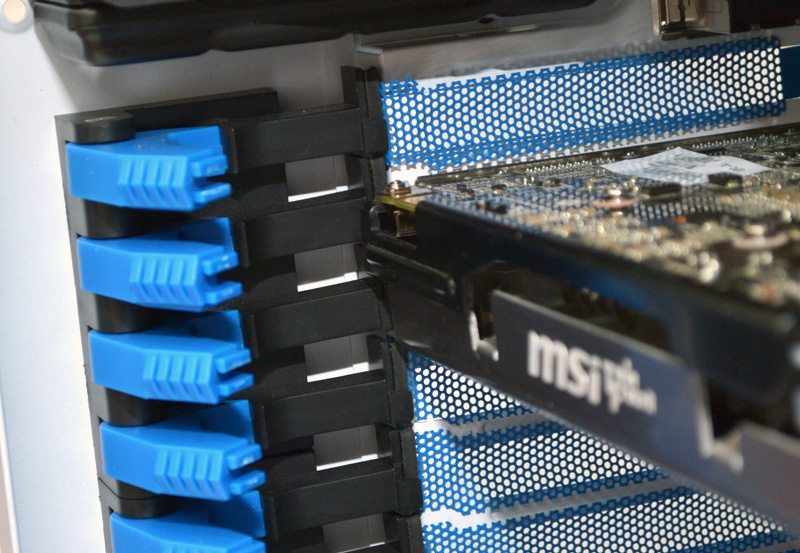
The expansion card clams worked perfectly and it’s nice to see a solution that doesn’t involve using screws in small spaces.
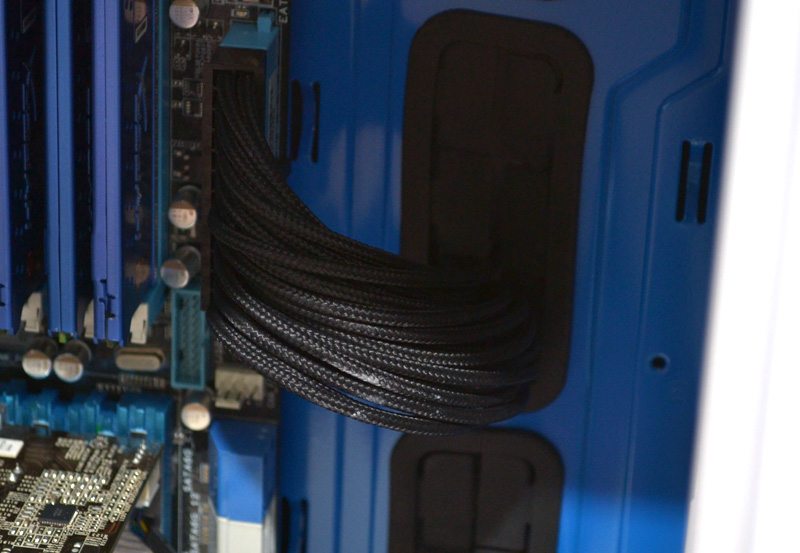
The cable routing grommets are cut into smaller panels so any passing cables don’t pull and distort the rest of the grommet, giving a much cleaner look overall.
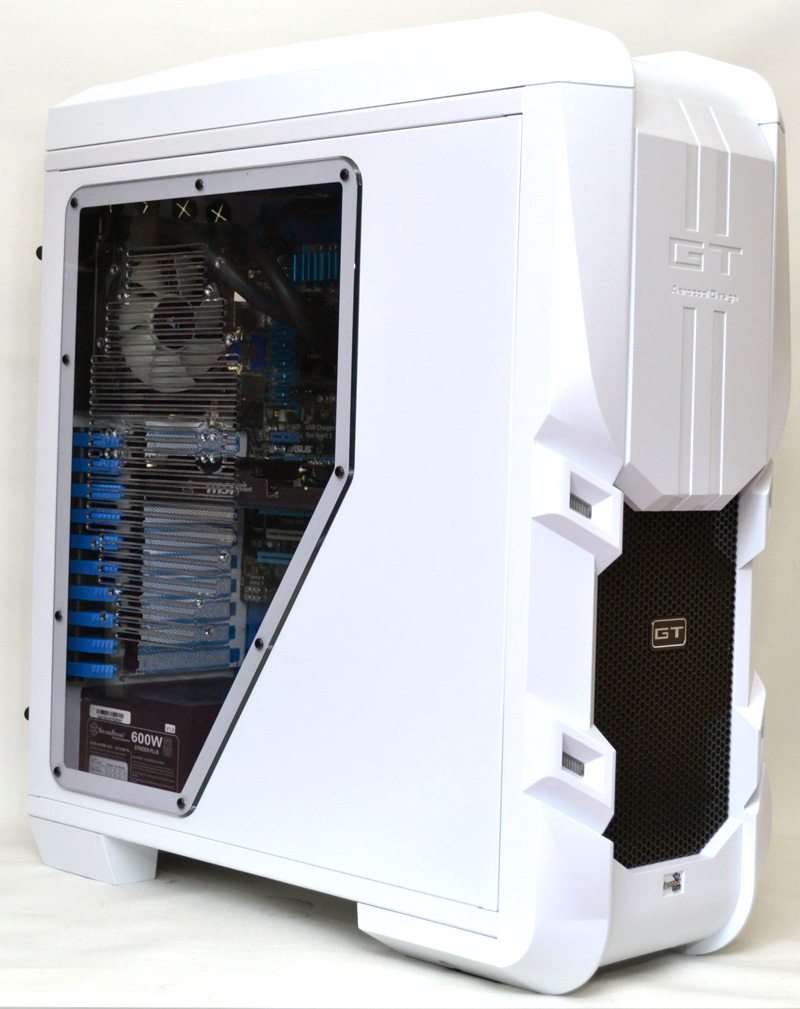
With the side panels back in place, as well as the magnetic 5.25″ drive bay cover, the GT-S looks incredible, it certainly has presence!
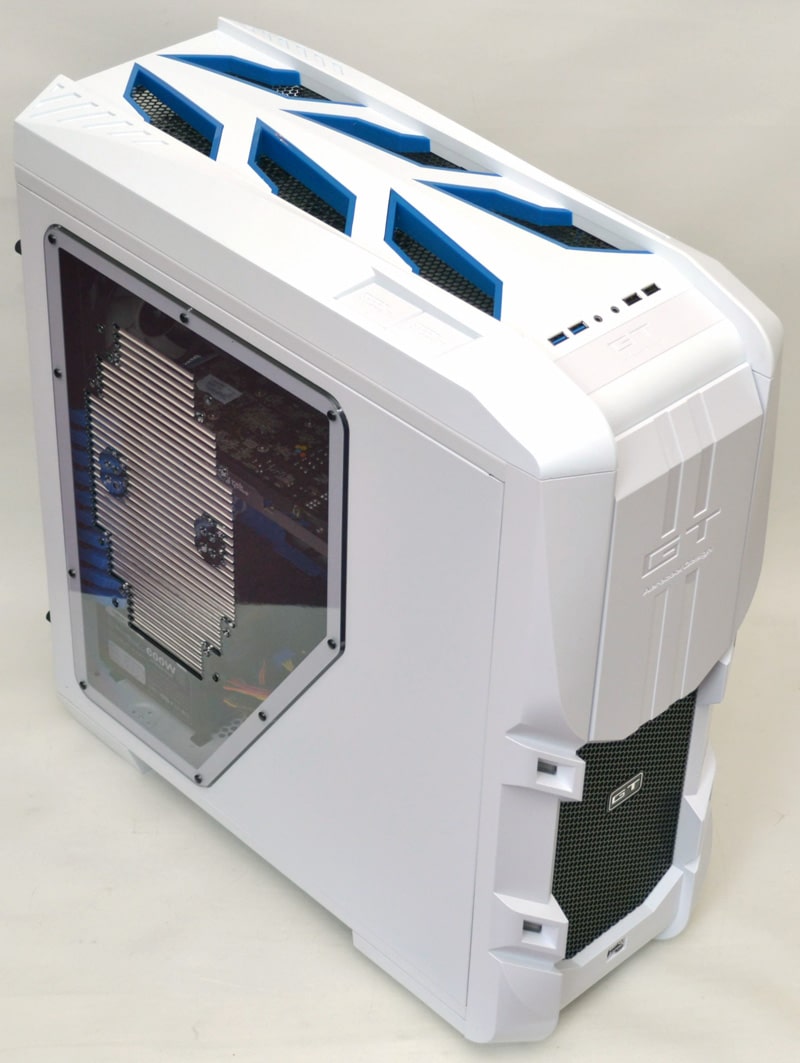
The clear side panel window gives an unspoilt view of the chassis interior and while you could install 120mm or 140mm or even a 200mm fan here, it would be a shame to spoil the view.
Hit the power button and the soft blue lighting shines through the top mesh, bathes the interior in a cool glow and of course lights up those four extra LED lights on the front panel.
