Aerocool Xpredator Cube Micro-ATX Chassis Review
Peter Donnell / 10 years ago
Interior
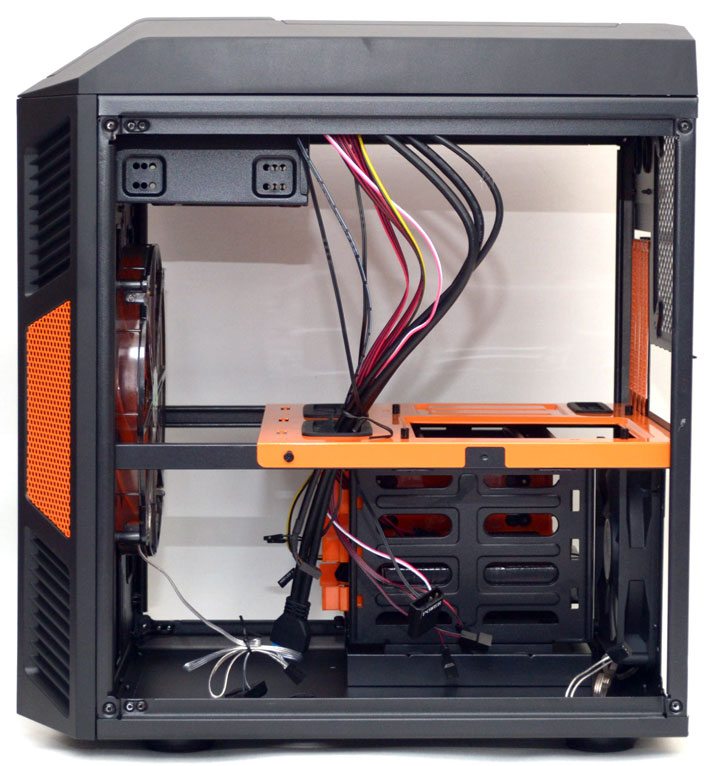
On the interior of the chassis, you will notice the black with orange highlights colour theme continues, giving Xpredator Cube a rather aggressive design that will no doubt appeal to a gaming audience. There’s a lot of space inside this chassis, no surprise really given that it’s not exactly a small to begin with.

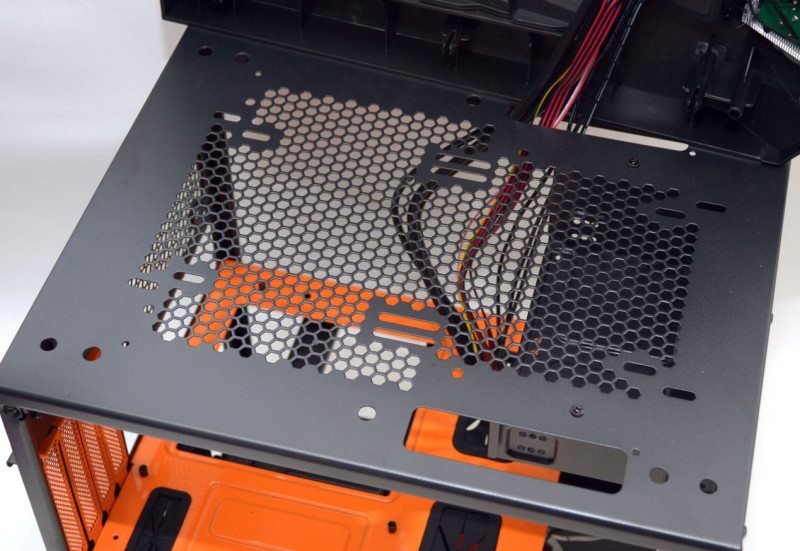
A Mini-ITX or Micro-ATX motherboard is mounted horizontally in the Xpredator Cube. The motherboard tray can be removed if you so desire, there’s a good size CPU cooler mounting cut-out, as well as three routing grommets around the motherboard; all of these features should help make installing and maintaining your system a whole lot easier.
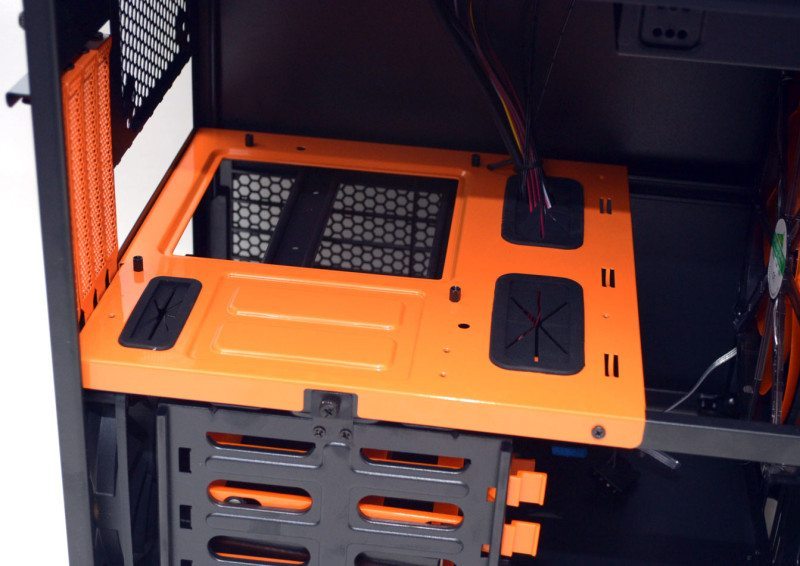
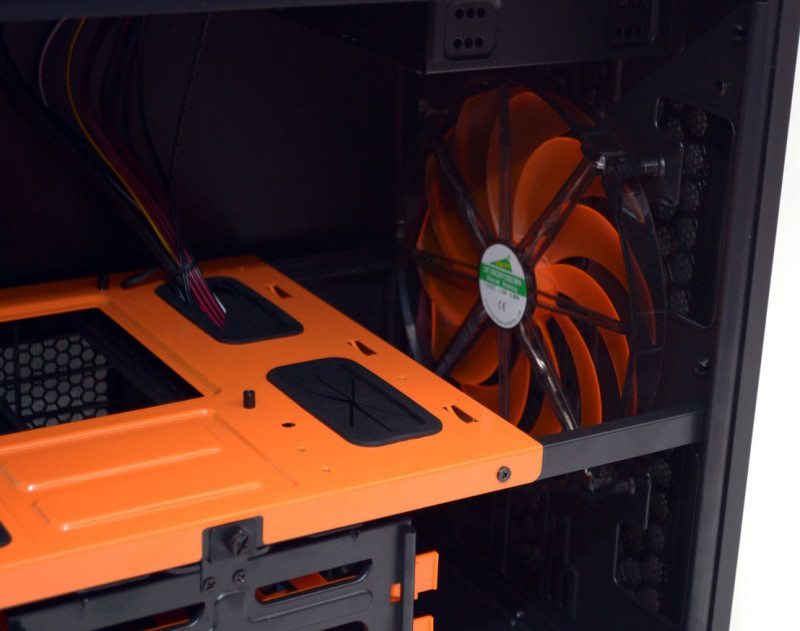
In the front, you can see the 200mm fan, mounted just right to provide the upper and lower sections of the chassis with plentiful airflow.
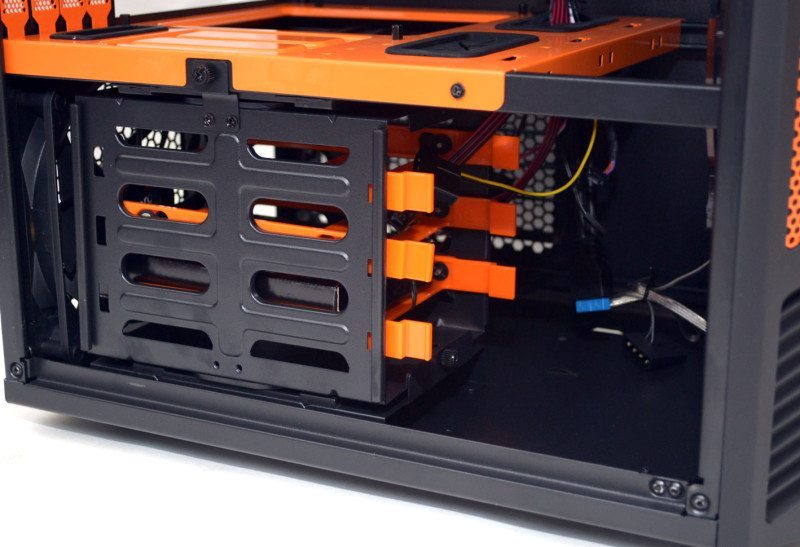
The hard drive bay is a little tricky to reach, which is why there’s a thumb screw at the top. Just unscrew it and the whole bay can be taken out, making it very easy to install all your drives or even just freeing up extra space for your own mods.
There is a lot of room above the motherboard for a large tower-style cooler, or a 120/140mm AIO in the back of the chassis.
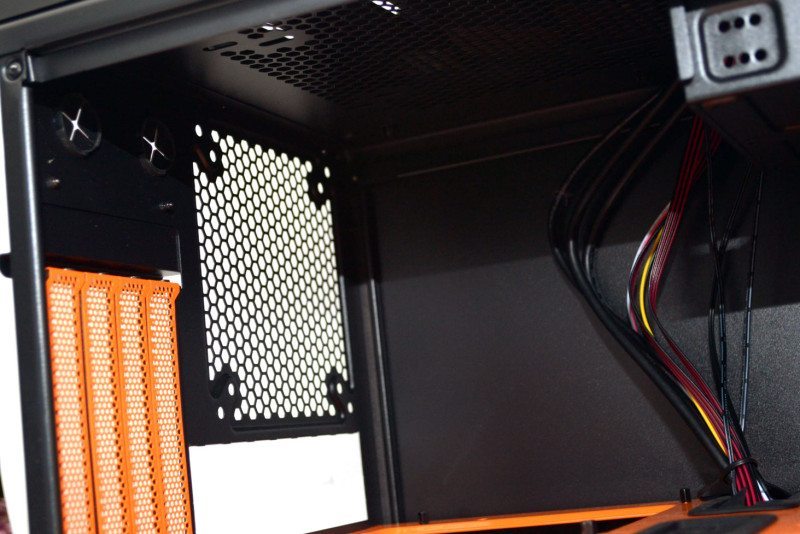
While the PSU takes up the rear of the chassis on this side, there’s a vast amount of space near the front that will be perfect for tucking excess cables out of the way; just be sure to use a few cable ties to keep them away from the front fans.
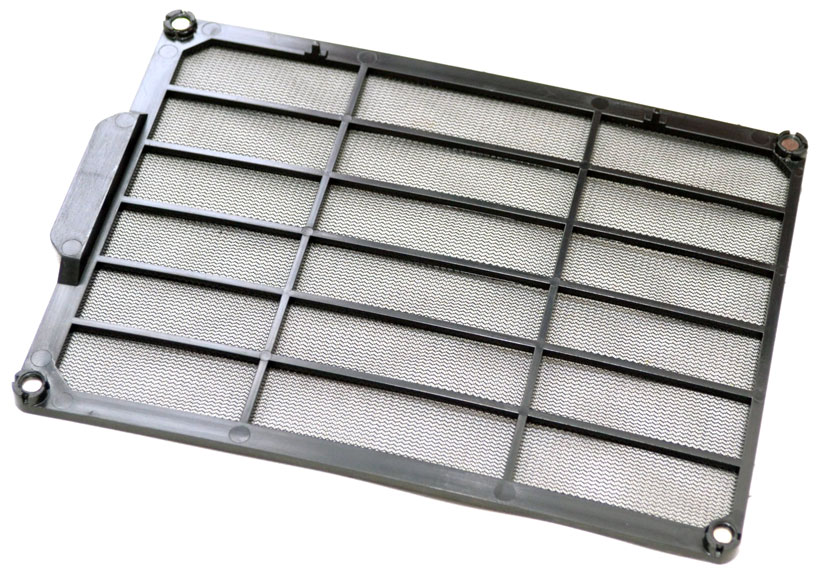
The PSU dust filter is magnetic and sticks to the right side panel, so cleaning it every week or two should be nice and easy.
Behind the front panel, you’ll find a wide range of universal screw slots. The 200mm is fitted as standard, but there’s room for 2 x 120mm, 2 x 140mm or up to a 240/280mm radiator.

In the top of the chassis, you will find room for another 200mm fan, or 2 x 120mm, 2 x 140mm fans, and just like the front panel you could also fit a 240/280mm radiator here.
