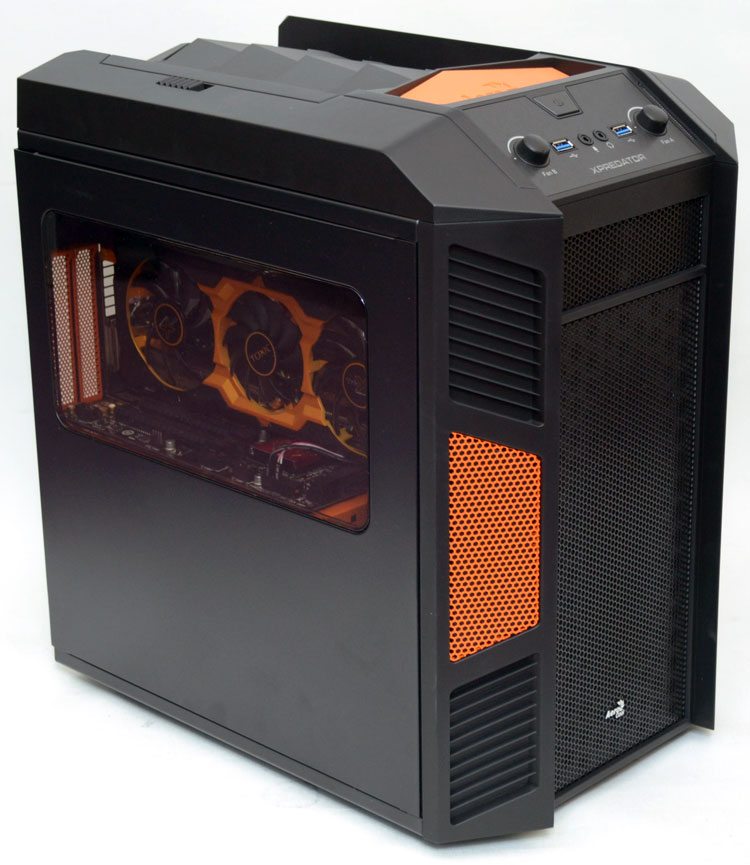
Aerocool Xpredator Cube Micro-ATX Chassis Review
Peter Donnell / 10 years ago
Complete System
Total build time on the Xpredator Cube was just 25 minutes, a pretty quick time for any system build and that’s mostly thanks to the intuitive layout of the chassis. One thing that I hadn’t done on purpose was pick the colour of this chassis, it’s a fantastic match for our black and orange Sapphire R9 270X Tri-X Toxic graphics card!

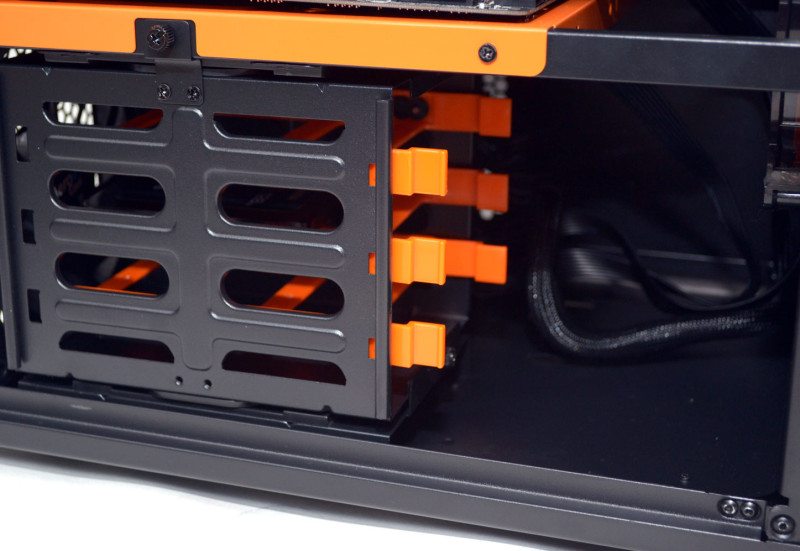
If you look closely enough, you can just about see our ADATA SSD tucked away in the hard drive trays.
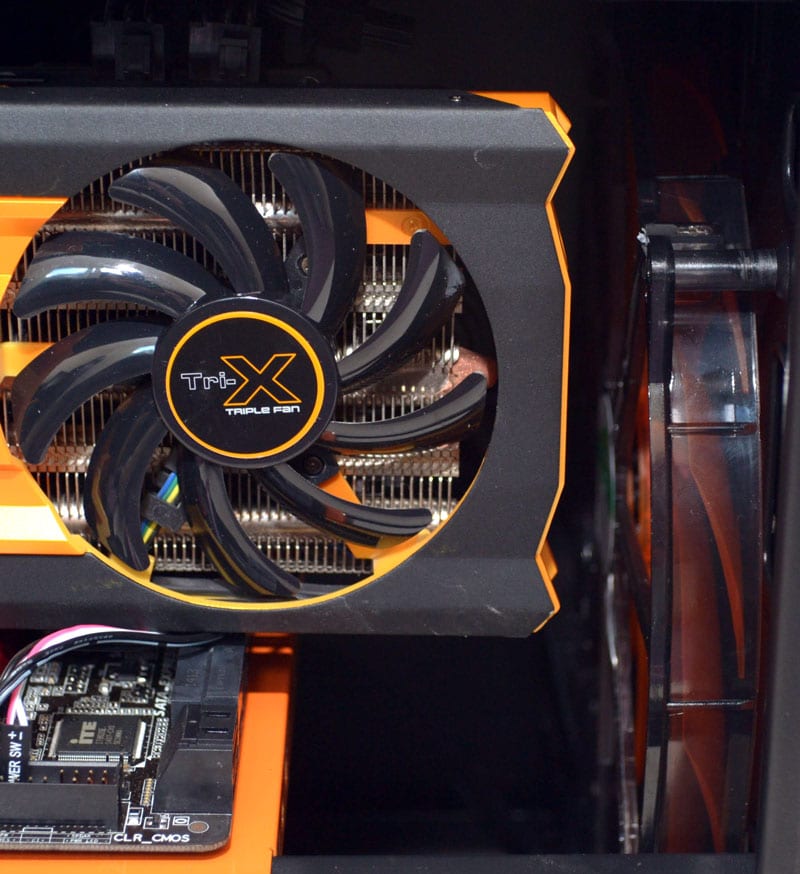
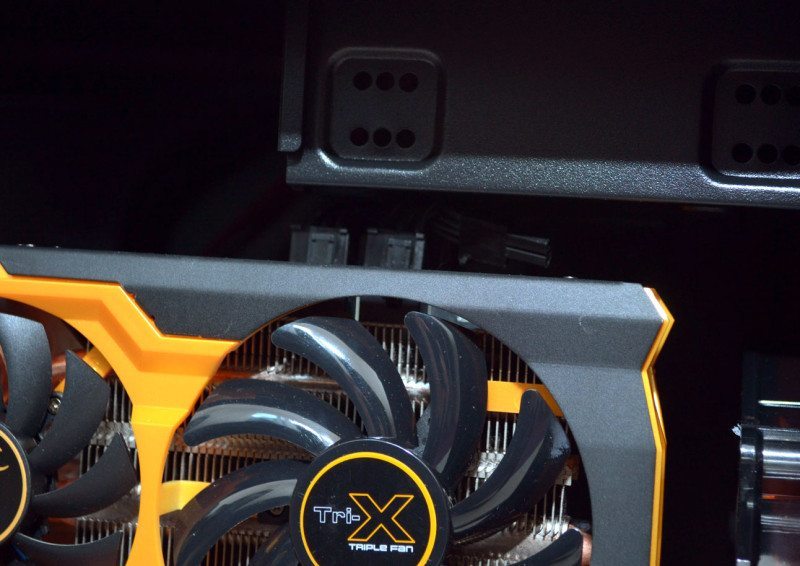
The R9 270X Tri-X Toxic is no small card, but it fits the Xpredator Cube with room to spare; it’s not as close as it looks, the fan is further back in the chassis than the GPU.
Cable routing is a little loose throughout the chassis, but you can find little tricks to help keep it tidy. Fortunately, most of the chassis isn’t on show from the side panel window, which will be taken up with the view of your GPU.
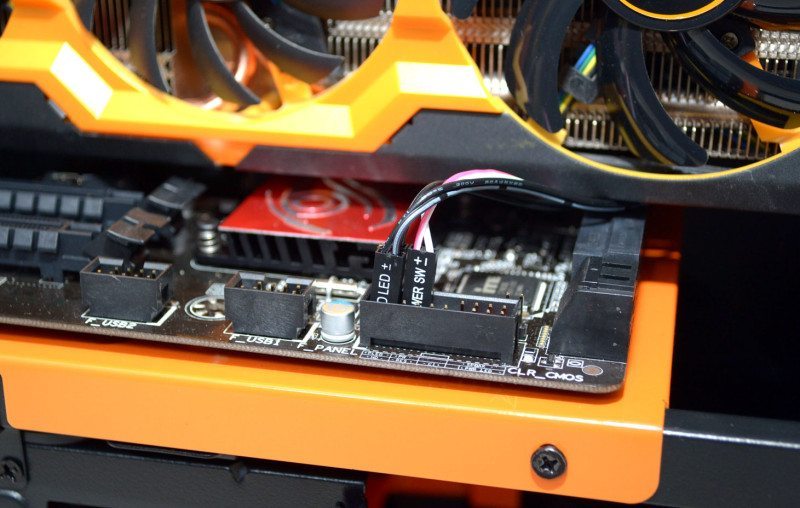
I ran into a very tight spot here with the 5.25″ bay in place, I’d advise anyone with a card like mine to remove the bay completely, or you could risk damaging your GPU power cables. This is no fault of Aerocools, as GPU manufacturers can put these connectors anywhere they like.
The build looks a little less tidy round here, but all those fan control cables, power cables and more had to go somewhere. As I said before, there’s a lot of space in the base of the chassis, which makes working with the PSU cables an easy task and you can always deploy a few cable ties to keep it as neat as possible if you’re really that bothered.
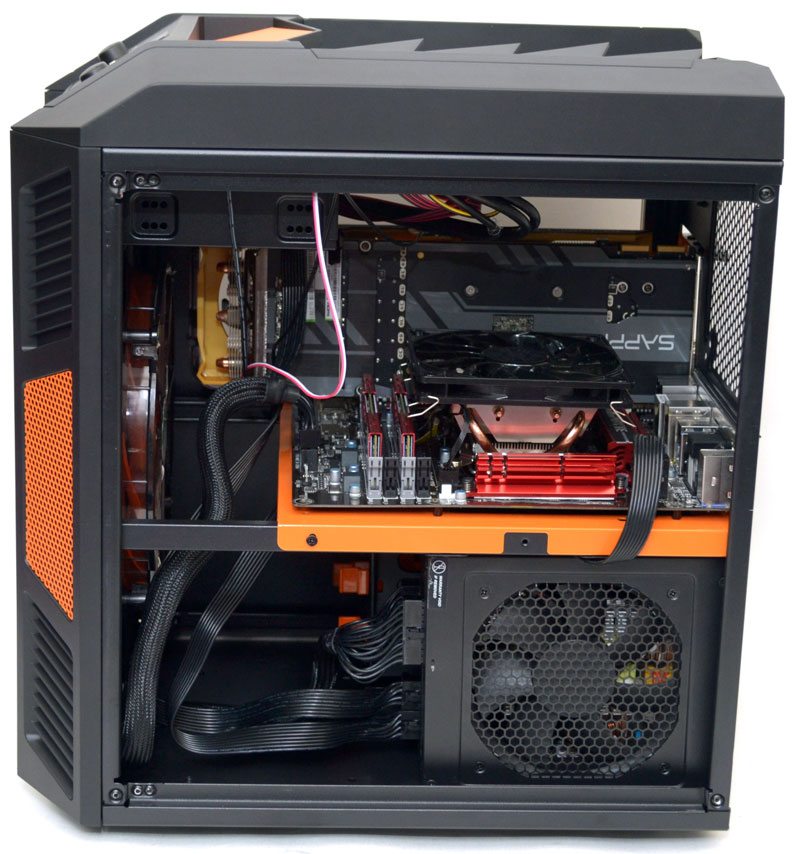
All panels back in place and the Xpredator build is complete. This is a stunning looking chassis and it certainly looks great with our 270X behind that large side panel window.
