Akasa Baymaster S USB 3.0 Card and Drive Reader Review
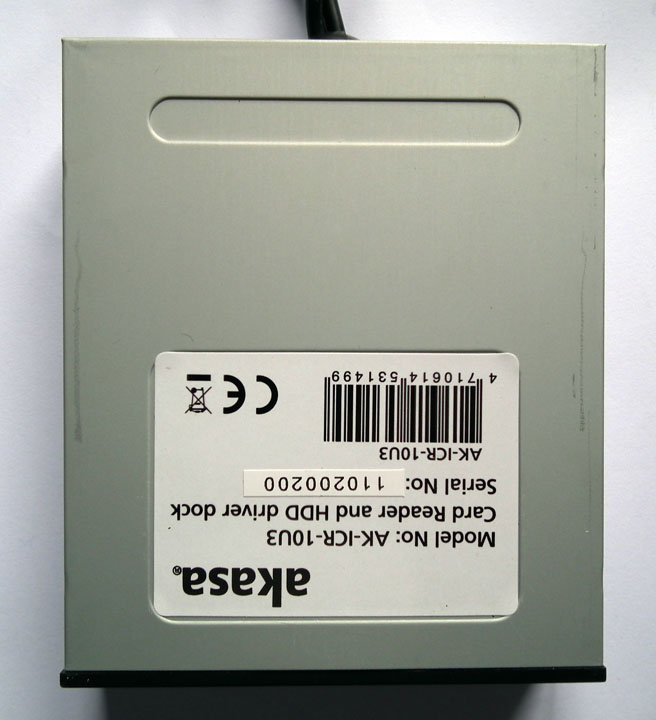
A Closer LookThis device looks very much like any Optical Drive, except that it has a few cable coming out of the back. As this part is not normally seen Akasa haven’t exactly prettied it up.
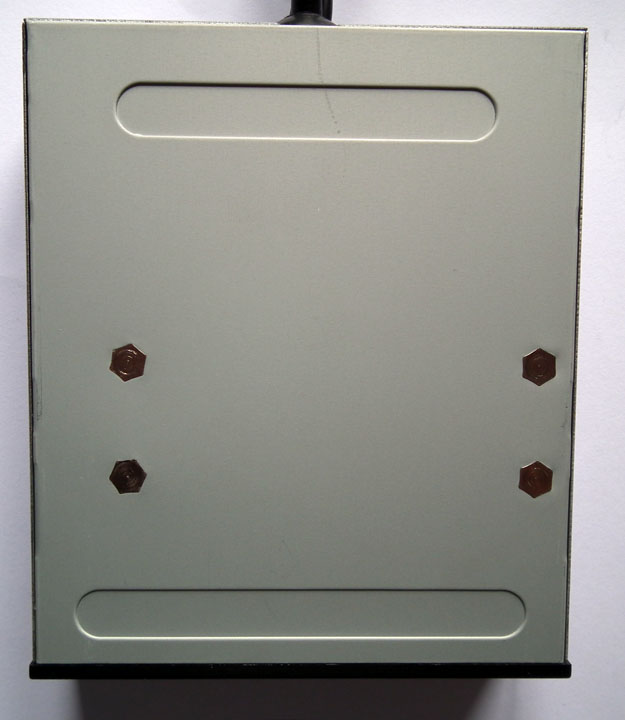
The bottom of the product is much the same and doesn’t even have the Akasa label on it. You won’t mind as soon as it’s plugged in though.
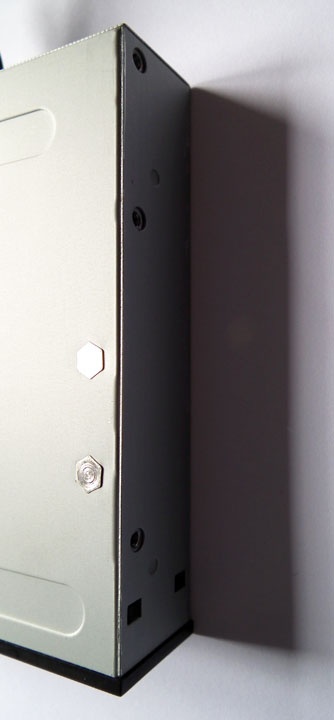
While this product is only 3.5″ wide it is fairly thick and in fact thicker than 3.5″ HDD’s for instance. It will however still leave plenty of space in the case bays.
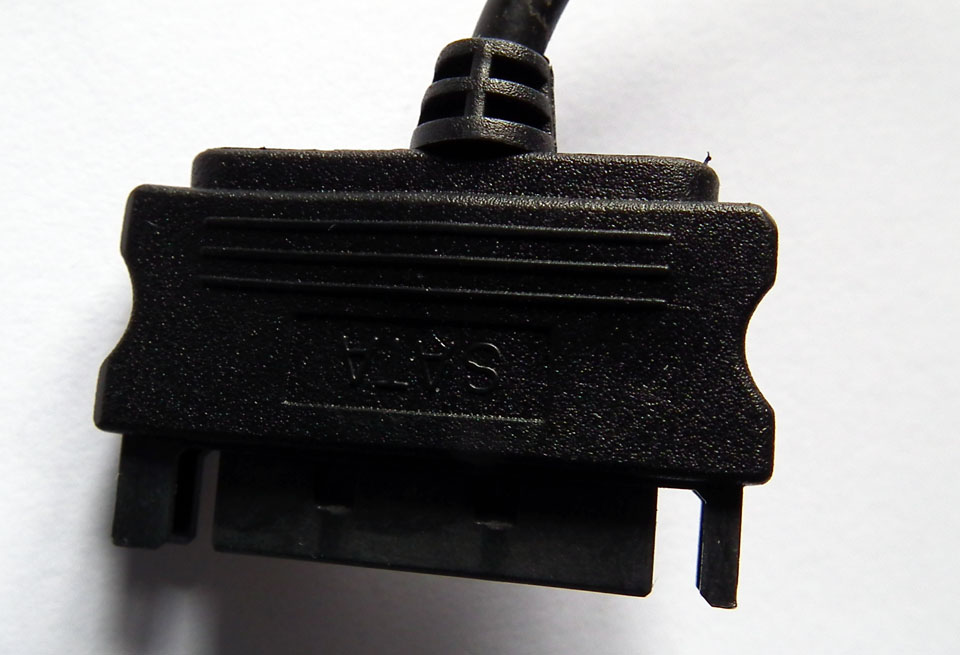
As i mentioned earlier, there are 3 cables coming out of the back of this product. The lengths of the cables do vary slightly. Firstly, the power cable is effectively a socket that a SATA power connector will plug into. This is the shortest of the 3 cables.
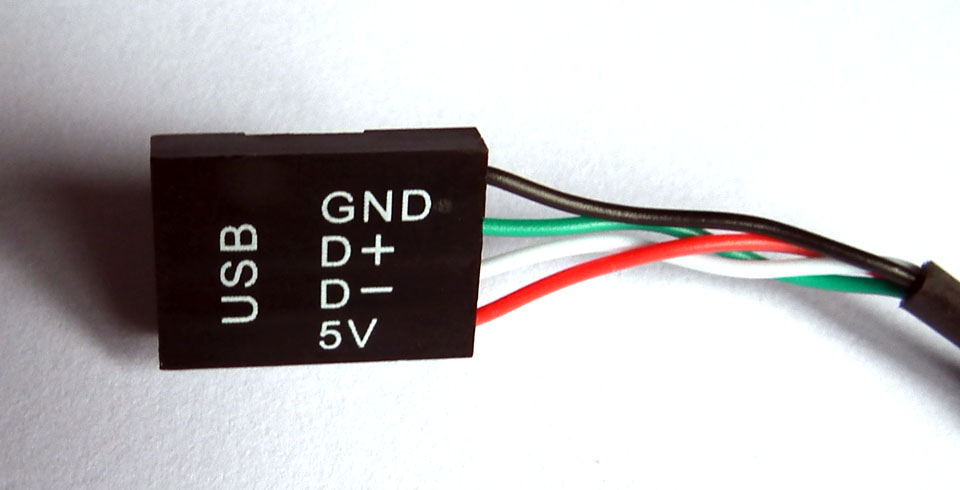
Moving to another fairly short cable, which plugs into the USB header and provides power and a data connection for the card reader part of the Baymaster S. This only has to make it to the bottom of the motherboard so should be long enough for all possible set-ups.
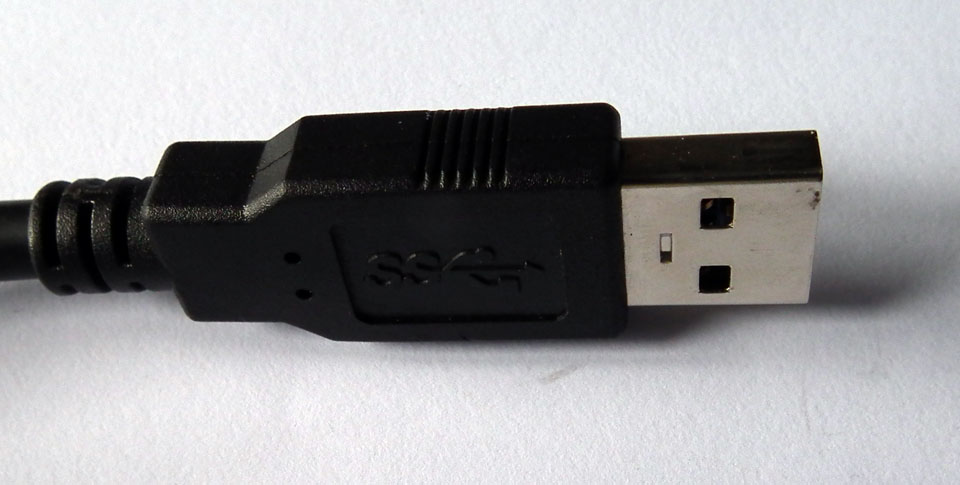
Finally we come to the longer cable, which is good as it does have to go from the front of the case, out the back, and then plug in. This is of course a USB 3.0 cable and provides the data link for the 2.5″ SATA HDD/SSD drive dock.
Installation is a fairly simple procedure if you have a 3.5″ bay on the front. If you don’t then it can be installed to a 5.25″ optical drive bay but this will require an adaptor. Either way, it is a case of sliding this Baymaster S into the space, and securing with the 4 screws. Then all you have to do is connect the USB cable to a USB 3.0 port (on the back of your computer), and plugging in the USB header and the power cable. A very simple procedure.
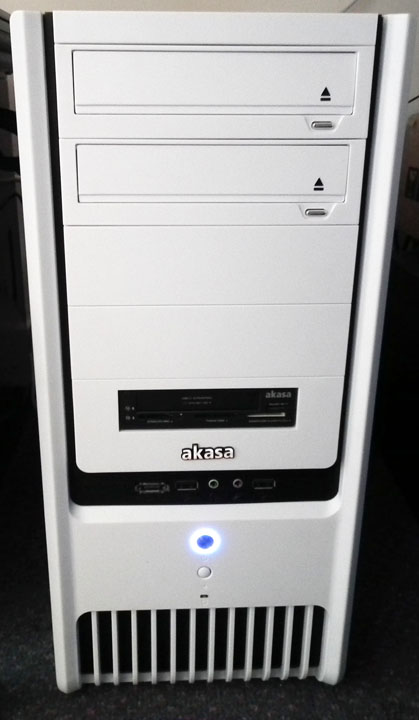
It is possible to change the front panel fascia but unfortunately it is not quite as white as the Akasa Raptor case so I stayed with the black panel. This can certainly add a lot of functionality to the front of your case.


