Akasa MAX MT Fanless NUC Chassis Review
Peter Donnell / 9 years ago
Complete System
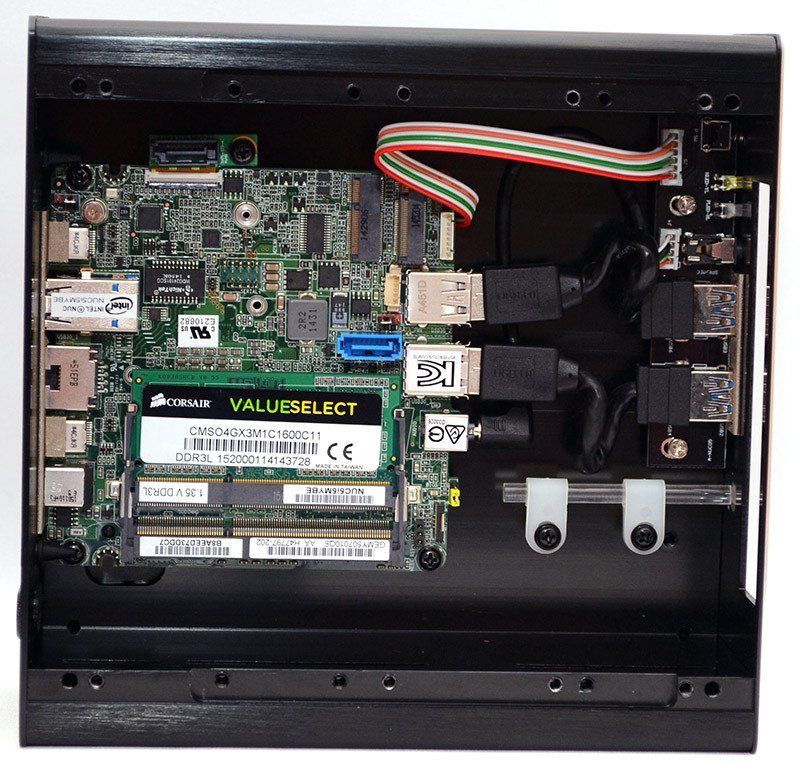
Installing a motherboard in this chassis couldn’t be much easier, just apply the thermal paste and pad to the CPU on the reverse of the motherboard and screw it in place. The pass through cables to the front I/O are much easier to attach than they look, it really only took about 30 seconds to get everything connected and ready to use. There’s a tiny PCB on the side of the motherboard, which is a special adaptor made by Akasa, allowing a 3rd SATA connector; the release date of this board is TBC. It’s a great little addition and one that you’ll certainly want to get your hands on.

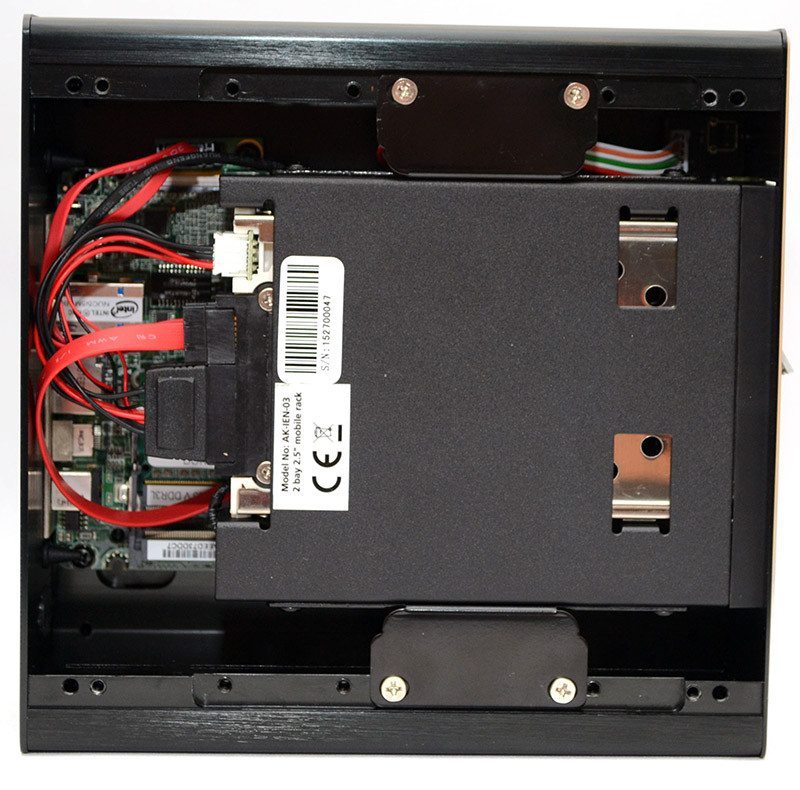
The hard drive dock is easily installed too, as the cables are all self-explanatory and there’s an M.2 to SATA adapter included in the box, combined with the custom Akasa PCB which we hope is released soon, that gives you three SATA ports to play around with.

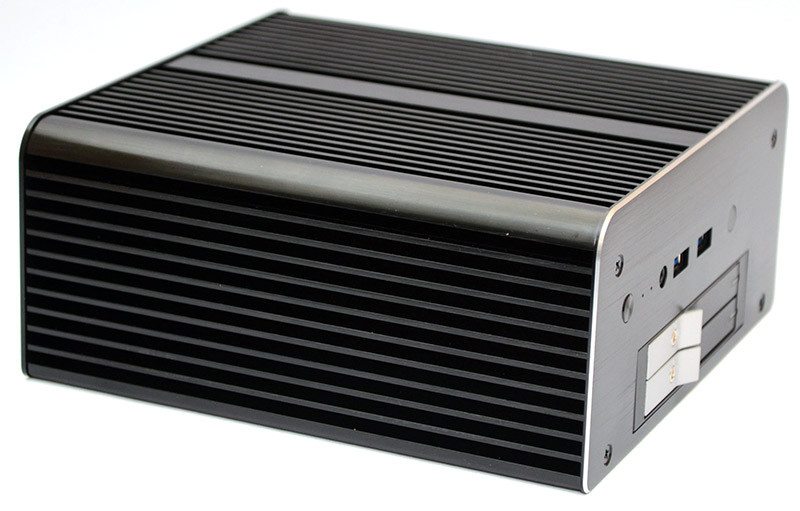
All panels back in place and you wouldn’t know we’ve done anything to this chassis, it’s closed up pretty tight and that’ll pay off big time in the long run, as it’s enough to stop dust building up within the chassis. This means that maintenance is virtually zero and this system should be able to operate for years without you needing to open it up.


