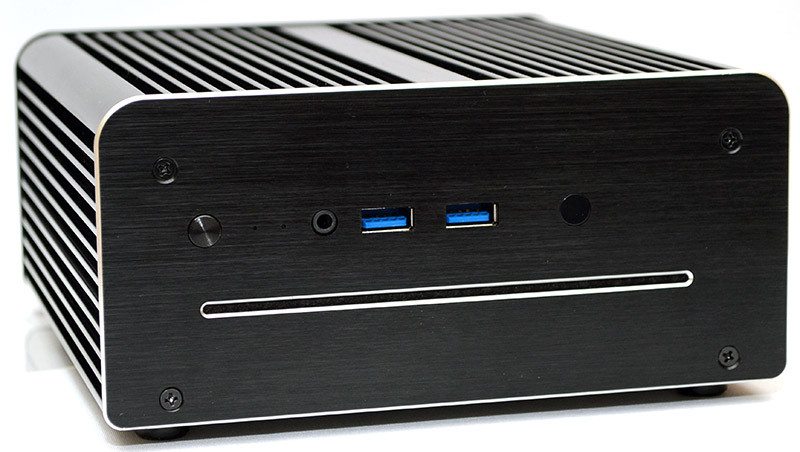
Akasa Max S Passive Cooled Max S NUC Chassis Review
Peter Donnell / 9 years ago
Complete System
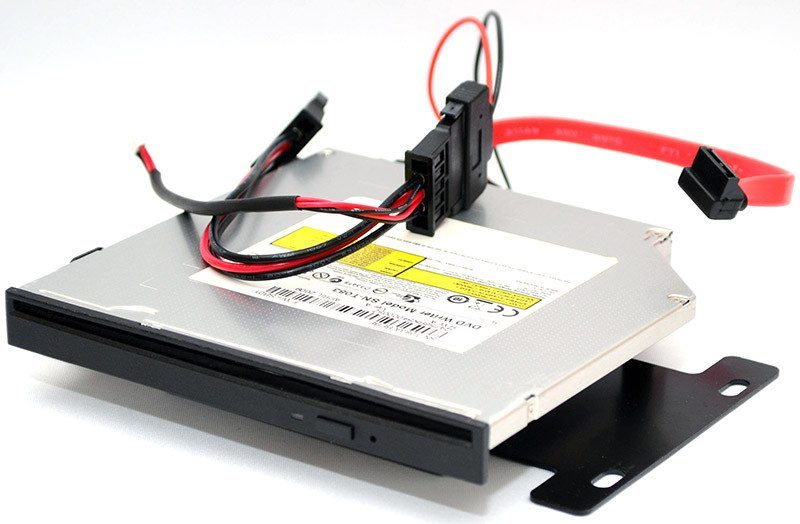
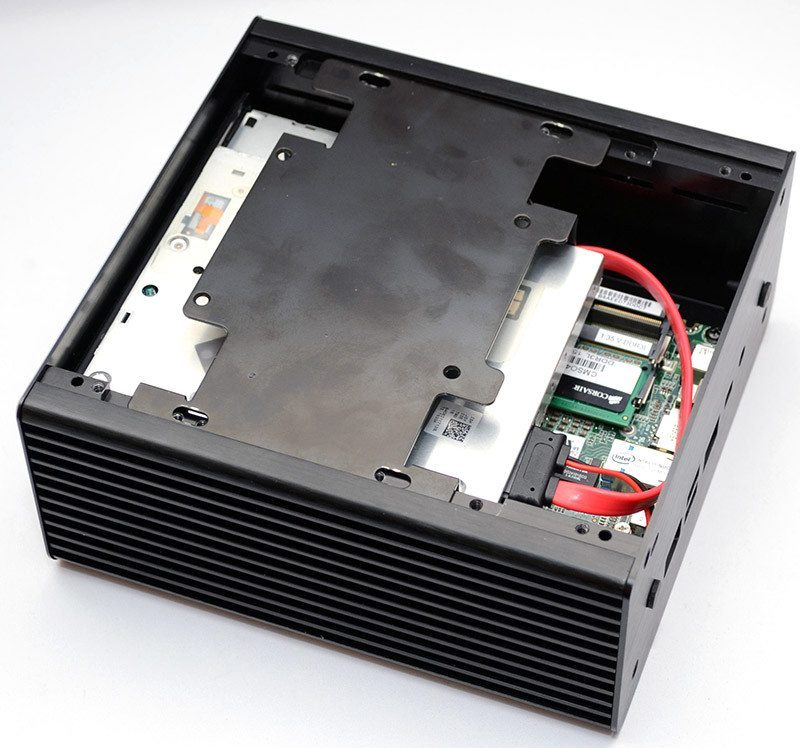
A special bracket attached to the optical drive, allowing for easy installation, here you can see we’ve got a slim slot loading drive, so no need to change the front panel for this build.
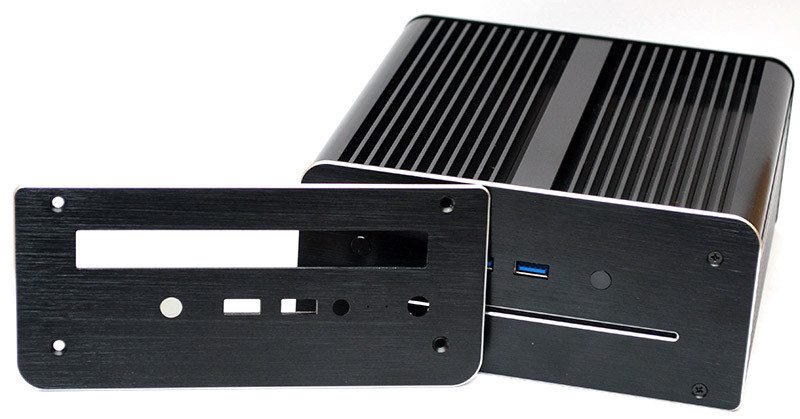
Of course, if you do need to swap that panel, it’s just four screws on the front, so it’s an easy job to do.
The drive then mounts into the top of the chassis using four screws. There’s also a sneaky 2.5″ drive mount on the bracket too, handy if you need that extra storage.
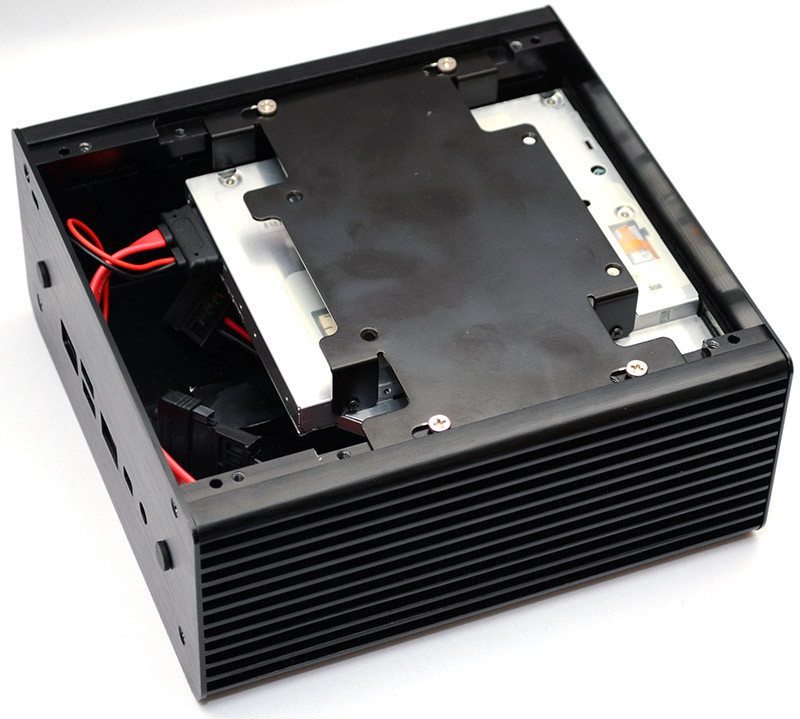
Back to the main components for a moment, you can see the pass through cables look a little cramped, but in reality they were very easy to connect. The motherboard dropped into place with minimal effort too, this really is a straight forward build to do, something that will no doubt appeal to the less skilled system builders out there.
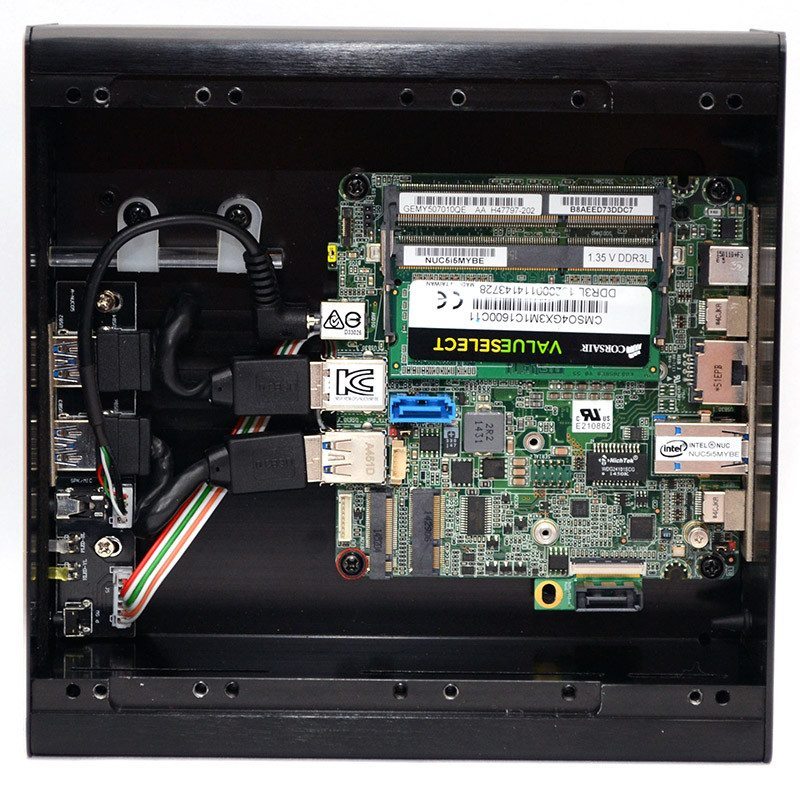
Drop the optical drive back in place and we have a complete system.
With all the panel back in place, the chassis is as sleek as it was when we took it out of the box. Of course, the passive cooling is going to mean this system is silent, but even the noise of the optical drive is heavily suppressed due to the enclosed nature of the chassis and its thick aluminium panels.
