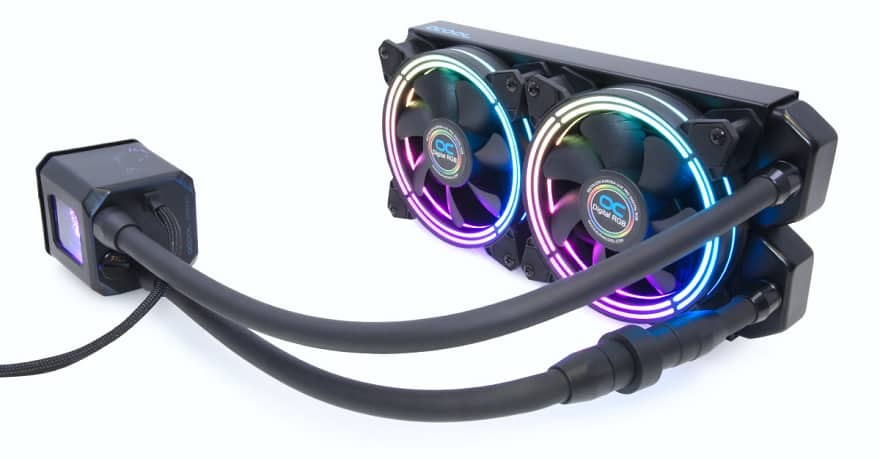
Alphacool Eisbaer Aurora 240 Digital RGB AIO Cooler Review
Mike Sanders / 5 years ago
Installation
One of the biggest factors in a CPU is having a good manual that tells you exactly what you need and how to fit it. Fortunately, Alphacool (as always) has provided you with an excellent quality manual with detailed coloured diagrams and clear written instructions.

In terms of the actual installation, well, it’s a bit of a mixed bag. In terms of the pump head, the mounting kit is fitted with a very easy to use ‘surround clamp’. This does, however, get a bit more tricky when you try to attach this to your motherboard.

The system used here effectively has you screwing the pump head directly into the backplate. Put simply, it’s an awkward design. Particularly in an AIO where the tubes will always be giving you some resistance. In this instance, I certainly feel I’d have had a better experience if I was installing on a motherboard out of the case, rather than in it.

So, from out of the box and onto our test system, how long did it take me to install the Alphacool Eisbaer Aurora? Well, based on the semi-awkward nature of the pump mount design, around 20 minutes. Admittedly, AIOs always add a little time depending on how many fans you have to attach to the radiator. In addition, with an RGB system, there’s always cables to hook up.
With a slightly better pump mounting system, however, I could honestly see this being cut to around 15 minutes which, for an AIO is more than good! My best advice, however, is that if you are going to install this, fit the radiator first and, better still do it while the motherboard isn’t fitted in the case. You’re going to want as much ‘wiggle’ room as possible!


