Antec GX1200 Mid-Tower Gaming Chassis Review
Peter Donnell / 8 years ago
A Closer Look – Interior
With the side panel off, we can see that there’s quite a lot going on inside the GX1200. First up, a large CPU cooler mounting cut-out behind the motherboard, and most of the important motherboards stand-offs are pre-installed, allowing for a much quicker installation. There’s a few cable routing cut outs at the top, right edge and bottom of the motherboard too, which will help greatly with cable management.
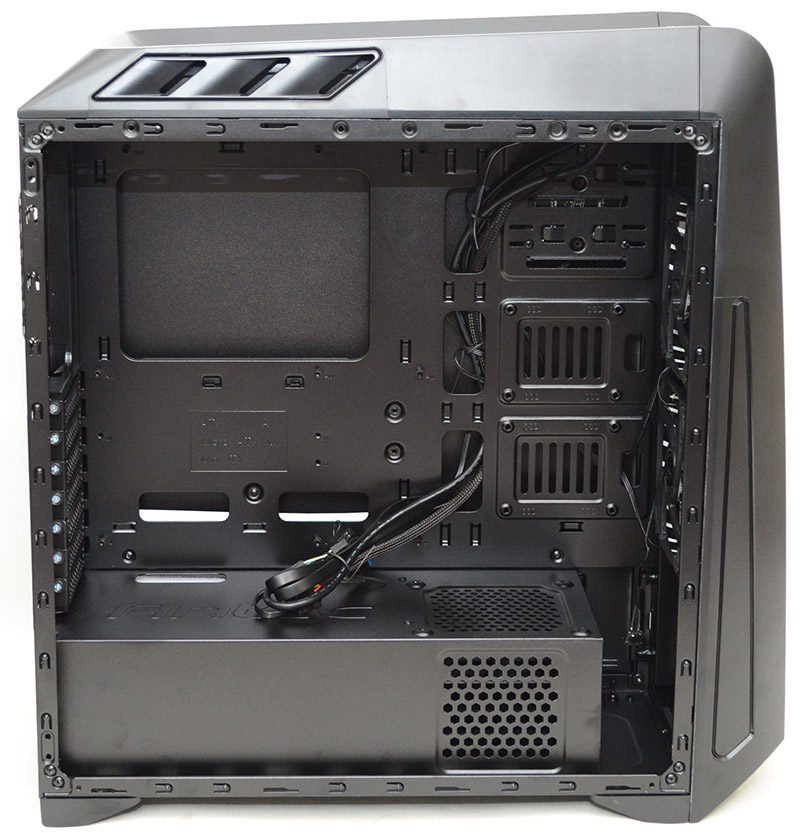
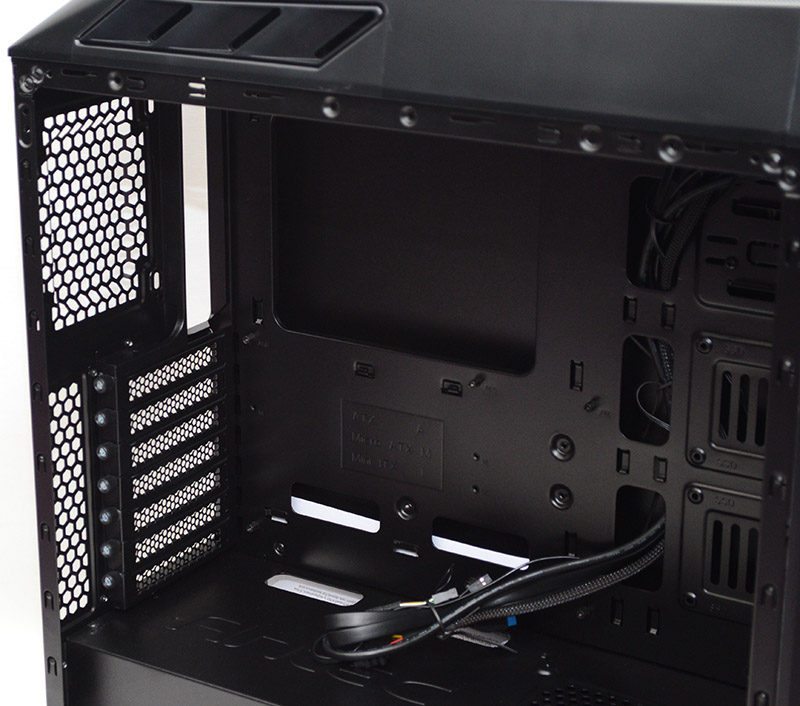
In the back, you’ll find each of the expansion slots is fitted with a thumb screw for quick installation/removal of your hardware.
There’s a metal PSU shroud fixed in place at the bottom, on the top, you’ll find the Antec logo embossed into it.
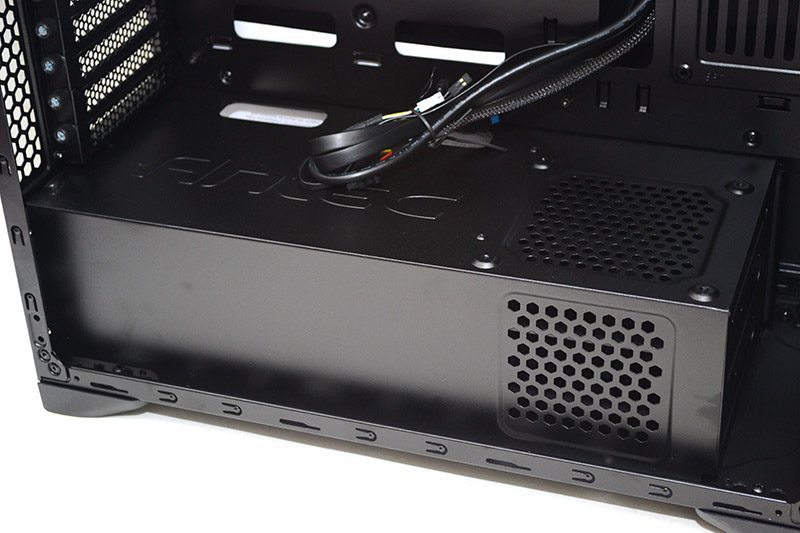
There’s a 120mm fan mount on the front edge of the shroud, as well as some passive ventilation on the side, located above the 3.5″ drive bays that are hiding under the shroud.
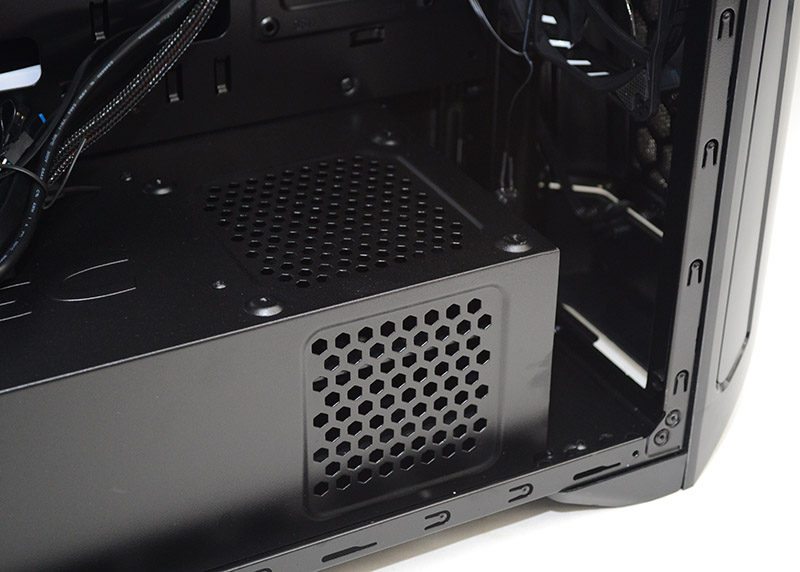
There are two 120mm fans pre-installed in the front, giving you a nice wall of airflow to keep your system cool. What I do like is that the shroud is cut away to make room for full-height fan/radiator configurations in the front, giving you more options to play around with. Towards the front, you’ll also two side mounting 2.5″ drive bays; perfect for showing off your new SSDs.
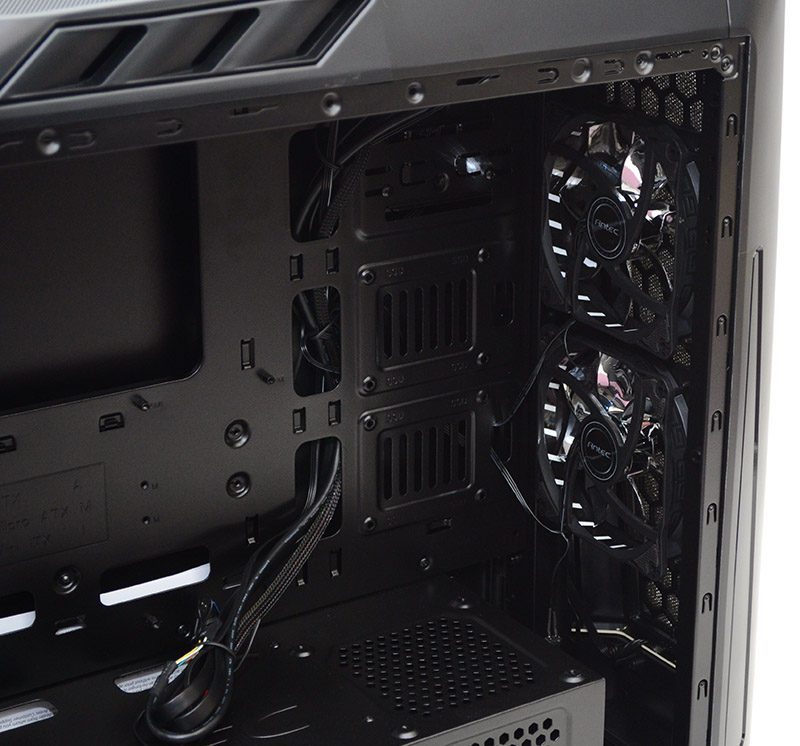
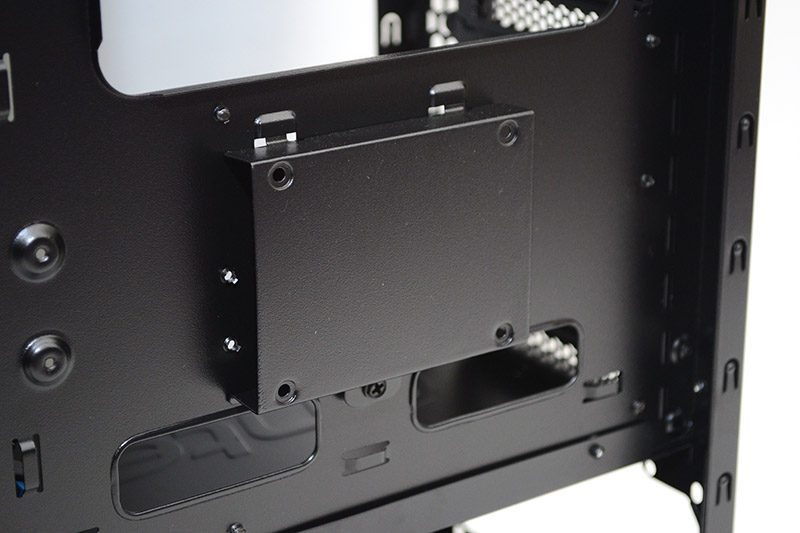
Behind the motherboard, you’ll find another 2.5″ drive bay mount, bringing the total count to three.

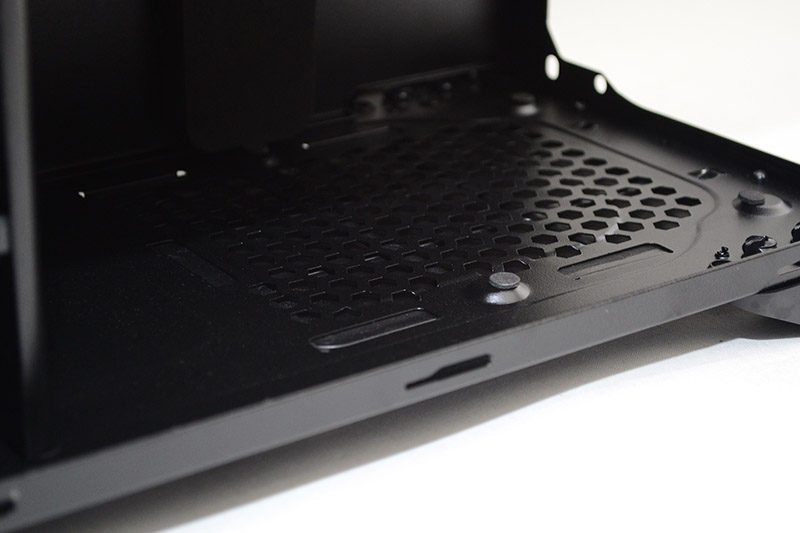
In the base, you’ll find a good space for the PSU, as well as room for a bundle of excess cables.
Towards the front, two 3.5/2.5″ drive bays with tool-free trays.
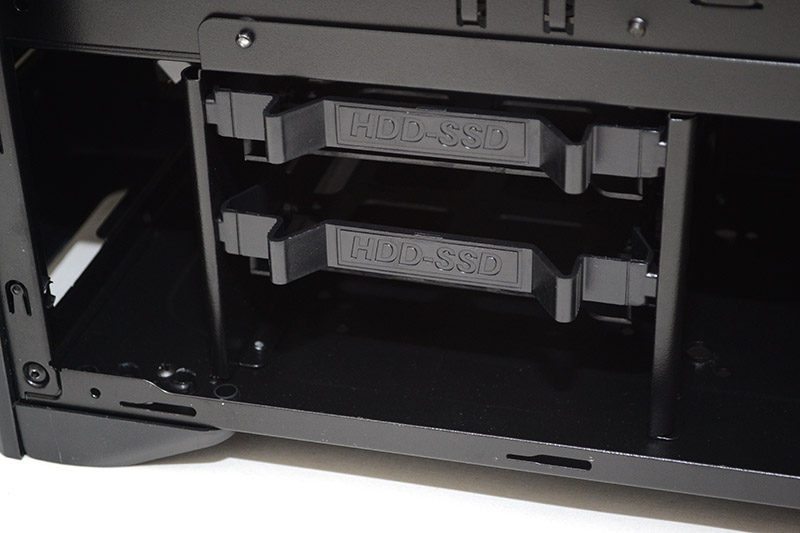
While the other 2.5″ tray uses screws to mount the drive.
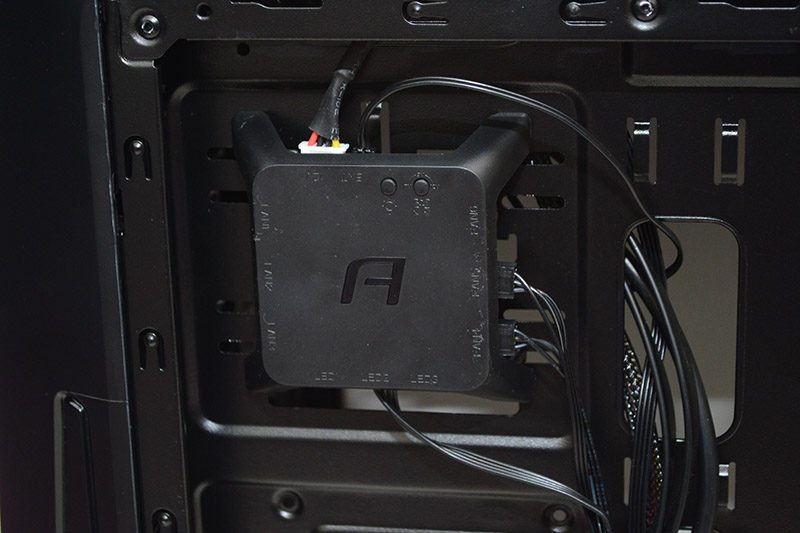
One of the more interesting features is the control box near the top front, it features a multi-channel LED lighting controller, as well as a six channel fan hub which are powered via SATA. This is a great way of having control over your system, but it also means that fan cables don’t have to be out on show, helping with cable routing and giving you a cleaner looking build.
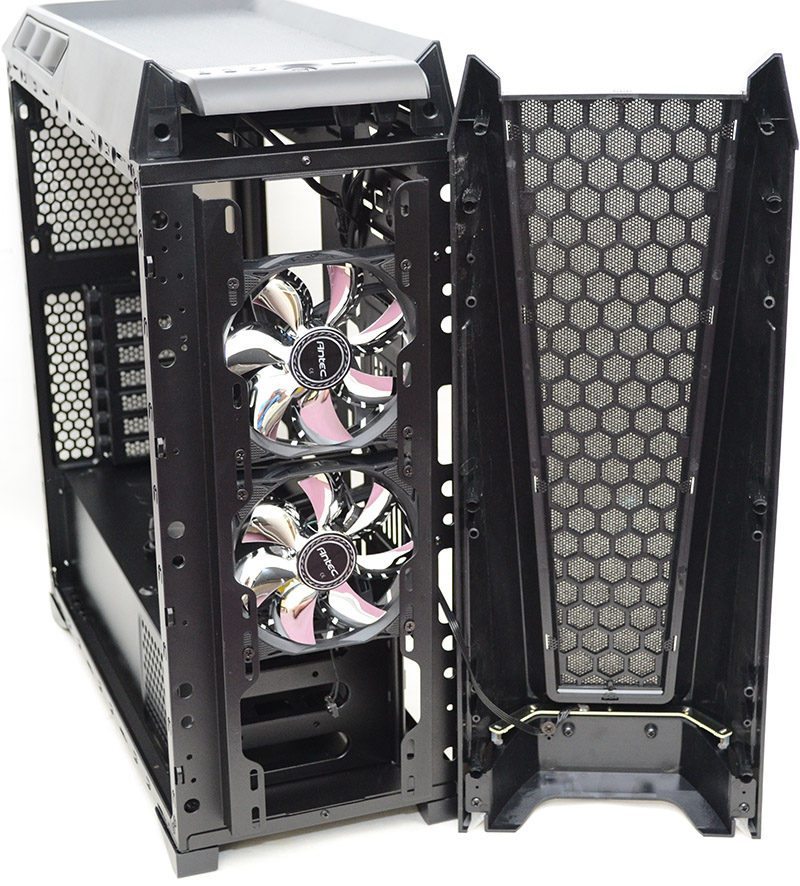
The front panel pulls away without the use of tools, behind which you’ll find a full height bank of multi-height 120mm fan mounts, as well as two fans pre-installed. You’ll also notice a small wire to the front panel, as there is an LED strip on the bottom edge for underlighting effects.
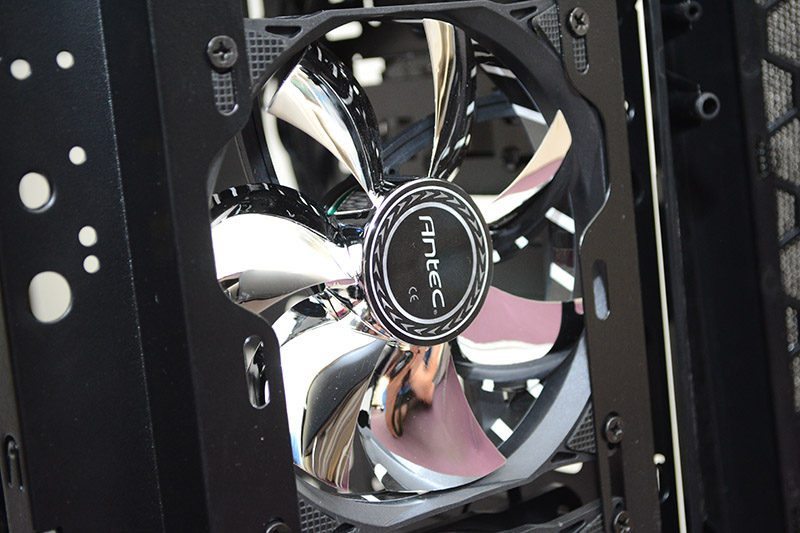
While the fans come fitted with an LED ring on their interior edge, they look pretty funky even with the lights off thanks to a chrome finish; this should also help reflect the lighting nicely.
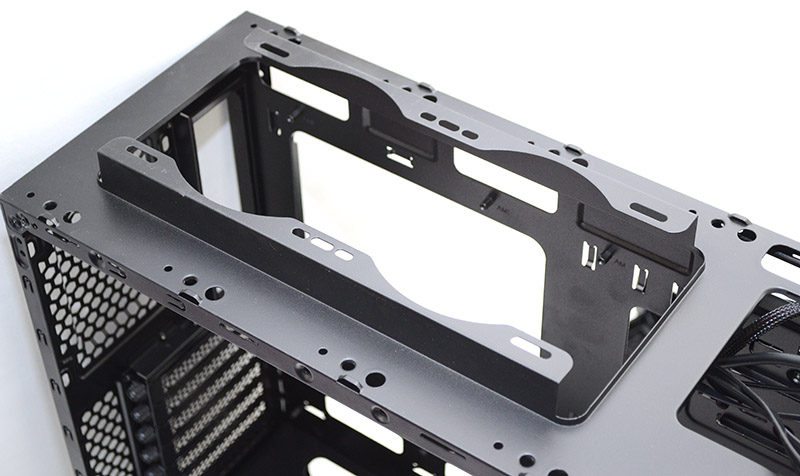
Pull off the top panel, and you’ll find access to more 120mm fan mounts, with a raiser design that should improve support for top mounted radiators.
