Antec ISK-600 mITX Chassis Review
Peter Donnell / 11 years ago
Interior
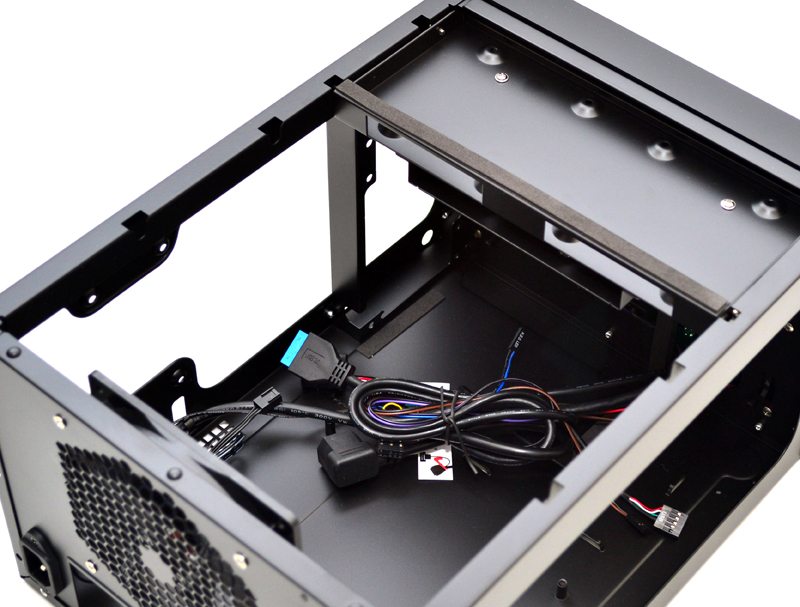
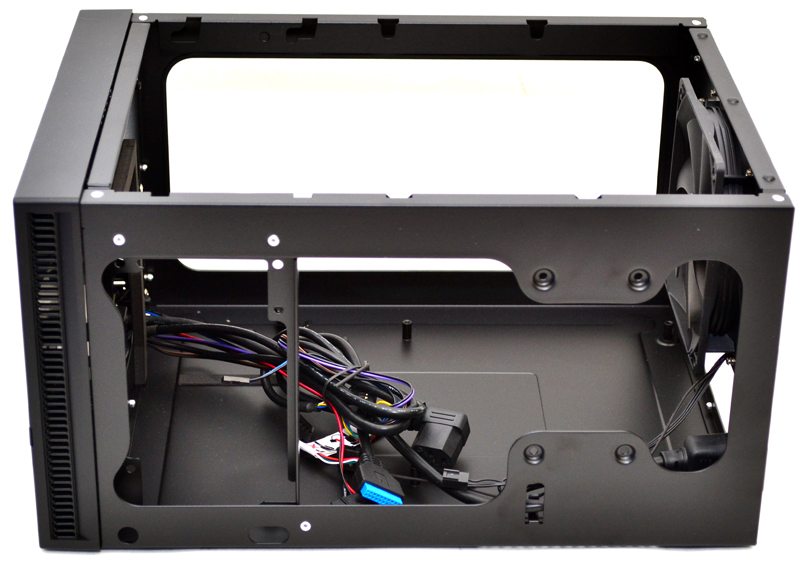
With the top panel off we can see the there is a huge area inside the case, there are not stacked hard drive bays or other obstructions, leaving lots of room for graphics cards and cooling components.
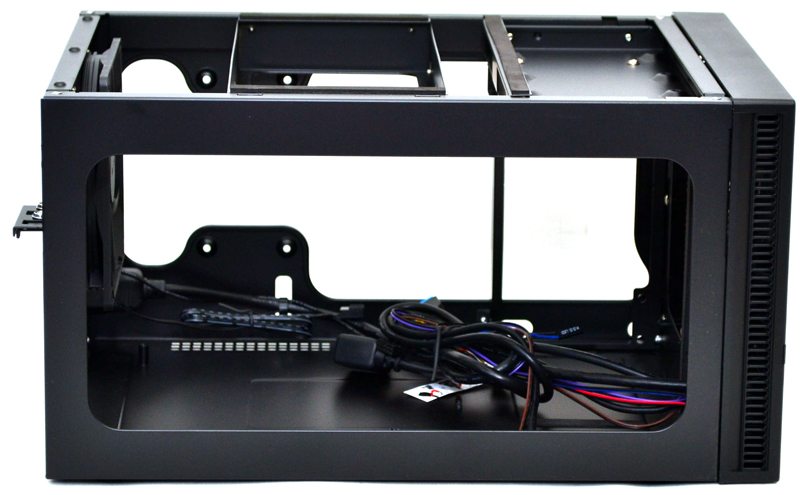
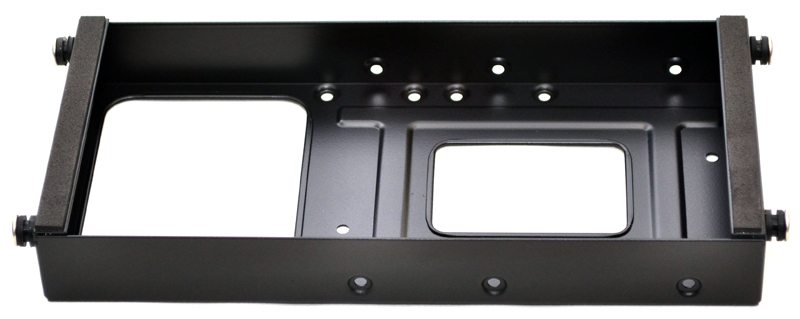
In the top you’ll find two suspended trays that that offer a multitude of hard drive mounts.
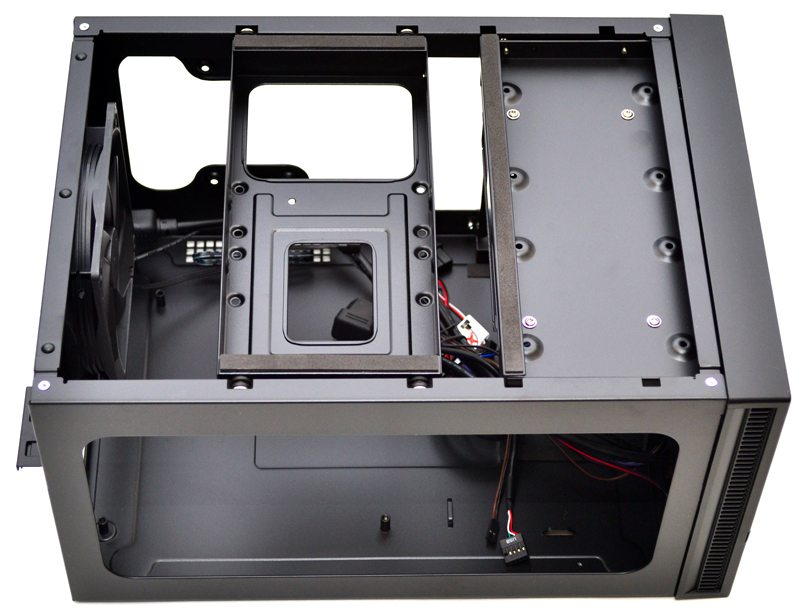
These bays can be lifted out without the use of tools and features thick rubber pads on the top to prevent hard drive vibrations from transferring throughout the chassis exterior.
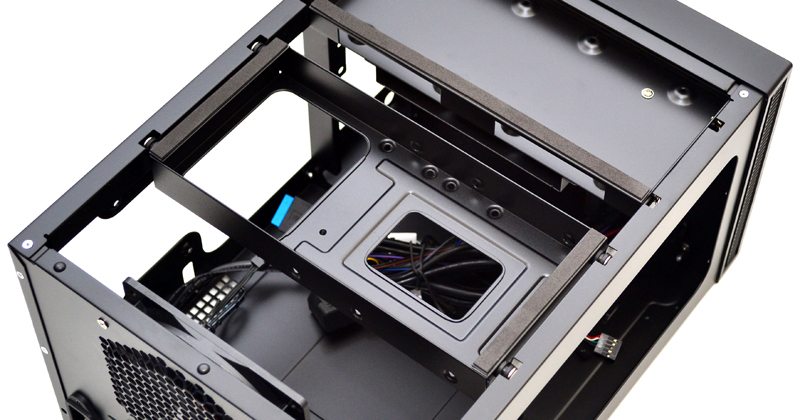
Lift the bays out and you’ve got lots of room to work with, handy when you’re trying to install your motherboard.
The trays are pre-drilled to support 2.5″ and 3.5″ drives and being able to lift the bay out of the chassis makes installing storage drives incredibly easy.
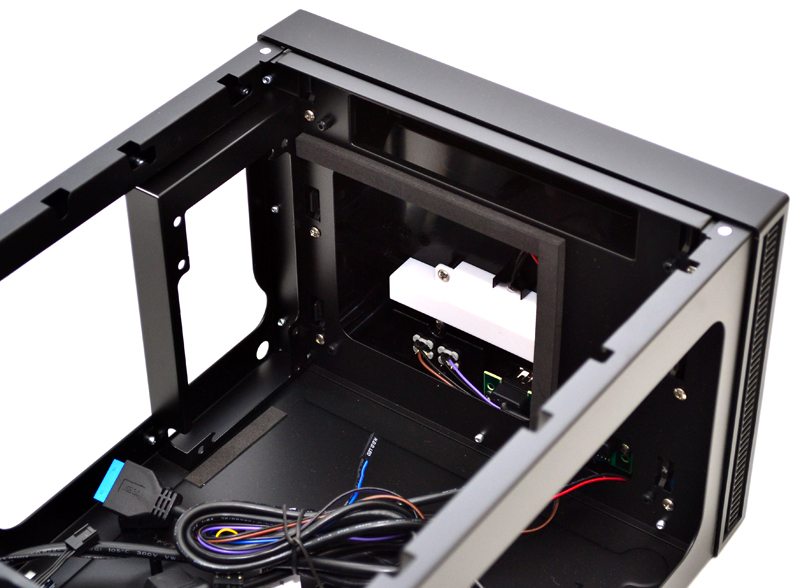
With both bays removed, you can see the front mounted PSU area. The PSU will draw air in through the sides of the front panel and exhaust out of the right side ventilation of the exterior panel. There is some thick rubber padding on the back of the front panel that will help provide a snug fit and again help to reduce vibrations.
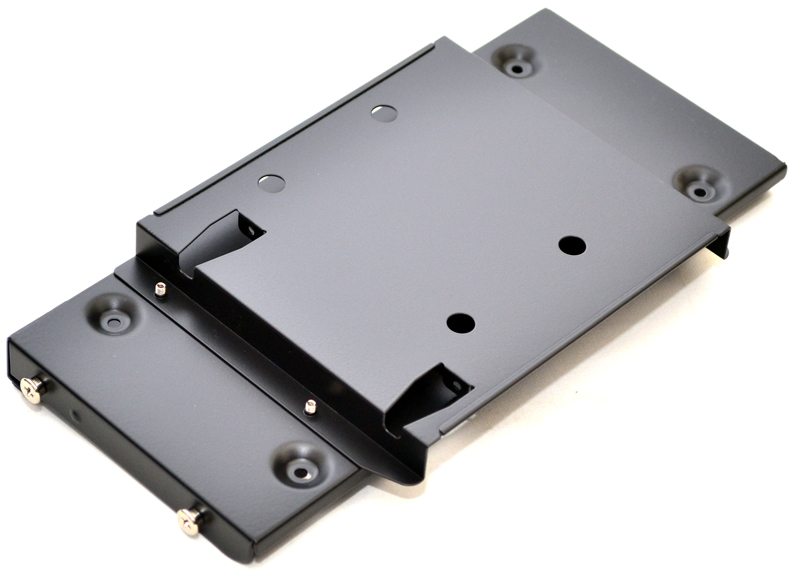
The front storage tray features a slim 5.25″ drive bay, perfect for a slot loading optical drive, although should you need the clearance for what ever reason, you can remove the 5.25″ bracket and just keep the top HDD tray. In fact, it’s completely optional to have either storage tray installed, you could just as easily remove them completely if you wanted.
On the right side we have a lot of cut-away, leaving a little extra room for two 2.5″ hard drives thanks to some extra mounting holes.
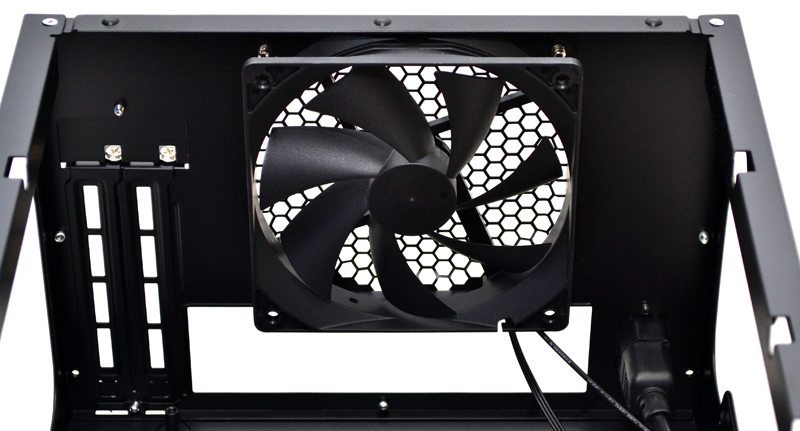
The rear 120mm fan is a nice bonus and the size of the case and extra ventilation means you shouldn’t really need much more. You can remove this of course and install your own, or even a 120mm water cooler, which is what I’ll be doing in our build today.
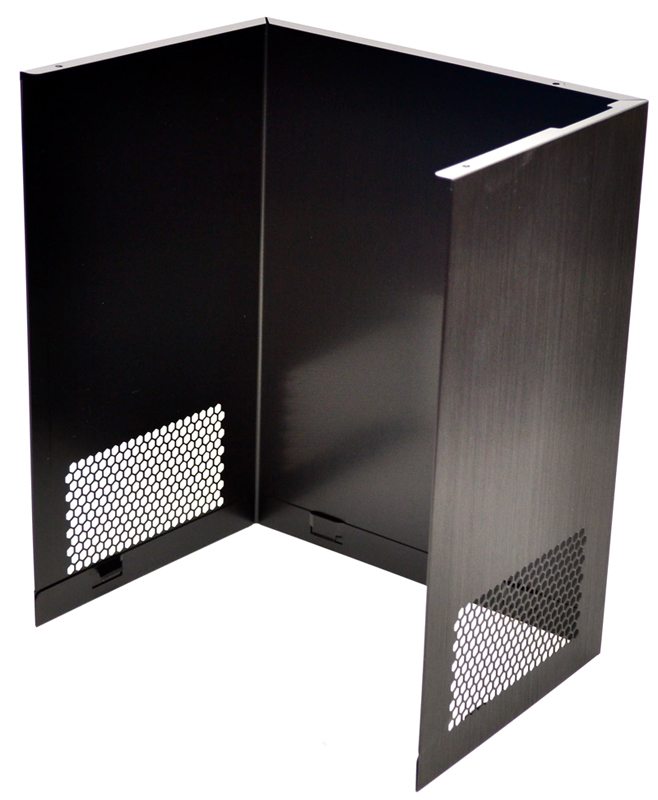
As I said before, the top panel is a single piece of aluminium, it’s a little thin, but the finish and overall quality is really nice.
