Antec NX700 Mid-Tower Case Review
Peter Donnell / 3 years ago
A Closer Look – Interior
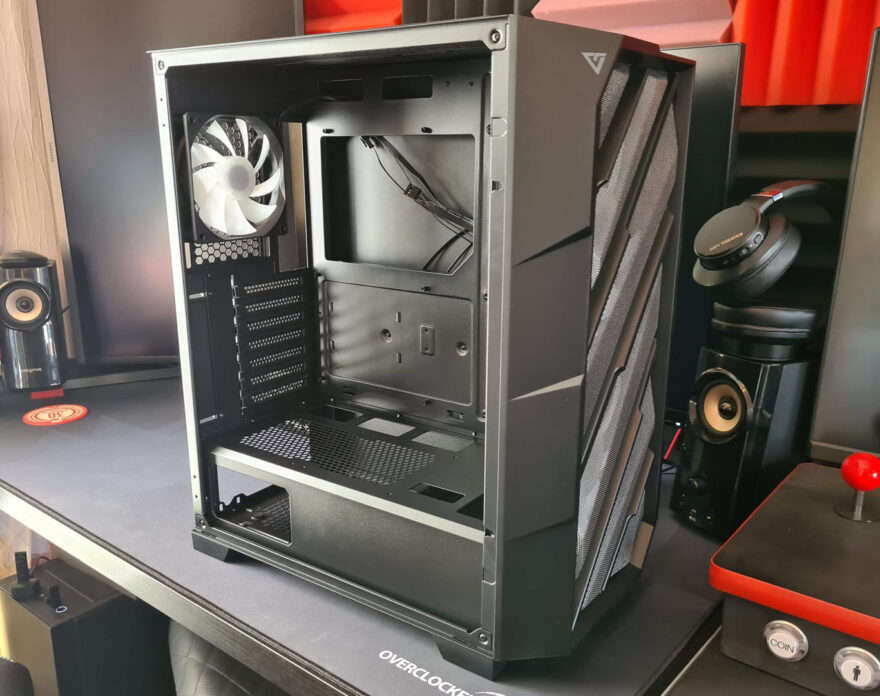
The interior of the case looks great, with lots of room thanks to all the storage bays being either under the shroud or behind the motherboard. This means that there’s lots of additional space available for larger graphics cards and additional cooling hardware.
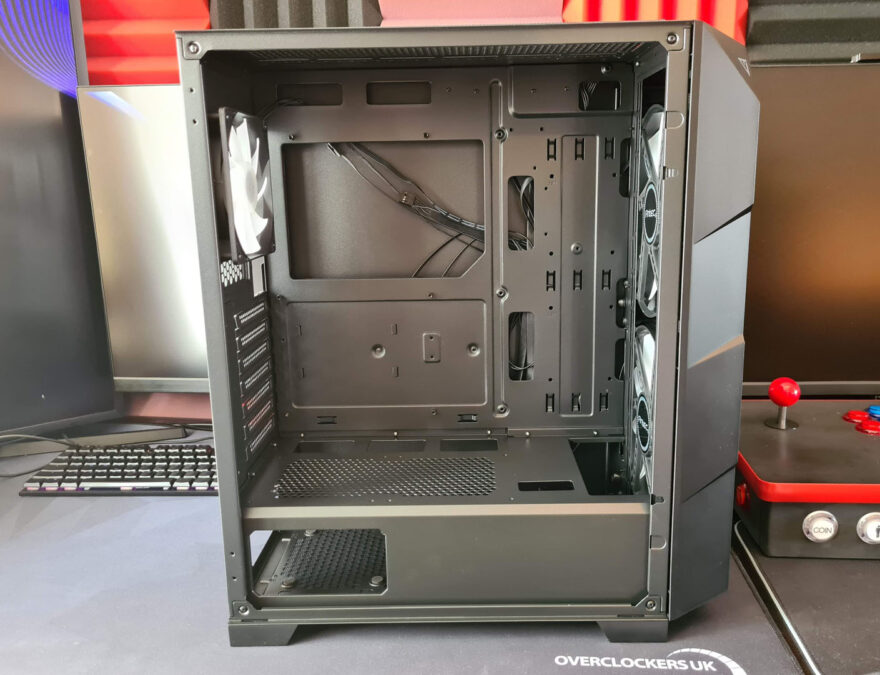
While there are no rubber grommets, there are plenty of cable routing options with holes located above, to the right and below the motherboard.
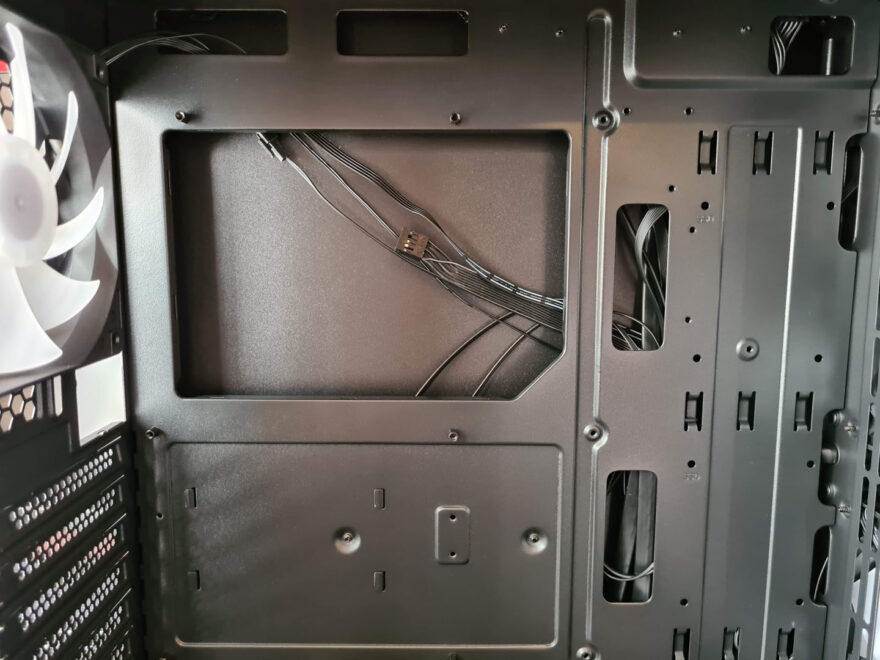
There is also an additional cable routing hole towards the front of the shroud for the graphics card power cables. As well as an additional cut out at the front, providing clearance for any front-mounted cooling.
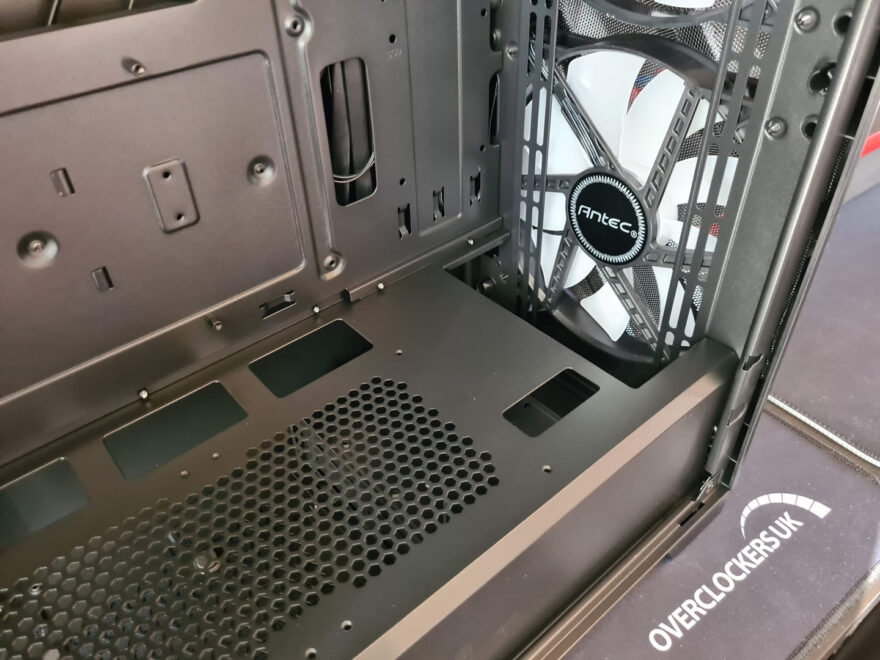
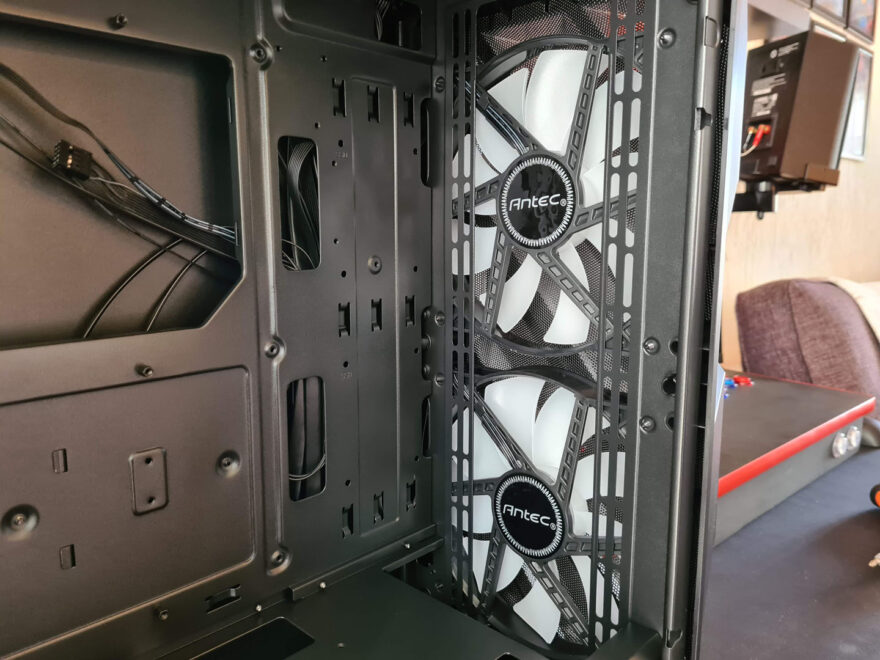
In the front of the case, you can see the pre-installed ARGB fans. They look great now, however, they’ll look a lot more interesting when they are powered on.
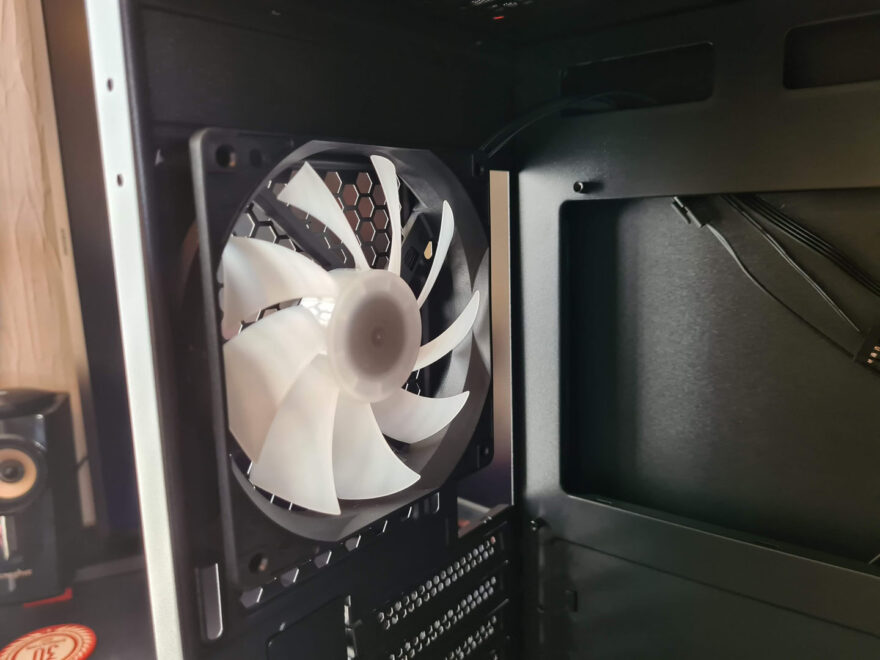
There is an additional 120mm fan in the rear of the case, providing the main exhaust.
Of course, there is room at the top for additional cooling, but this will also provide plenty of passive heat exhaust also.
If you really wanted to move air around in the case, you can also install a pair of 120mm fans on the PSU shroud, although I suspect most people will not actually do this.
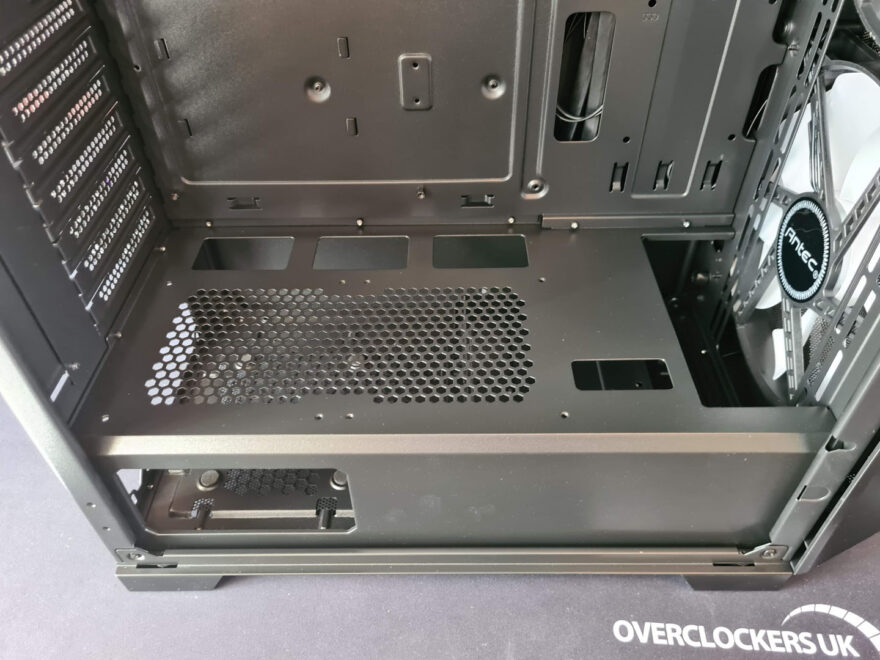
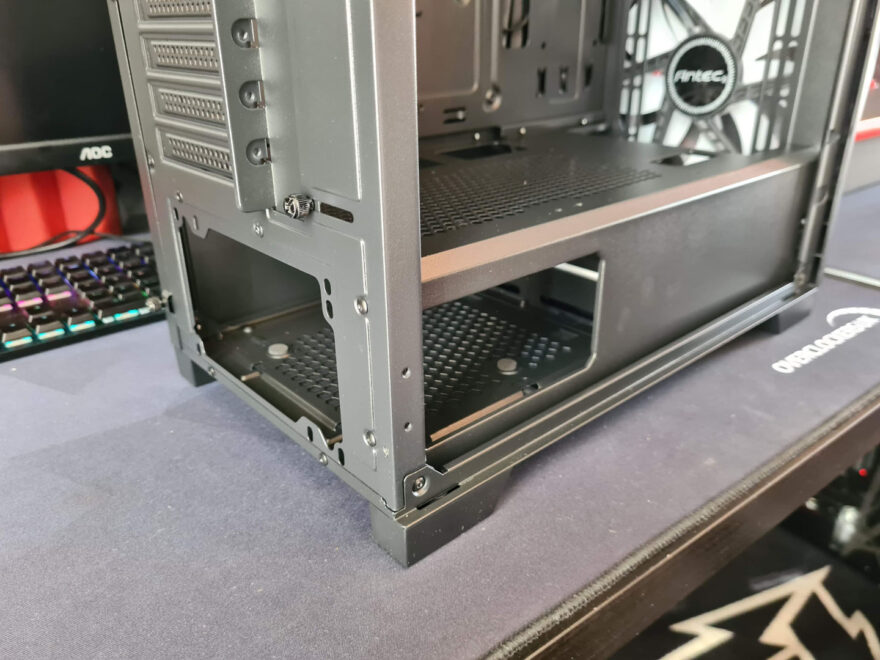
If you want to be able to see the design of your power supply, you’ll be happy to see there is a small cut out in the shroud allowing you to view it.
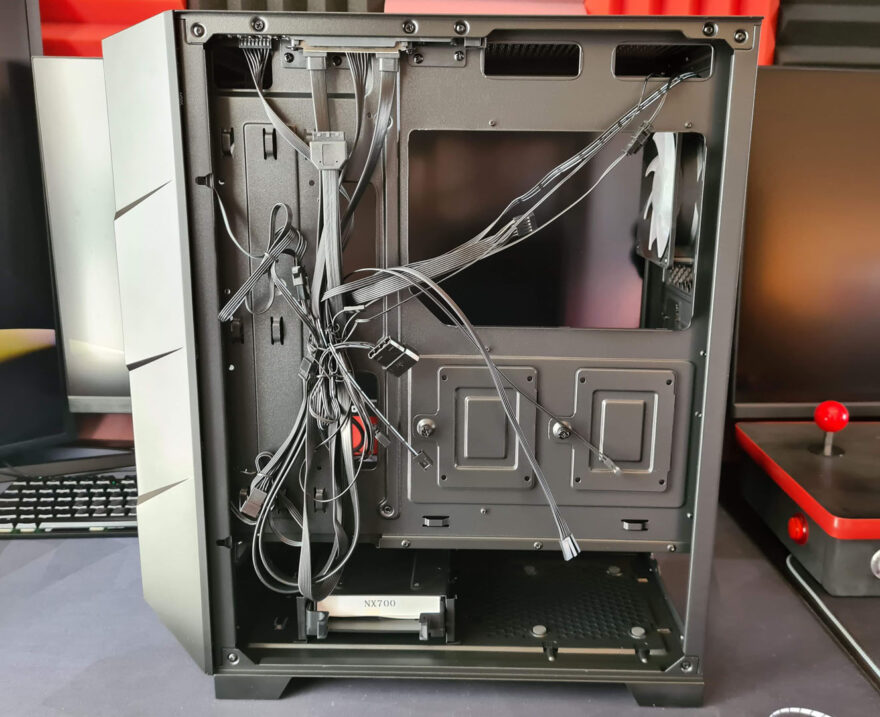
Behind the motherboard, things look neat and tidy, with a moderate amount of space provided for cable management. However, with the PSU shroud at the bottom of the case, you’ll have plenty of storage space for any unwanted or excess cables.
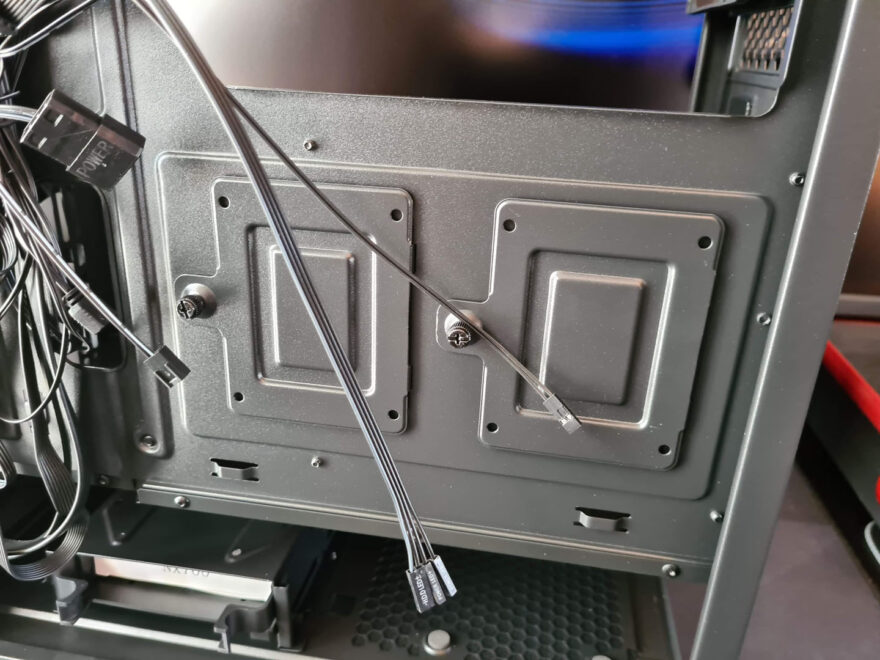
There are two dedicated 2.5″ SSD mounts right behind the motherboard, providing you with some additional storage space.
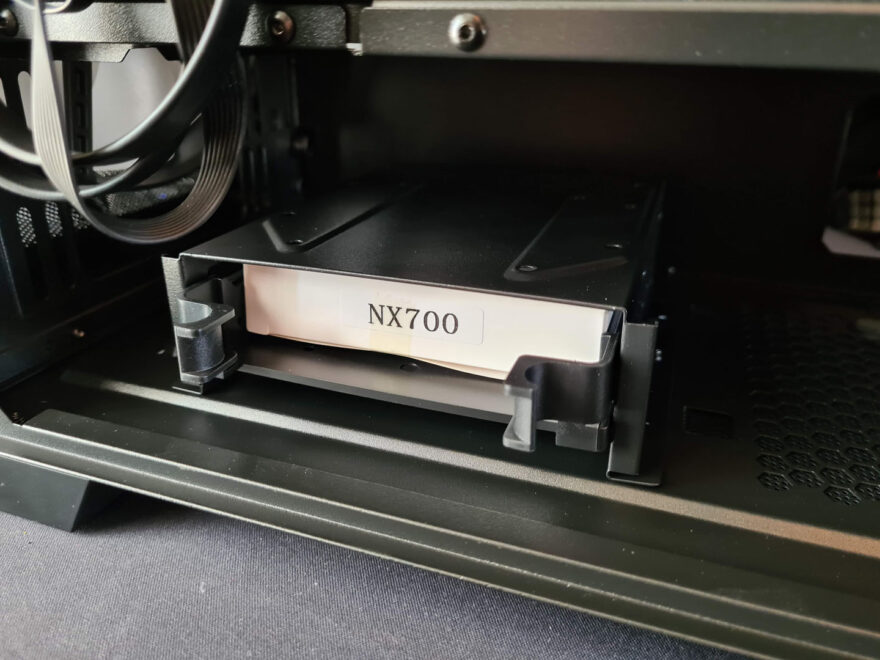
There is also a single 2,5″ bay located under the PSU shroud.
Another small but welcome feature is the completely black cables and headers, which should make them easier to hide out of sight when completing your build.
