Antec P9 Windowed Mid-Tower Chassis Review
Peter Donnell / 8 years ago
A Closer Look – Interior
The interior has been treated with a glossy black paint job, giving it a clean and uniform look, and you’ll also find a large cut-out for the CPU cooler mount, pre-installed stand-offs, as well as a good selection of cable routing cut-outs to help keep the build looking neat and tidy.
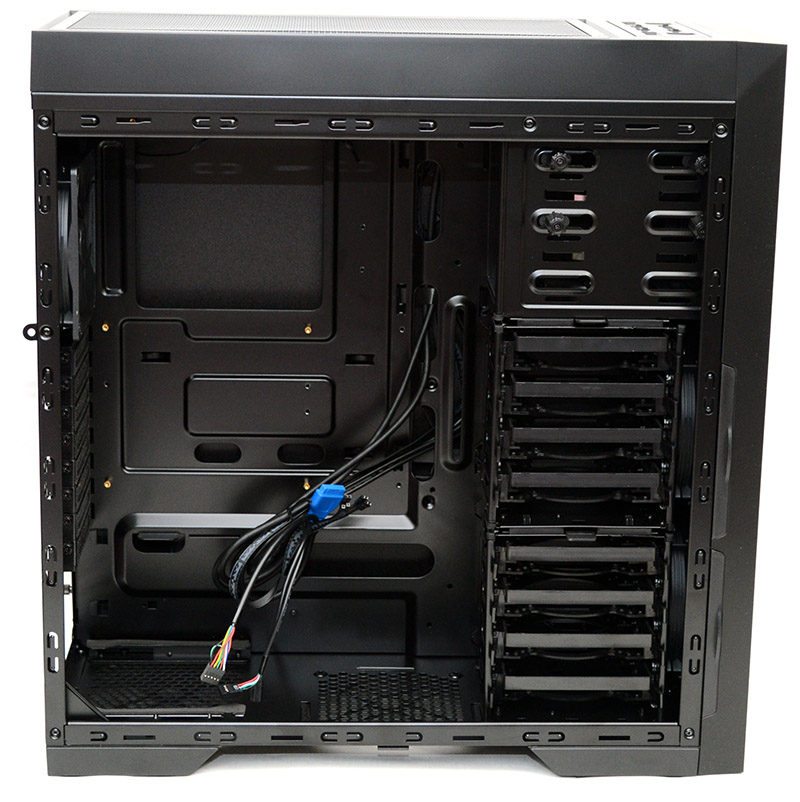
The PSU can be fitted onto two durable mounting rails, each covered with a hard rubber anti-vibration pad.
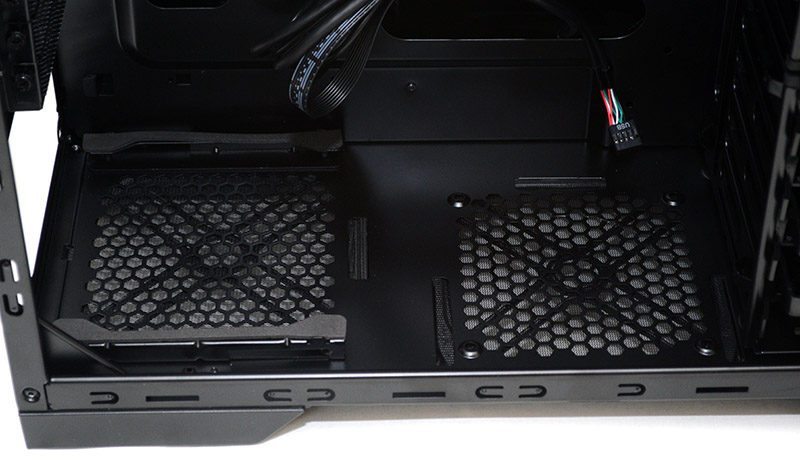
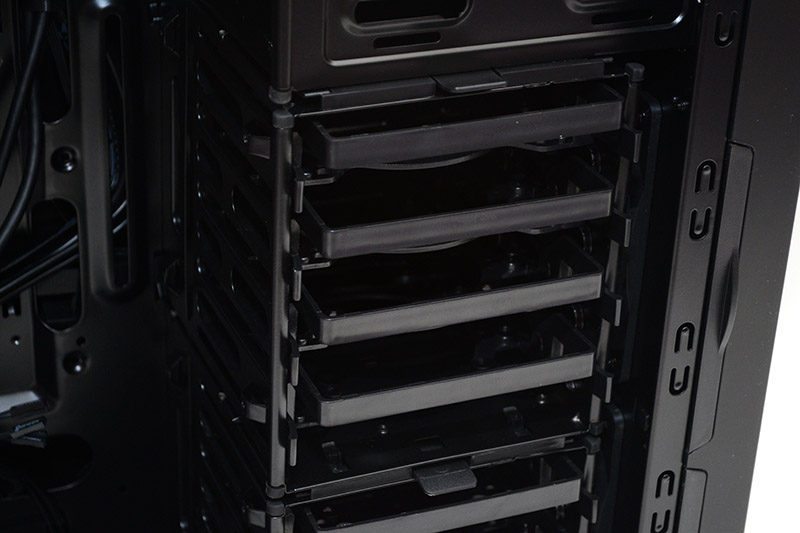
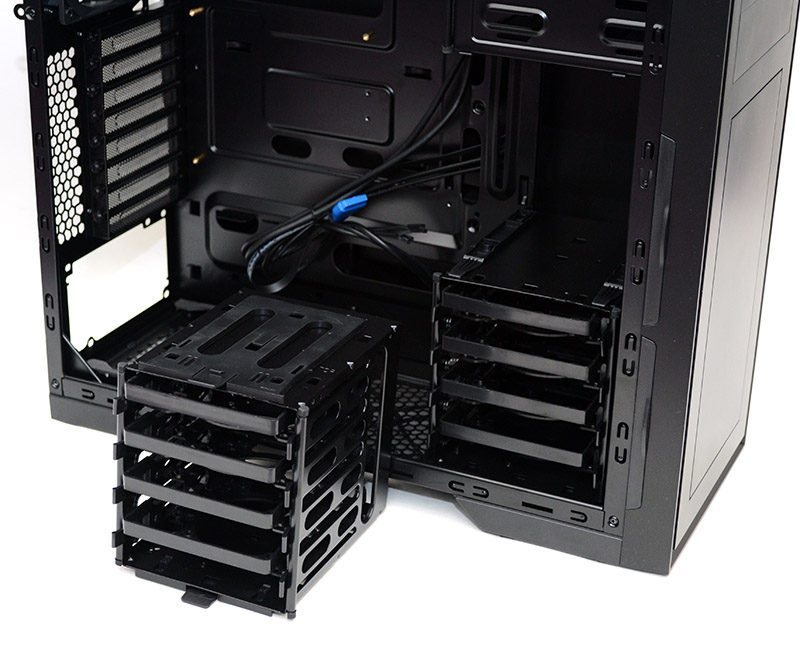
At the front, you’ll find two hard drive mounts, the bottom has four pull out drive trays, which are tool-free for 3.5″ drives, although screws are included to mount 2.5″ drives.
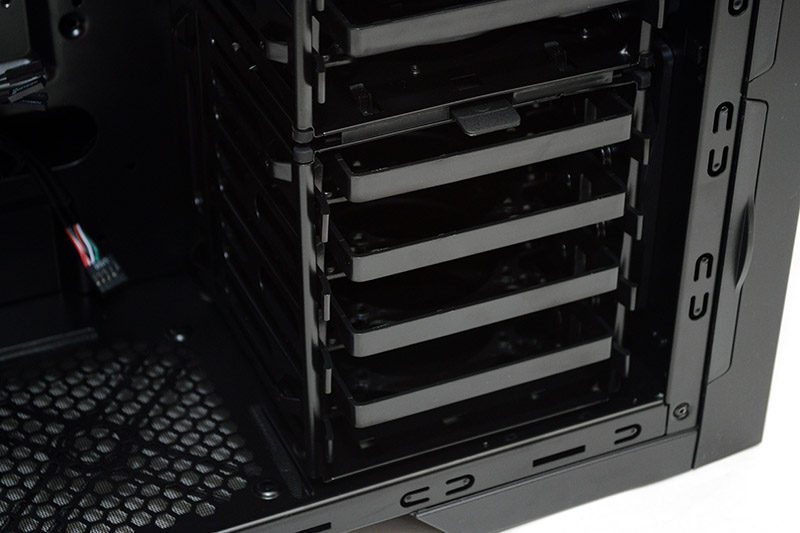
Above that, another four in a removable caddy that can be pulled out without the use of tools.
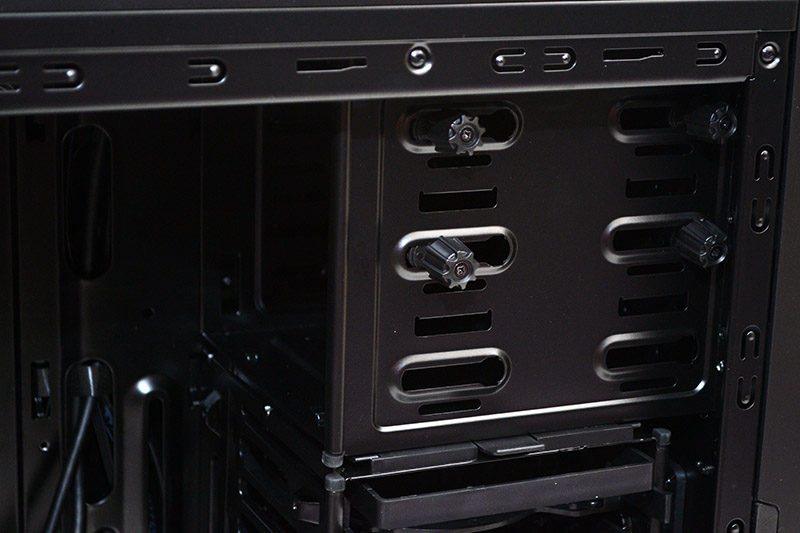
The 5.25″ drive bays come with tool-free pre-fitted thumb screws, allowing quick and easy installation/removal.
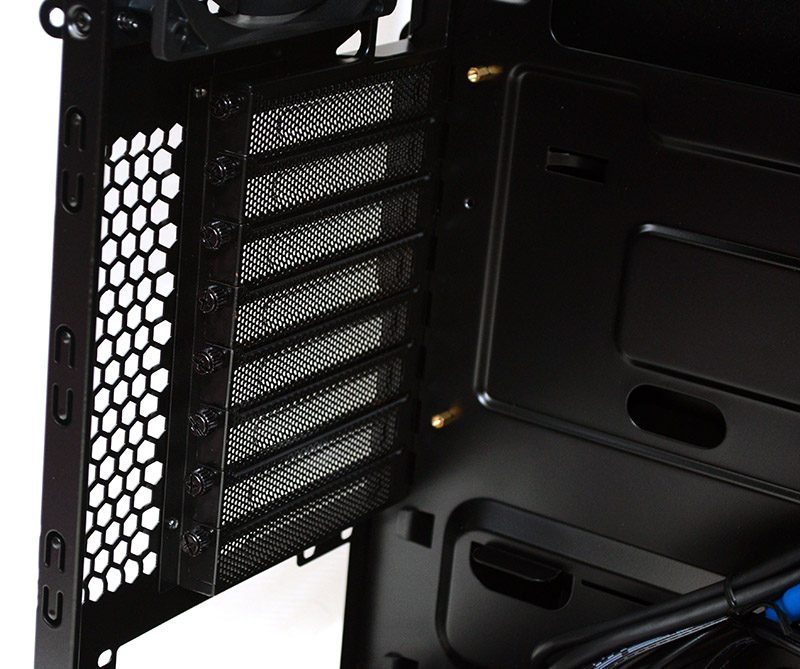
All of the expansion slots come fitted with thumbscrews and ventilated reusable covers.
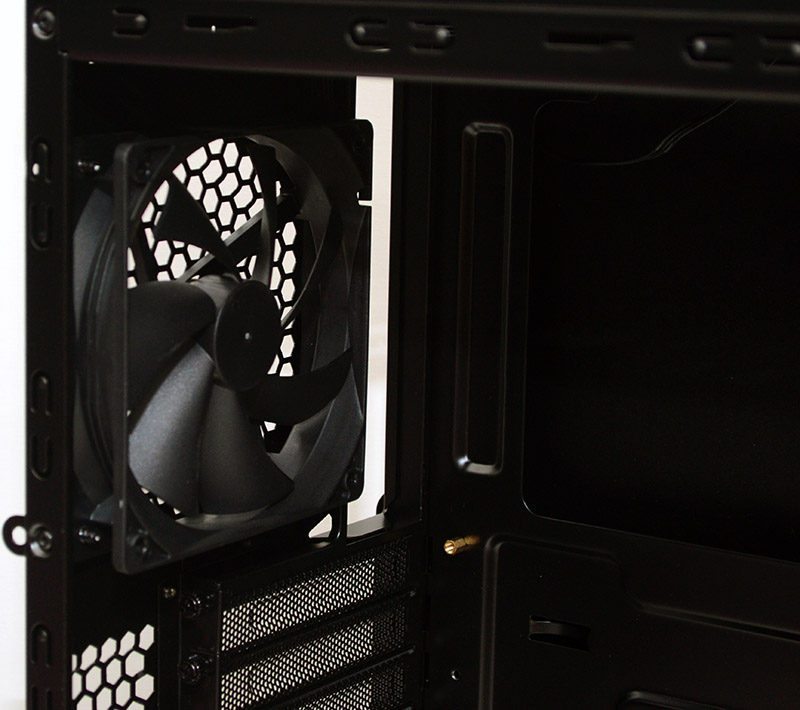
In the back, a pre-installed 120mm fan, although you could easily swap it out for a 120mm rad if needed.
With the drive bay removed, you’ll free up a huge amount of space for extra long graphics card too, which I suspect we may have to for our Sapphire 270X Tri-X Toxic, as it’s one of the bigger GPUs on the market. The bottom drive bay unscrews too, giving you more room in the front for a bigger radiator, leaving you with plenty of customisation options for your build.
Around the back, you’ll find a decent amount of space for routing cables, as well as three velcro straps and a plentiful amount of cable tie loops to help keep everything neat and tidy.
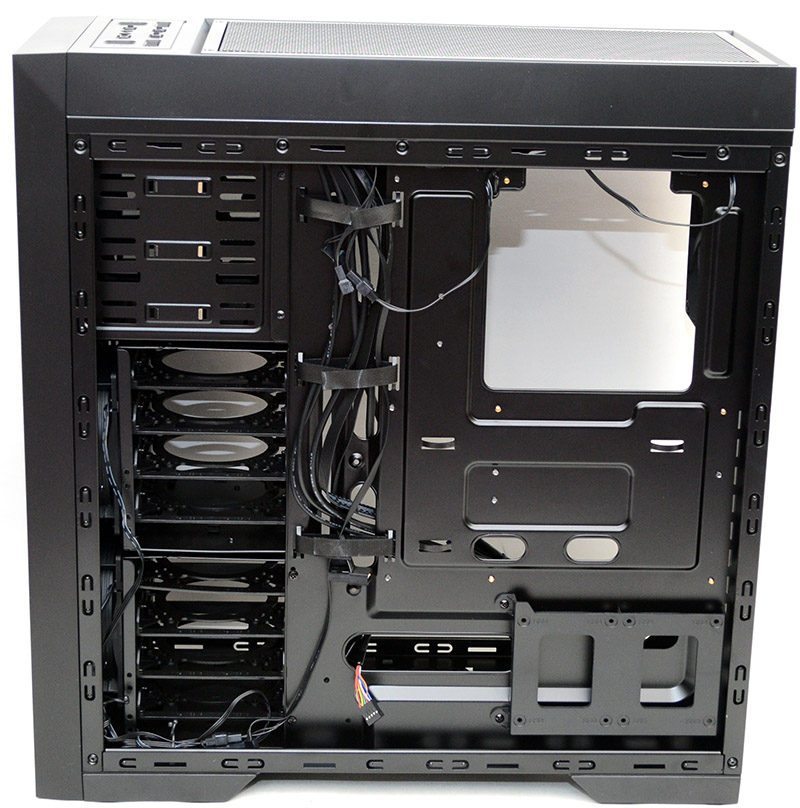
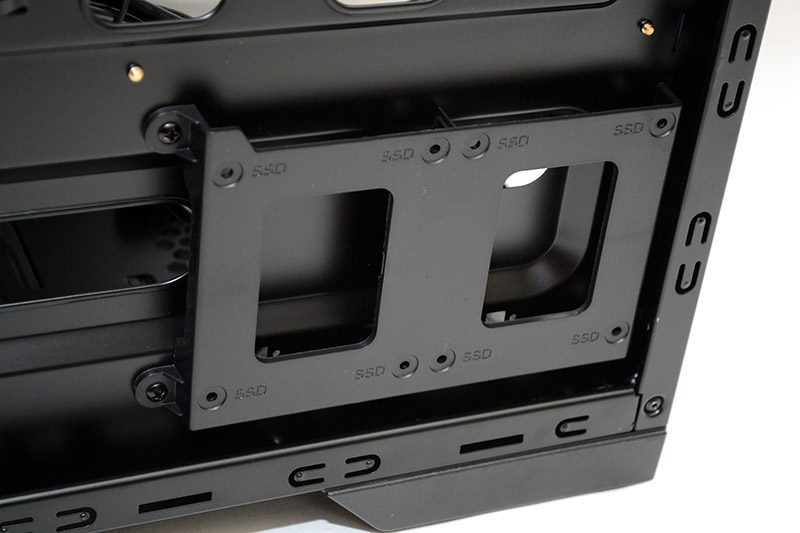
Tucked into the bottom corner, two 2.5″ drive trays for extra storage, handy if you’ve removed one of the hard drive bays at the front to make room for large GPUs.
