AOC Q2770PQU 27″ PLS Monitor Review
Chris Hadley / 11 years ago
A Closer Look
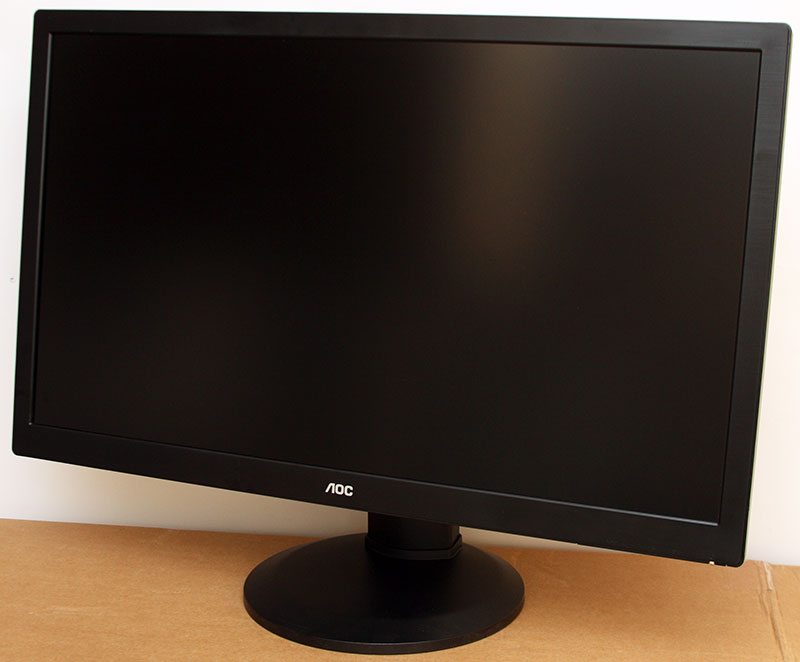
Style through simplicity I think is the only way at describing how the Q2770PQU looks. I’ve seen numerous panels through what I do – be it in a review or at a trade show and whilst some of the designs do grab my attention and get a mental tick in the design box, I still have a love for those panels that are simple and to the point.
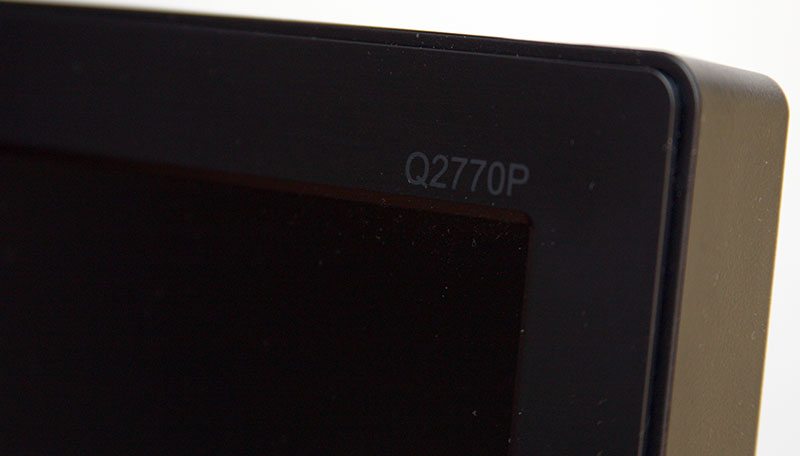
Tucked up in the top right hand corner of the bezel AOC have printed on the model name of the screen and with a dark grey print it is subtle enough to blend in without sticking out like a sore thumb.
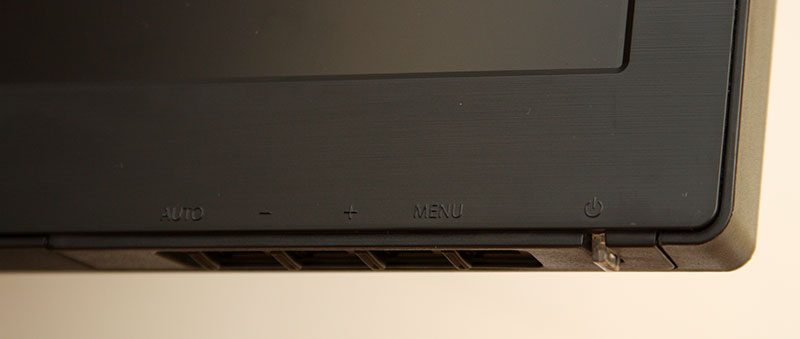
On the underside of the right hand edge is the controls to run through the OSD and adjust the volume/ input whilst to the far right is a power / standby button which lights up green when the display is turned on.
On the back of the display, AOC have stuck with the simple design – after all the back of the screen is not something that you are going to be looking at each day.
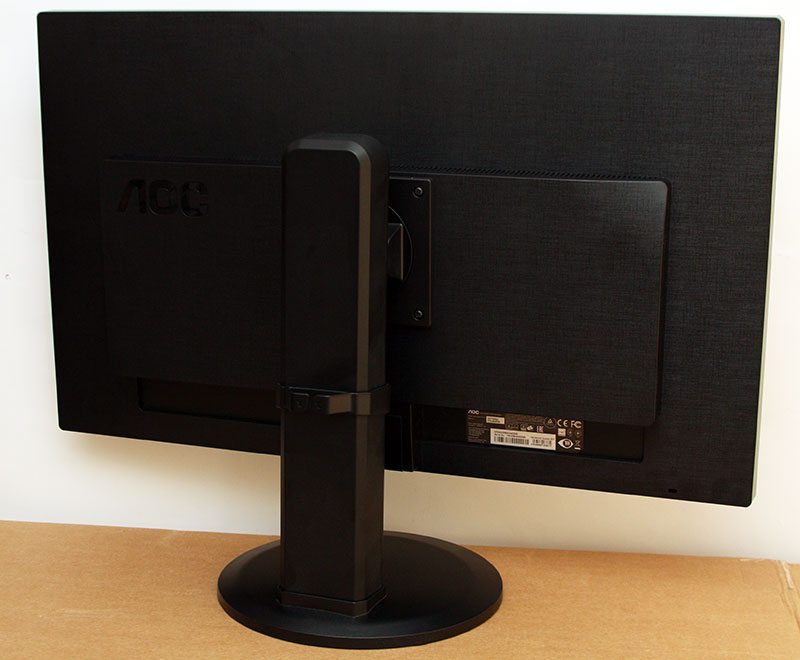
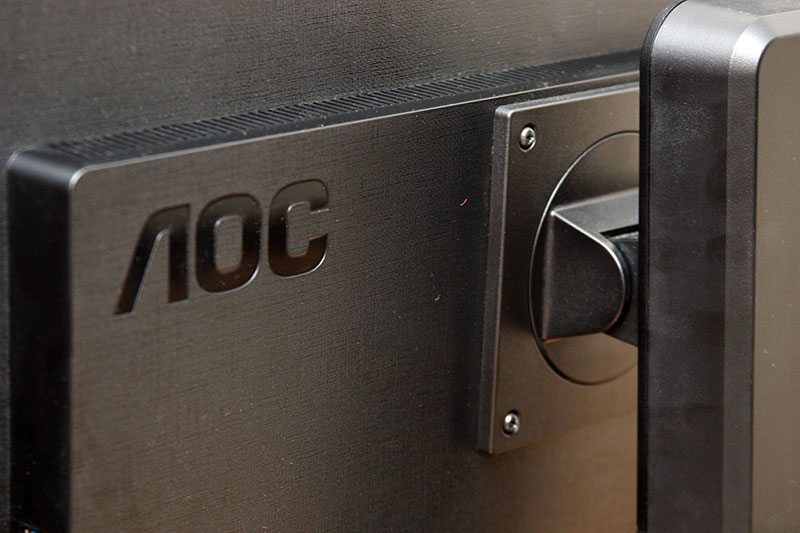
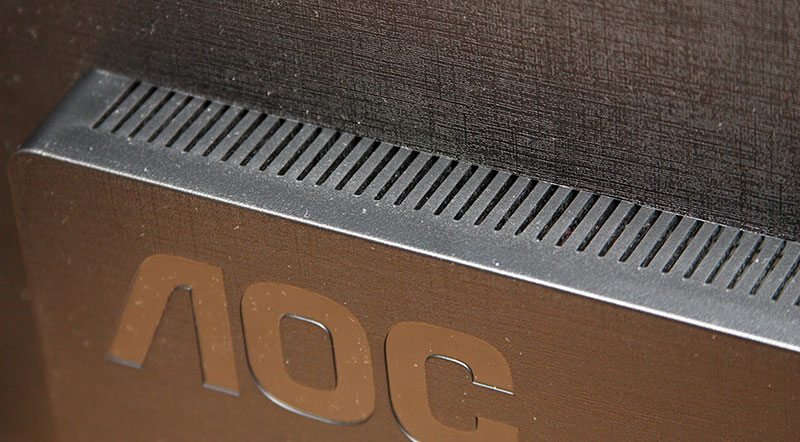
The plastic is finished off with a cloth type pattern giving the plastic a matte finish with glossy edges to the pattern. AOC’s logo is embossed to the left and the stand attaches to the body of the screen via the VESA mount. Fitting the screen here allows the monitor to rotate through 90º for a portrait desktop – ideal for me when I’m writing my reviews.
Not every monitor has speakers built-in and to be honest from a personal point of view I’m not a fan of built-in speakers as I love quality sound, but for business applications and for basic audio needs they are a handy asset to have. The Q2770PQU does come with a small set of 2W speakers that are tucked behind the display, audio connectivity is provided through a HDMI input or through the included stereo cable.
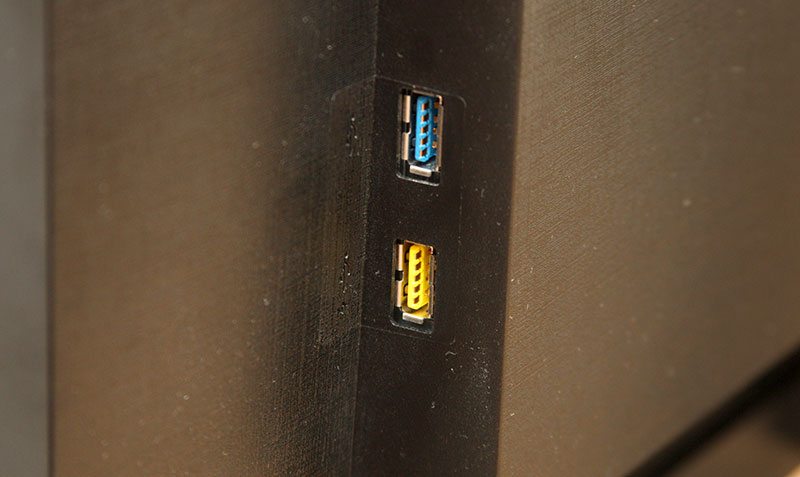
On the right hand side of the display are two USB3.0 ports. Of these two ports we can see that one is yellow instead of blue and this is to indicated that this port has a higher power throughput making it ideal for charging your mobile devices.
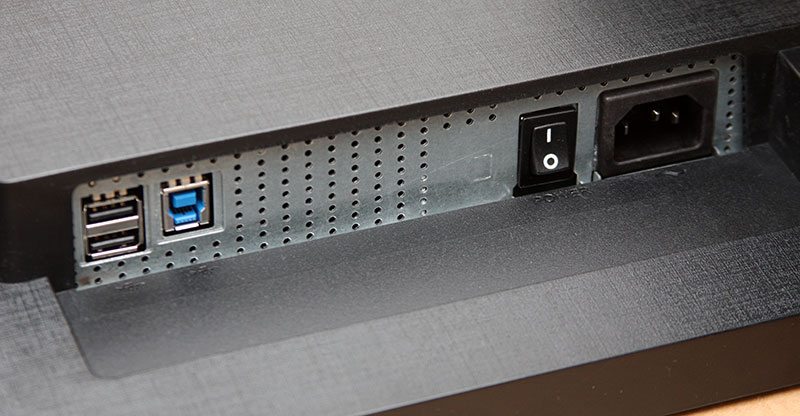
Moving round and working along the display connectivity, in addition to the two USB3.0 ports on the side of the panel there are two more USB ports although these are of the older 2.0 specification (more suitable for your mouse and keyboard). A USB output is sat alongside the USB2.0 ports and the power cable connects towards the middle of the screen with a power switch sat beside it to cut the power draw close to 0W when the screen is not in use.
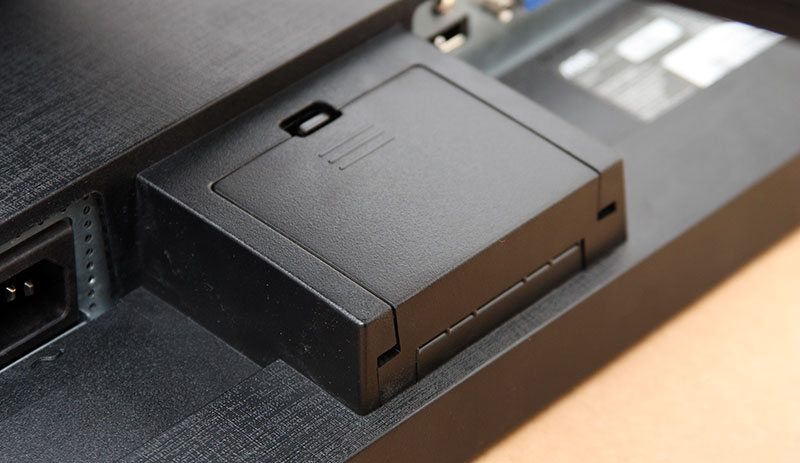
Sat in the middle of the screen between the power and display inputs is a small black cover. On removal it appears that this doesn’t have any function on this particular model (explaining why it is rather stiff to remove), my guess being that this may be used on another model that uses the same casing, but with a fixed stand as opposed to the height adjustable option that we’ve got here.
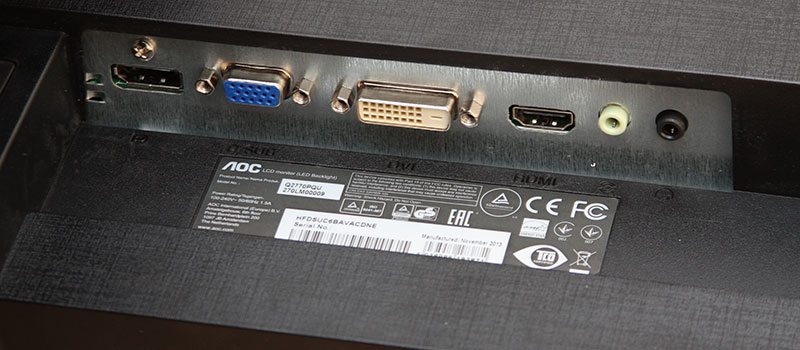
Moving along to the display inputs we have a good selection of options to work with, with all the major standards supported and a pair of 3.5mm audio connections to hand for use with the DVI port (for example) so that the speakers can function.
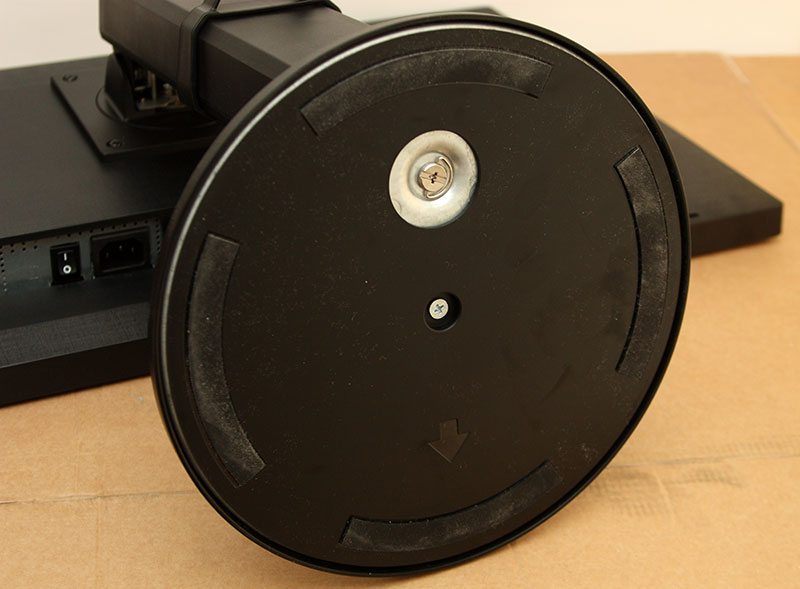
On the underside of the stand is a single thumb screw that detaches the base plate from the remainder of the arm. This part of the stand comes unattached in the box and is the only bit of construction that is required to get things up and running (aside from connecting a few cables).
