AORUS F127Q Gaming Monitor Review
Peter Donnell / 5 years ago
A Closer Look
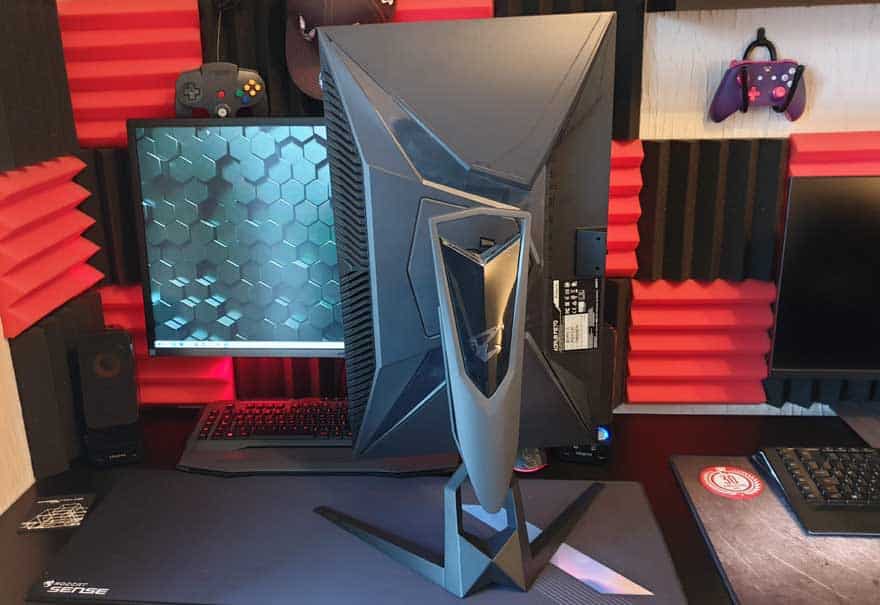
The first thing you notice with this monitor is actually the rather chunky stand. It’s really heavy-duty and very well made, which I obviously like.

You’ll notice that it doesn’t require tools to mount to the display either, although you may need a screwdriver to mount the legs; it’s only a single screw.
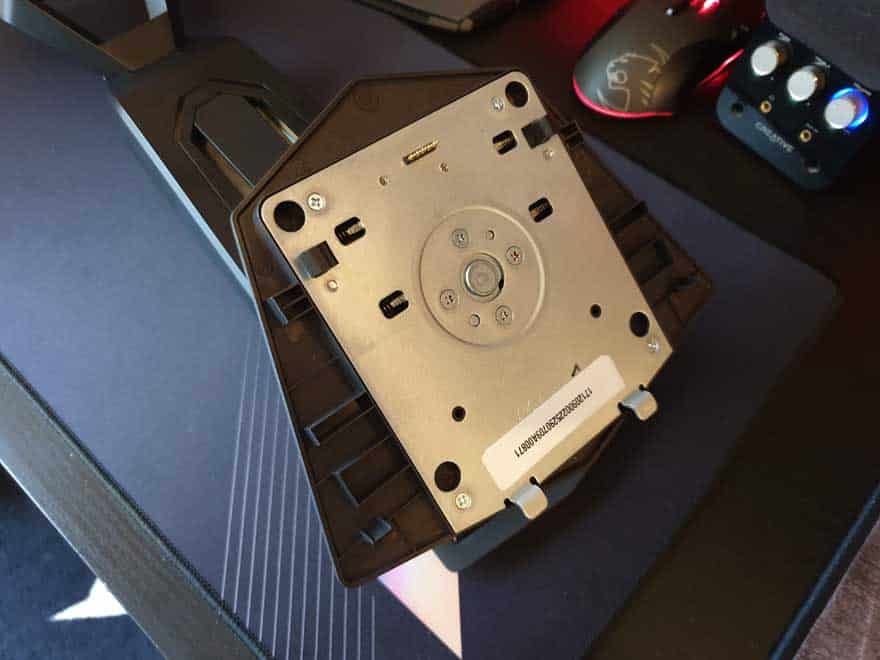
What are these? Why they’re RGB pins of course! The stand has built-in lighting effects, so it’ll syphon power from the display once mounted; pretty clever actually.

As I said, the legs screw in with a single screw. It’s very easy to build the stand.
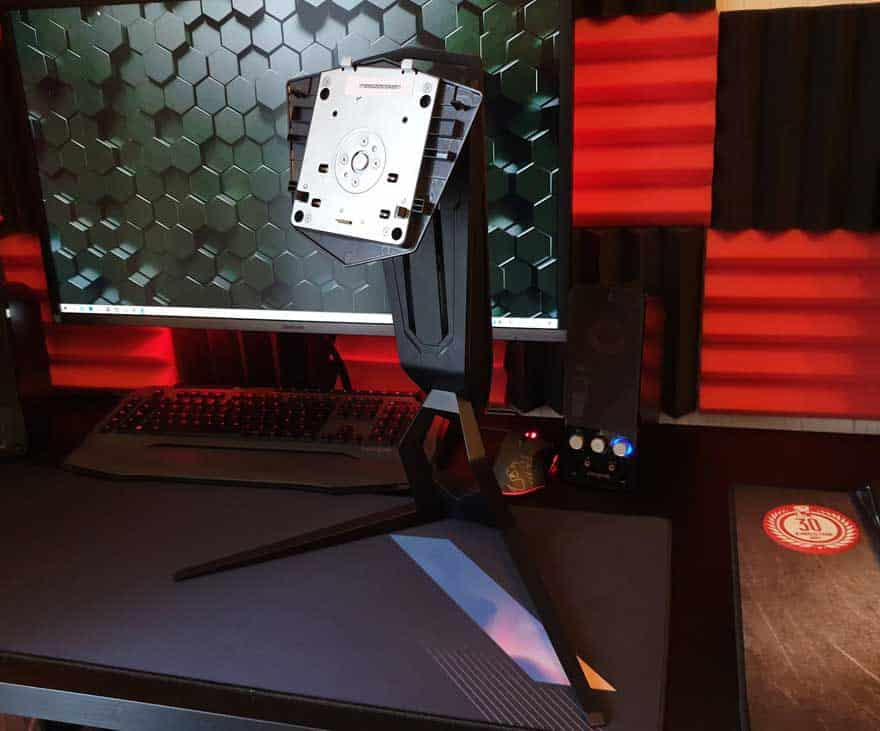
Plus, it looks fantastic with that upper carry handle and integrated AORUS logo.


The back of the monitor features two massive wings with some integrated RGB highlights. In the middle, you’ll find the display mount, and below that, the usual bank of display inputs and audio jacks for the built-in noise cancellation tech. However, I do wish they’d put them in a more accessible spot.
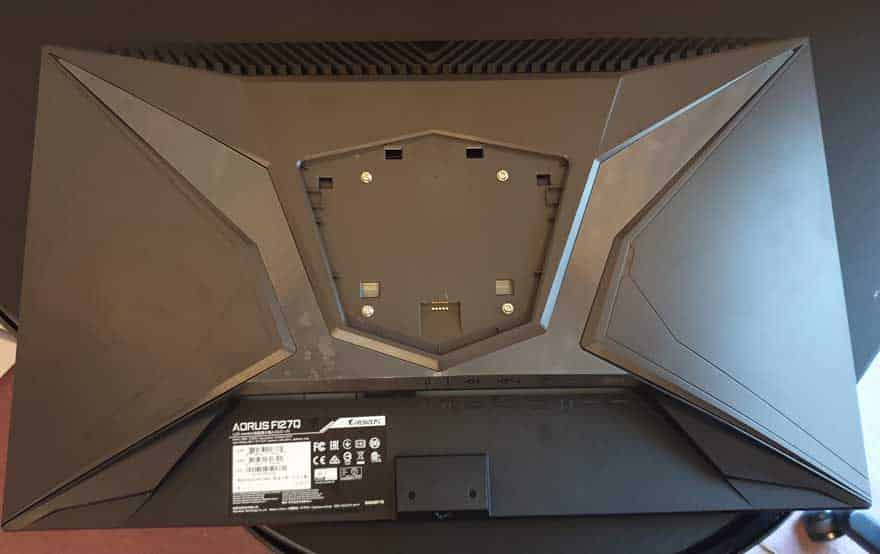


The monitor just locks into the stand with no fuss. Plus, the weighted base makes it feel really secure even at maximum height.

You can easily turn the monitor 90-degree with one hand and not feel like you’re going to push it over, which is fantastic. I’ve had monitors that spin before, and they’re often more trouble than they’re worth. However, because this one is so easy, I love it.
RGB
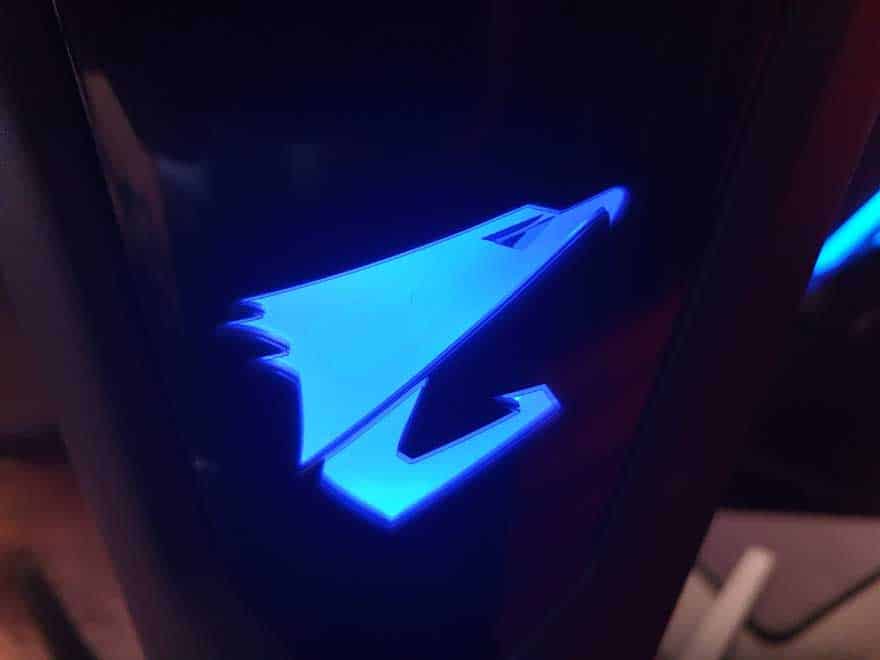
Everything seems to have a bit of RGB these days and this monitor is no exception. On the rear wing design, you’ll find RGB on the left and right side of the monitor. Now, this is only a decal, it’s not bright enough to give you a vibrant backlight or anything, so keep that in mind. There’s also a colourful AORUS eagle head on the back of the stand, as well as two small sidelights on the lower section of the stand.


OSD
The monitor is controlled using a single joystick below the front edge of the screen. It’s really responsive and very easy to use. Touching it brings up a quick navigation menu that’s pretty self-explanatory. If you want to use the game OSD for system stats, you’ll need to connect the USB cable, as well as download the required software, but it’s easily done.

Here you can very easily see an overview of your major settings at the top. FreeSync, RefreshRate, that kind of thing. However, there are loads of picture profiles, custom profiles, and OSD settings you can flick through easily enough.

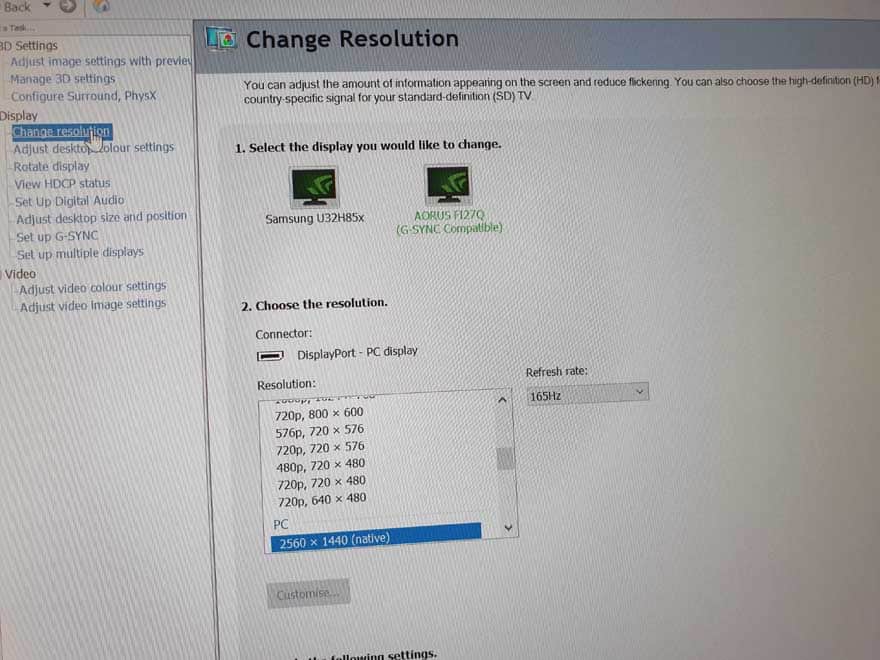
Remember, Windows doesn’t typically set the refresh rate automatically, it’ll likely default to 60 FPS. Be sure to set the resolution and refresh rate yourself. This is true of FreeSync and G-Sync too, confirm their settings before you play a game, and don’t assume it got them right automatically.
