ASRock Z170 Extreme 7+ (LGA 1151) Motherboard Review
Rikki Wright / 9 years ago
BIOS and Overclocking
Most motherboard manufacturers nowadays offer multiple BIOS styles for users to enter and tweak the system settings. The latest implementation of the BIOS type is the UEFI (Unified Extensible Firmware Interface) BIOS, which is a simpler version to view and interact with. Each manufacturer has a different style and each motherboard could have a different colour style.
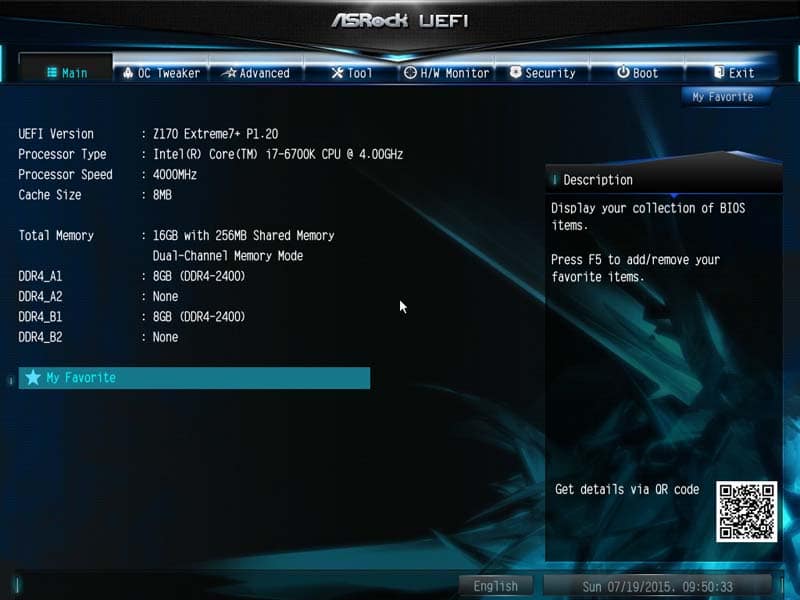
The UEFI style offered by ASRock is very similar to that of previous generation motherboards. A very plain, yet robust design. The main page offers a quick overview of the system.
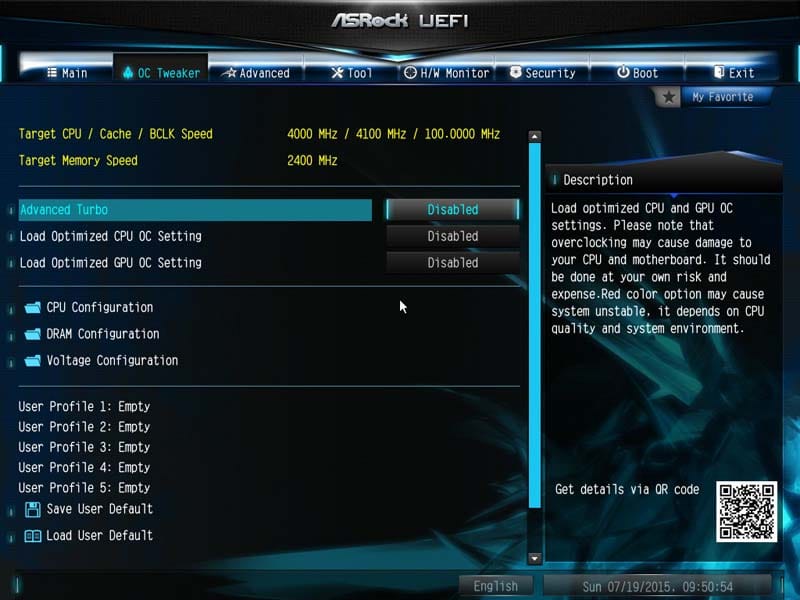
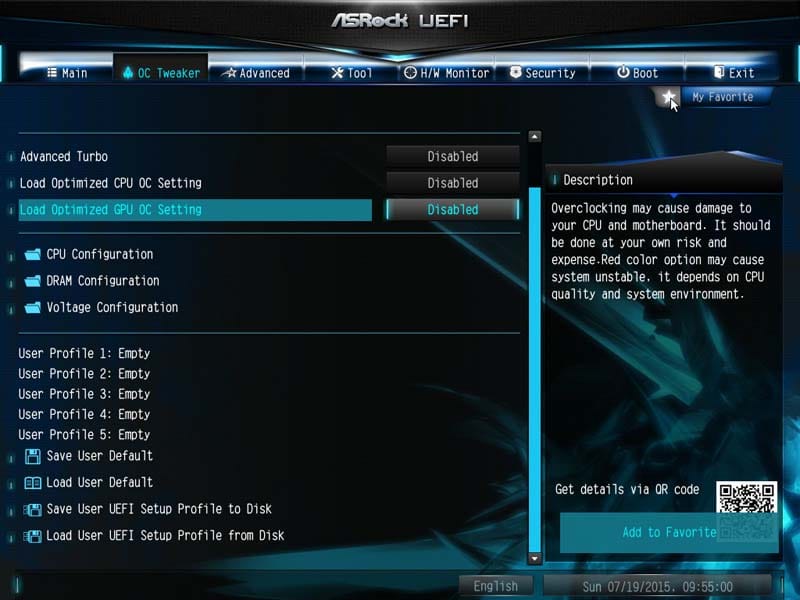
The OC Tweaker page is probably where you are going to spend most of your time. This is a very simple method of optimising the system with preset overclocks and settings for the CPU, RAM and GPU.
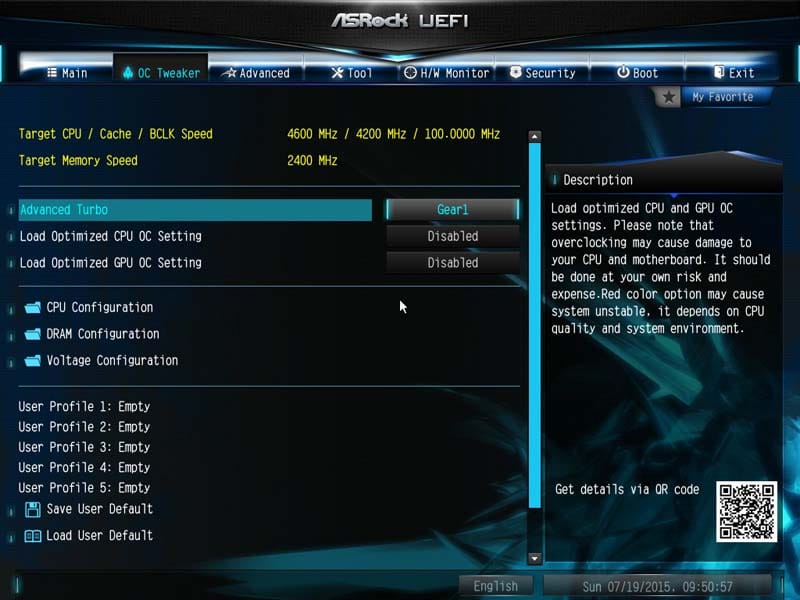
Advanced turbo adjusts the Cache speed slightly, but adds a huge 600MHz onto the Turbo clock speed. It however only comes in 3 settings; Off, Gear 1 and Gear 2, the setting below is Gear 1.
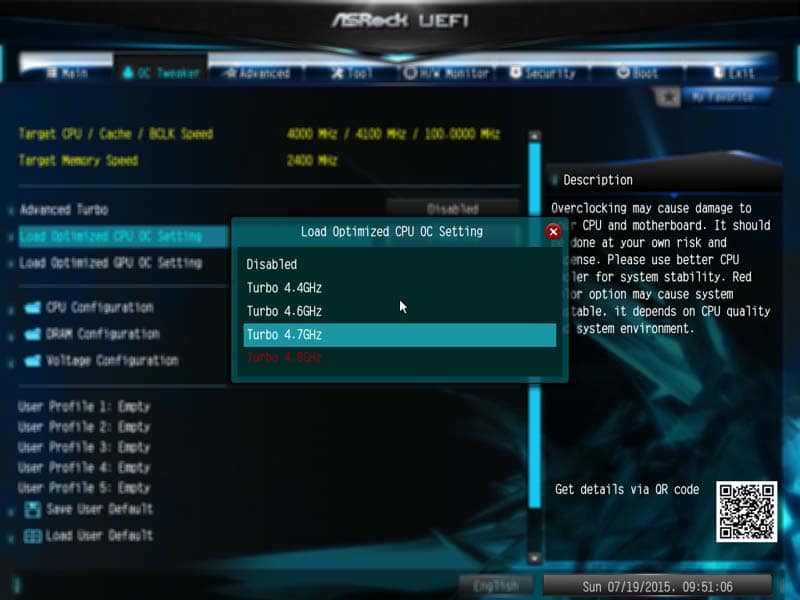
Optimised CPU OC offers a slightly finer tuned overclock choosing from four presets.
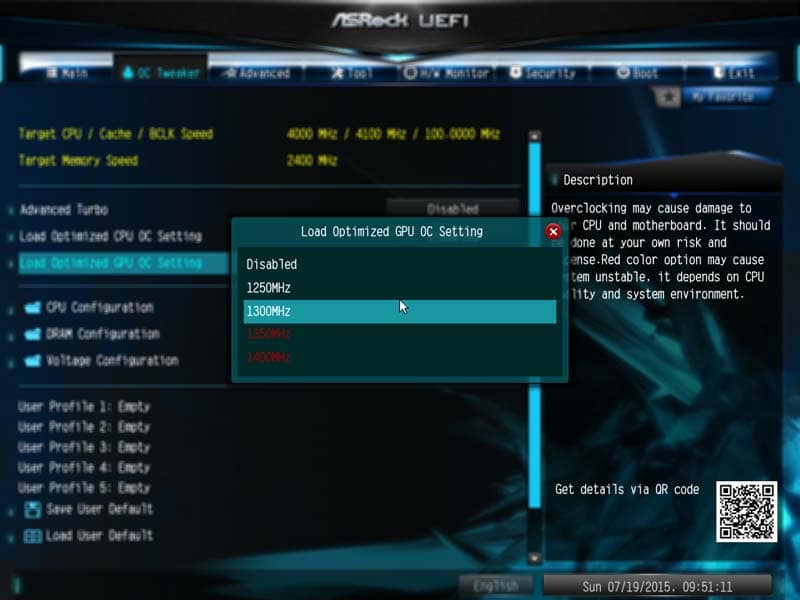
GPU OC applies to the iGPU clock speed of the CPU and not a discrete GPU.
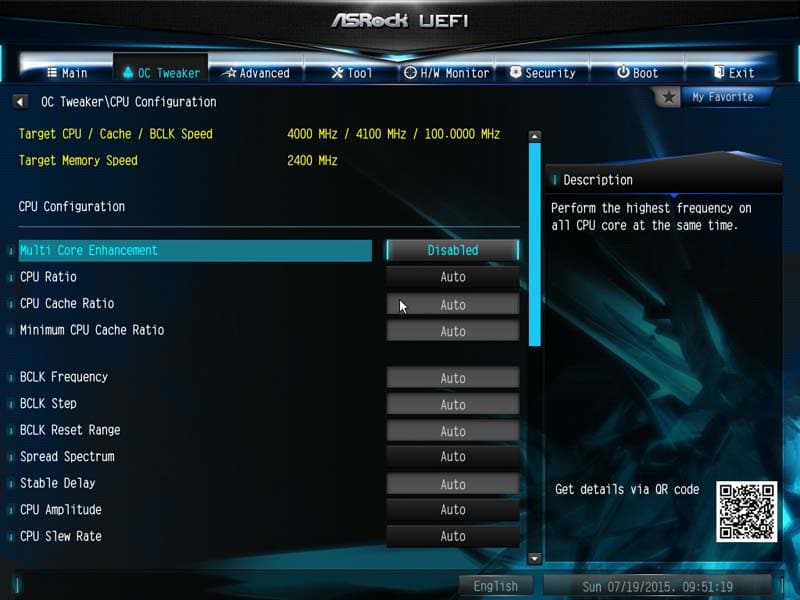
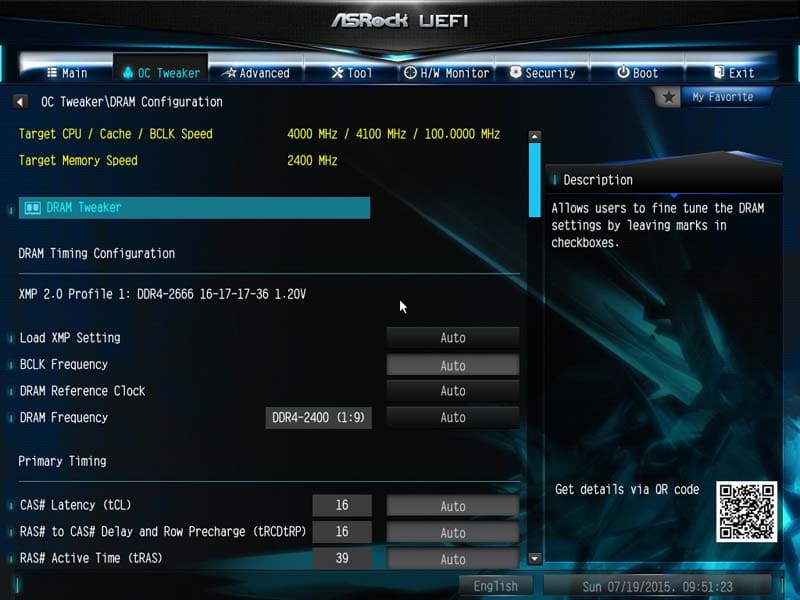
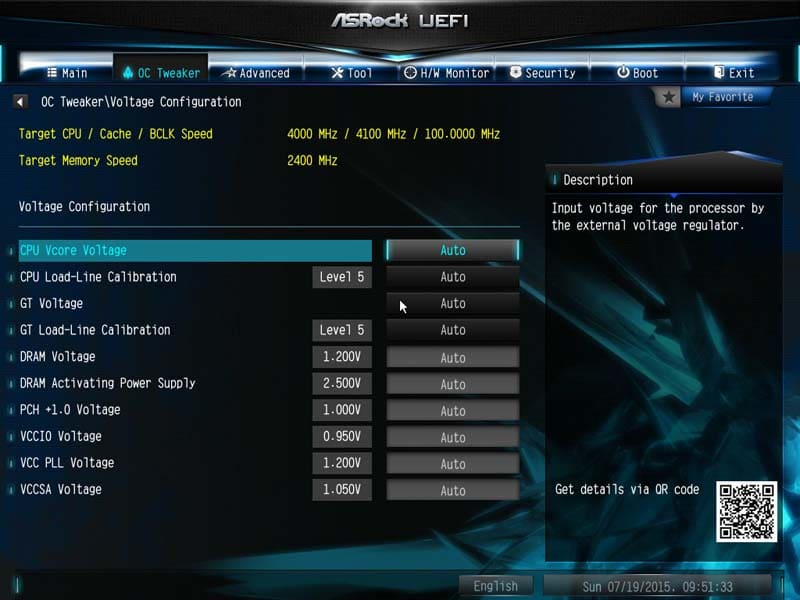
There are then three additional sub-folders which hold all of the settings needed for a fine tuned and custom overclock to your taste. I personally like how the CPU, RAM and voltages are all kept separate.
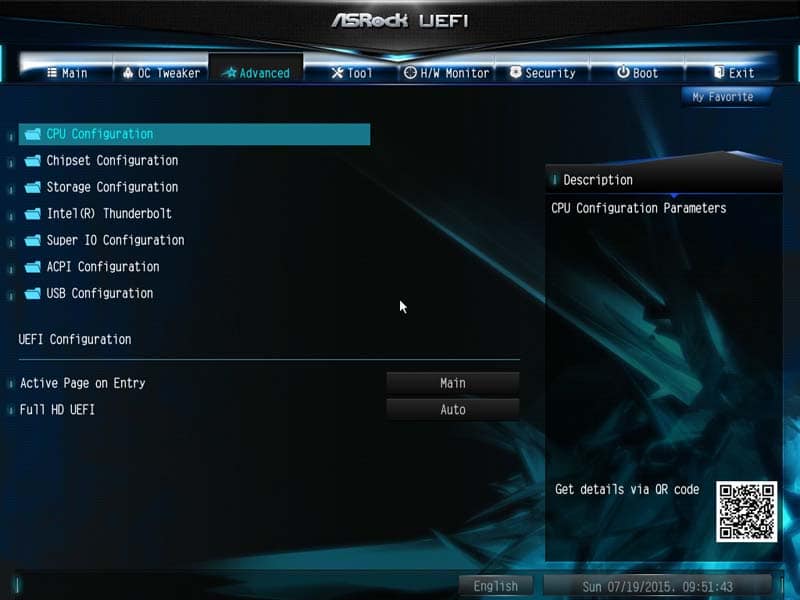
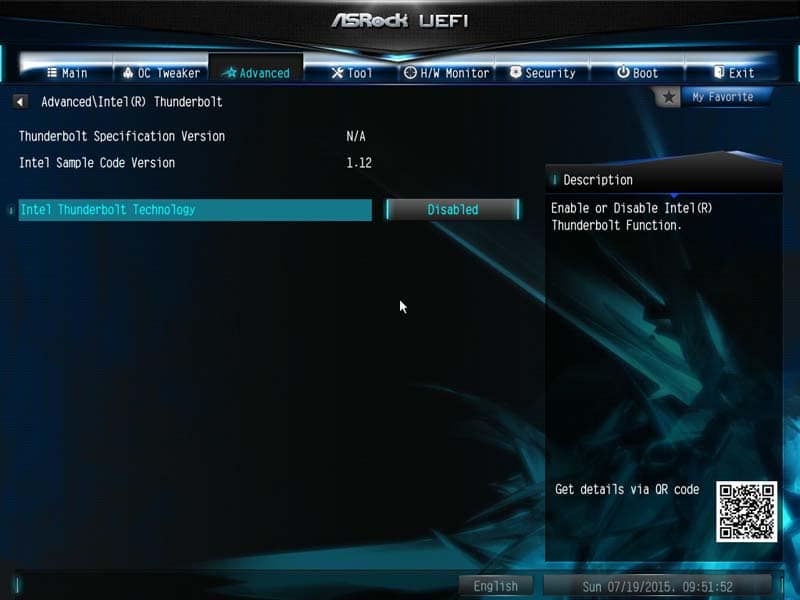
The Advance tab includes the features for the rest of the motherboard such as chipset settings and USB configuration. Most of the Z170 range of motherboards with all feature the new Alpine Ridge Thunderbolt support as standard.
Something I really like about the ASRock BIOS features is the fact that you have many tools to utilise. Some are a little less interesting, but UEFI Tech Service is a great addition. You can send an email from the BIOS to tech support for any problems with your computer that you cannot sort yourself.
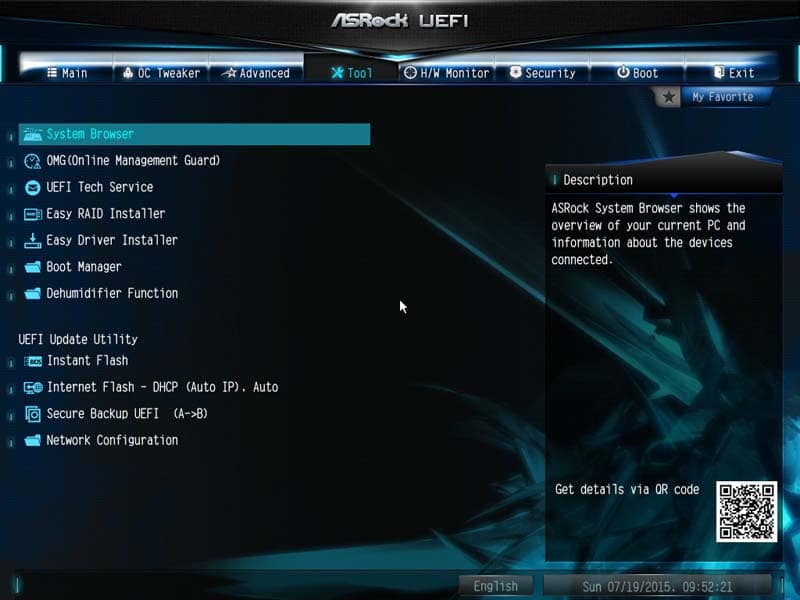
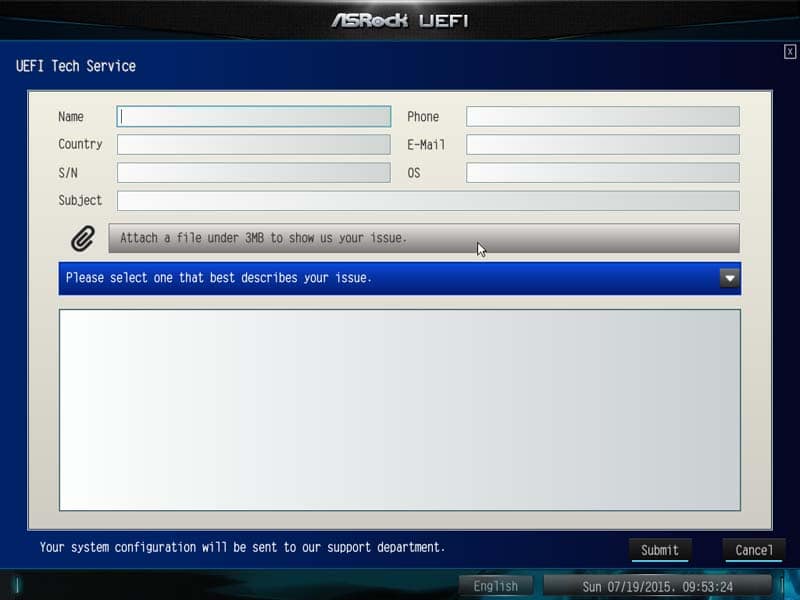
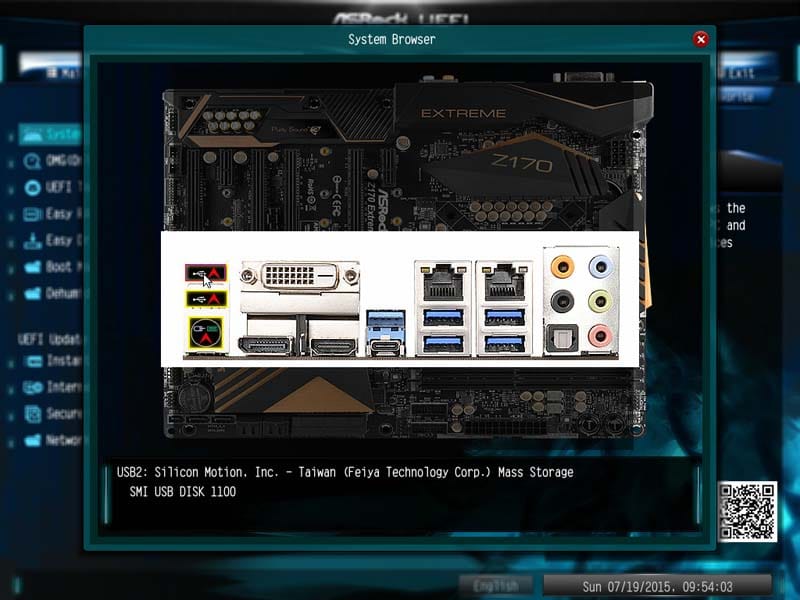
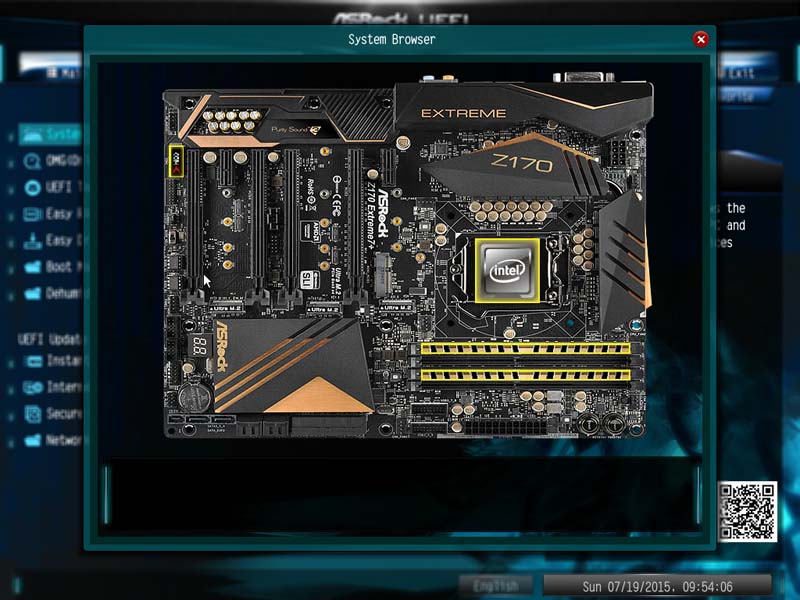
In with the tools page, you have the ‘System Browser’, which allows you to look over the motherboard in real-time and see what is plugged in and at what speed (in the case of CPU/ RAM/ GPU) they are performing at.
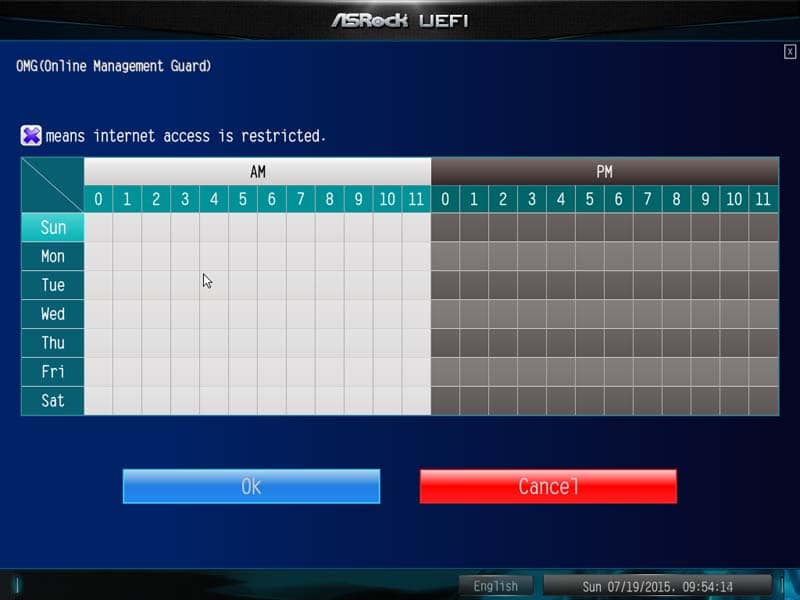
The ASRock OMG (Online Management Guard) can be seen as pretty useless. Most that build their own computers do it for themselves or friends. However, if you do find yourself building for younger users, you can set an internet cut off time to stop them using the computer at night or when there is no supervision.
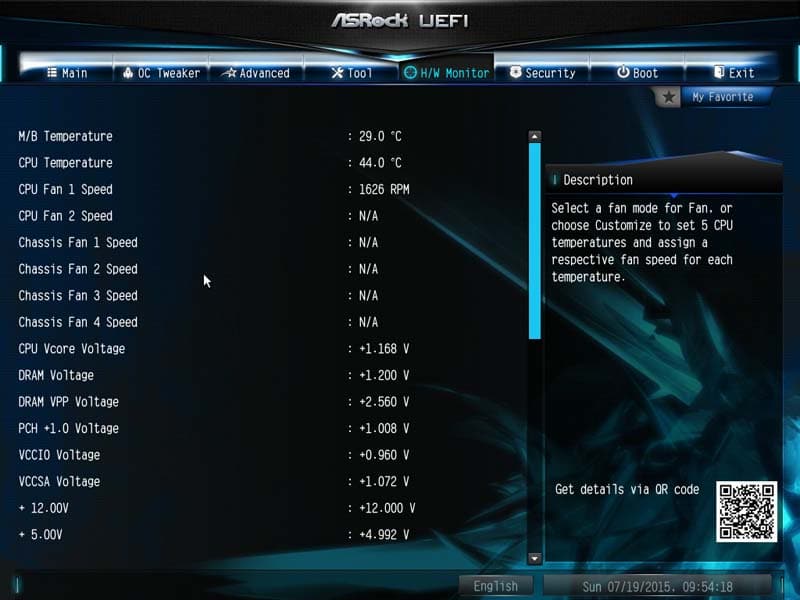
The H/W monitor (hardware monitor) monitors anything and everything about the motherboard, from temperatures to fan speed and voltages.
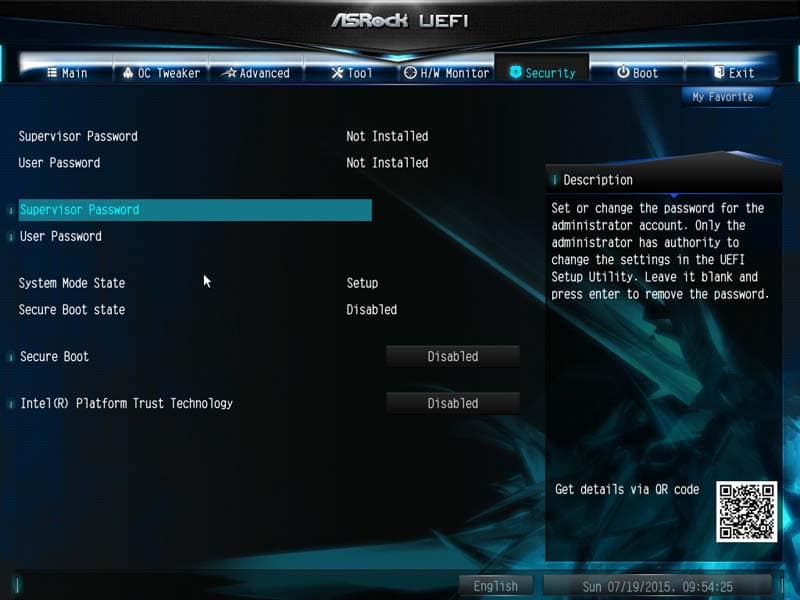
The security tab probably gets used the least. Here you can set system passwords and BIOS security to stop unwanted users accessing and changing the settings. This feature would be really good for schools and colleges under a technician team, but for home users, I personally don’t know anyone that uses this or similar features.
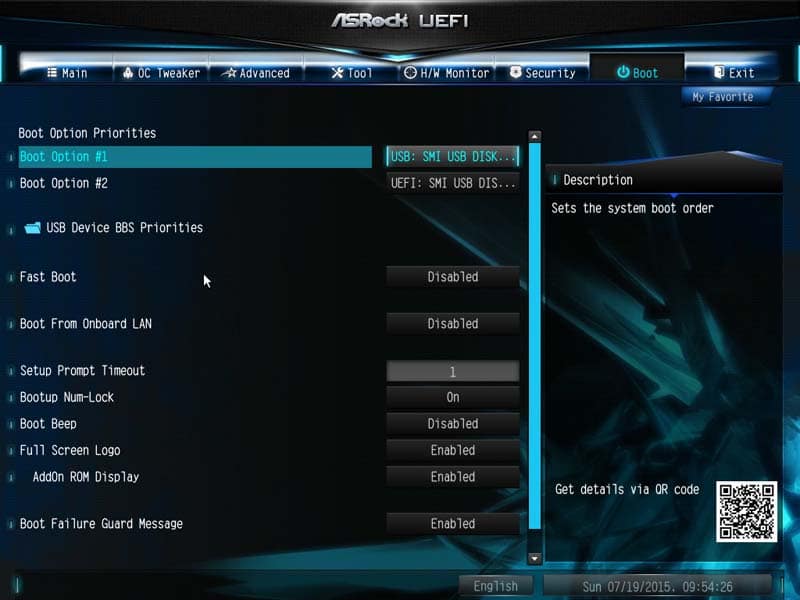
From the Boot tab, you can enable fast boots or booting from LAN and adjust the boot order from here.
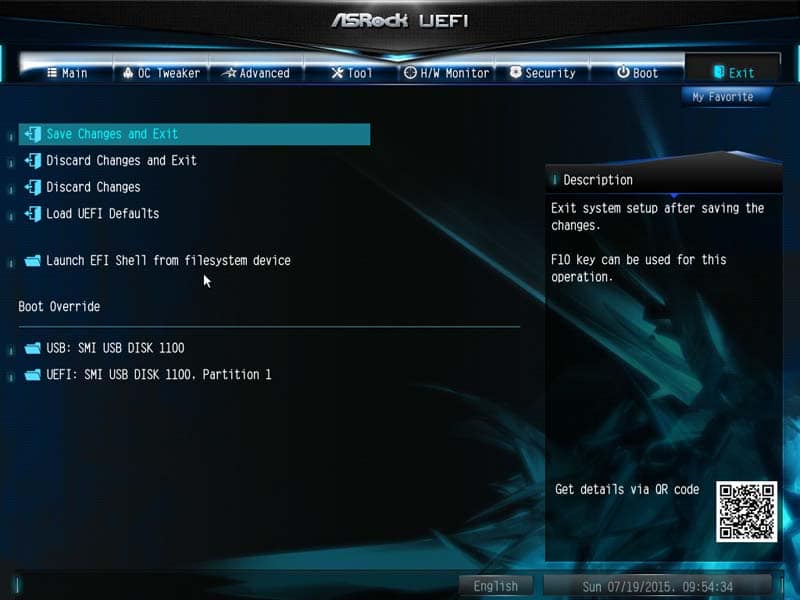
The Exit tab is exactly that, an exit tab. You can override the boot process with n external flash drive for installing Windows or similar and also save or discard settings you have made during your time in the BIOS.
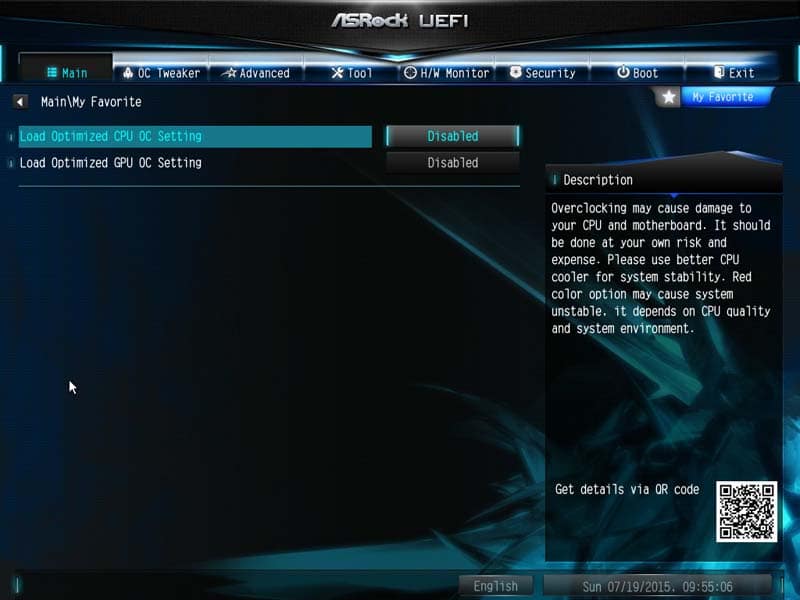
One feature that is slowly getting my interest is the Favorite settings. Here you an add certain settings to a separate screen for easier access instead of having to trawl through the entire BIOS searching. However, ASRock offers such a decluttered BIOS that I can live without it on this particular board.
Overclocking
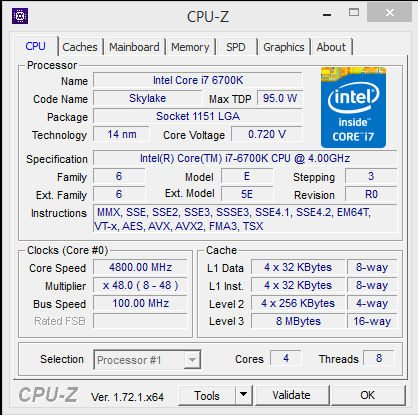
Overclocking this board was a slight pain due to some of the power saving features being enabled. Once Multicore Enhancement was enabled, we managed to reach 4.8GHz. The voltage monitor within CPU-z hasn’t been fully optimised to work with this new platform yet, so there will be some mild discrepancies.
