Asus E35M1-M Pro AMD Fusion Micro-ATX Motherboard Review
BIOS
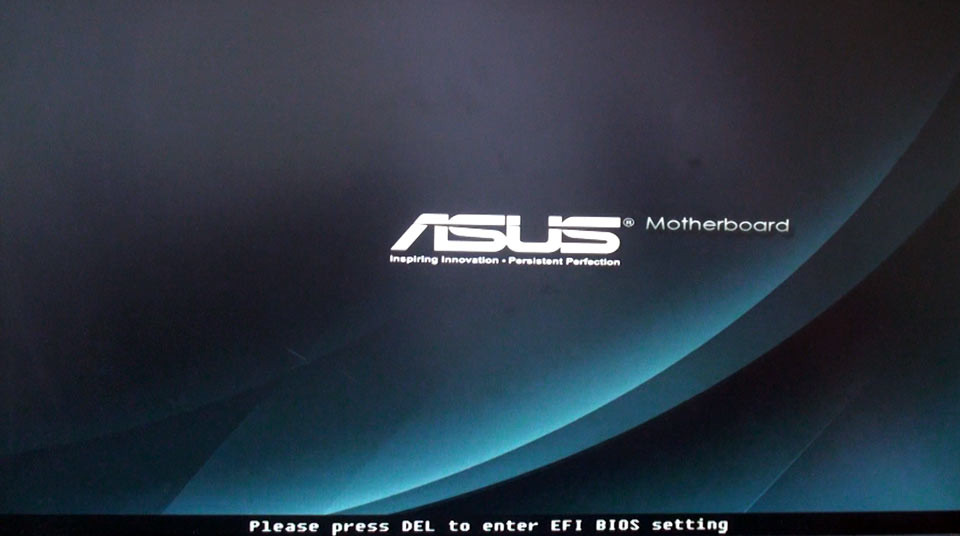
When starting the system up, you will be greeted with the Asus splash screen, and as per usual, will need to press the “Delete” key to get into BIOS.
The first things you will notice once you are in BIOS is that it is now a GUI based interface and also that you have mouse support. The new EFI BIOS is bringing this motherboard into the 21st century. There are two modes for the BIOS, of which the first is EZ mode, and the second being the advanced mode.
In EZ mode, you will have the option of choosing presets to enable your system to get the best performance, or to save the most energy, or a nice balance of both. You can also view your temperatures and voltages as well as adjust your boot priority by a simple click and drag action.
Advanced mode opens up a lot more options by showing more information in the way of a tab system. The patented Ai Tweaker is present for mild overclocking and voltage regulation, a whole host of configuration features to enable the very best performance from SATA 6G and USB 3.0, a monitoring section and overclock profiles for simple trial and error changes.
Below is an example of the screens that you would see on the new Asus EFI BIOS for this motherboard:
Asus have catered for all types of users in this BIOS by giving the option for EZ or advanced modes. Even using advanced mode sees a whole host of options displayed in a very simple manner giving you everything you want and need and dismissing everything you don’t. We feel that a novice user could learn the advanced features in a very short amount of time without the fear of messing things up and having all of the overclocking features in one place is perfect for the users wanting to get more from their system.
The GUI BIOS with mouse support is a real fresh view on things and is very easy on the eyes for one, and also very simple to navigate through.


who uses a 1200watt psu on a sub 50watt system?TRY it with a picopsu90, maybe the power consumption numbers will then be usefull.:@
The system will only draw as much power as it needs, hence using that power supply with its dual 12v rails.Andy
Almost all ATX power supplies drop well below 70% efficiency when operating at only 5% load.A system that draws, lets say 30W in idle mode would be only working at 2,5% load when using a 1200W PSU!Assuming 50% efficiency this system would draw 60W from your wall socket.
The results we have in the review are the figures at the wall.
Yes, and like bigspud said they are rather useless with such a big PSU.
You say about the board pulling 60w from the wall, even at load, the system only pulled 43.3w.
Just tested a Fusion motherboard for an upcoming review using a 200w Shuttle PSU. The draw *at the wall* on load? 43w
I have this MB in a system with 2gb DDR3 1066, 2.5" 7200rpm hdd, slim ODD and case fan. All powered by a solid state 200W PSU and 150W AC/DC brick.Idle power usage is 18W to 20WLoad is 30WYour ATX PSU is using power to output power. That's why your usage numbers were high.
Take a look at MTA99's response. Similar usage.I was also using a lot higher specced memory to what you are using and a different type of drive which all caters in certain factors.It is also worth noting that even with the system off, the unit will still draw around 2watts from the wall.Andy