Asus F1A75-I Deluxe FM1 Motherboard Review
Andy Ruffell / 13 years ago
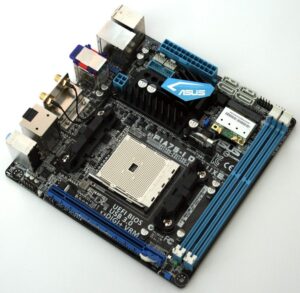
Due to the size of the board, we can see everything from a first glance and though a lot of features have been packed into this small form factor, the general layout is relatively spaced out with plenty of room, where needed.
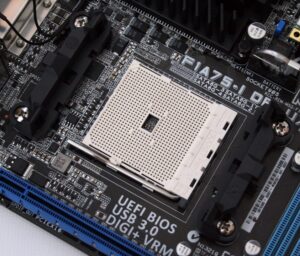
Taking a closer look at the socket area, we can see that the FM1 socket is used with the relative cooler retention brackets either end and plenty of room around the socket to provide the best possible air flow where needed and should allow for some larger style coolers too.
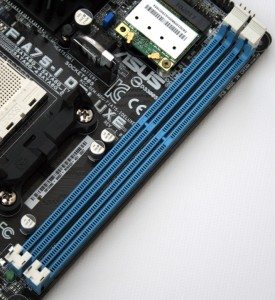
Towards the edge of the board are two DDR3 memory slots running in dual channel mode supporting up to up to 16GB of DDR3 1866, 1600, 1333 and 1066MHz speeds.
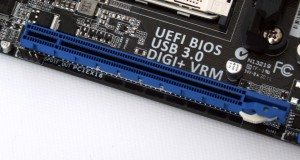
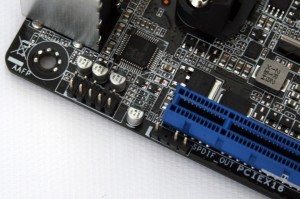
At the bottom of the board we find a single PCI-Express x16 slot which will be perfect for installing a PCI-Express based TV tuner card into or if required, a discrete graphics card solution though the Radeon HD 6000 series Llano onboard GPU is sufficient for most tasks that the typical user would buy this board for.
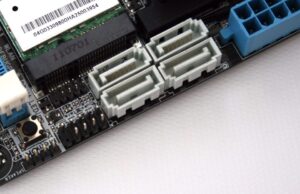
Flipping around to the top of the motherboard is where we find four SATA ports which run straight off of the A75 chipset and run at SATA III speeds depending on the drive(s) used in conjunction with them. Just next to the SATA ports is where we find a few of the front panel connectors including the speaker header and front panel button and LED pins. Also situated nearby is the MemOK button for the very best compatibility for your memory, which is especially helpful when overclocking.
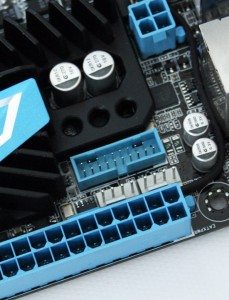
The opposite side of the SATA ports, snuggled away is a native USB 3.0 header.
Also moving back to the PCI-Express x16 lane, we find a few headers for relevant front panel audio connectors and SPDIF_OUT functionality.
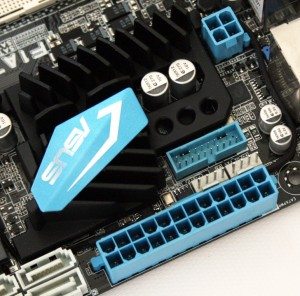
Power connectors are situated fairly close together with a 24-pin ATX power connector next to the SATA ports and a 4-pin motherboard power connector near to it.
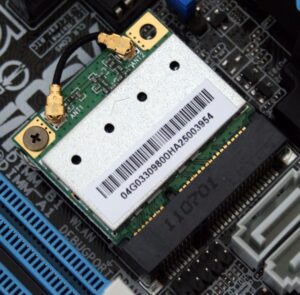
To give the board its WiFi functionality, a wireless LAN card is pre-installed onto the board which is connected and outputs to the rear I/O.
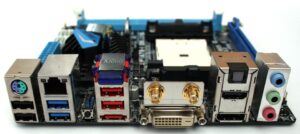
Moving onto the rear I/O we find a PS/2 combo port, two USB 2.0 ports, two USB 3.0 ports and a Gigabit Ethernet port. Just next to that is a tiny clear CMOS button which is especially handy once the system is built and inside your chassis. There is also a Bluetooth module on the rear of this board with two more USB 2.0 ports and an eSATA port below. The WiFi terminals output on the rear of the board, ready for the supplied antennas to be connected with optical SPDIF and three analog audio ports.
The board also caters for the major display connections with a DVI-D port, HDMI and DisplayPort, giving users the best choice depending on their type of monitor/television that will be used.
