Asus PCE-AC68 802.11ac Dual-Band Wireless Adaptor Review
Chris Hadley / 11 years ago
A Closer Look
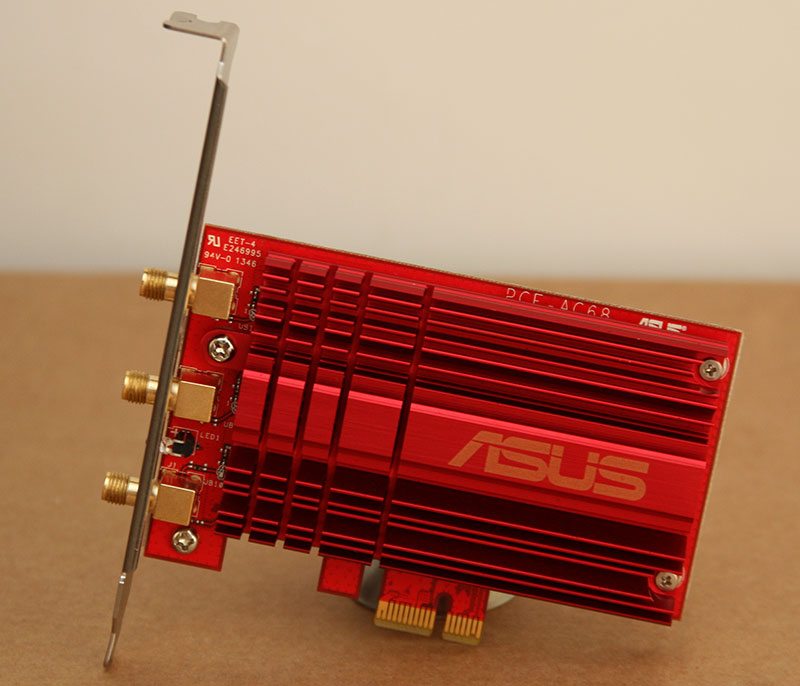
The first thing we have to note when looking at the wireless adaptor is the bold colouring. The bright red PCB and matching heatsink certainly stand out from the traditional black and red motherboards that we see from Asus’ ROG components. The PCE-AC68 is built to run a PCIe x1 interface and its compact size won’t distract your attention away from the rest of your system.
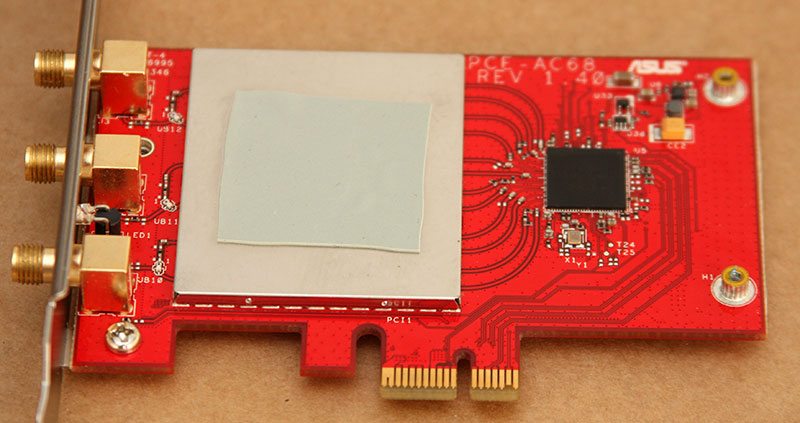
Lifting off the passive heatsink from on top of the cards upper side, we find a protective shield over the 5GHz transponder, the same as we found on the RT-AC68U that I paired this card together with to test. In addition, the PCE-AC68 utilises the same Broadcom BCM4360 transponders in order to deliver the same 1300Mbps capability on the 5GHz band and 600Mbps on the 2.4GHz band.
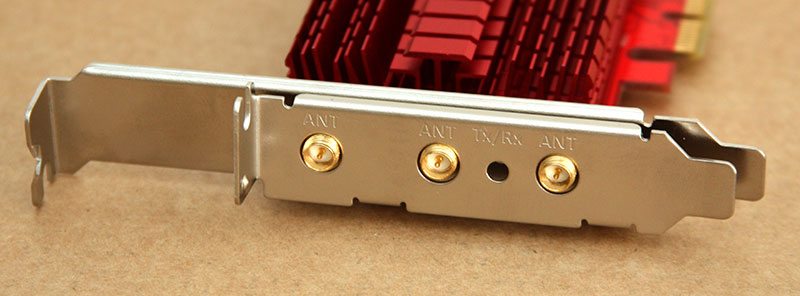
With a growing number of users opting for small form factor systems these days, Asus bundle in a half-height bracket that can be fitted to the card instead of the standard full height plate. On the rear of the card, three RP-SMA terminals are in position for the 3×3 antenna setup similar to that found on the AC68U router. In between two of the terminals is sat a bright blue LED which flashes to indicate the link status and WLAN activity.
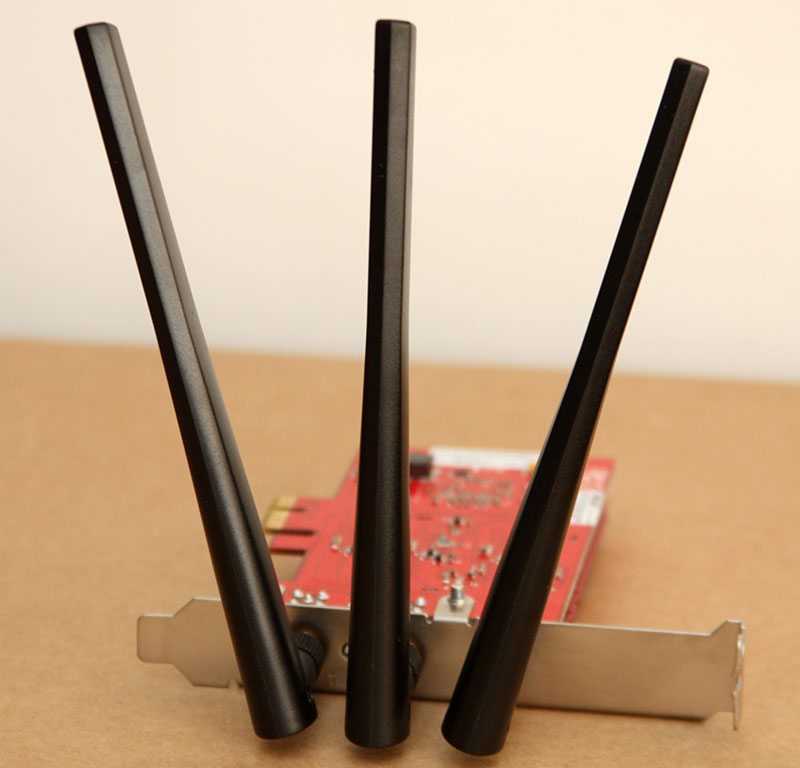
Orientated as we would see in a desktop system, there are two options for fitting the three antennae. The first option is to screw them directly to the back of the card, where they are positioned close together and out of sight.
The second option and the one that I have used for the purpose of testing is to utilise the remote magnetic base plate, which you can attach to the side of your chassis to maximise the wireless performance and reception.
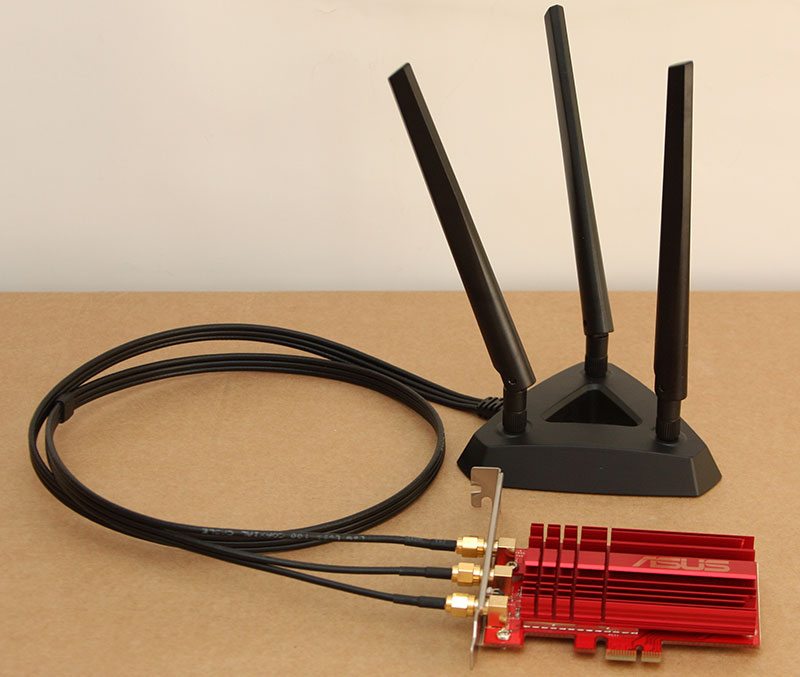
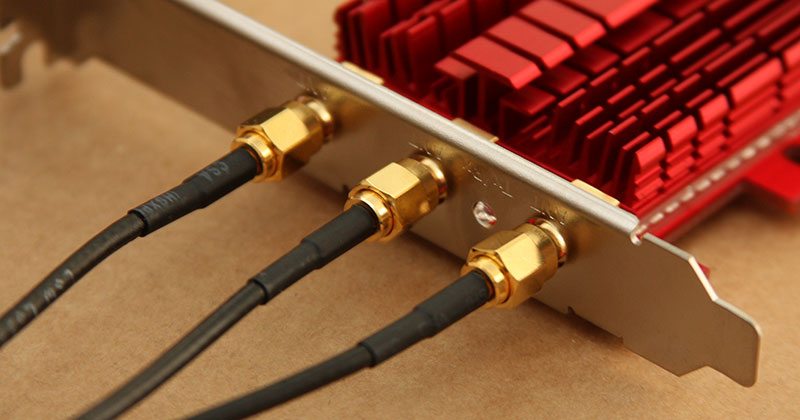
Connecting the base plate to the card there is a set of extension cables measuring around 60cm, these fit to the card with the same RP-SMA terminals, although I will point out that the cable is not as flexible and workable as say a USB cable. The best practice I found is to mount the base plate to the side of your case, then run the cables down and round to the back where you can then secure them.
