Asus ROG G751JY-T7051H Gaming Notebook Review
Colin Chambers / 10 years ago
A Closer Look
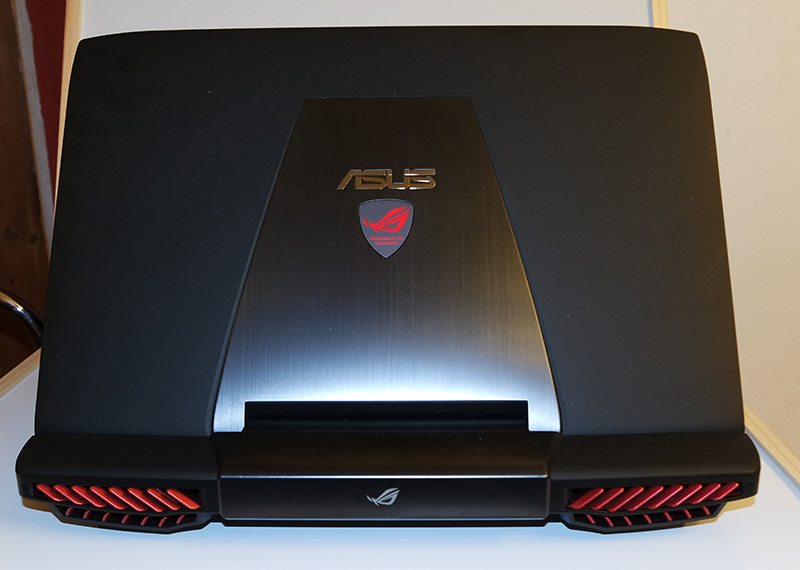
The G751 carries the “Stealth Fighter” styling that has been the theme of previous generations of ROG laptops, though this time it seems that there has been more attention paid towards giving a premium material experience. Features such as the brushed aluminium back, glowing logo, and actual laptop feet (rather than just being rubber blocks like previous incarnations that often fell off in time) show that careful improvements in tweaking the aesthetics, as well as functionality. Above the monitor is an HD webcam and mic.
The back looks fantastic, sporting a backlit ROG logo and plenty of brushed aluminium. The red fins are painted metallic red, and you can just begin to see the dual copper heatsinks behind them.
To the left we have a Kensington Lock, 2x USB 3.0, Blu-ray Drive and SD-card reader

And on the right there is the standard audio ports, 2x USB 3.0, Thunderbolt, HDMI, Ethernet, VGA and Power

The chiclet is well spaced out, responsive and pleasant to type on. The touchpad is nothing short of gigantic, with 2 buttons for left and right-click, and the touchpad supporting a customisable set of multi-touch gestures.
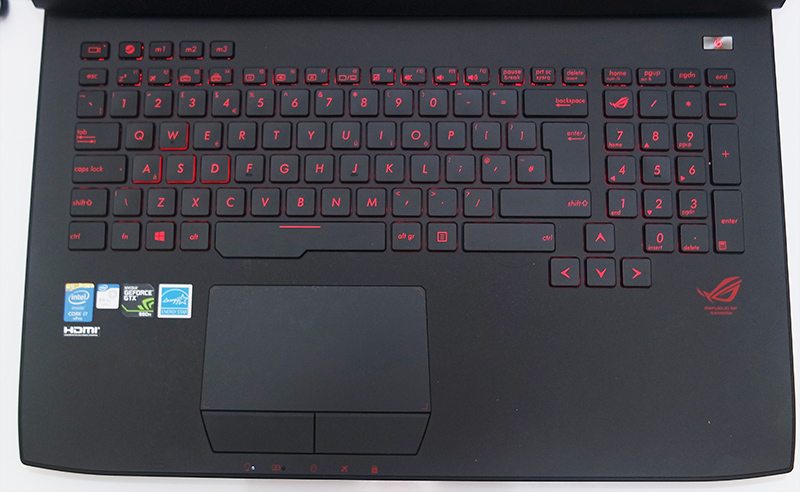
In front of the touchpad overlapping the edge of the laptop is a selection of LED’s for various system indications such as flight mode, power, HDD usage, battery and Numlock

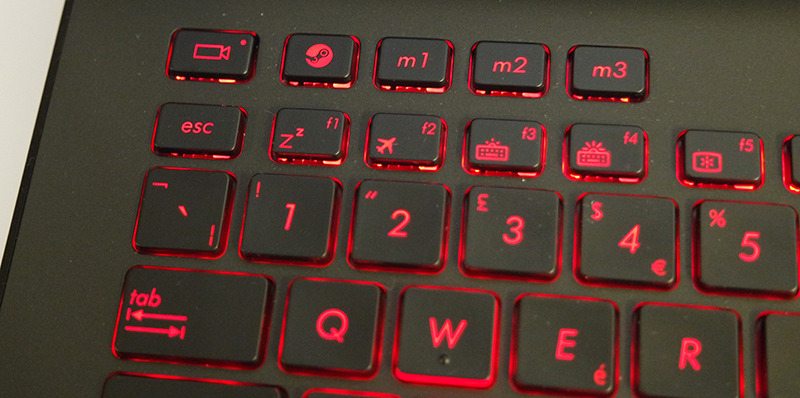
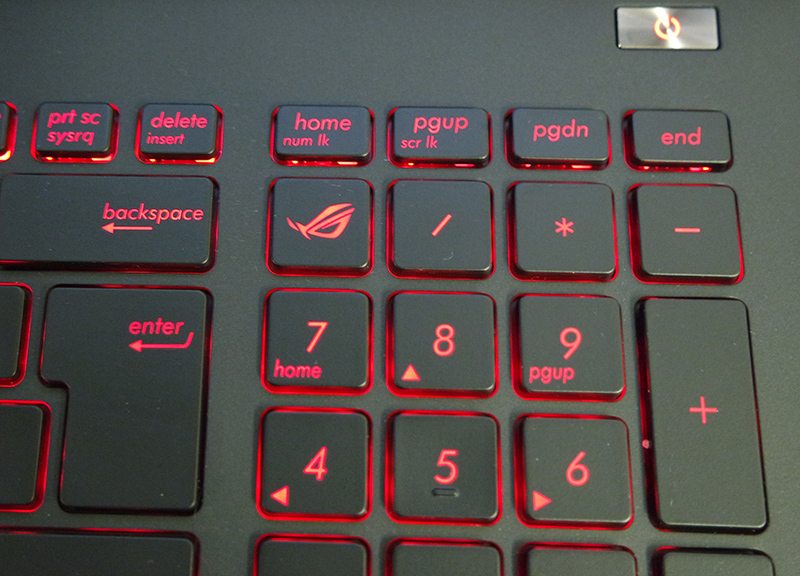
The keyboard has some interesting features such as dedicated Steam Key, a “Stream” key which launches Nvidias Streaming software, and a ROG logo in replace of Numlock on the number pad. When pressed this launches a gaming profile console and various system stats. Other touches include a trio of Macro customisable “M” keys, and the WASD keys have had their edges etched, which look great in the flesh.
The left and right speakers are cunningly placed behind the monitor, meaning that the sound from them points forwards rather than upwards as you would normally expect.
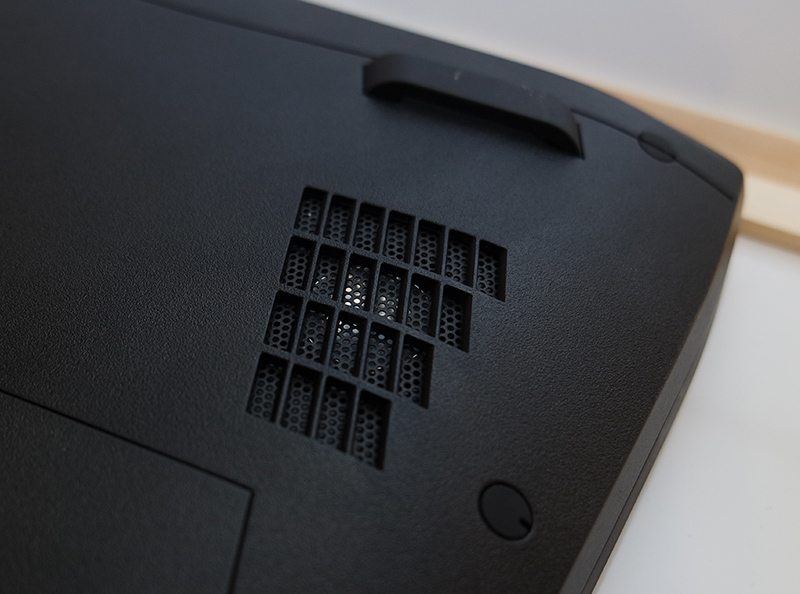
Flipping the laptop over reveals a large grill with visible subwoofer behind it. The feet of the case have been attached to the bottom of the case and are not designed to be removed to access the innards of the system, which is a fairly common method for hiding screw holes.
On the topic of screw holes, it appears that all of them except one have been covered in round sections of rubber, with the centre screw being covered by a triangular section of rubber which is used to access the “User Service Bay” via a single screw.
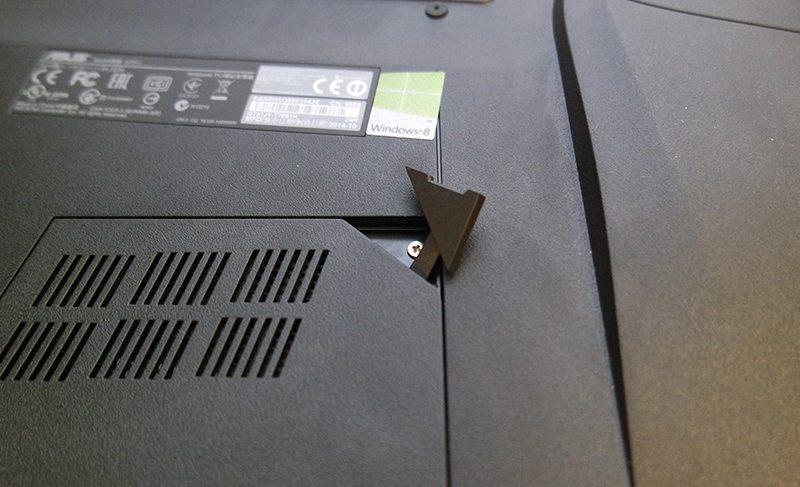
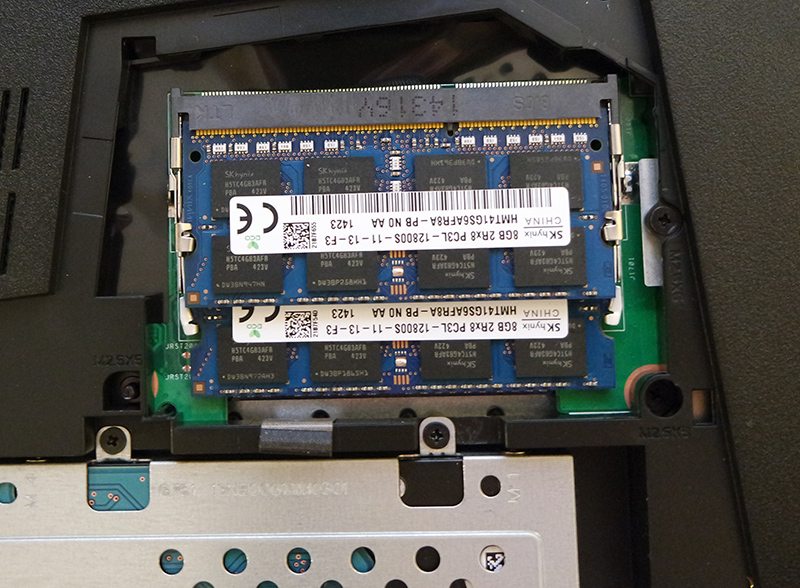
Unscrewing this single screw and prying gently removes the Service Bay cover, revealing the 2 hard drive bays and 2 of the 4 SODIMM slots.
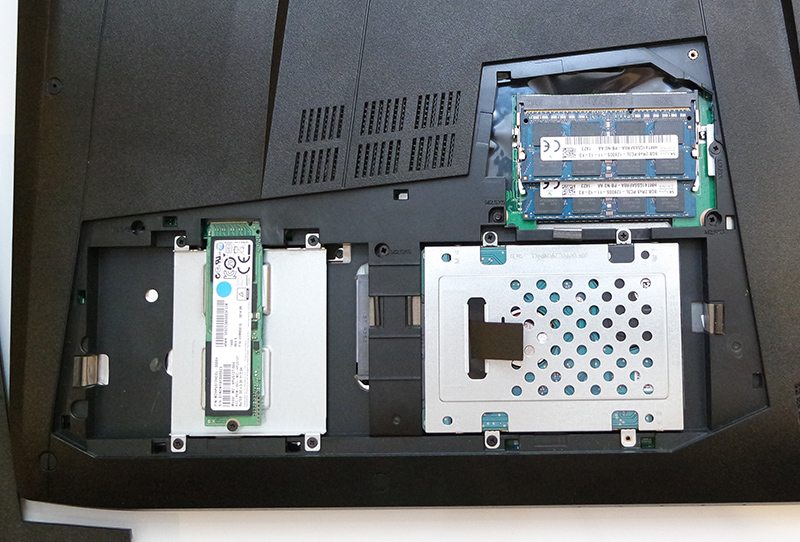
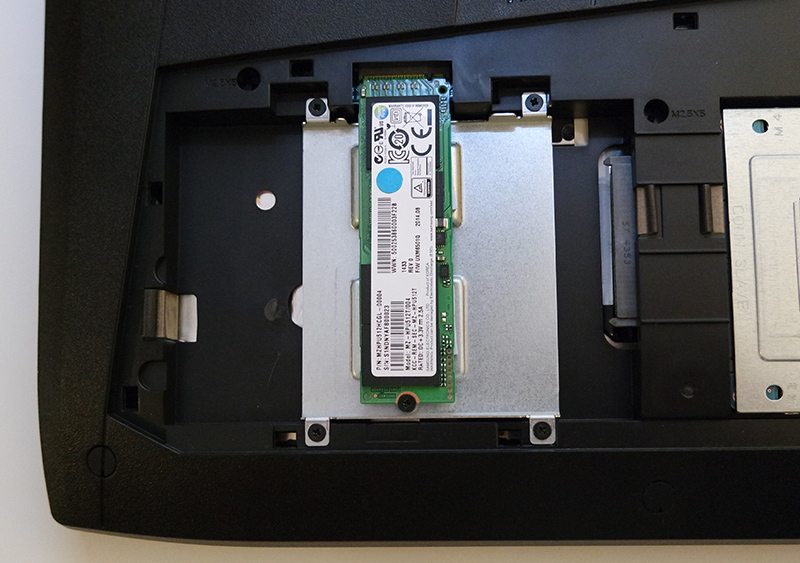
The leftmost Hard Drive bay also has a PCIE port for connecting M.2 SSDs, though this means you cannot use 2 typical SATA SSD’s in RAID if you choose to opt for an M.2. Lower spec models can include traditional SATA hard drives instead (or if you decide to go opt for RAID).
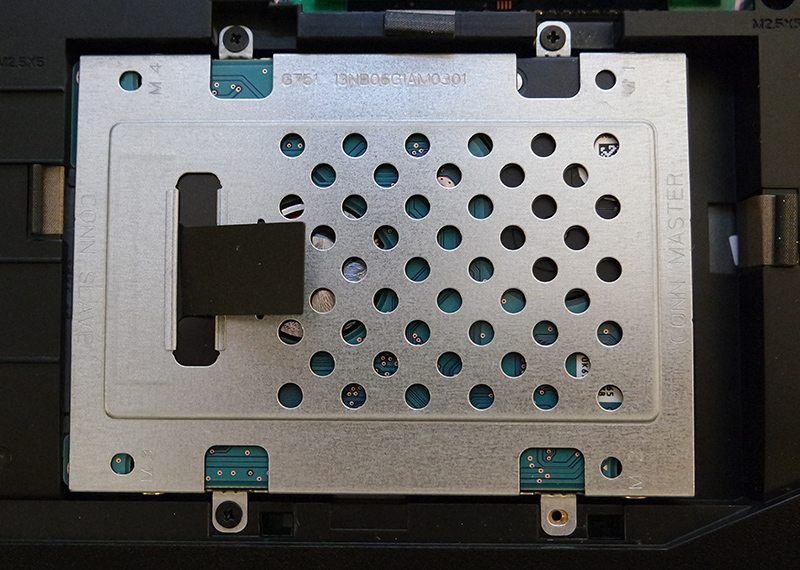
The secondary SATA hard drive bay, our model has a 1TB drive fitted as standard.
Only 2 of the 4 SO-DIMM DDR3 slots are available via the Service Bay
