ASUS X99-A (LGA 2011-3) Motherboard Review
Rikki Wright / 10 years ago
A Closer Look & Layout Analysis
Well the first look at the X99-A leaves me a little deflated. I don’t know quite what I was expecting with this, but it seems a tad boring.
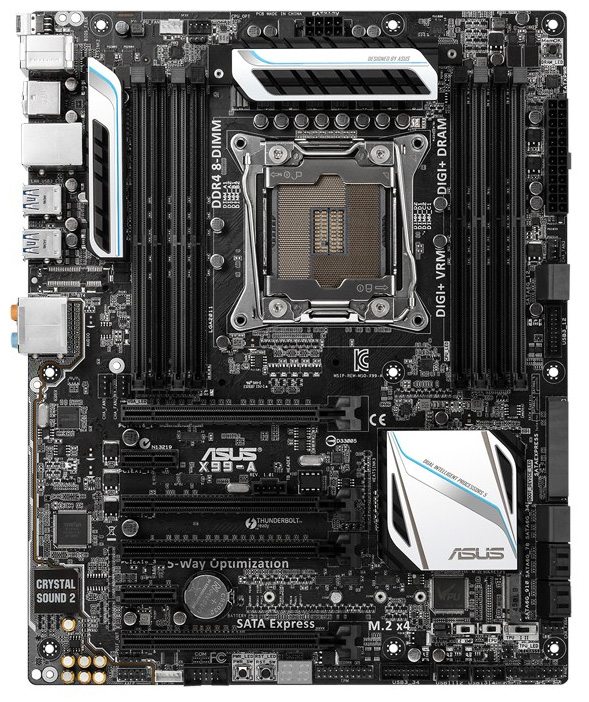
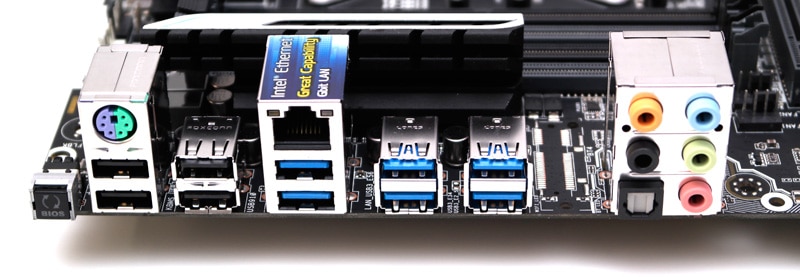
Along the side of the motherboard, we see a nice range of connections. Left to right, there is a BIOS refresh button, perfect to reset the BIOS when the motherboard is in the case. 1x PS2 connection, which I deem pointless; almost every keyboard and mouse in existence is USB compatible. We then have 4x USB 2.0 ports and 6x USB 3.0 ports, Gigabit LAN and HD audio jacks.
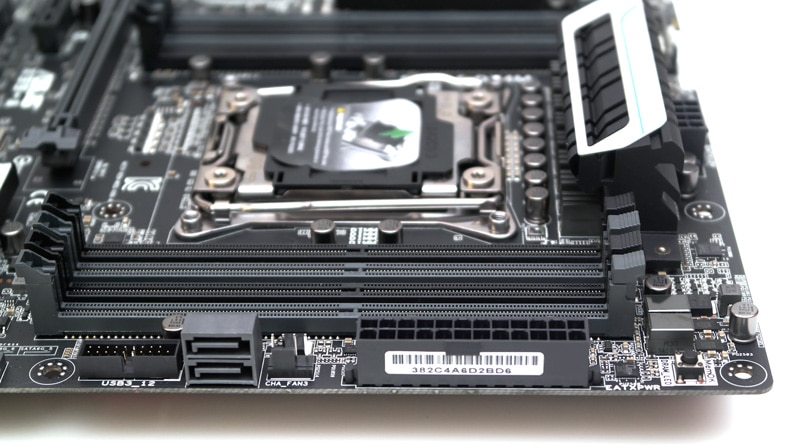
On the other side of the board, we see the 24-pin ATX connector. We also see 2x SATA3 connections and a USB 3.0 header. Near the top of the board, we see ASUS’ MemOK! button; this allows the user to test the RAM pre POST, something so simple, yet so effective.
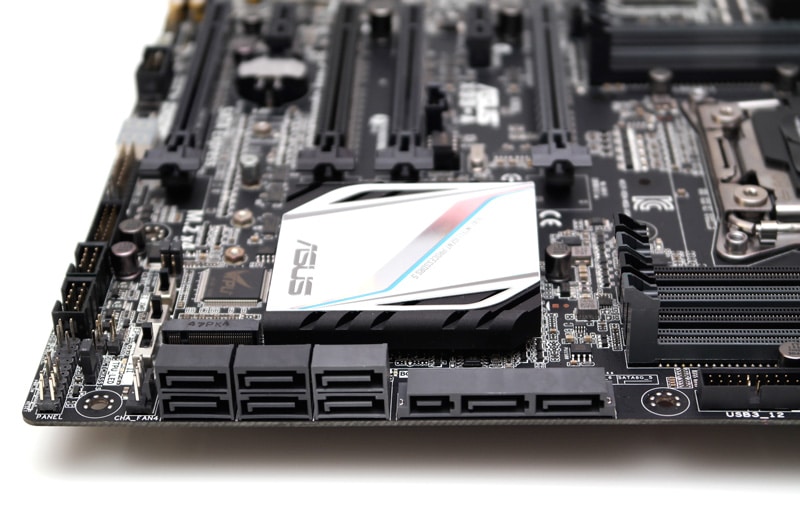
To the left, we then have 8 more SATA 3 and a SATA Express port. The SATA Express and two joined SATA 3 ports are capable of up to 10GB/s speeds, 4GB/s more than a standard SATA 3 port
Along the bottom of the board, we see the high spec Japanese capacitors for the audio, general headers, reset and power switches, debug LED and ASUS special EPU, TPU and EZ_XMP switches for manual operation.
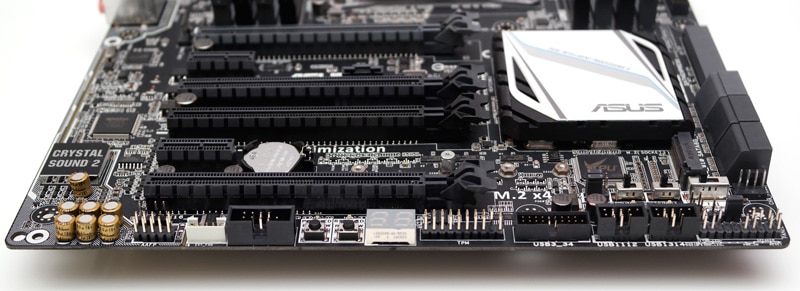
Just above those switches, we see the onboard M.2 slot, ready for high speed SSD goodness.
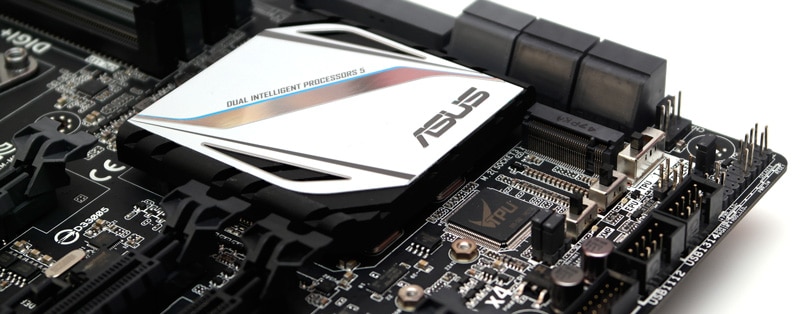
This board is very nice looking, black PCB, black PCI slots, black and grey memory slots, pretty much black everything with some very stylish white detailing on the heatsinks and very minimal blue detailing for that small splash of colour.
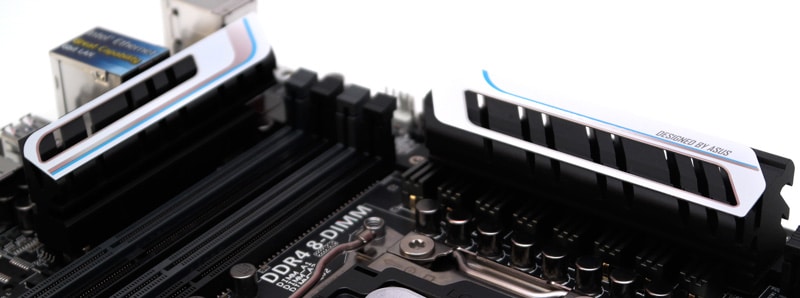
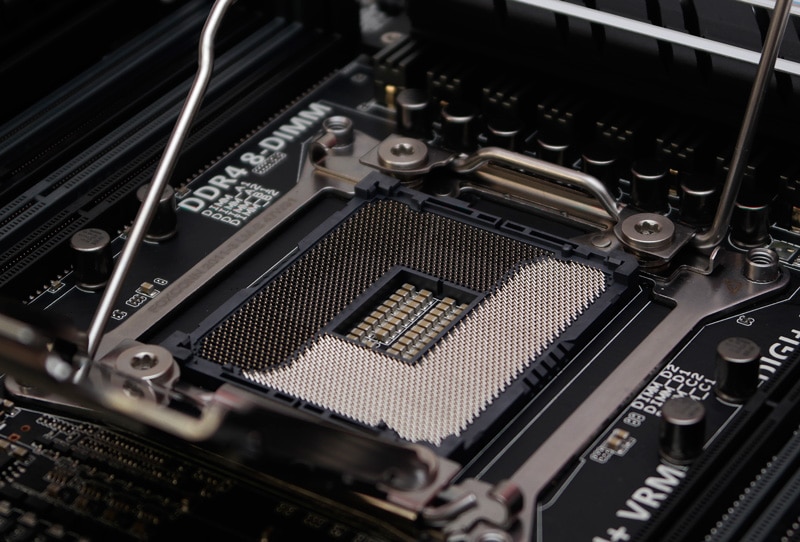
ASUS now equip most of their top spec X99 based motherboards with an OC socket. This essentially is a generic LGA 2011-3 socket with a a few additional pins located towards the top right hand corner. These extra pins make contact with unused slots on the CPU which allow for more stable memory overclocks when voltage is being adjusted.
