ASUSTOR AS6202T Enthusiast 2-Bay 4K-Capable NAS Review
Bohs Hansen / 9 years ago
Setup – Users, Groups, Shares, and Services
Up until now we only made our drive setup and got our administrator user, and that is something we need to change. The logical next step would be to create users, groups, and shared folders. All three of these settings are found in the Access Control.
User Accounts
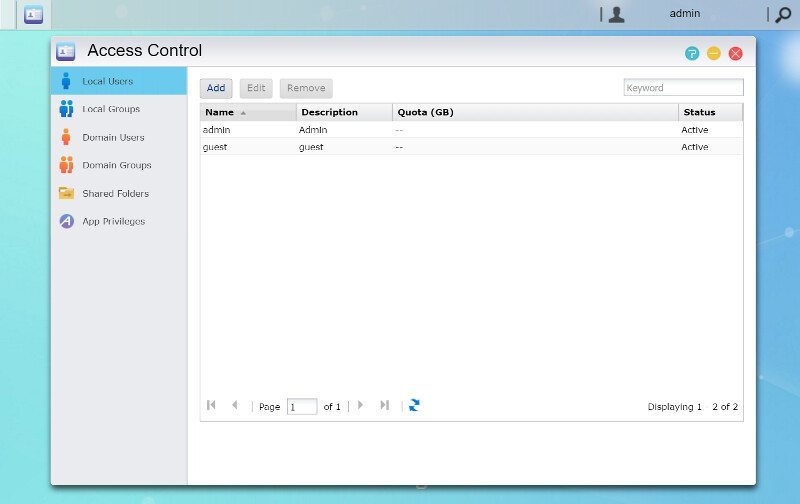
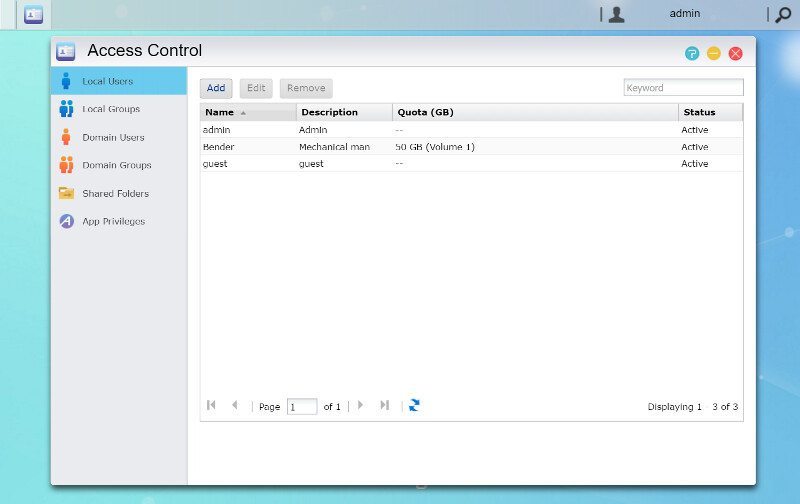
Besides the admin user, there’s also a default guest user. The list view provides a quick view of users, their quota, and status.
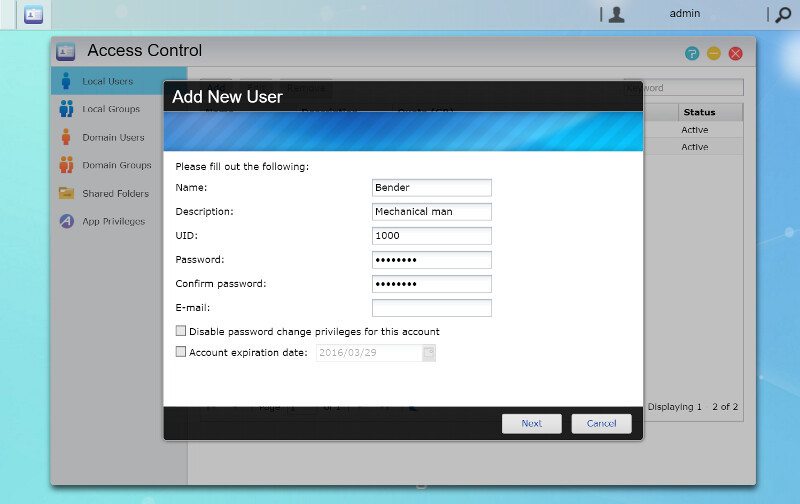
Adding new users isn’t complicated either. The only information that you are required to add is a name and a password. You can optionally also add a description and email, and also disallow the user from changing the password themselves and set and expiration date for the user account.
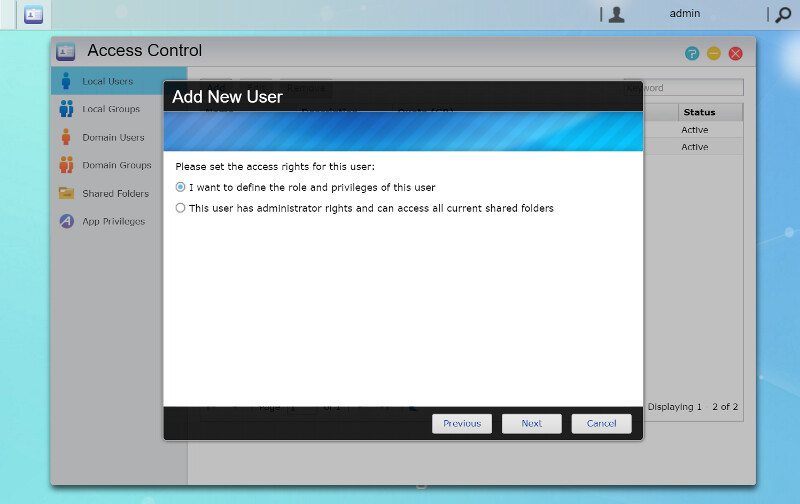
Next, you can either define a new role for the user or mark him as an administrator.
Selecting a new role will allow you to assign the user to already existing user groups. We’ll create more of those in a bit.
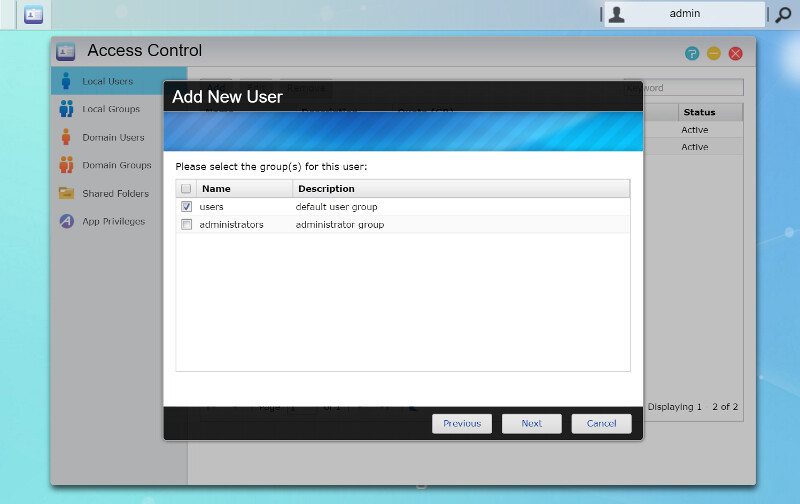
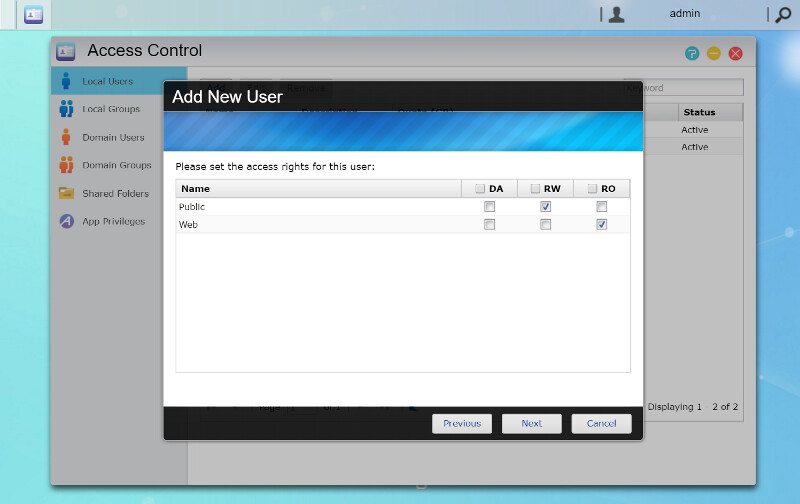
Each user also has their own access rights when it comes to shared folders.
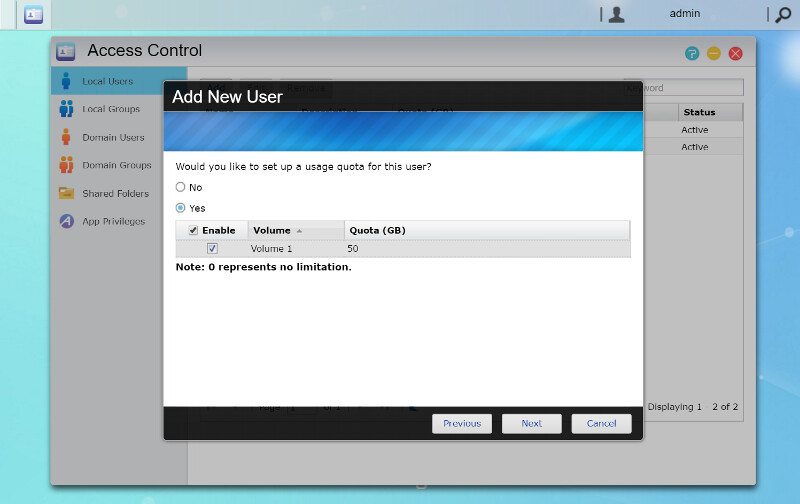
And we can set a disk quota to prevent users hogging all the drive space for themselves.
And now our new user is created. You can also specify app rules during creation, but we haven’t installed any apps yet.
User Groups
User groups is an easy way to maintain control of a lot of users without having to edit them all manually. Set app and folder access rights for the group and then add user to the group. Quickly disable single shares and apps for a whole group becomes as easy as if it was a single user.
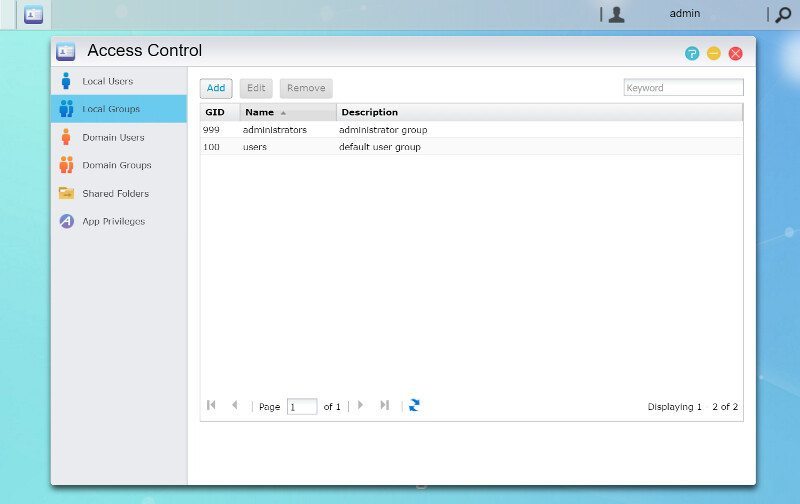
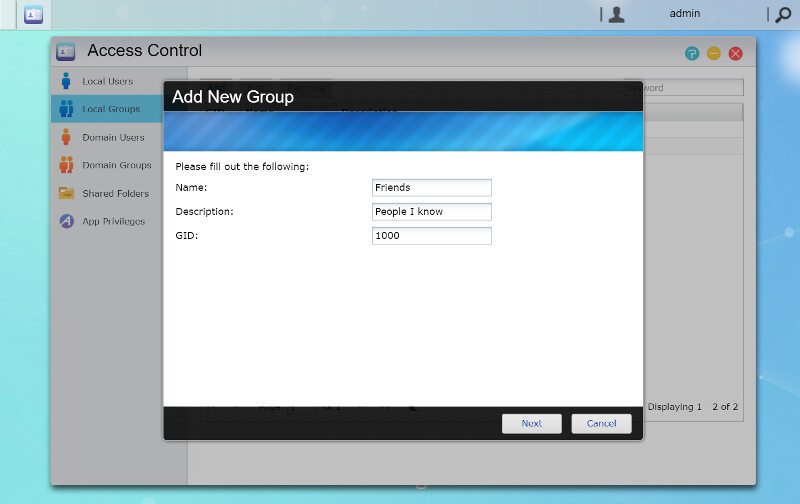
Creating user groups are very similar to users. We need a name and an optional description.
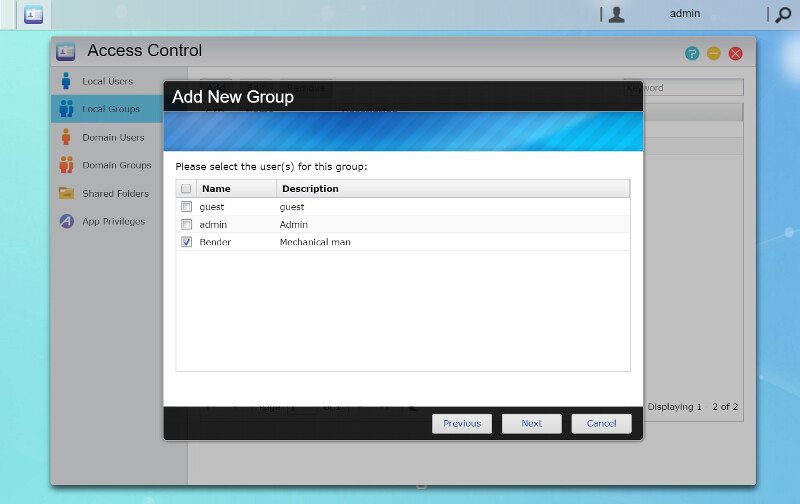
We can then add already existing users to the new group.
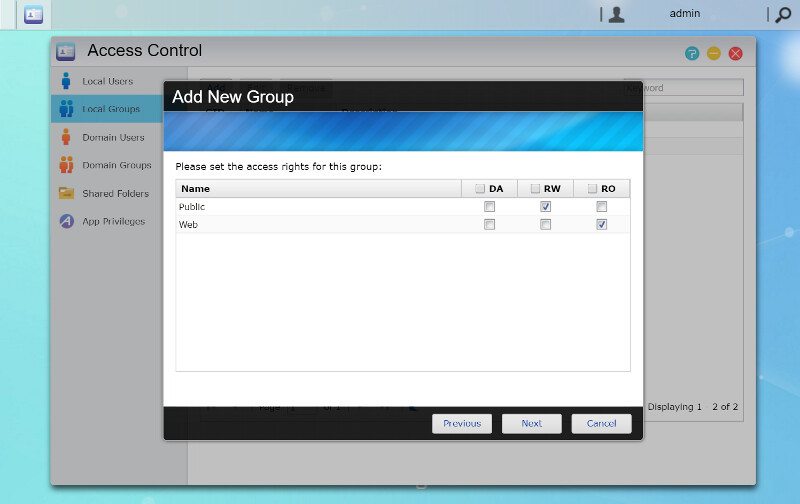
Set access rights for our shared folders that will apply to all users in the group. And that’s it, easy as Sunday morning.
Shared Folders
The main reason to set up a NAS is to share files, naturally. The cornerstone of this are Share folders and you can create pretty much as many as you want. Some features and apps will also create folders for their own needs and your usage.
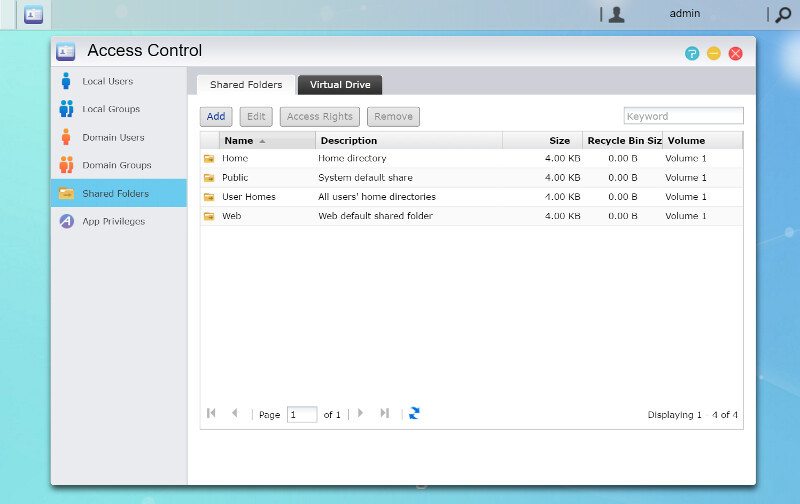
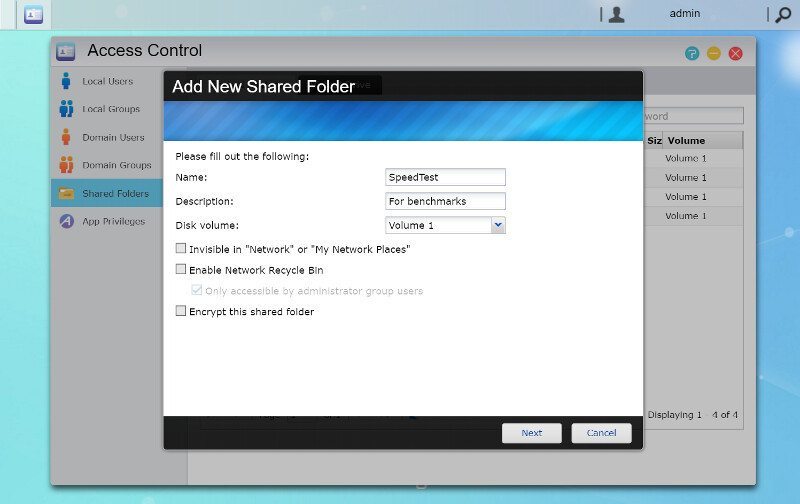
Creating new shares only require a name. You can optionally add a description, enable the network recycling bin, and encrypt the share with a password
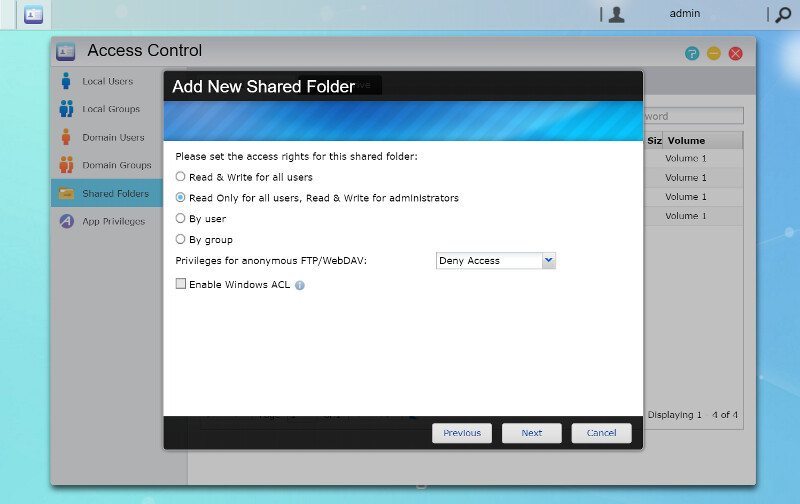
You can set the basic access rights for users too while creating the new share and define who has access in what way.
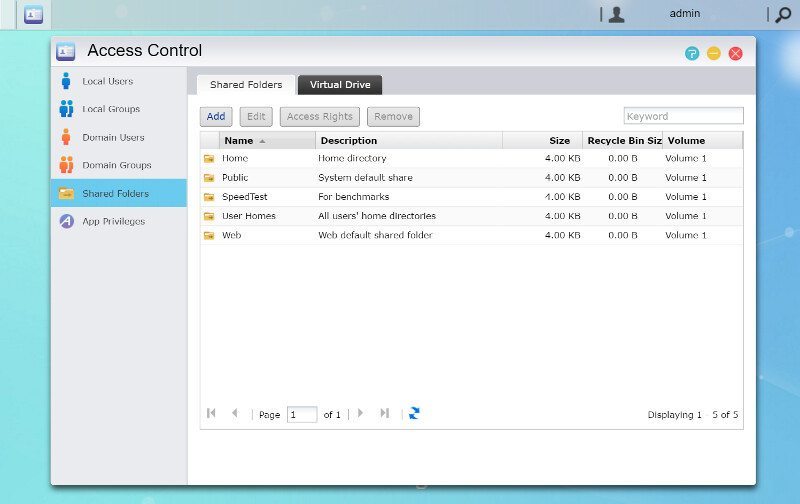
Once you’re done it’s added to the list where you also can edit the settings and access rights at any time.
Services
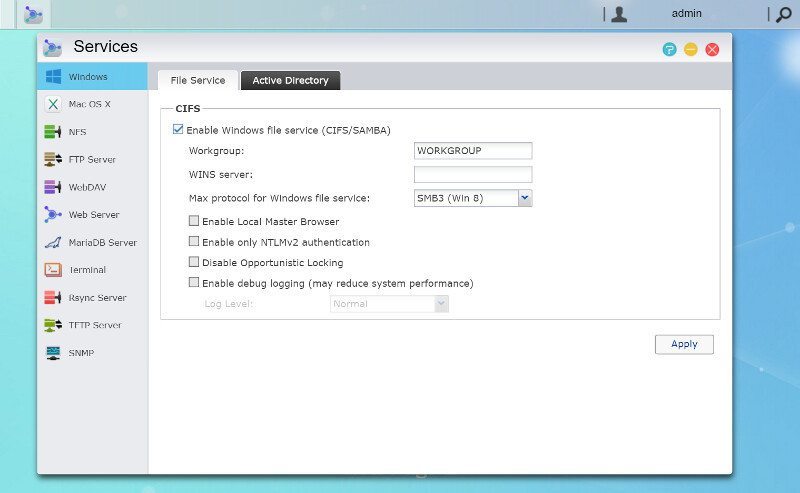
The network services are all collected in the conveniently named Services app. The first one is probably the most used as it is for Windows-based network sharing. You can change all the relevant settings to match your network setup, including setting the max Samba version to use.
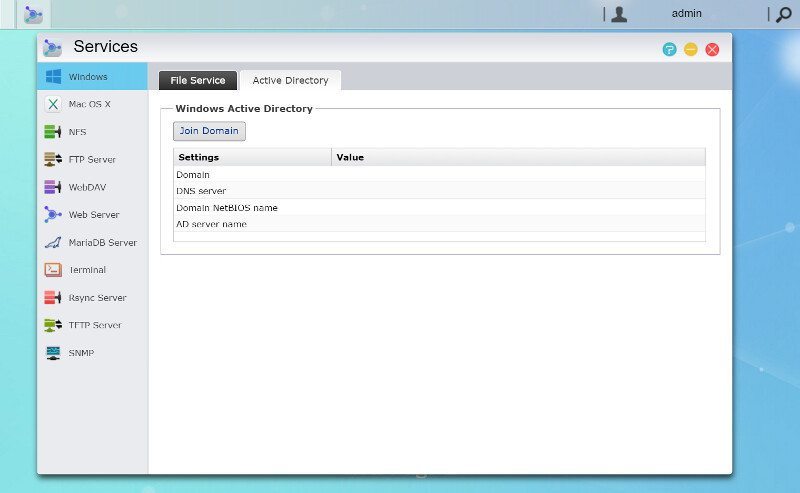
You can also join an Active Directory server by simply entering its details.
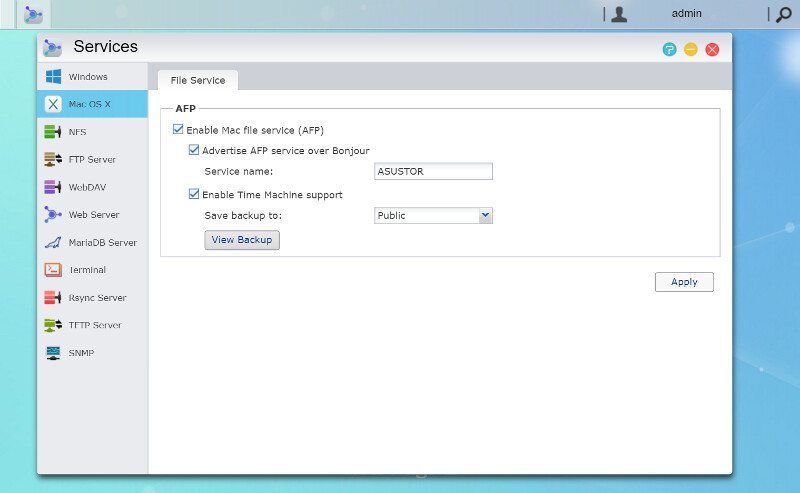
Apple PC users are also fully covered by the AFP protocol. You choose whether it should advertise itself via Bonjour and Time Machine is also supported.
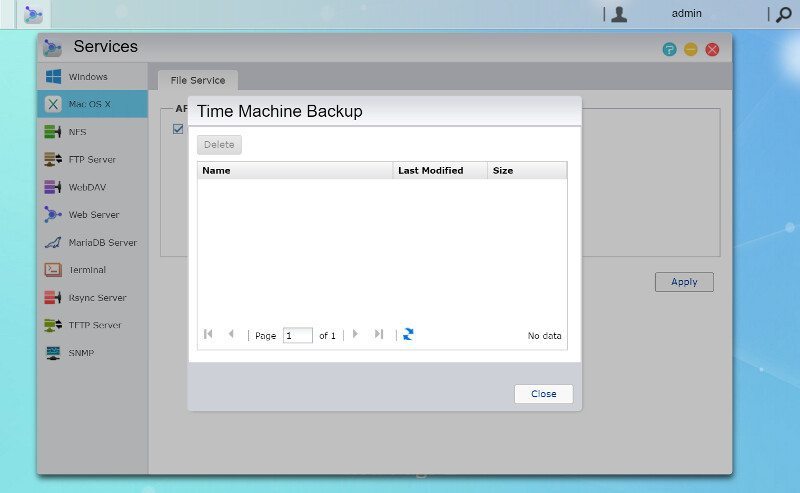
You can also check out the Time Machine backup list directly from here.
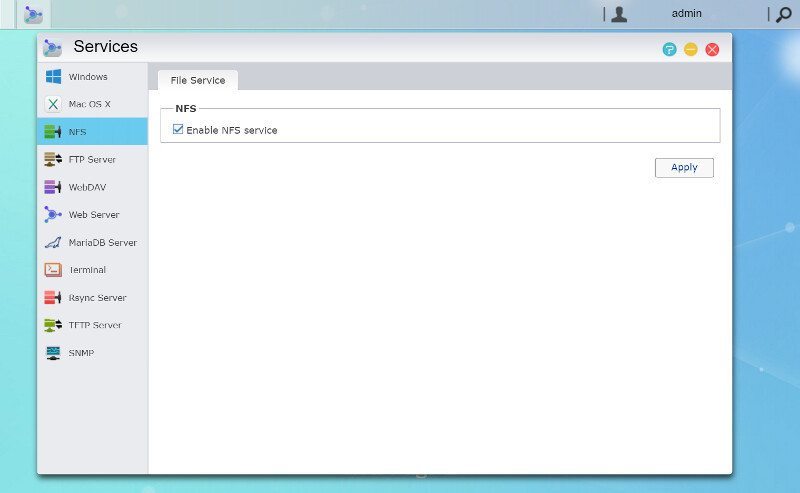
Linux and Unix users are naturally covered as the NAS is built on a *NIX platform, but it is your choice whether you enable or disable the NFS protocol.
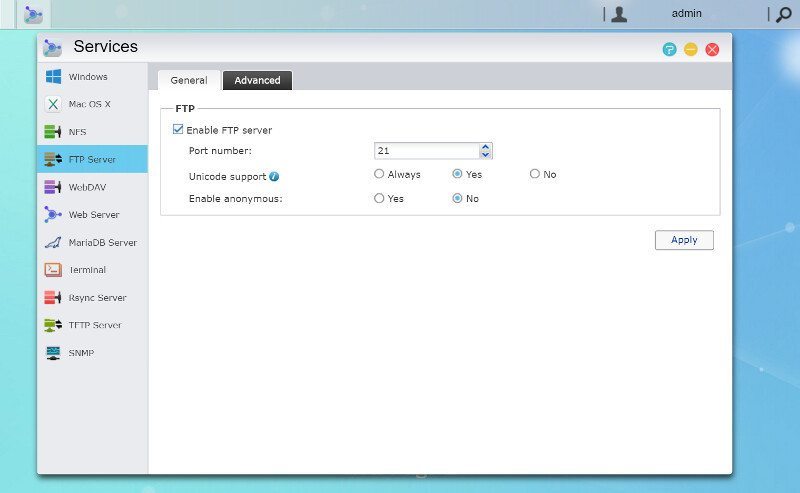
The built-in FTP server is quite comprehensive and has all the features you’ll want. The user rights are the same as for the NAS, which makes the setup very easy.
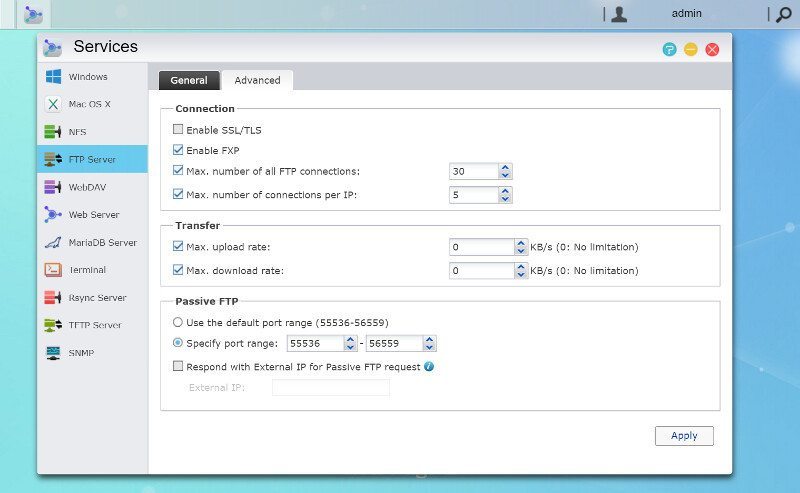
SSL and FXP are both supported by the FTP server, you can limit the transfer speeds, and manually edit the passive port range. The NAS will even detect your external IP automatically when you enable the respond function.
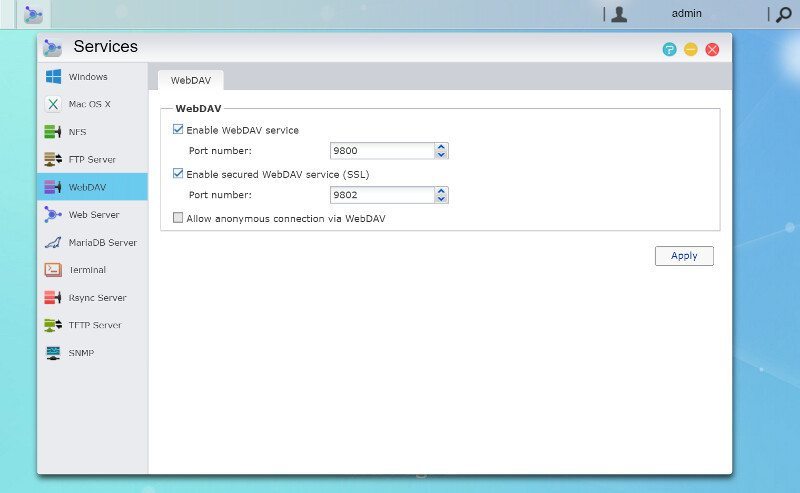
WebDAV support has also been added to the compliment.
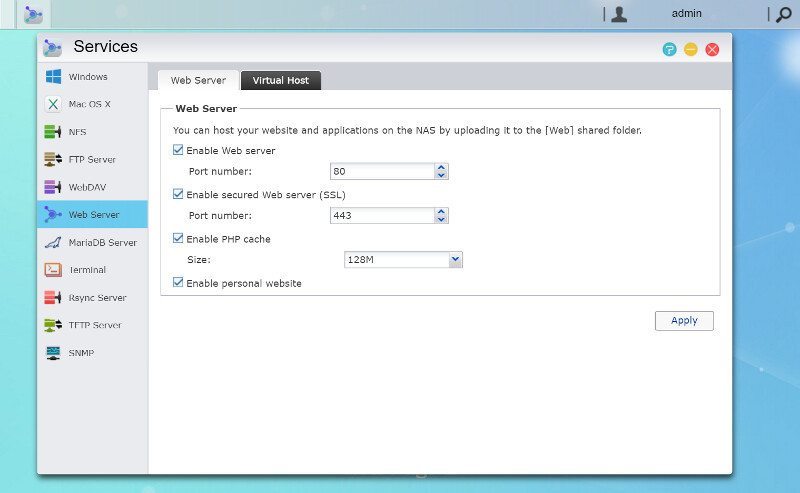
The Web Server functions allow you an easy setup for a local web presence. It has all the features and options you’ll want from a simple server like this.
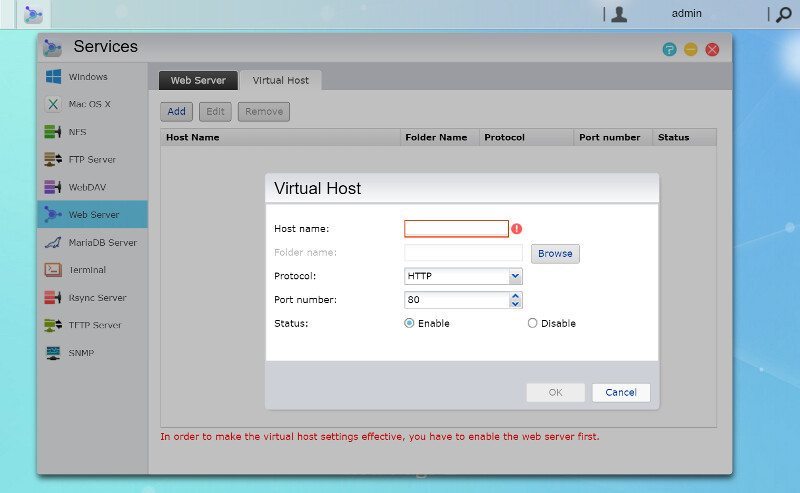
Virtual hosts are also quickly created through the interface.
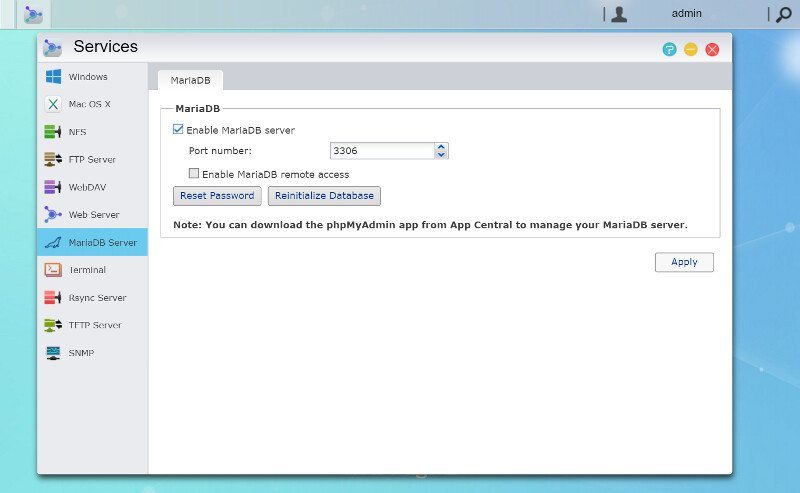
For database usage, ADM comes with MariaDB built-in. You can also add database servers through the App Center.
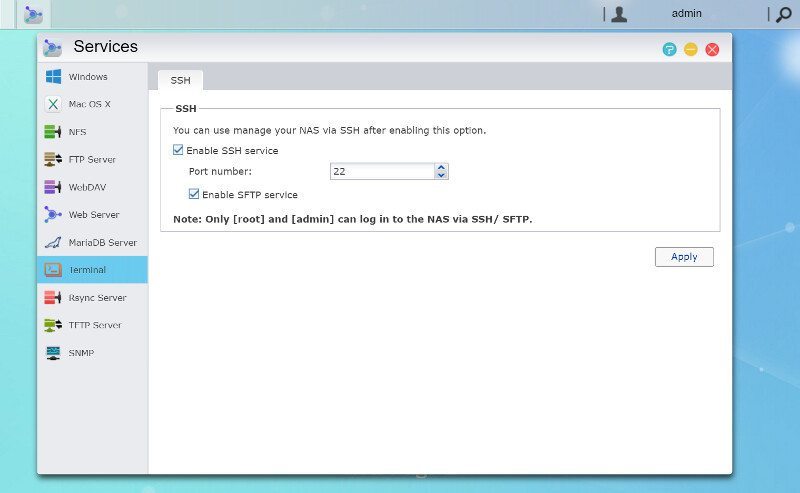
SSH is a vital function and ADM also supports SFTP.
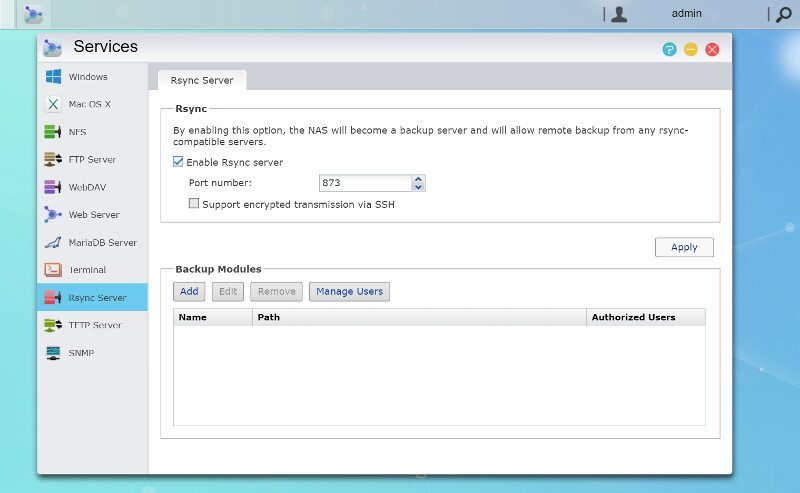
A vital NAS role is to act as a backup target and an easy way to do that is by using Rsync.
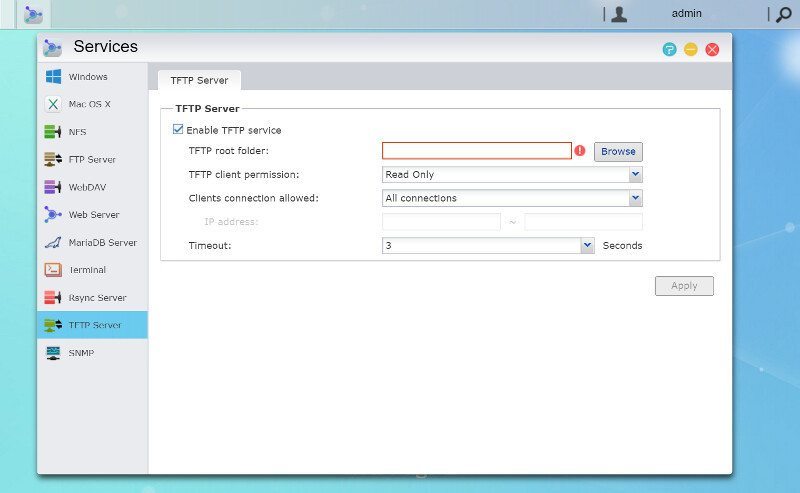
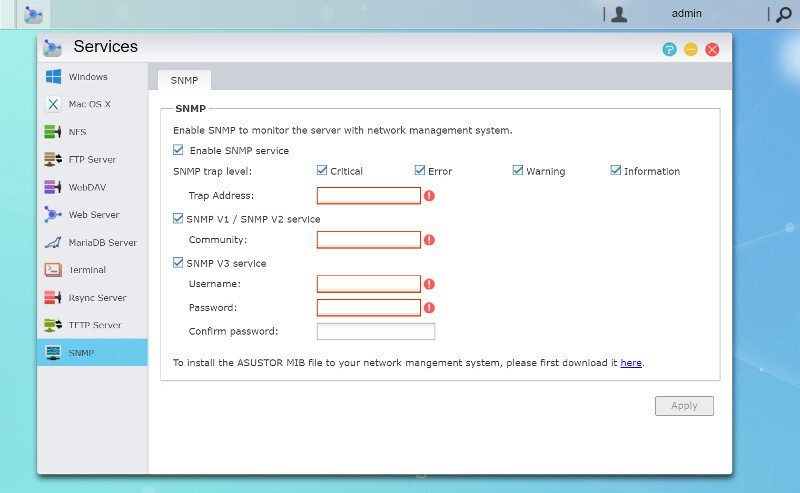
Last but not least, we find the TFTP and SNMP features that complete the setup.
Network Configuration
There are a couple more settings that are important to take a look at and the first of them are the network settings. We find all the settings we would expect here and with two LAN ports at our disposal, we can also create a link aggregated connection.
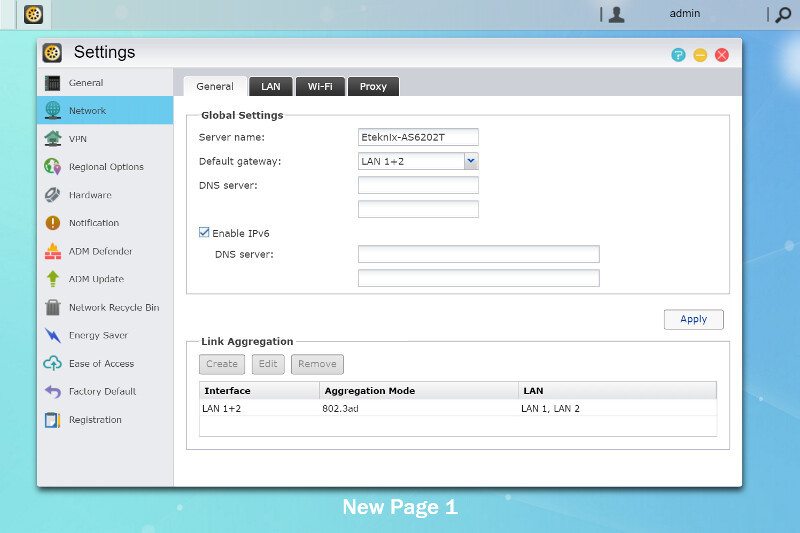
ADM is a clever system in regard to link aggregation and it will show you if it failed to establish the connection you configured.
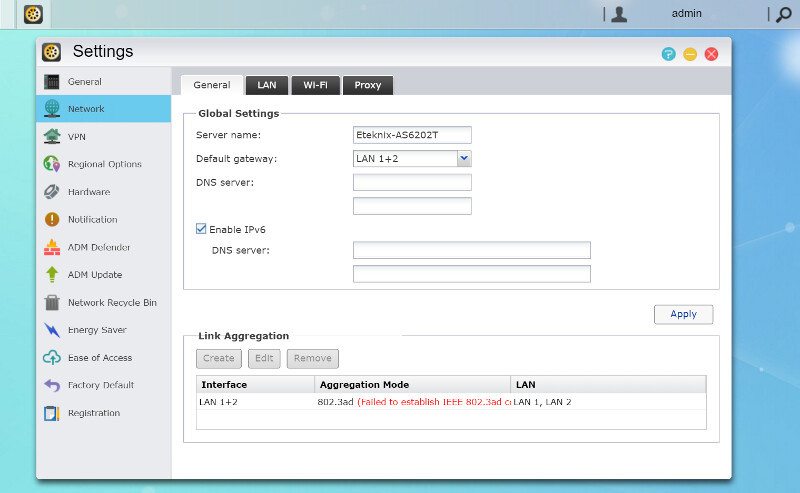
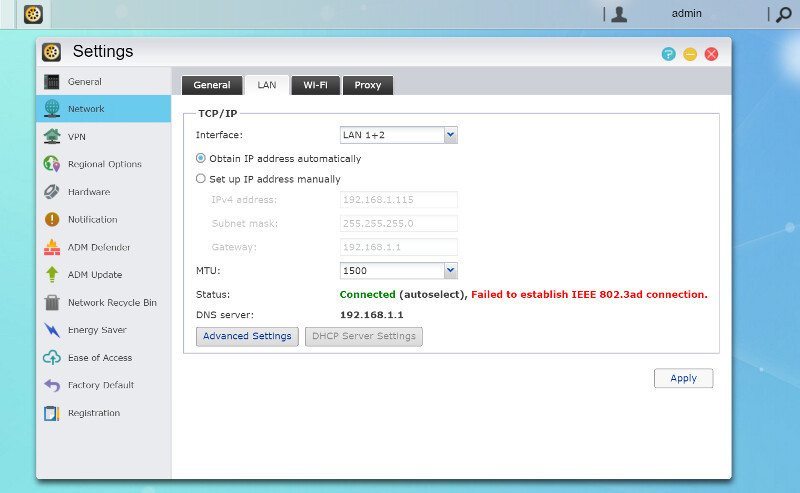
You got all the settings you’ll want for the LAN interfaces, both of them individually or trunked connections. You can naturally also adjust your MTU size to fit your network setup, some might prefer a larger size here.
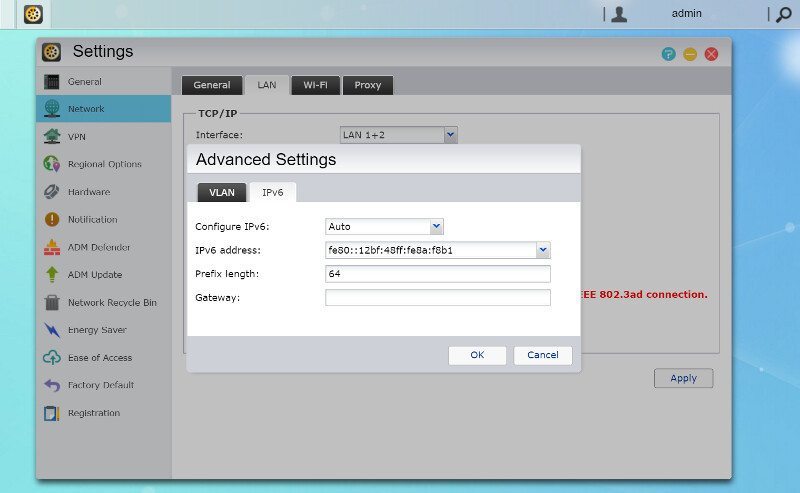
Within the advanced settings, you can enable VLAN tagging for the ports and also configure your IPv6 setup.
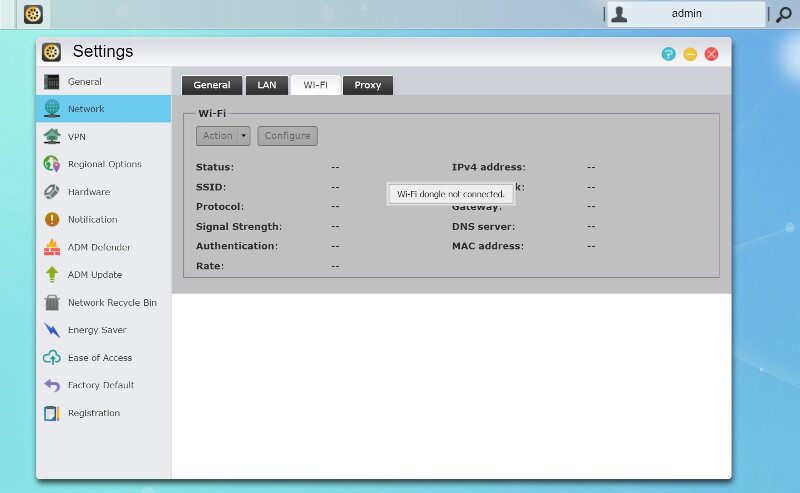
The Wi-Fi settings are only available when you have a dongle connected to the NAS, but it works the way any wireless setup does.
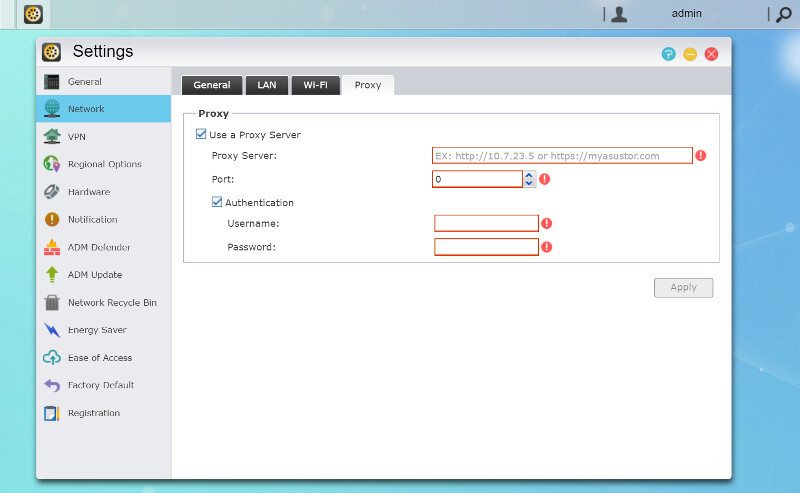
Last but not least, we have the Proxy settings. This might or might not be an important function for you and it’s fully supported either way.
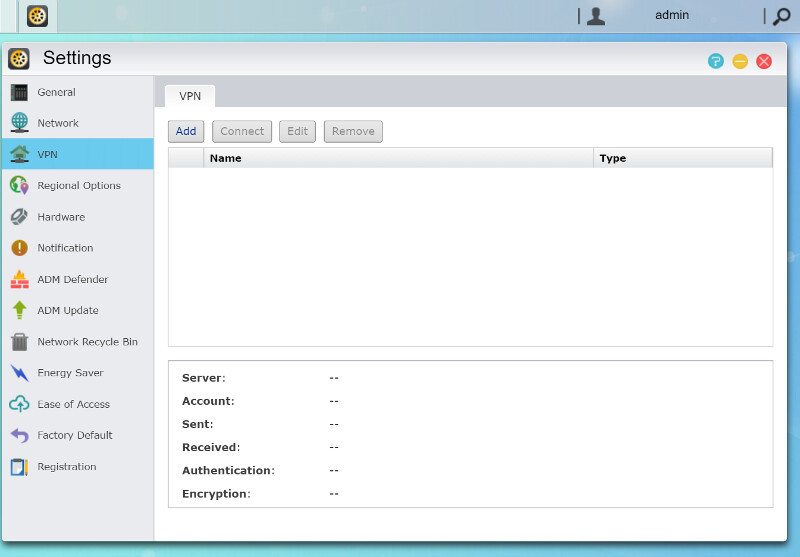
VPN users will find the necessary settings for their connection within the Settings app in the same-named section.
