
Getting the Live Gamer HD setup in one of our systems is so easy that it can be done in a matter of minutes. Connecting the card to capture from the same PC that its installed is likely to be the most common setup that we would expect to see and this involves simply taking the video output from the HDMI out on the GPU to the HDMI in on the capture card then the HDMI out goes to the monitor. If DVI is used instead, the card does come with a pair of converters as seen on the previous page to change the conenctions to HDMI and we also find the 3.5mm audio input and output for audio.

Once the card was all in and wired up, we got the software installed and fired up to take a look round. To the left the window can be switched between capture and stream modes and to the right there are some options for each mode.
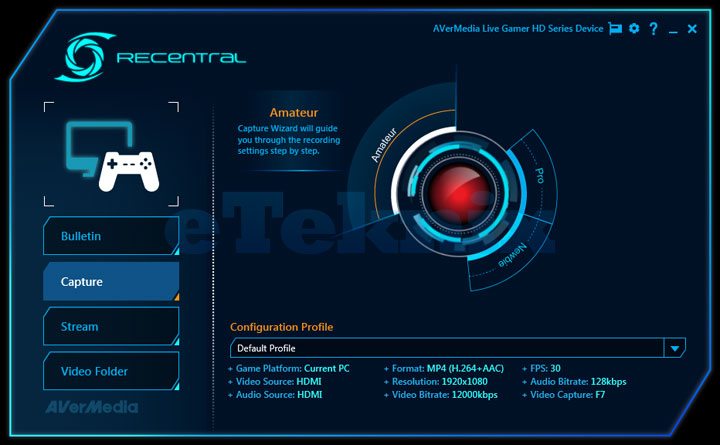
When set to the ‘Pro’ profile, we are able to get an in depth grasp on the recording settings, including resolution, bitrate, format and also on the recording source such as the current pc, games console or other pc.

The recording software may only look simple and that is because it is. There is no point in making everything overly complex with tons of menus that would easily get the user lost in seconds or look too baffling to wonder where the hell to start. We will point out that this software is only for recording and broadcasting purposes and you will have to have some form of editing software such as Adobe Premier or Sony Vegas (or even Windows Movie Maker!) to hand if you want to do some post-processing.
After each recording, we find each clip is saved to the ‘My Videos’ folder all together ready for immediate viewing, or if like us you want to quickly mash a few clips together for uploading to the likes of YouTube so that you can show off your skillz to all your 1337 friends out there. With a very quick bit of editing through your preferred editor (in our case Adobe Premier), the results can be quick and simple, yet very good considering that footage can be captured in full 1080p. Here’s what we managed to rustle up after running a few of our benchmark tests and sticking them together. From capture to upload was less than 15 minutes.
[youtube]http://www.youtube.com/watch?v=N5ODIQZvAXg[/youtube]


AWESEOME!!!!
Rule My Game!! Stunning Card!