Basic Solid State Drive Features Explained
Bohs Hansen / 9 years ago
When we report on storage news as well as in our reviews, we use a lot of terms and features that might not be familiar to everyone. The words and acronyms sound good and you chose your products based on whether they are present or not. But what do they actually mean? That is something that I’ll try to explain a little more today. I think there is a little bit for everyone here, whether you’re an advanced system builder or new to the area.
First I’ll start out with the basic features that are present in almost any storage drive these days, whether it’s a flash drive, hard disk drive, or solid state drive, and then slowly move on to the more exclusive features further down.
S.M.A.R.T.
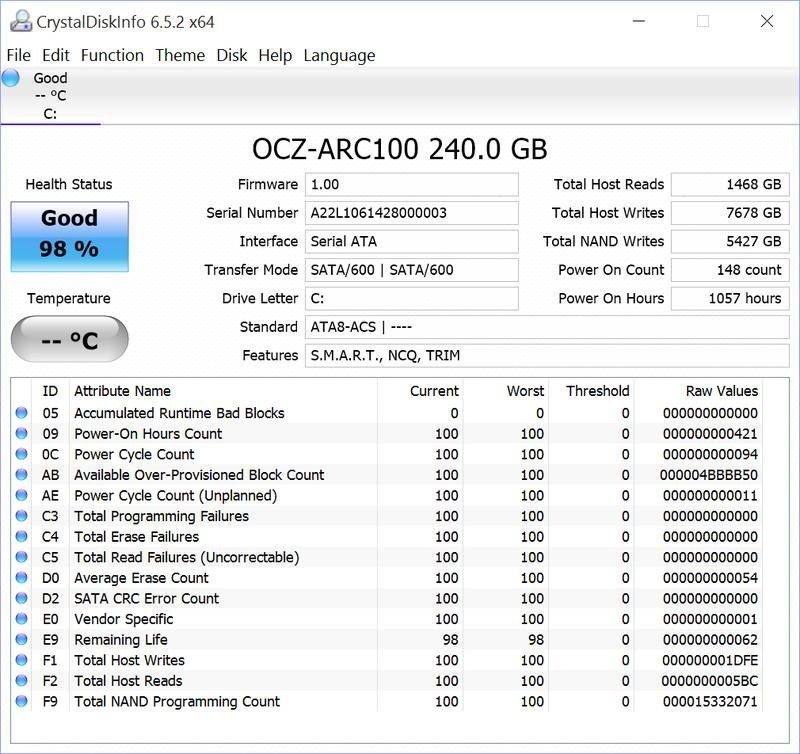
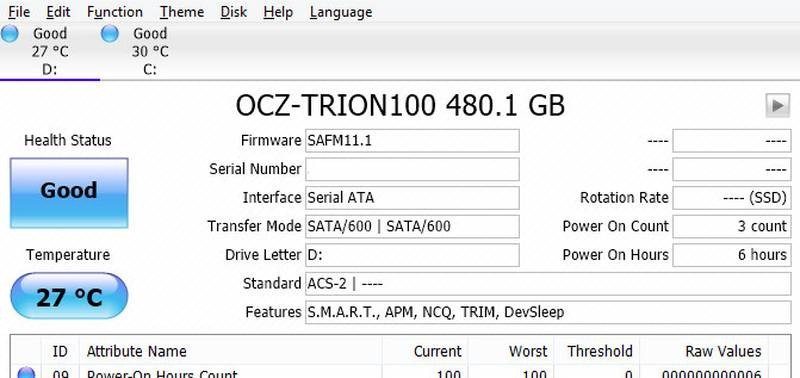
S.M.A.R.T. is the most basic feature that you’ll find and at the same time it is one of the most useful ones. S.M.A.R.T. stands for Self-Monitoring, Analysis, and Reporting Technology and it is a way for the drive to keep track of itself and let you have access to the information too. There are many tools out there that can read out the information for you and most systems can also keep track of them trough BIOS and chipset functions. A simple and free tool to get access to the information is CrystalDiskInfo.
Most SMART values are can be two values, either good or bad, but there are a few that keep track of total reads, writes, and power-on hours as well. An application like CrystalDiskInfo will also show you the expected health status as you can see in the image above.
S.M.A.R.T. can also include self-tests that can be run manually or scheduled by a lot of systems. The short and long tests will check electrical and mechanical performance and are basically identical. The short will only test small parts of the area where the long test will test the entire surface of the disk with no time limit.
TRIM
TRIM, also know as a Trim command, is a way for the operating system to inform a solid state drive which blocks of data are no longer considered in use and can be wiped. Internally, SSD operations are quite a bit different from HDD operations and TRIM was created because of that. The typical way in which operating systems handle deletes and formats would result in progressive performance degradation of write operations on SSDs.
With TRIM, the SSD is able to handle the garbage collection itself and free up the cells for new writes. We all know that a deleted file in the operating system doesn’t mean a deleted file on the drive, not until the physical location of the file has been overwritten. A mechanical drive handles a write and an overwrite action the same way, but an SSD doesn’t. It would first need to erase the area before it can write there again. It also means that a deleted file is gone ones the Trim command has processed the area.
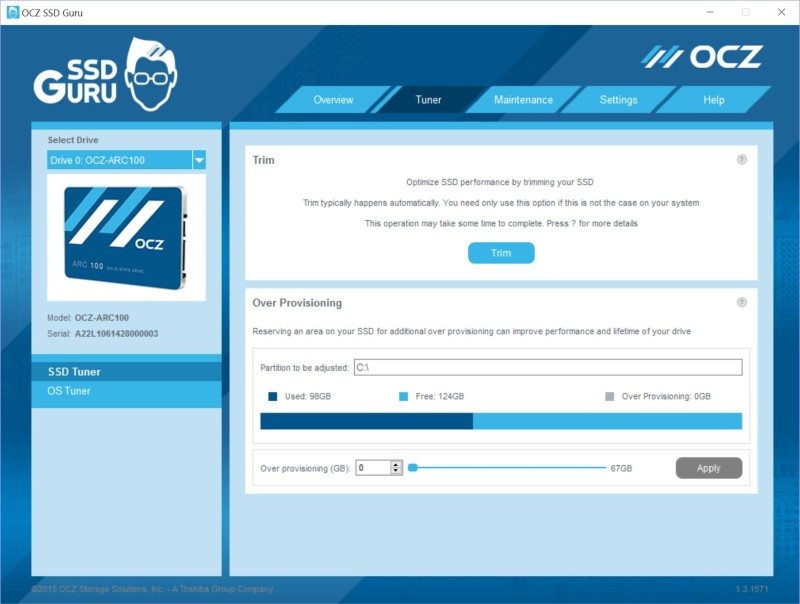
There are manual tools to trigger the Trim command, but they’re aren’t needed if you got a modern operating system. There are independent tools for it and pretty much any SSD toolbox and software also has a button to send the command to the drive. This is a thing that we can expect to see removed from such software in the future as it’s fully automatic now.
Garbage Collection
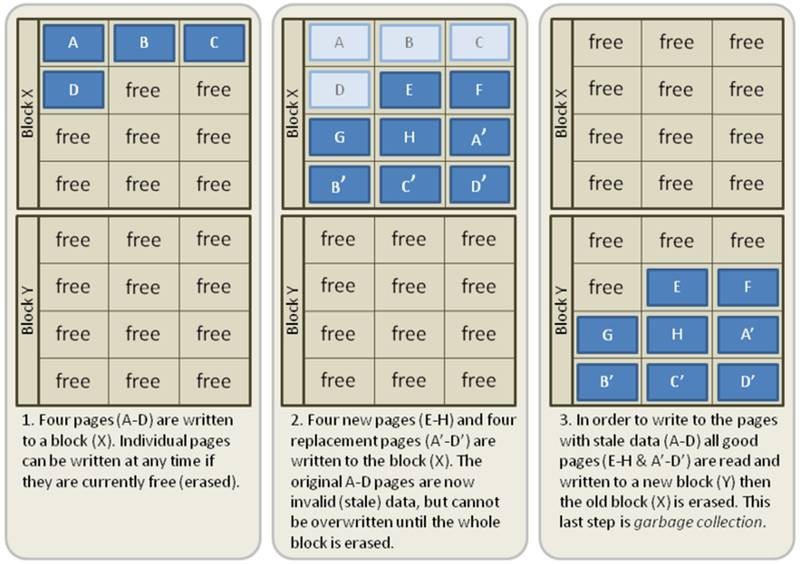
Garbage collection is basically the same function, except that the garbage collection is performed on a drive level where TRIM is an operating system function. In return, it means that it also works on systems that don’t support TRIM and helps to keep the performance up.
I could go a lot into detail about how it works, but then we’re missing the point of easy information in this article. Without TRIM or garbage collection, the SSD doesn’t know what files have been marked as deleted and aren’t no longer needed. Those deleted data might still be moved around on the drive itself when it is optimizing and that will result in a lot of extra writes. There are many ways this is implemented in drives and it comes down to the drive itself, the controller, and manufacturer how exactly it works.
Wear Leveling
There are two types of wear leveling, dynamic and static. Static is also sometimes referred to as global wear leveling and it is this type that we usually find in solid state drives. Dynamic wear leveling, on the other hand, is mostly found on flash drives. Both types will attempt to use all physical flash equally so one chip doesn’t burn out before the rest and render the drive useless. Where the static will do this on the entire drive, the dynamic will only do this with memory blocks that get replacement data. The static wear leveling is a little slower but gives the drive a longer life expectancy. It doesn’t just help to prolong the life of the drives, it also helps with a more even performance.
DevSleep
DevSleep, DevSlp, or Device Sleep are all words for the same thing and it is the newest and most effective way for drives to enter a low-power sleep mode. In traditional low-power modes, the SATA link still needed to remain powered on to allow the device to receive a wake-up signal again. With DevSlp, the rarely used 3.3 V power connection is used instead to send the signal, allowing the drive to enter an even deeper sleep state by turning off more functions. The return is an even faster response time when it wakes up again and less power consumption. This is particularly useful for notebook users.
PFM+, IPS, and more
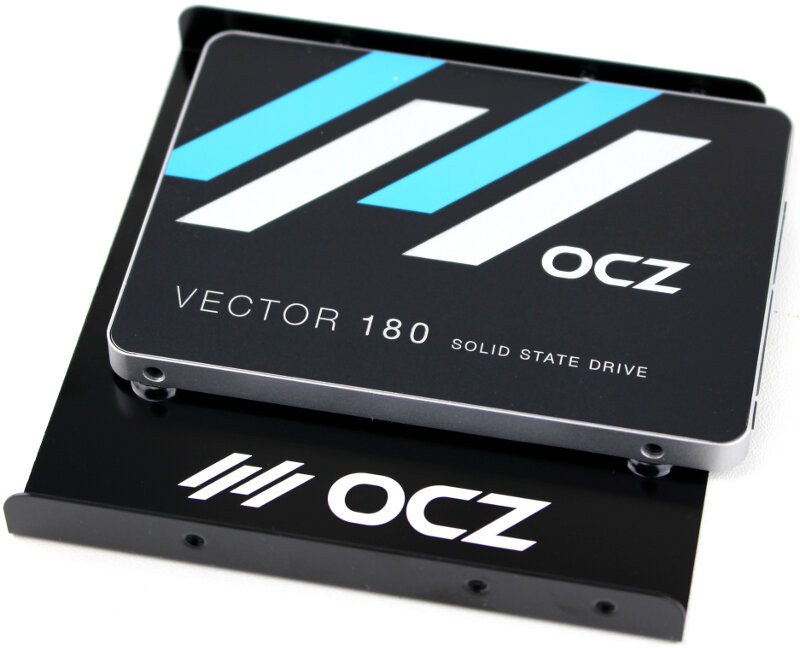
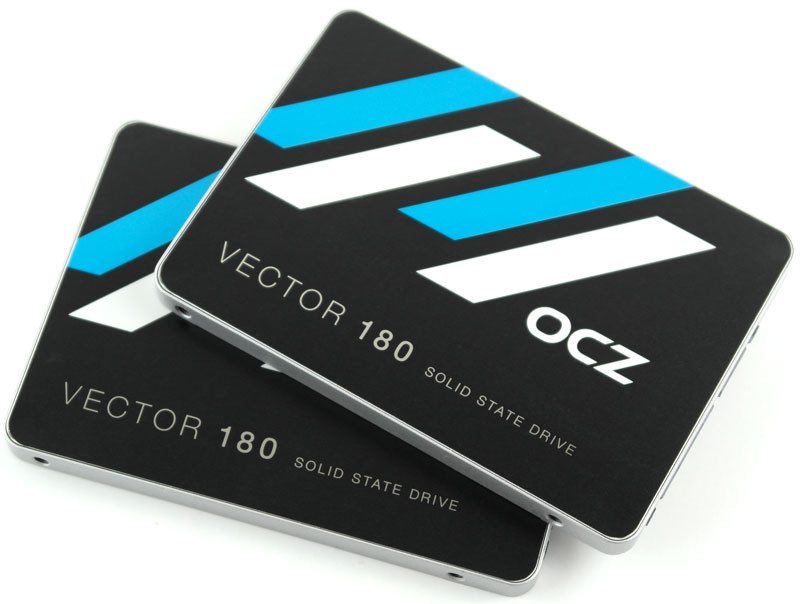
These are all synonyms for basically the same function, so I’ll stick with one that is present in one of the drives that we’ve recently reviewed: Power failure management plus (PFM+) that is present in OCZ’s Vector 180 series. With different names, they all perform the same function: get as much data safely to the storage drive in case of a power failure. There are extra capacitors in the drive that store currency in order to flush more data to the flash cells before all the power is gone. The capacitors also ensure that all metadata is safe and that the drive will continue to operate normally after a power loss, i.e. the NAND mapping table won’t be lost, which can brick the drive or at least slow down the next boot up as the drive has to go through a recovery process. This used to be a feature reserved to enterprise class drives, but we see it enter more and more enthusiast drives too.
ECC
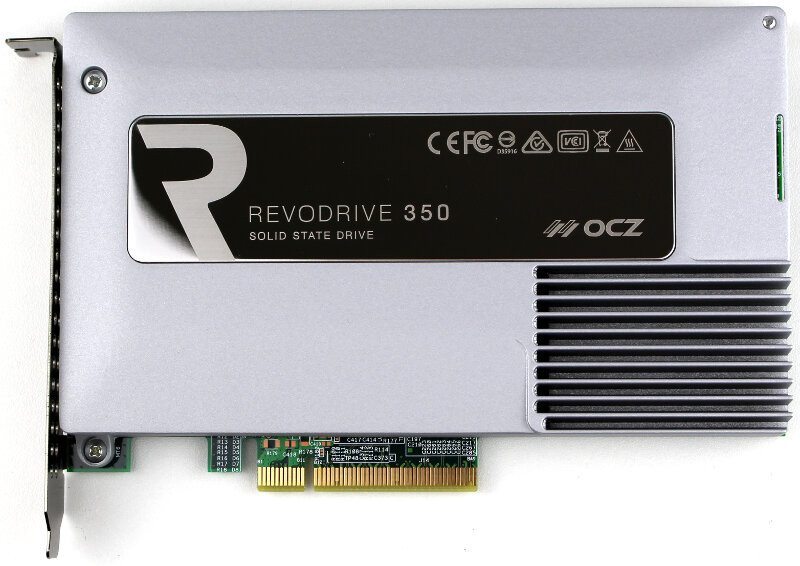
ECC or Error Correction Code is present in a lot of devices and it is no different for solid state drives. It is an extra code that allows the drive to correct minor errors in sector reads and to recover data from sectors that have gone bad while storing that data in the spare sectors. It is basically what it says it is. It corrects errors.
Low-density parity-check (LDPC) is the go-to standard today for multiple reasons that I won’t go to much into here. In the past, it was rather BCH that was used, but that isn’t an effective method for modern SSDs. To say it short, LPDC allows you to correct more errors for the same ratio of user data to ECC parity. With ECC, fewer actions have to be repeated in case something goes wrong which in return gives a better overall performance.
