Be Quiet! Dark Rock Pro 2 CPU Cooler Review
Ryan Martin / 12 years ago
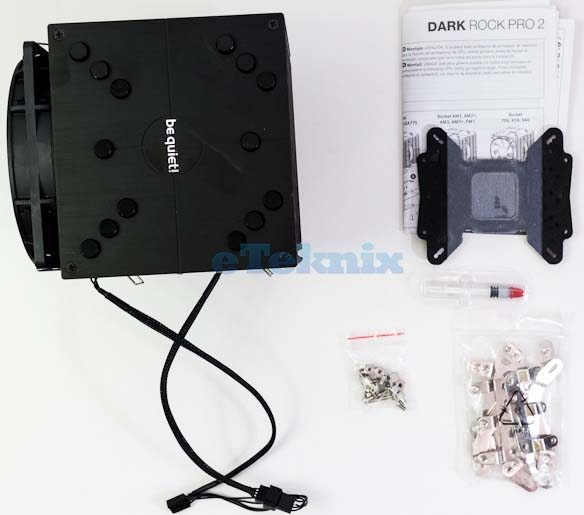
The Be Quiet! mounting kit is one I am personally very familiar with. It has only changed slightly since the first instalment of the Be Quiet! Dark Rock series – the only noticeable difference has been a change in the type of spacer used. I am not a great fan of the Be Quiet! style of mounting although it does tend to give the best contact – I prefer mounting mechanisms where the backplate can be secured into place without the cooler installed and you can then mount the cooler to the backplate without having to worry about the backplate screws falling out. Cooler Master use that type of design.
To mount the Be Quiet! Dark Rock Pro 2 you have to install the backplate using the screws, backplate and the spacers to hold it loosely in place. With the backplate held on, you then install the correct brackets onto the cooler. With the correct brackets installed you screw the backplate screws into the cooler and this firmly secures the mount. This type of mount is best done inside the case, as if you do it outside there are just too many things to hold and it can become tricky.

The Be Quiet! Dark Rock Pro 2 blocks all RAM slots, so you can only use low profile RAM kits – nothing tall like Corsair Vengeance or G.Skill Trident X will fit. Medium-sized modules like G.Skill RipJaws or Mushkin Redline are a bit more hit and miss, some will fit and others won’t, so do some research first.

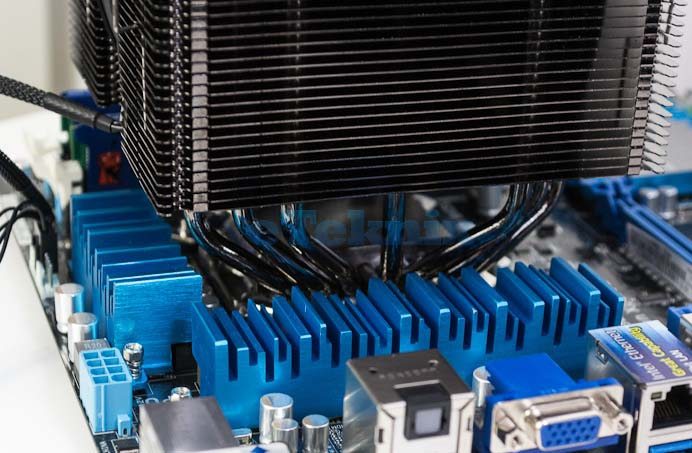
There is a significant amount of clearance over the motherboard heatsinks so even the “tallest” motherboards shouldn’t have any issues. There is more heatsink clearance than RAM clearance because the fan is the lowest point and the fan only obstructs the DRAM slots.


