be quiet! Pure Rock 2 FX Air CPU Cooler Review
Mike Sanders / 2 years ago
A Closer Look
Out of the box, the be quiet! Pure Rock 2 FX presents itself excellent with a sleek and stylish black aesthetic. We can already immediately tell you that regardless of whatever kind of system you might have, this cooling solution is pretty much guaranteed to accompany its overall aesthetic well. – Given that this is a CPU cooler though, there are clearly a number of individual components that go into the overall design.

Contact Plate
The contact plate provided with the be quiet! Pure Rock 2 FX isn’t particularly large. Despite this, however, for the vast majority of CPUs, it is still be more than sufficient to easily provide the necessary coverage. My only mild concern, however, is that given that the be quiet! Pure Rock 2 FX offers support for Intel’s LGA1700 and AMD’s upcoming AM5 socket, these are notably larger CPUs when compared to more traditional 115X or AM4 chipsets.
As such, and with this support in mind, I would’ve perhaps liked to have seen the contact plate be slightly larger just to ensure that there was plenty of coverage for those larger processors with a little bit of extra ‘wiggle’ room. – I’m sure this design is fine, I just think it may be cutting LGA1700 and AM5 support a little finely.

With a pre-installed thermal compound, however, this is certainly a nice added bonus and particularly so for users who aren’t particularly confident in this part of the installation process. In addition, with the copper piping left exposed on the contact plate, this should allow for some exceptionally solid and direct levels of heat transfer.
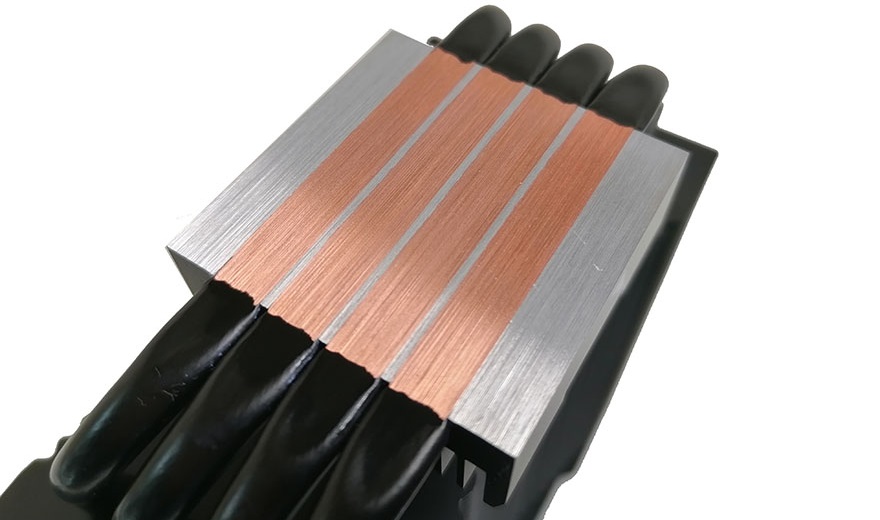
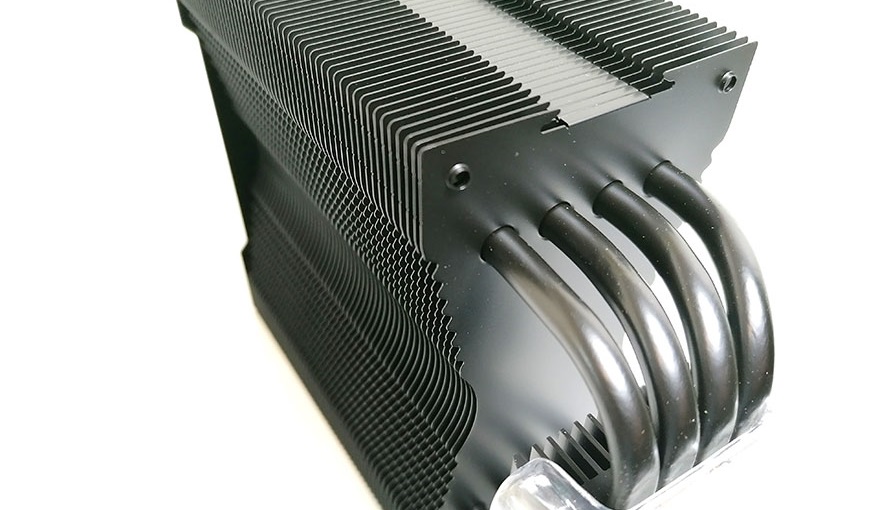
Finally, the contact plate features 4 heat pipes which lead away from each side. With a black coating, this fits in well with the overall aesthetic of the be quiet! Pure Rock 2 FX.
Radiator
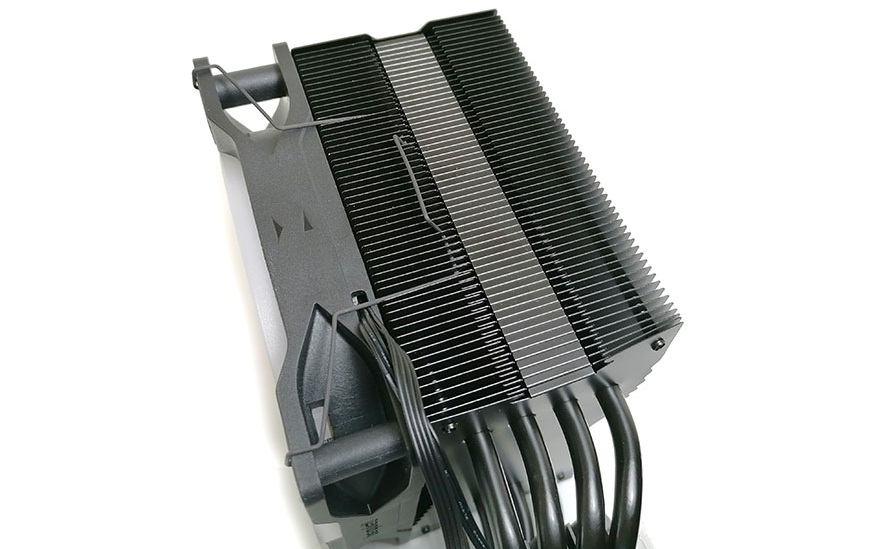
The radiator for the be quiet! Pure Rock 2 FX presents itself well with a sleek black aesthetic. In terms of the design, what immediately catches your eye is the somewhat unusual manner in which the radiator is slightly recessed to the centre.

While this recessed central radiator section might, on the surface, appear to be an aesthetic choice, this is actually a key part of the installation process. Specifically, in terms of allowing access to the mounting points to attach the radiator to the motherboard bracket. We will, however, cover this in more detail later in the review.
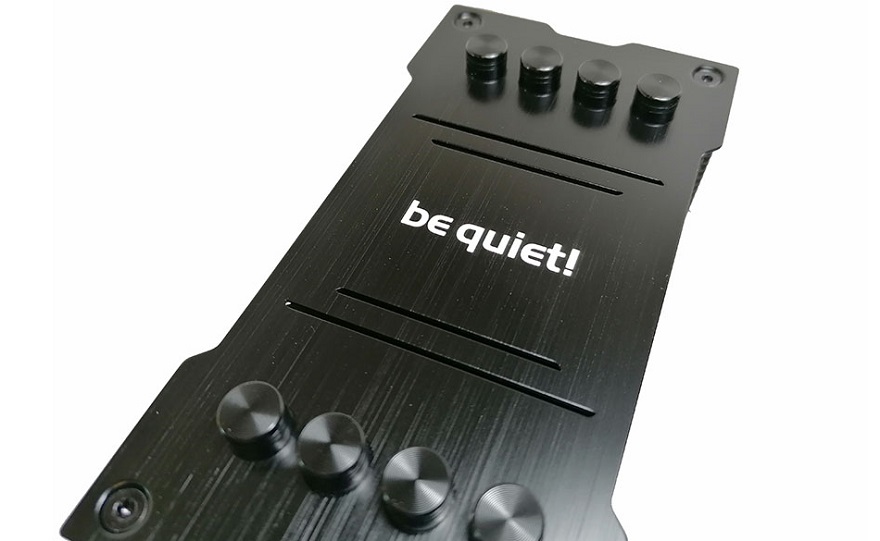
The top of the radiator features a capping plate with a very attractive brushed metal effect design. With the be quiet! logo to the centre, this is well sized and located to fit into the overall aesthetic without appearing brash or overly obtrusive. A factor that, again, leads me to believe that this CPU cooler wouldn’t look out of place within any kind of system build.
Fan
The be quiet! Pure Rock 2 FX is provided with one Light Wings fan. As noted within the accessories, however, be quiet! does provide you with the necessary additional brackets should you choose, at a later date, to install a secondary model.
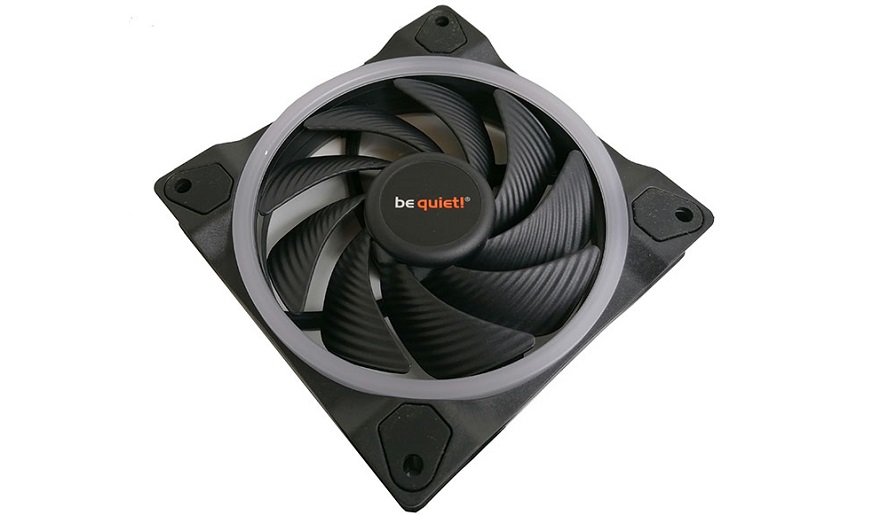
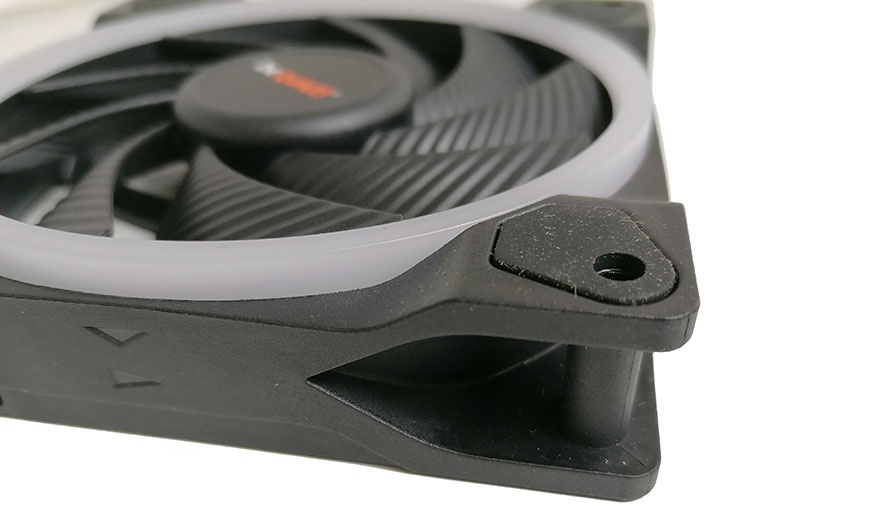
The fan looks excellent with its attractive blade design, and, of course, that LED ring that promises to give us some nice and punchy ARGB lighting effects when we get this hooked up to our test bench. Each corner comes with anti-vibration padding, albeit, as you can see below, it is something of a lint magnet so giving this a little wipe pre-installation with a microfibre cloth wouldn’t hurt.
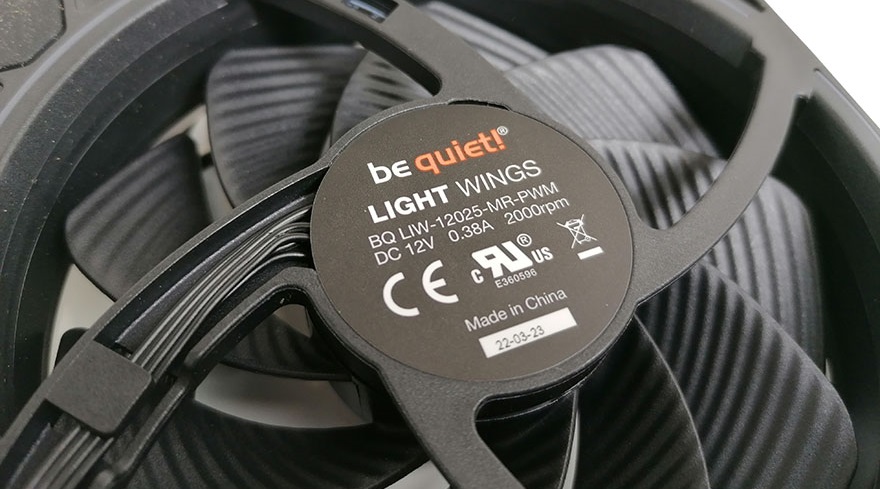
A look at the rear of the fan confirms this to be a Light Wings design. Although included with this cooler, they are also available to purchase both as kits or individually. As such, if you would like to learn more about them, you can check out our comprehensive review of both the Light Wings 120mm and 140mm cooling fans via the link here!
Overall
Overall, the be quiet! Pure Rock 2 FX looks to be a solid and visually impressive CPU cooler. As we’ve noted more than a few times above, be quiet!’s sleek black aesthetic really does lend itself well to presenting a solid and professional product. Albeit, we are clearly more than a little curious to see how this is enhanced through the ARGB lighting.
Before we get onto that though, let’s see how the installation process goes.


