BIOSTAR RACING H170GT3 (LGA1151) Motherboard Review
John Williamson / 9 years ago
BIOS and Overclocking
BIOSTAR have conducted a dramatic visual overhaul of the BIOS which properly reflects modern hardware. The user-interface isn’t as slick or visually appealing as their competitors, but it’s good enough to monitor key system variables and navigate to each setting in a quick manner. Simplicity is at the heart of the RACING BIOS, and it’s designed to minimize the time you spend tweaking system attributes. On the front page, information regarding the motherboard model, memory capacity, and other essential statistics are listed to inform the end-user about their PC.
The speedometers are a good addition which outlines the CPU frequency and DRAM frequency in real-time. It fits with the racing theme rather well and provides a visual indication of the current system settings. I found the voltage reading to be quite handy because you can quickly glance at these figures to observe incremental voltage changes during various loads.
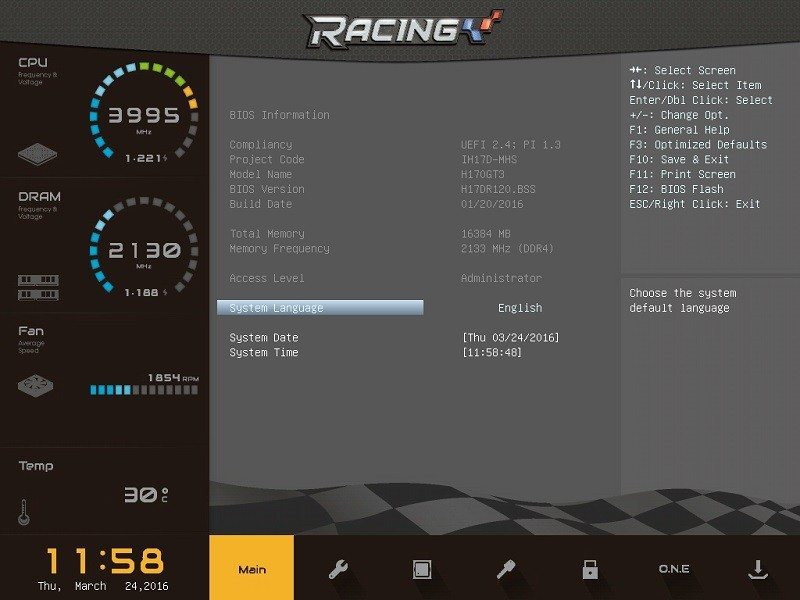
The advanced tab includes a huge array of options to change the SATA configuration, manually set the boot order and loads more!

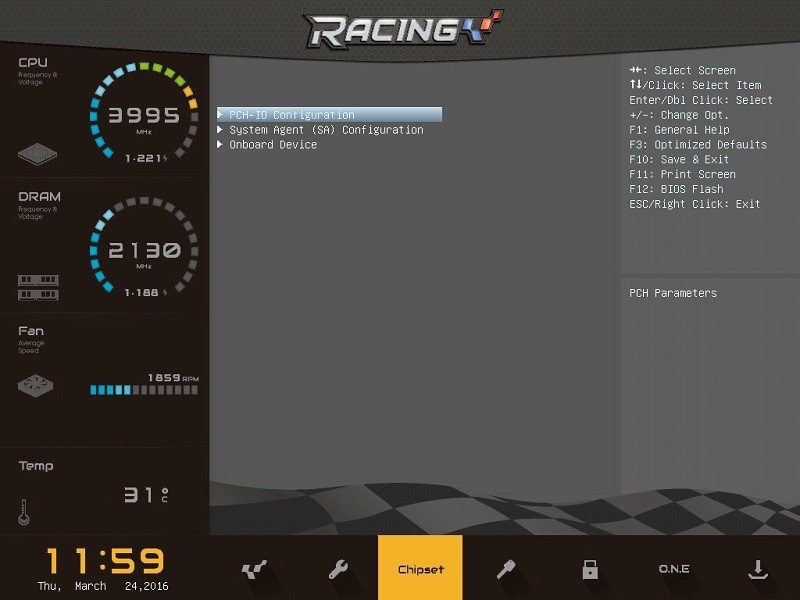
Here we can see the chipset tab which allows you to modify the SA configuration, PCH-IO and onboard devices. Honestly, I wouldn’t change any of the default values unless you have a high level of technical proficiency.
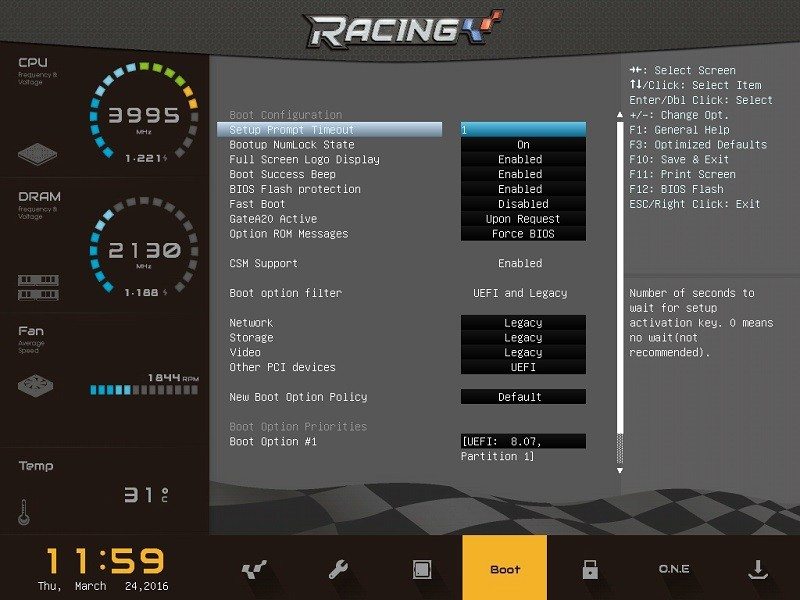
The boot section is extremely handy to re-organize hard disk priorities and choose between Legacy or UEFI modes.
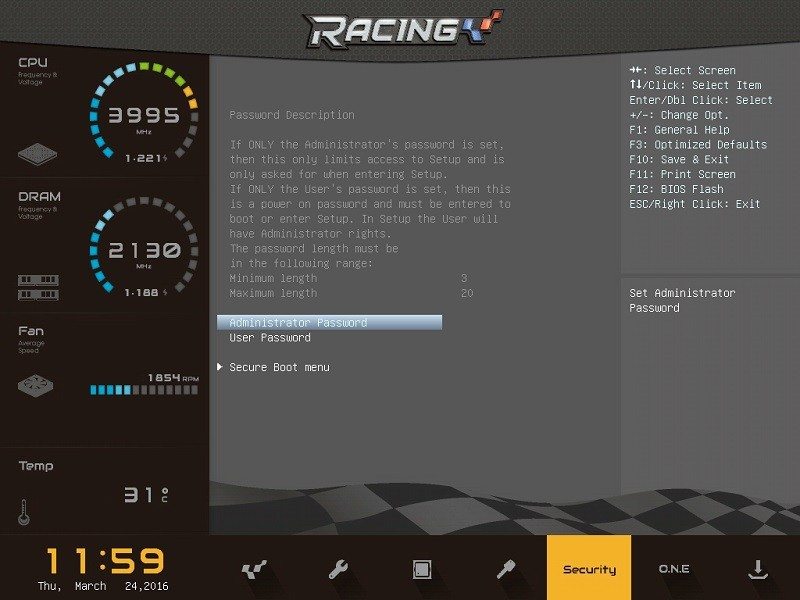
Next up is the security section which allows you to set a password and restrict the BIOS to other users. This is essential and prevents family members from making disastrous changes.
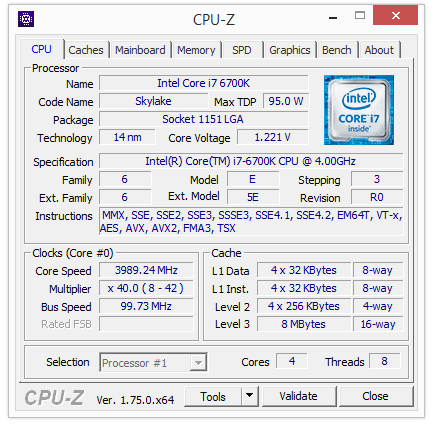
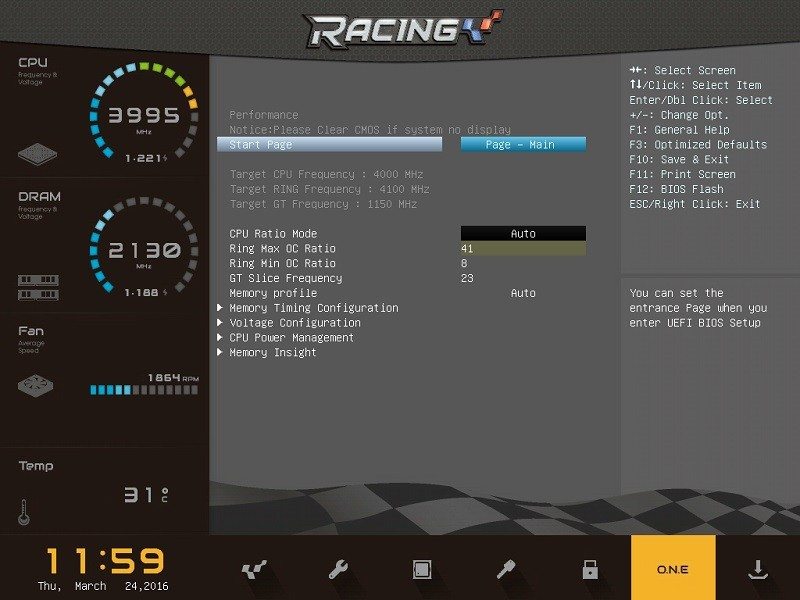
Unfortunately, the H170 chipset means you can only set the maximum ring OC ratio to 42 which equates to the i7-6700K’s turbo frequency of 4.2GHz. Rest assured, I spent a considerable amount of time looking for BCLK overclocking options and trying to make this work, but it was to no avail. On a more positive note, the menu keeps things really simple and it’s a great choice for those without overclocking experience.
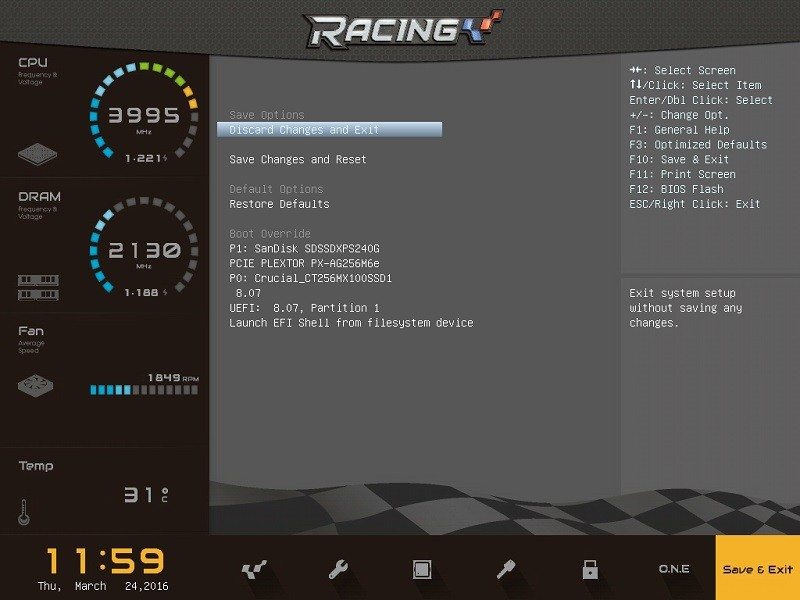
The final page contains options to load optimized defaults, override the current boot order and save any changes you’ve made. One strange omission is the lack of profiles which might be down to the chipset’s overclocking limitations. Nevertheless, I’d like to see this implemented in a future update.
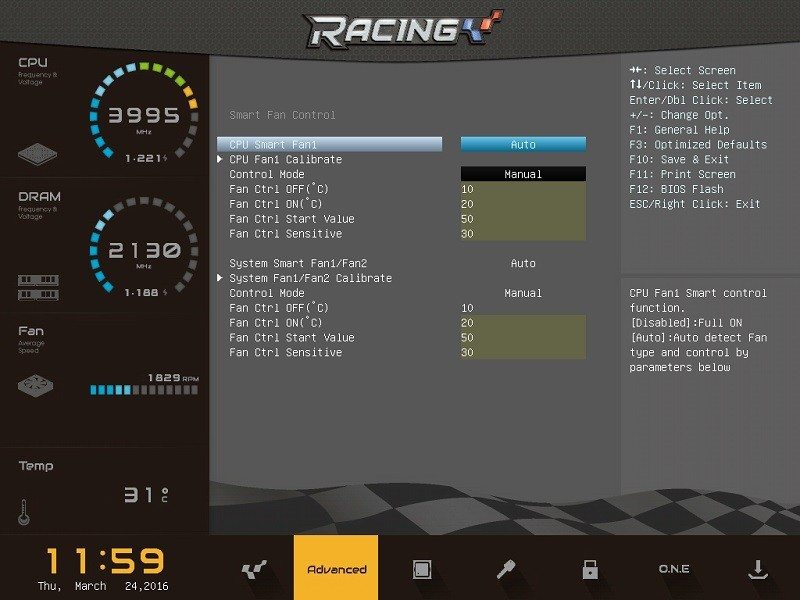
Annoyingly, the BIOS configured the Thermaltake 3.0 Water Ultimate quite poorly and ran the fans on their maximum values. To rectify this, I had to select the auto setting on CPU Smart Fan1 which analysed the cooling hardware and reduced the RPM values. This should be enabled by default to create a better user-experience.
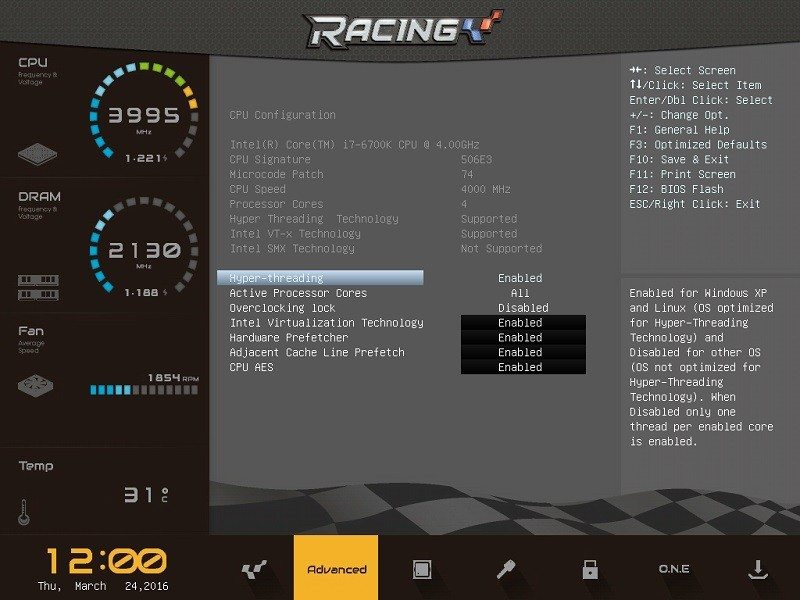
The CPU configuration menu displays your processor’s specification and has a number of advanced options for hardcore tweakers.
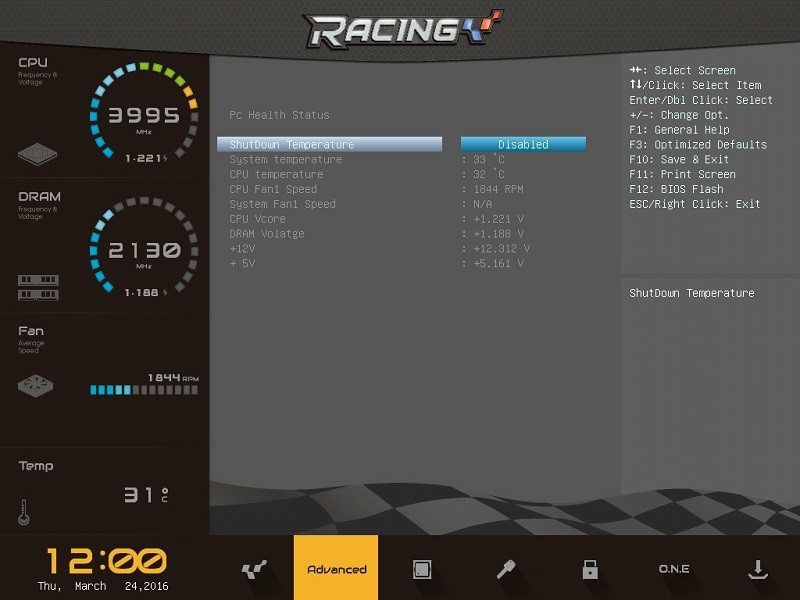
Here we can see the PC health status menu which lists vital system statistics and provides a clear way of monitoring stability problems.
It’s even possible to manually set DIMM timings but this isn’t recommend given the 2133MHz limit and overclocking restrictions.

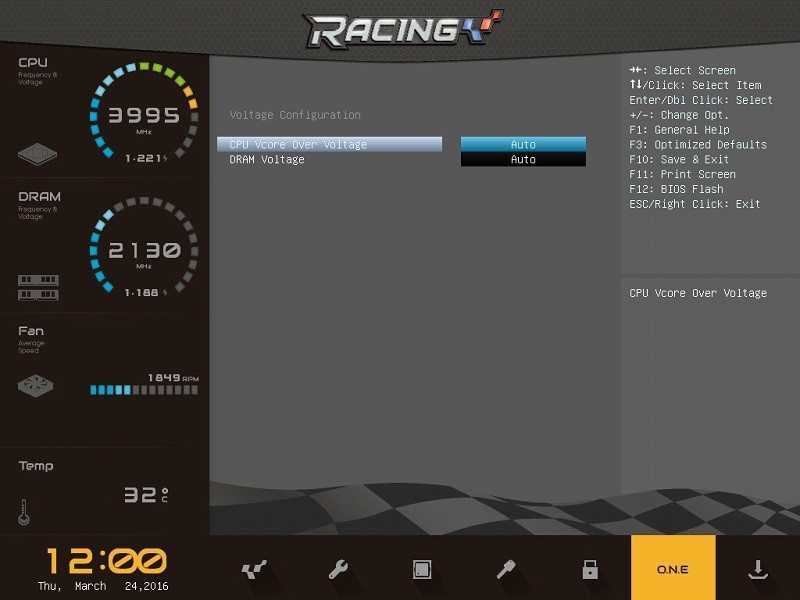
Finally, the voltage configuration page is deployed to manually set the DRAM and CPU over voltage. I wouldn’t change these values unless you want to undervolt the CPU at stock settings to find its lowest stable rating.
Overclocking
Overclocking isn’t possible on this particular motherboard due to restrictions imposed by Intel when using the budget-orientated H170 chipset. Even though BCLK overclocking was an option on some H170/B150 products I’ve tested, Intel has clamped down on this and prevented newer motherboards from offering similar functionality.
