BitFenix Aegis Micro-ATX Chassis Review
Peter Donnell / 10 years ago
Interior
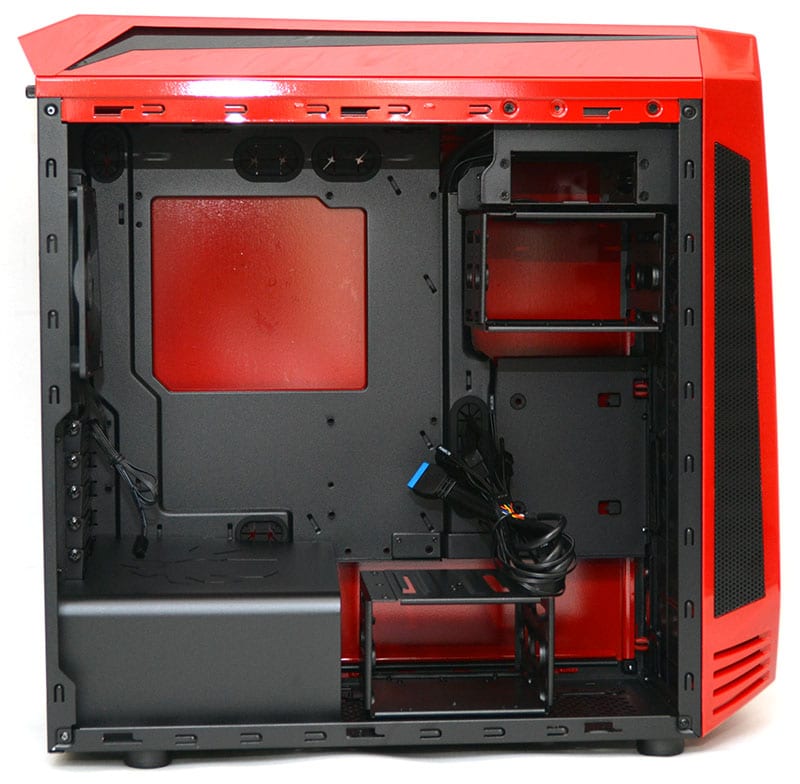
The interior of the chassis is finished in powder black, giving it a nice clean look. There’s a good size CPU cooler mounting cut-out, all of the motherboard stand-offs are pre-installed and there’s a nice selection of cable routing grommets around the motherboard area to help with cable management.
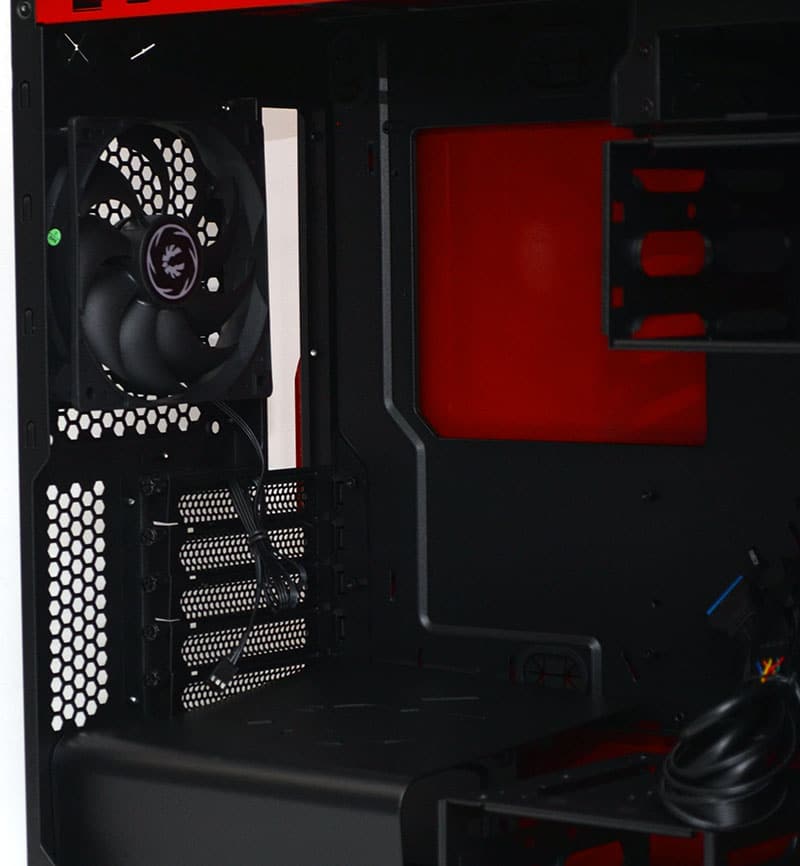
The five expansion bays mean there’s room for a Micro-ATX motherboard and they’re all fully reusable covers, not those cheap snap-off ones.
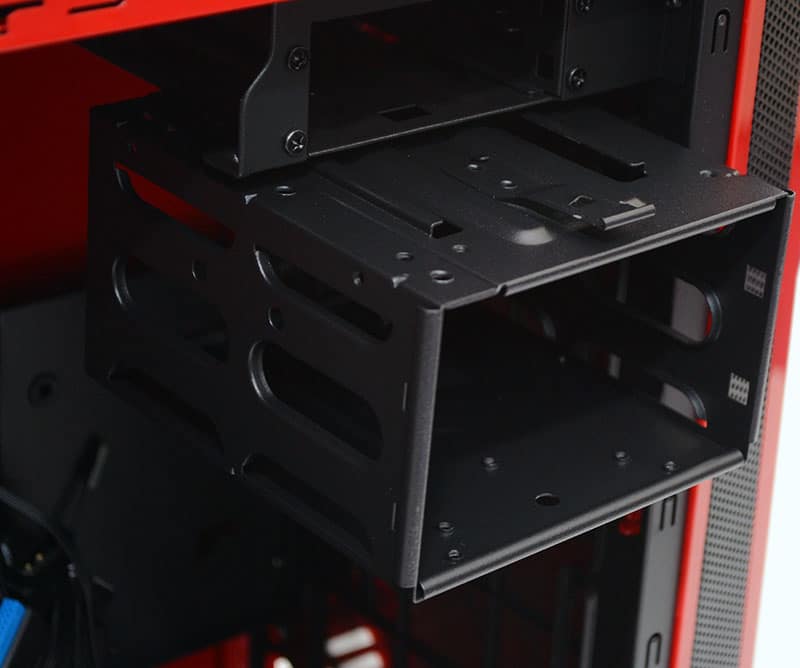
The front is really cool, as there are two hard drive bays at your disposal and even more storage space beyond that! There’s a suspended hard drive caddy at the top and one in the lower section of the chassis; these are both removable/movable to suit your needs.
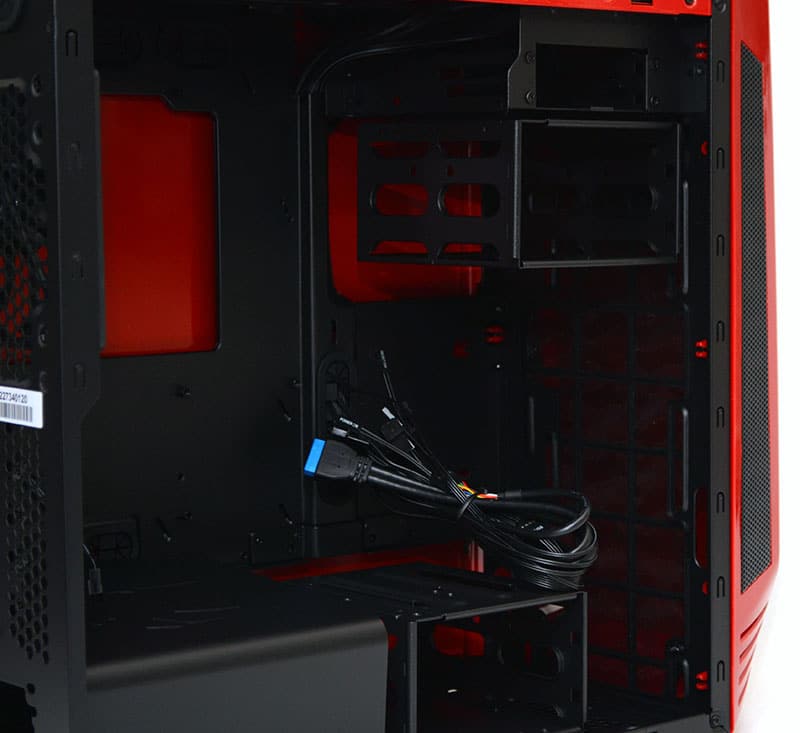
Above the top bay, there’s a pair of dedicated 2.5″ drive bays; these will come in very handy if you need the lower section of the chassis for high-end water cooling hardware.
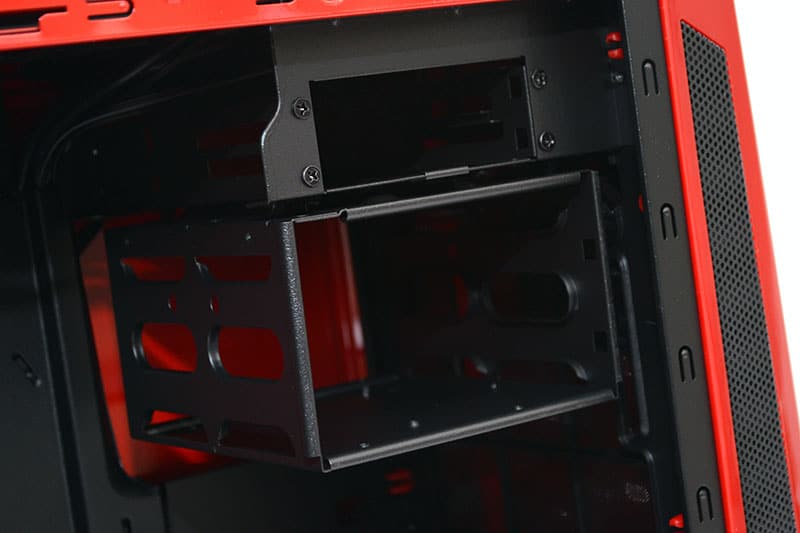
There are fittings for 120mm and 140mm wide fans/radiators in the front of the chassis. The elongated screw holes should ensure maximum compatibility with a wide range of fans and/or radiators of up to 360/280mm.
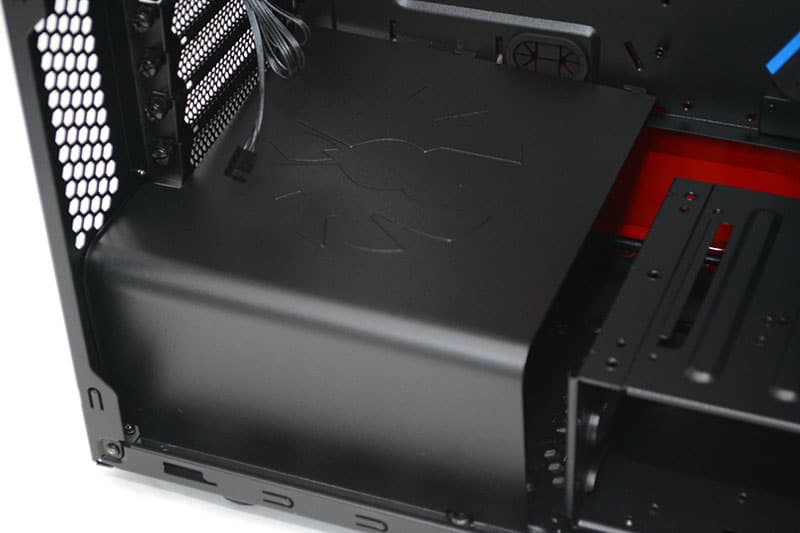
A gorgeous PSU shroud will help keep things looking neat and tidy.
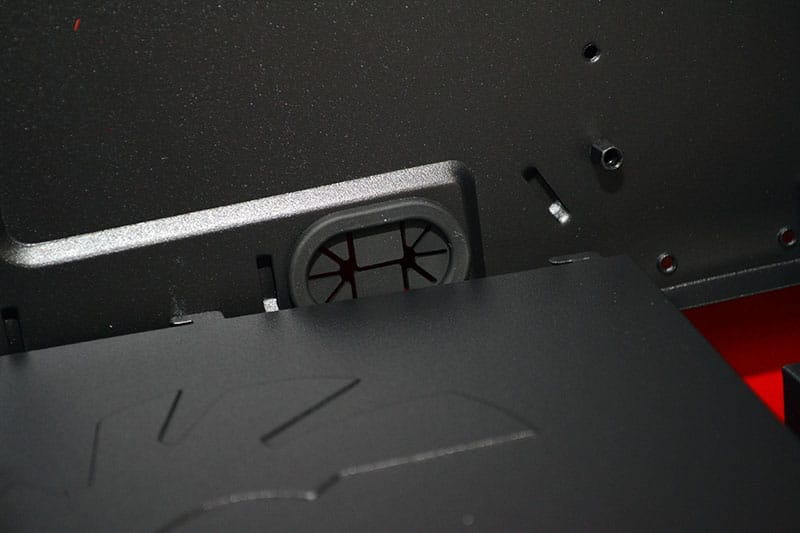
There’s also an extra grommet behind it, perfect for routing those front panel HD audio cables, that often trail through the lower half of your chassis.
The bottom hard drive bay can be removed completely, freeing up extra space for bottom mounted fans and/or radiators.
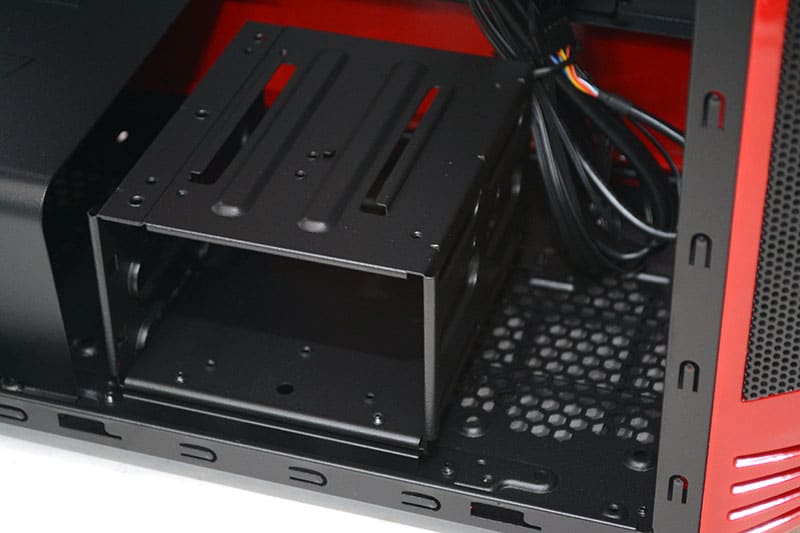
While the bottom bay is screwed in place, the top one can be easily slid free thanks to a tool-free clip.
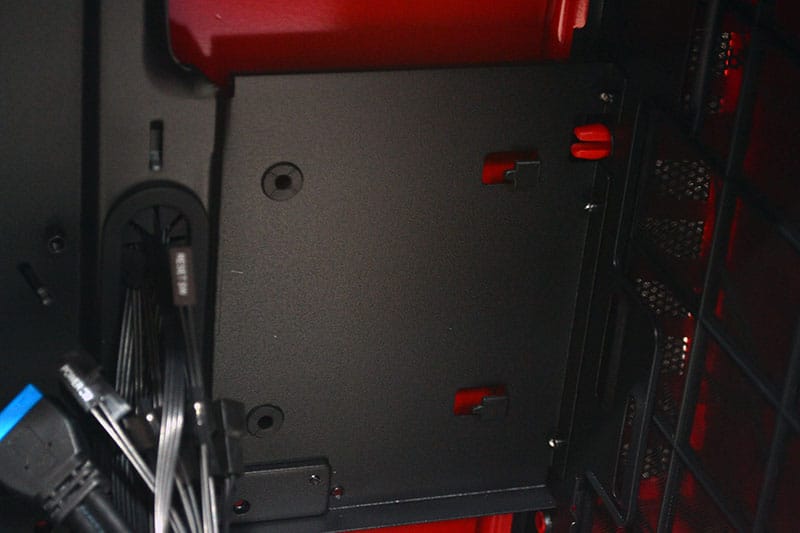
Then tucked away at the back, just to the right of the motherboard, we’ve got a side mounted 2.5″ bay; so many storage options!
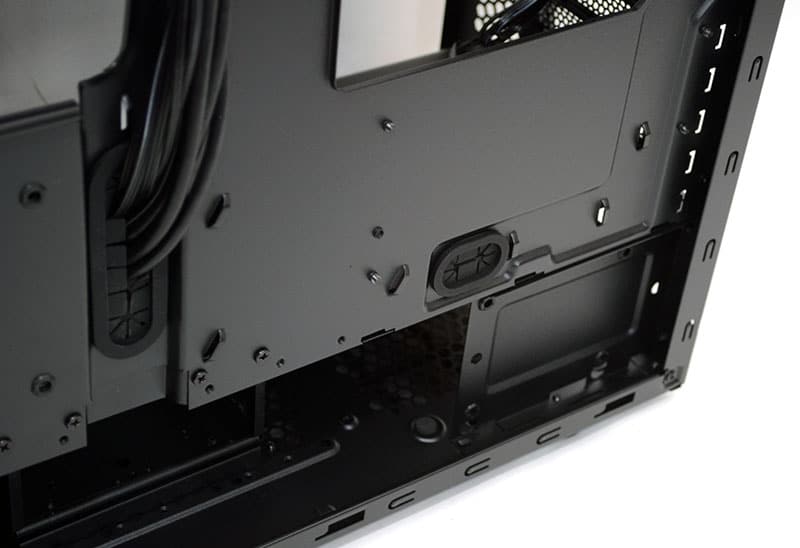
Behind the motherboard, there’s not a huge amount of cable routing space, but there are a few cable tie loops and enough grommets to help you get everything neatly in place.
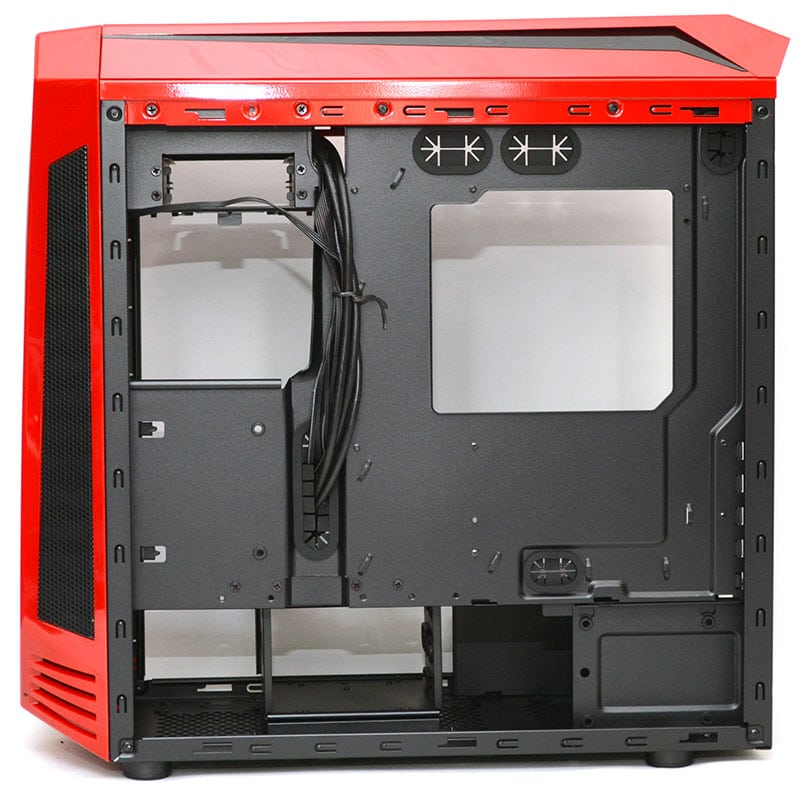
What’s that in the bottom right corner? Another 2.5″ drive mount!
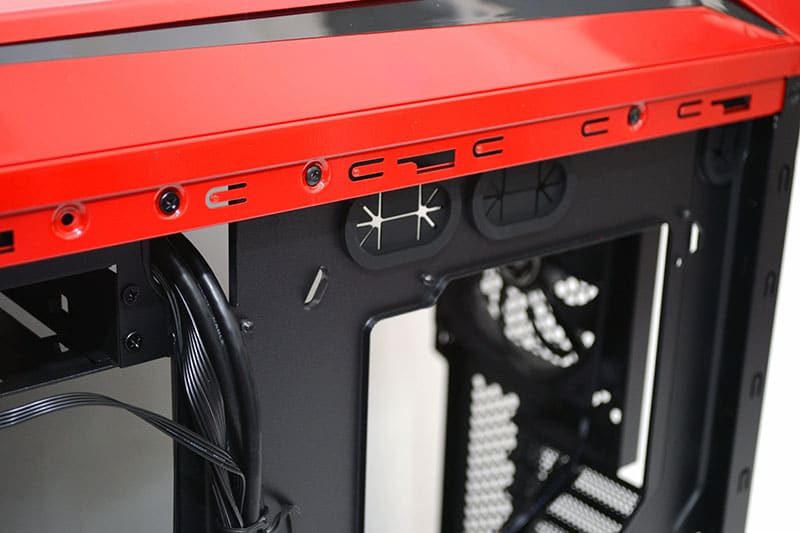
Three routing grommets at the top, the rear most is handy for the CPU power cable, but two more are ideal for handling your top-mounted cooling fan cables.
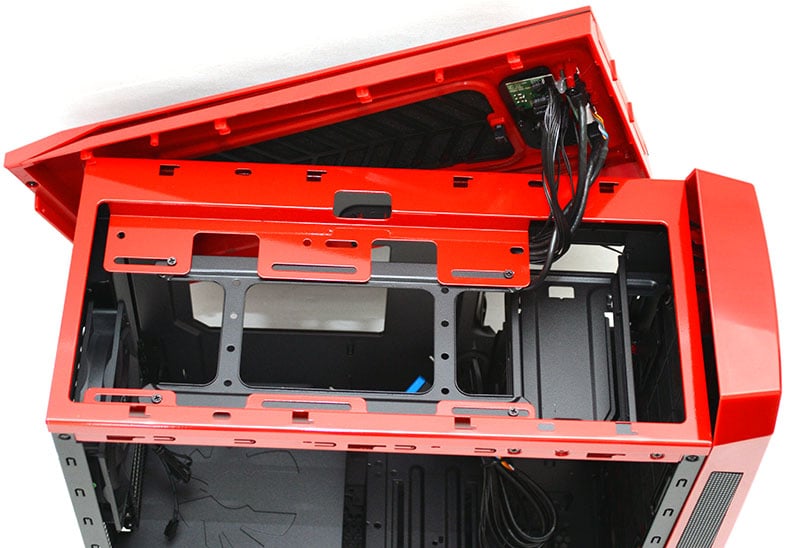
Behind the top panel, you’ll find even more radiator/fan mounts; you’re certainly going to have no issues finding compatible cooling solutions here.
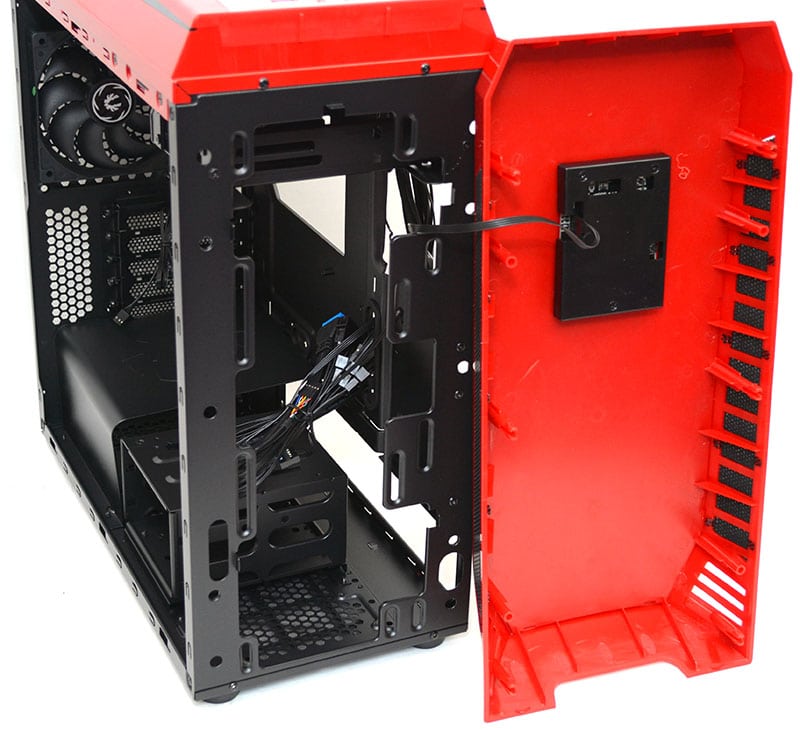
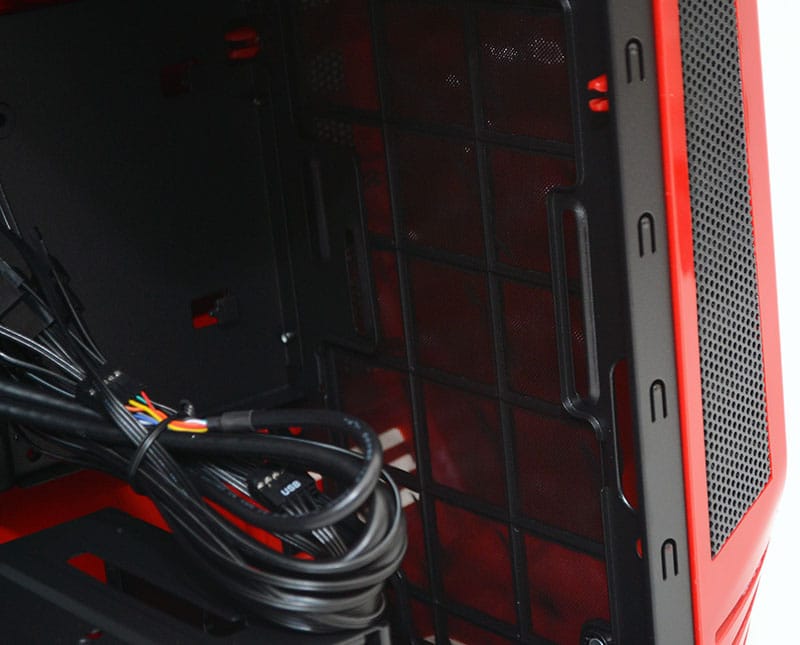
The front panel can be pulled off from the chassis easily enough, behind which you’ll find a full-height magnetic dust filter. You’ll also notice the front panel ICON LCD, which has a cable running into the interior of the chassis and connects to USB 2.0 header on your motherboard.
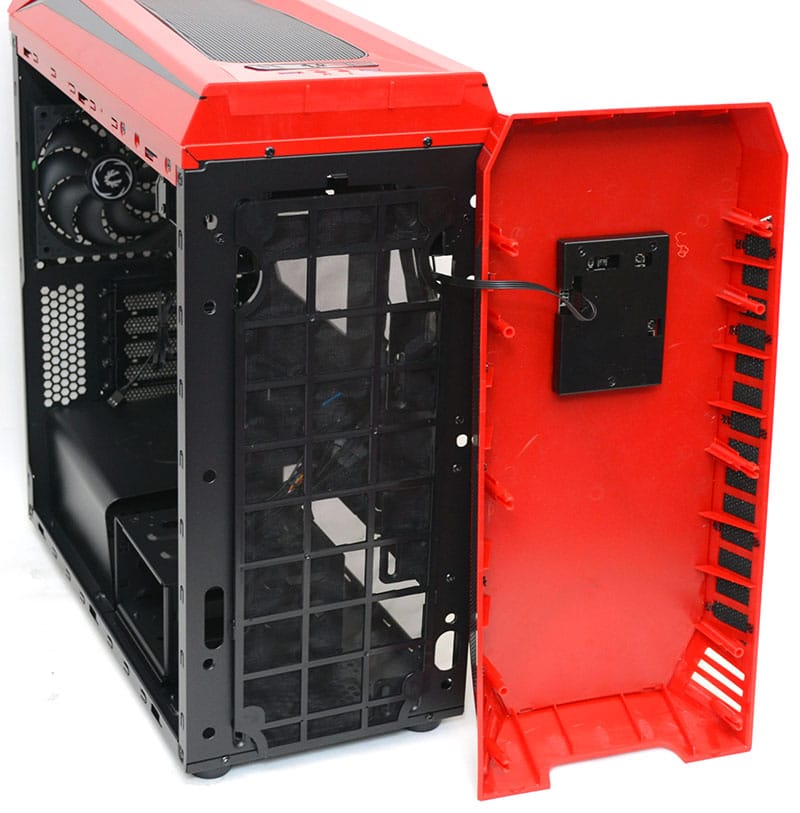
Just like every other bit of the chassis, there’s excellent cooling compatibility, with room for tall radiators or extra fans.
