BitFenix Colossus Mini-ITX and Micro-ATX Chassis Review
Interior
Behind the motherboard you’ll find a little bit of space for cable routing, although it is limited.

There’s a vertical hard drive mount which supports 2.5″ and 3.5″ drives. It’s held in place with four screws, which you’ll need to remove to install the rest of your components.

In the bottom front of the chassis is a PSU bracket. this can be removed via a thumb screw to make installing your PSU easier.

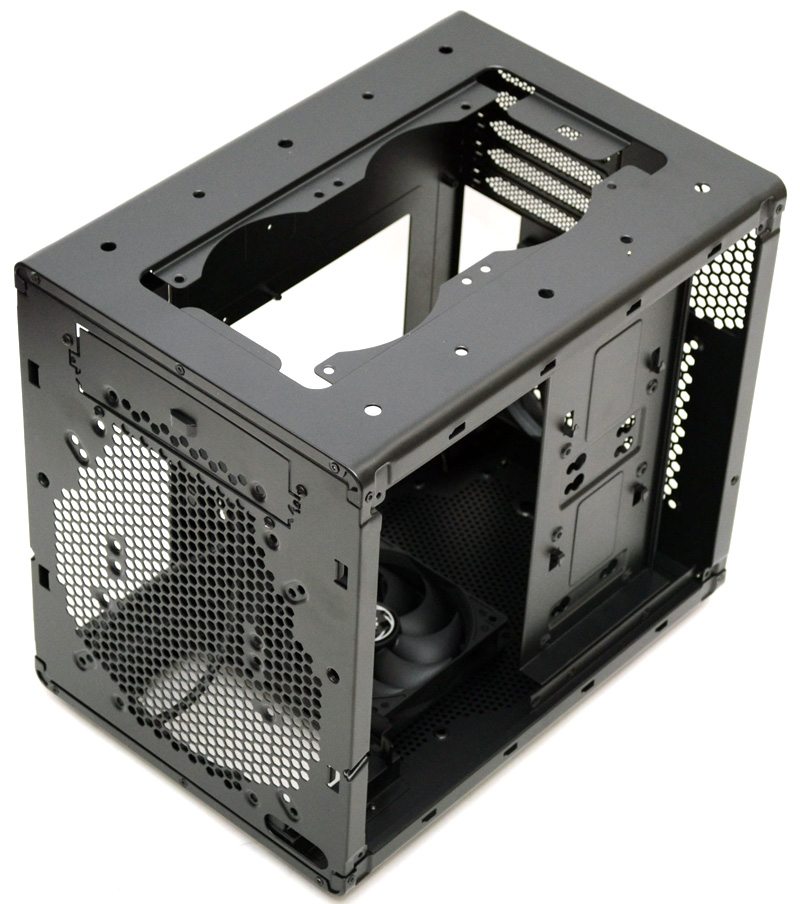
Behind the front panel you’ll notice the same front panel as the mini-ITX model, although it will be taken up by the PSU, so you won’t be able to use those fan mounts like you can in the mini-ITX model. The top of the chassis does still have the dual 120mm fan mounts, but keep in mind that you’ll likely not have space for fans with two graphics cards installed.

With the hard drive bay removed you can see there is a good amount of space on the interior, and you’re going to need every millimeter to cram a micro-ATX motherboard in here.

There’s a 120mm fan mounted as an exhaust in the base of the chassis and another in the back.

Interestingly both the base and the back fans are setup as exhaust and there are none mounted as an intake.


