Bitfenix Colossus Venom Edition Chassis Review
Henry Butt / 13 years ago
Completed SystemIt took us about 40 minutes to install our test system into the Colossus which included some basic cable management.
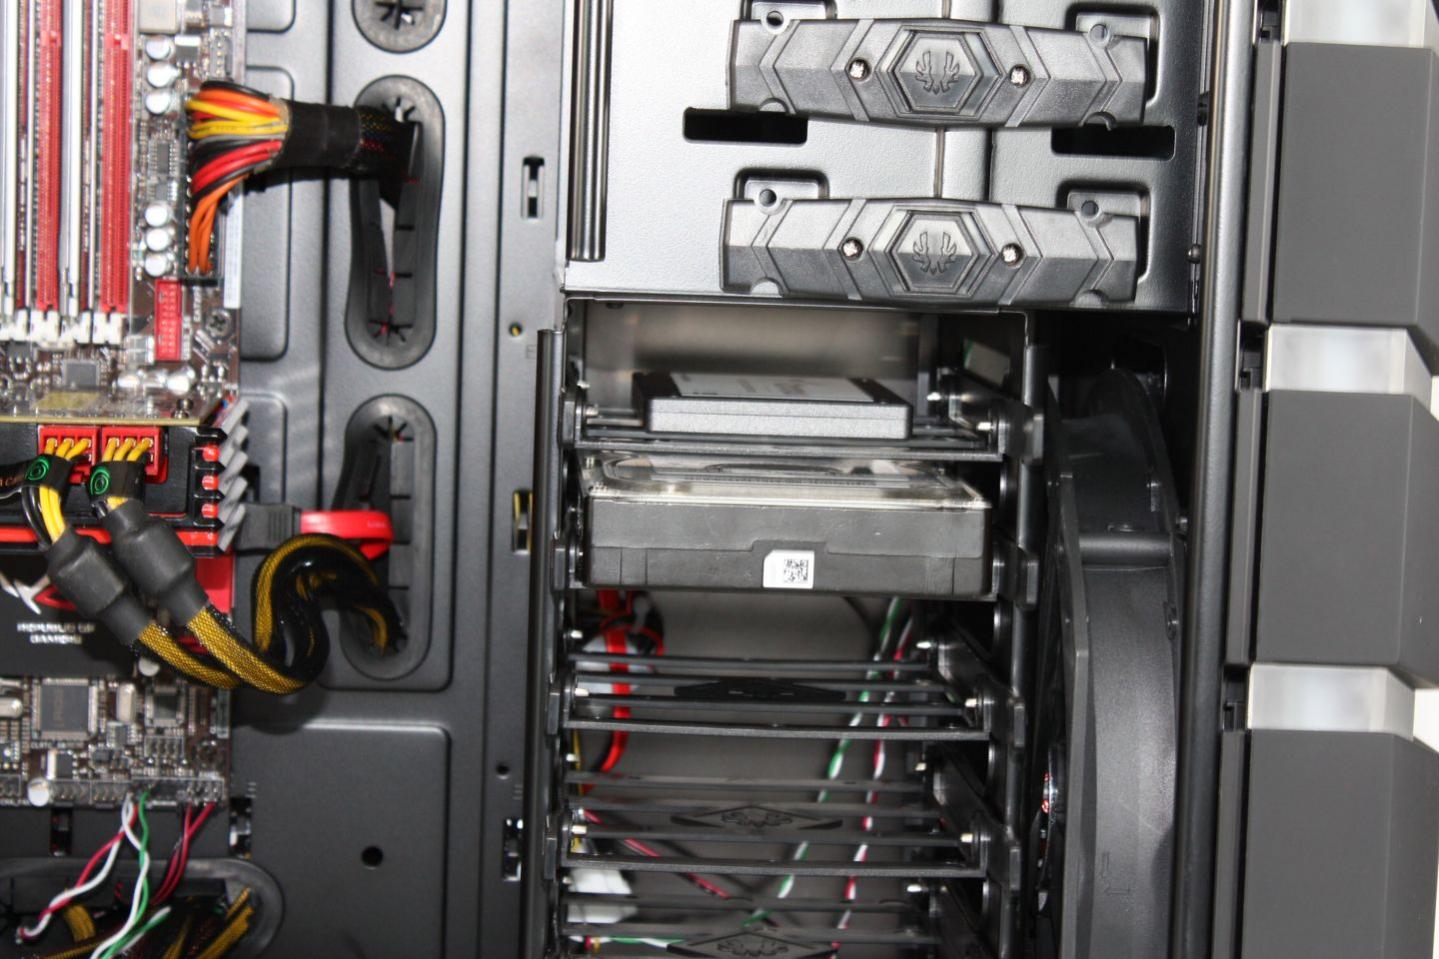
Installing a hard drive into the case was very simple thanks to the well designed tool-less drive caddies. To install a solid state drive we’re required to use screws to secure it in place but this is still very easy.
While Bitfenix haven’t made any provision for tool-less power supply installation, we would usually prefer to screw it in place anyway as it is still the most secure way of holding it in place. One minor gripe that we have with the case is that the cable routing hole next to the power supply is a little small to route all the required cables through, especially if you’re going to have a multi GPU setup with multiple graphics card power cables.
Installing the motherboard was a simple process requiring us to install a couple of motherboard standoffs and then screw it down into place.
There are a good selection of cable routing holes all round the motherboard which will let you achieve a very tidy build if you put the effort in. Above the motherboard tray there is more than enough room for a thick 240mm radiator with fans arranged in a push/pull configuration. For those who want to water cool their system seriously without modding the case should consider a different case, though, as there is no support for 360mm radiators.
Bitfenix have included a tool-less mechanism that secure the expansions devices. This is one of the best we’ve seen and is only inferior to that used by Lian Li as Bitfenix use plastic clips rather than metal.


