BitFenix Enso RGB Tempered Glass Case Review
Peter Donnell / 6 years ago
A Closer Look – Interior
With the side panel removed, the interior looks pretty spacious. I won’t lie though, it’s not as big as it looks, but there’s plenty of length and width here. It’s just big enough to cram an ATX motherboard in there vertically, and I mean just.
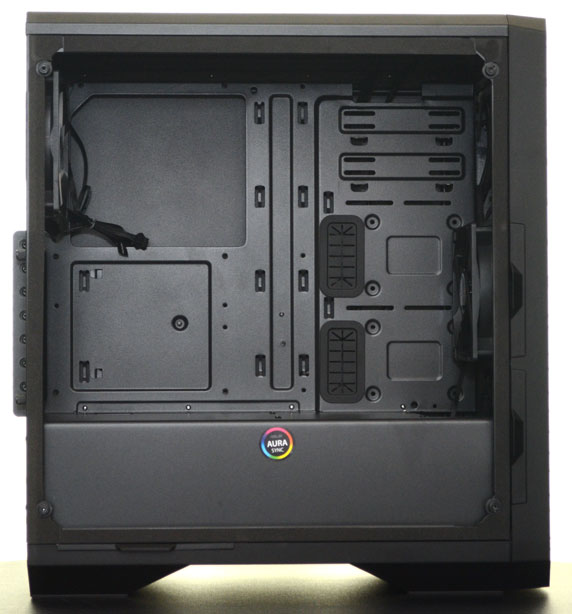
Cable management should be a breeze here, as with a PSU shroud, you can hide your cable gore shame out of sight. There are a few smaller routing holes on it, but I would have liked even more. However, with rubber grommets around the motherboard, things should go smoothly enough.
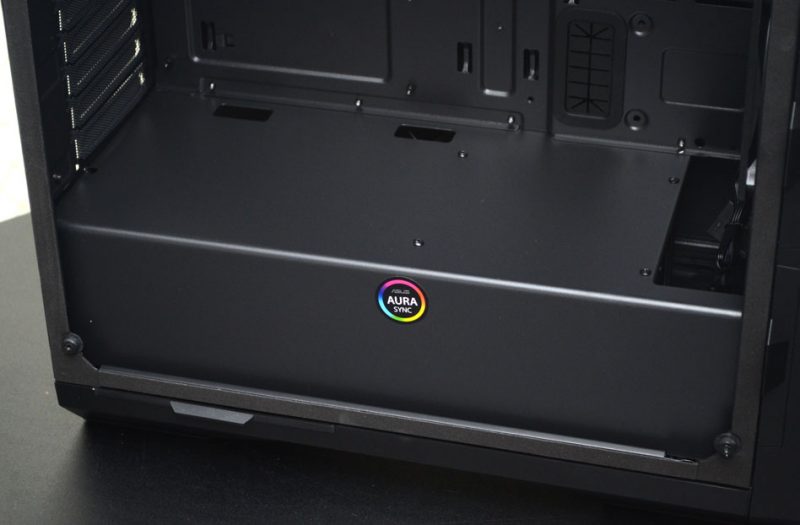
Towards the front, there’s a single 120mm fan pre-installed. It’s not RGB, but it’s certainly welcome. There’s room for another fan here if you need it, or 140mm fans, or up to a 280mm radiator.
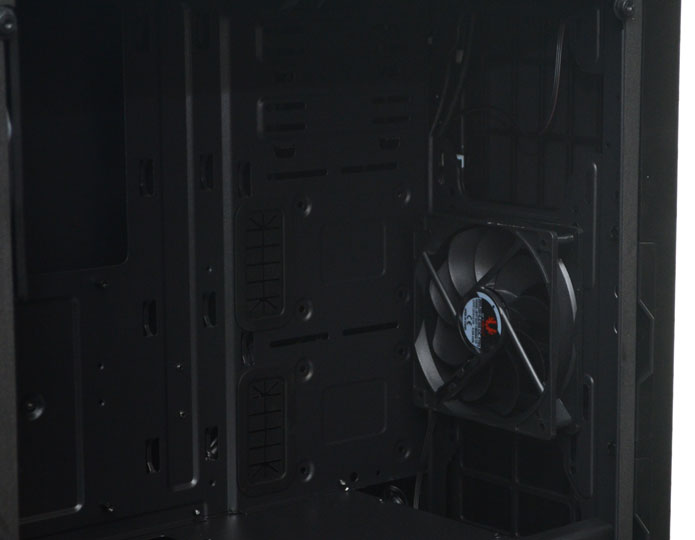
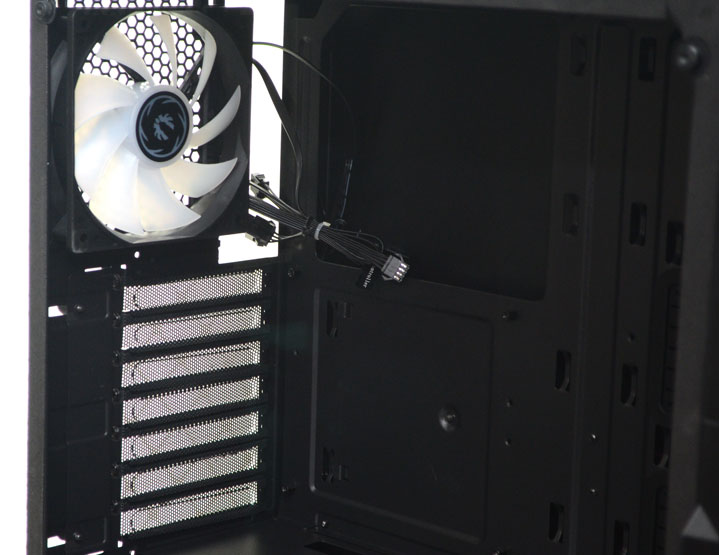
In the rear, there’s another 120mm fan. However, this one is full RGB with both a standard 3-pin header and a 4-pin RGBW header that hooks into your motherboard or the included controller. The expansion slots are ventilated and use reusable covers too, not those nasty snap off ones.
Around the Back
Around the back, there’s a good amount of space for cable routing. Not a huge amount, but with all the cable tie loops, grommets, and that PSU shroud, I doubt you’ll run into any headaches here.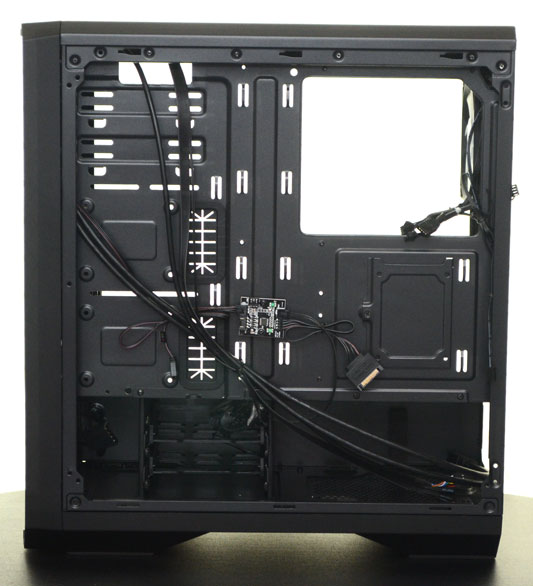
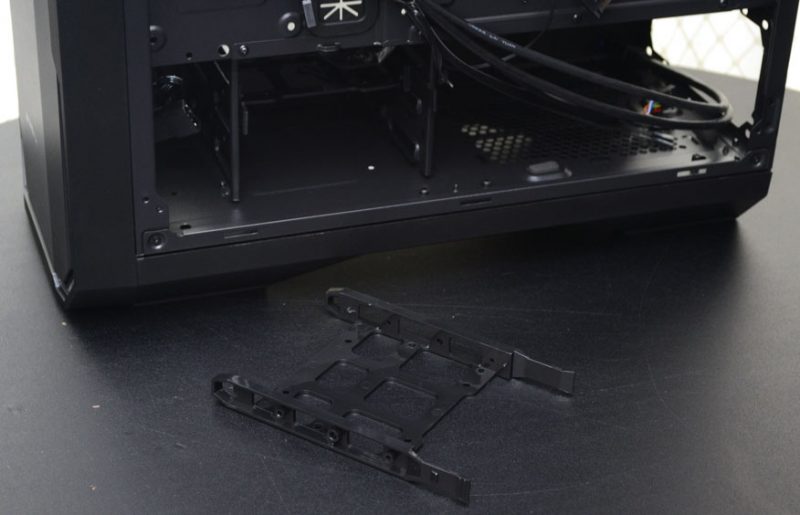
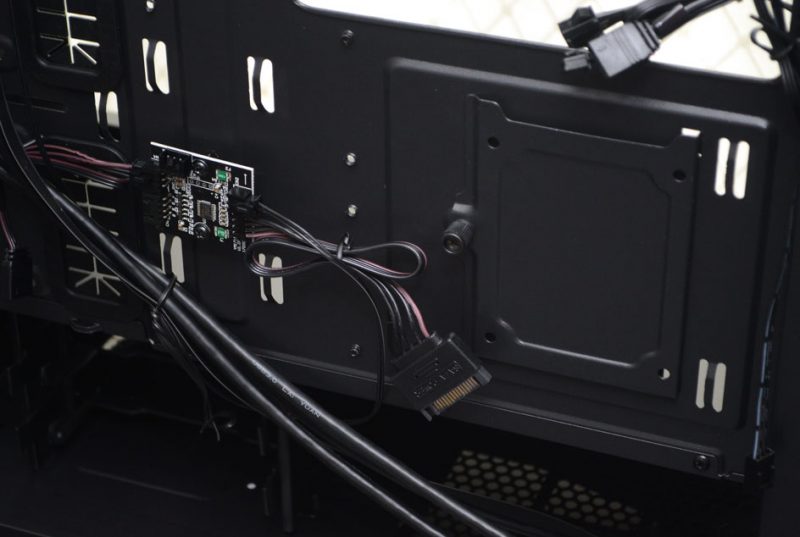
There’s a dedicated SSD mount here, which will come in handy. However, you can screw two more to the right of the motherboard also, giving you three 2.5″ drive mounts in total. Located to the left, a tiny RGB controller powered by SATA, which connects to the RGB button on the front I/O.
Finally, before we put the system together, you’ll also find two 3.5″ drive trays under the PSU shroud. Again, there’s nothing too crazy here so far, so let’s see how easy it is to build!
