BitFenix Pandora Micro-ATX With ICON Display Review
Peter Donnell / 10 years ago
Interior
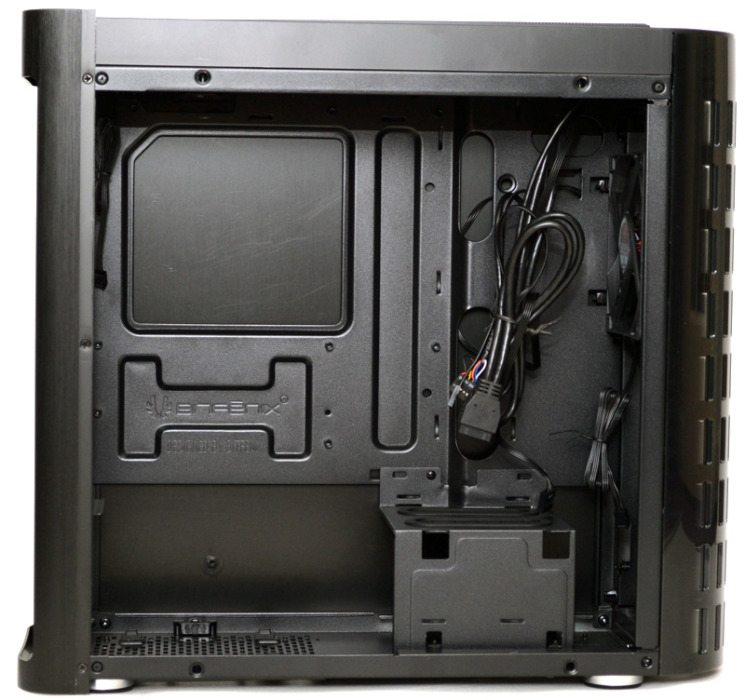
The side panels are not screwed in place, they’re mounted on pegs that simply push into the chassis. This means that you can remove the side panel by giving it a light tug, making it very easy to access the interior. On the inside of the Pandora you’ll find plenty of cable routing holes, as well as a large CPU cooler mounting cut-out behind the motherboard.
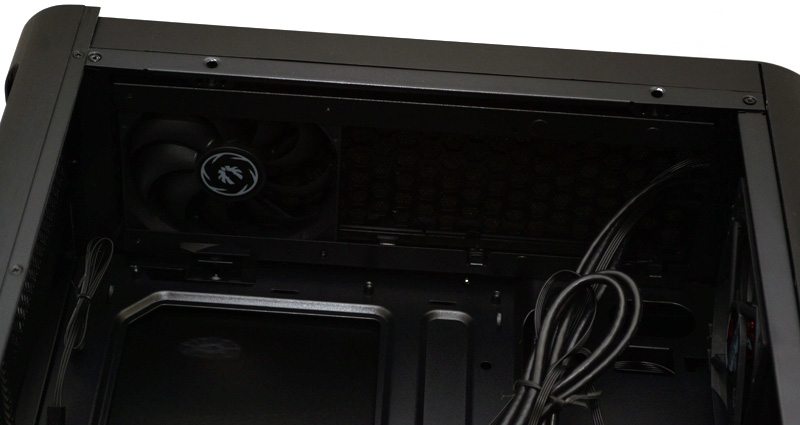
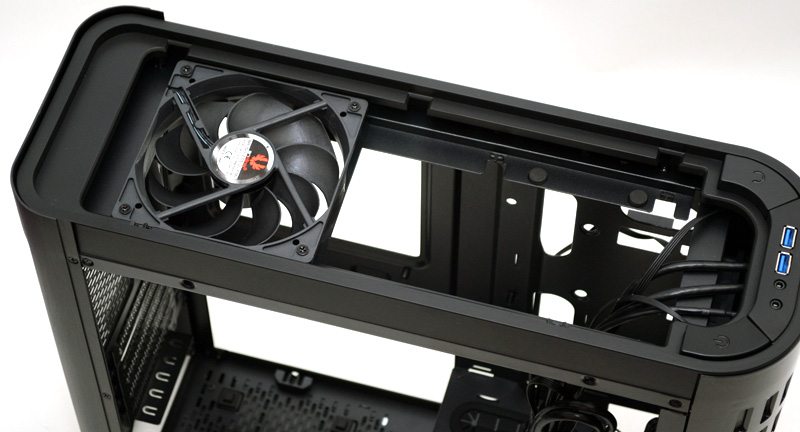
There’s a 120mm fan pre-installed in the top of the chassis and below that a small routing hole for the motherboard CPU power cable.
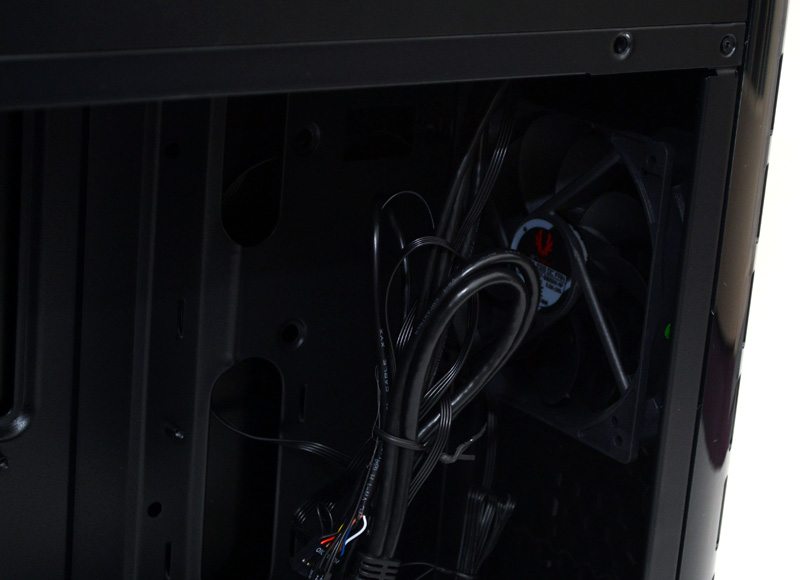
In the front of the Pandora, you will find a single 120mm fan pre-installed, with room for another below that. If you wanted to, you can also install a 240mm water cooling radiator in the front of the chassis.
In the bottom right of the Pandora you’ll find the funky little structure. This acts as a shroud for your power supply cables, which should help keep things neat and tidy. It also has two cable routing grommets to help route cables to your motherboard and graphics cards, while also having a 2.5″ drive mount on the side; so many features in one small section!
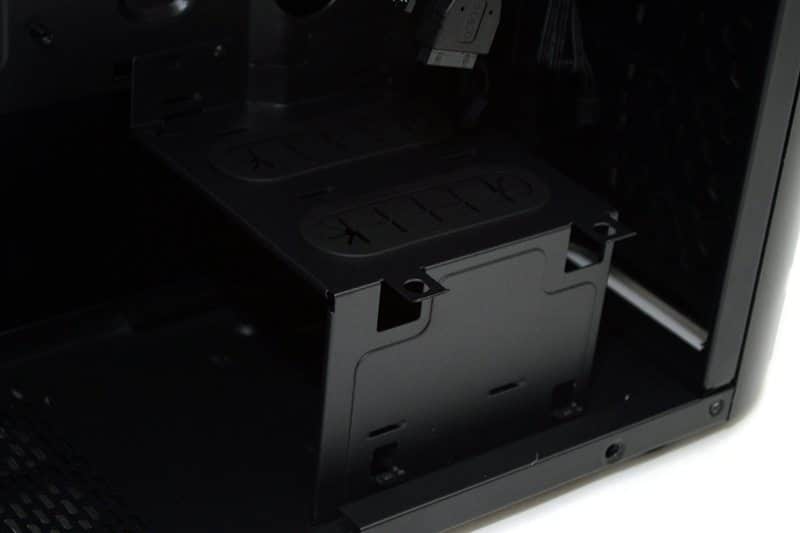
The power supply section benefits from a bottom mounted dust filter as well as four rubber pads to help reduce any vibrations from your PSU.
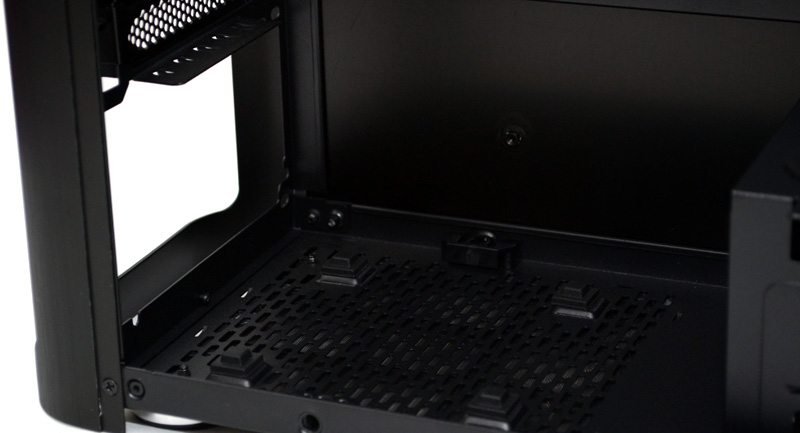
There’s no room for a rear mounted fan; not surprising given the slim form factor of this chassis. There is however some ventilation that should help move some excess heat from your system.
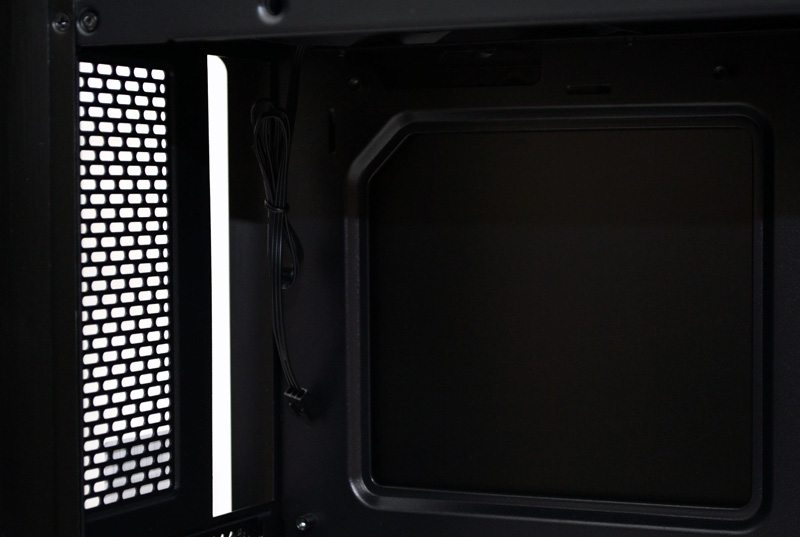
Behind the motherboard mounting plate, you will find a little bit of cable routing space on the left, but next to none behind the motherboard. There are some cable tie loops to help keep things tidy and you’ll certainly need them if you hope to get your side panel back into place.
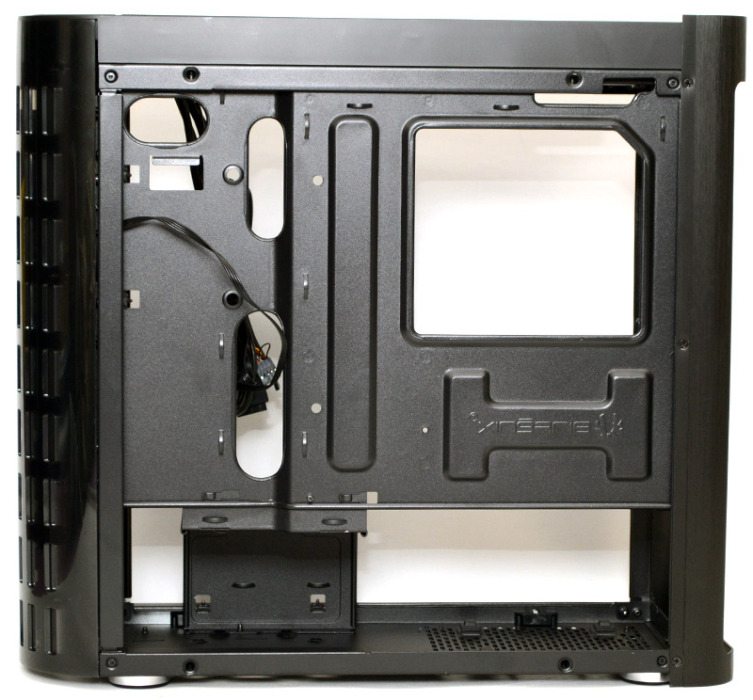
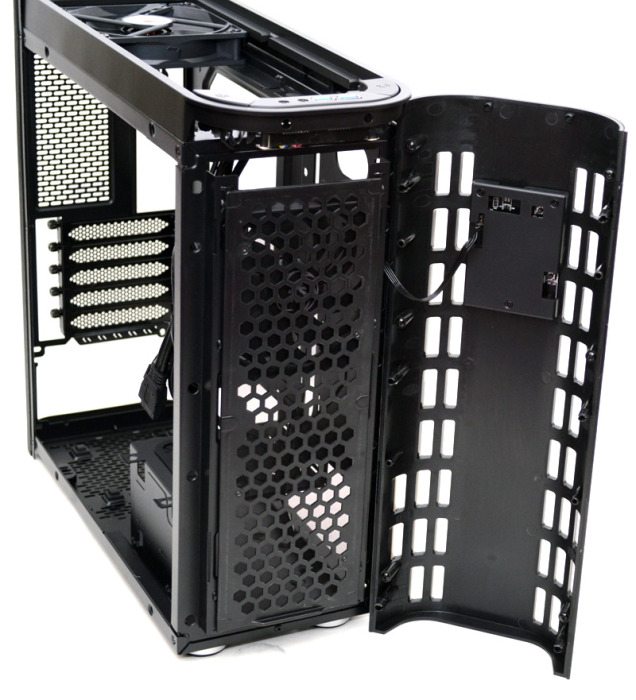
Here you can see the top panel is removed, giving you easy access to the top-rear 120mm fan mount.
Behind the front panel you can see the back of the small LCD display which is mounted on the right, with a USB-motherboard header cable attached.
