
Final Thoughts
Total build time on the Phenom mITX was a little over one hour. This is a long build time for me and it is party due to the complex nature of working in such a small space while trying to achieve a clean looking build, but because I kept running into issues along the way.
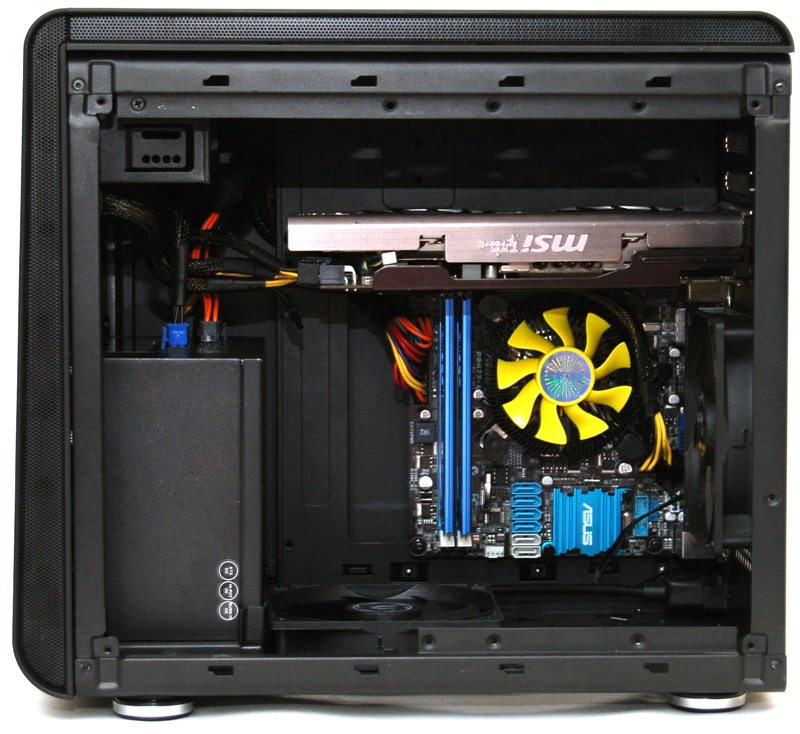
Some time on this build was lost by mounting out H100i in the top of the chassis, but when it came to installing out GPU I quickly realised that the tubes struggle to pass it, not do I like the idea of feeding my GPU air that has just come through the CPU radiator. Then there is the issue of two graphics cards, which wouldn’t be possible with even a slim radiator in the top of the chassis.
You could get a radiator in here, but you would need something with flexible water pipes. I could have installed our H80i but again I felt the strain on the pipes was too great, however this maybe a case unique to the Corsair H range as they do feature very stiff water pipes.

The back of the PSU leaves a little room for cable routing, but also dismisses my idea that the front panel could be used to mount fans to redirect air inside the chassis. The PSU draws its air from the front panel but the air intake here is limited at best, that mesh down the side of the panel is not completely ventilated and is mostly there for show

The PSU cable works nicely enough and you can see there is a little extra clearance for extracting the heat under the chassis. Although I’m sceptical since heat rises that this may not be the most efficient layout that could have been chosen.

I’ve chosen to mount our SSD on the side mount for demonstration purposes. If you do choose to mount a lot of hard drives in this chassis you’re going to have a hard time routing cables but with a little care it is possible to get a pair of GPU’s and a good few hard drives in here, just don’t expect it to look pretty in there and be prepared to put extra thought into cooling efficiency (buy more fans basically).

It’s a real shame I couldn’t get our radiator in here, you might have better luck but I suggest you install a pair of good quality 120mm fans here, given the unique airflow design I think it is important that you get a positive air pressure inside the case, which should be pretty easy given it’s relatively closed design.

The chassis looks really stealthy once again now that all panels are back in place and I’m sure many will appreciate the clean styling.


Lol. I’m glad it wasn’t me trying to fit all those components into that matchbox.
There is a reason why Bitfenix Prodigy/ (not the M version) was launched first before the M. It may be big and same size as the Prodigy M/Phenom M discussed here, but that version provides much superior airflow and not as cramped as the M version. If Bitfenix want to make a good Micro-ATX case they must redesign the case, and let the Prodigy and Phenom (non M) be an independent model range of the Bitfenix chassis range.