BitFenix Prodigy M Micro-ATX Chassis Review
Peter Donnell / 11 years ago
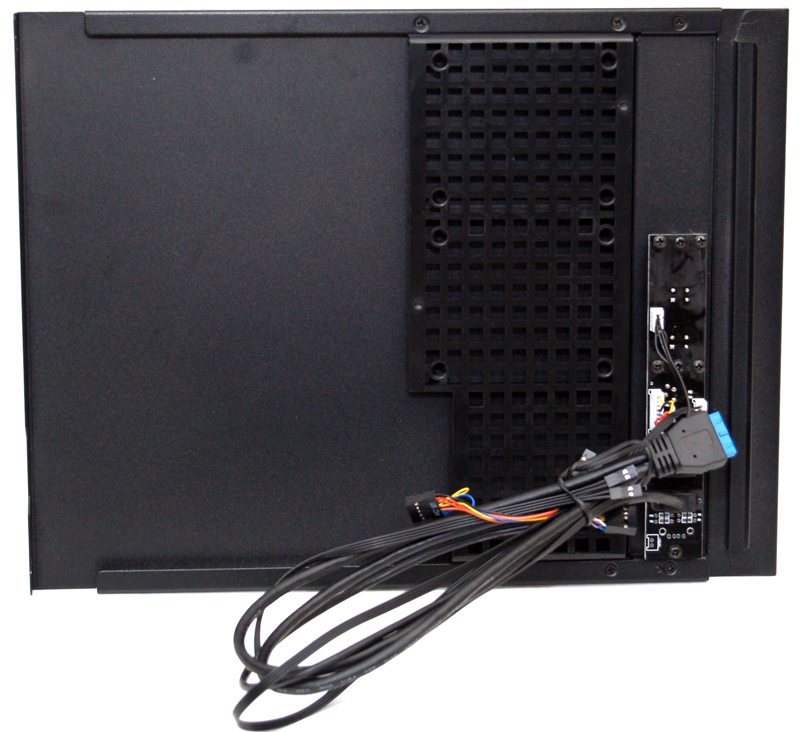
The right side panel has a small PCB on the back which handles the side I/O panel. There is also a plastic bracket that can be used to mount 2 x 2.5″ hard drives onto the side panel.
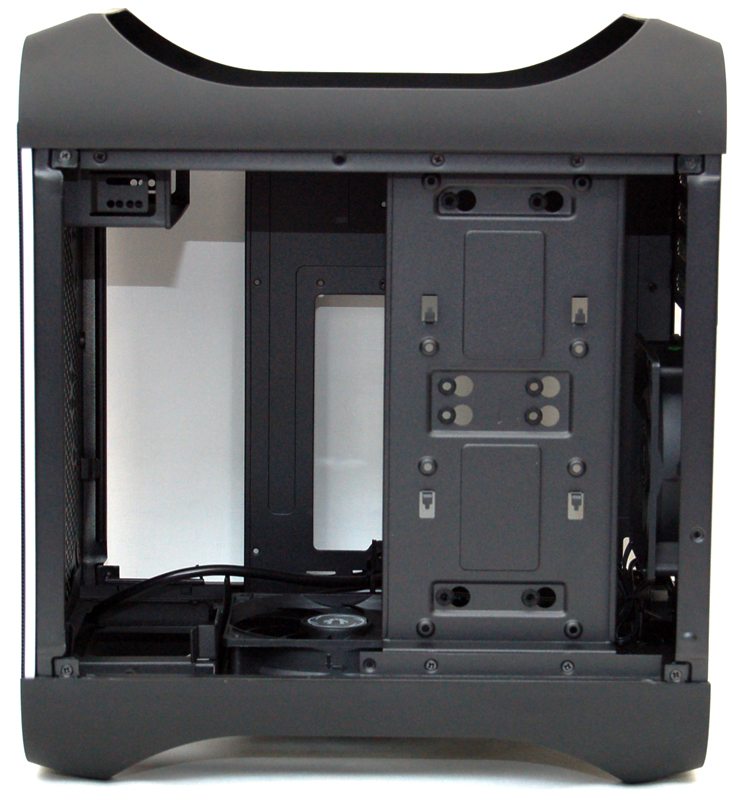
With the side panels removed we can see that there is a vertical section blocking our view, this can be used to mount even more hard drives vertically, freeing up more space within the chassis.
Four small screws hold the HDD bracket in place, take that out and we can see that the chassis interior is mostly vacant, leaving plenty of room for components. The motherboard stand-offs for an mITX motherboard are pre-installed and extra stand-offs are included for mATX installation.
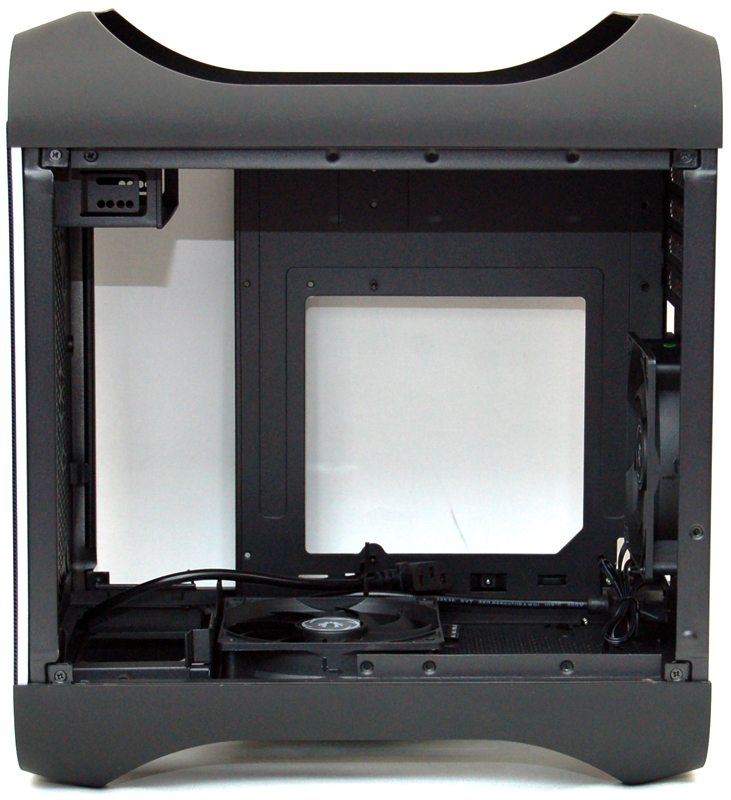
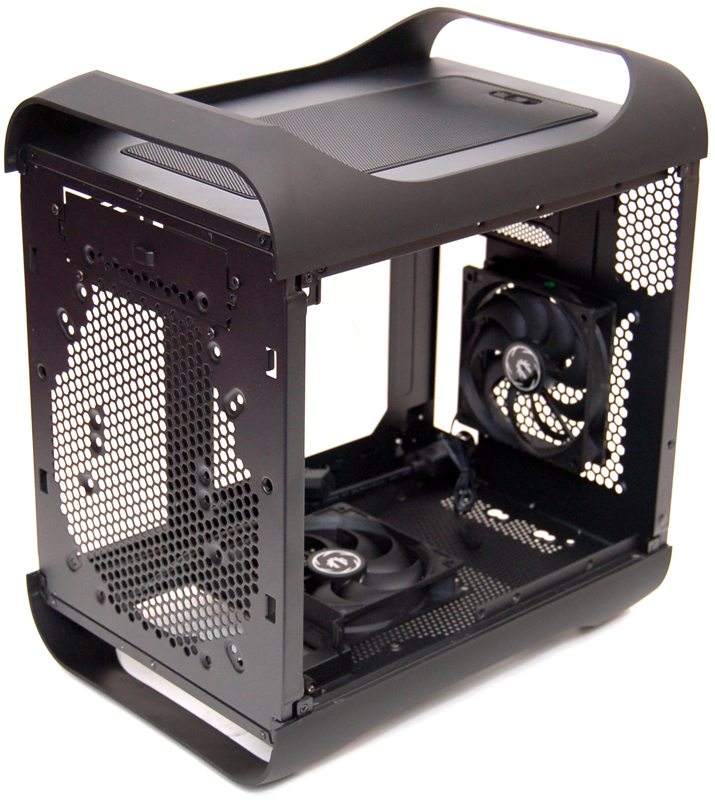
The two fans in the system are both decent quality BitFenix fans and setup to extract heat. I should also point out here that airflow direction in this case is designed to draw air in at the top and exhaust at the base / back of the chassis.
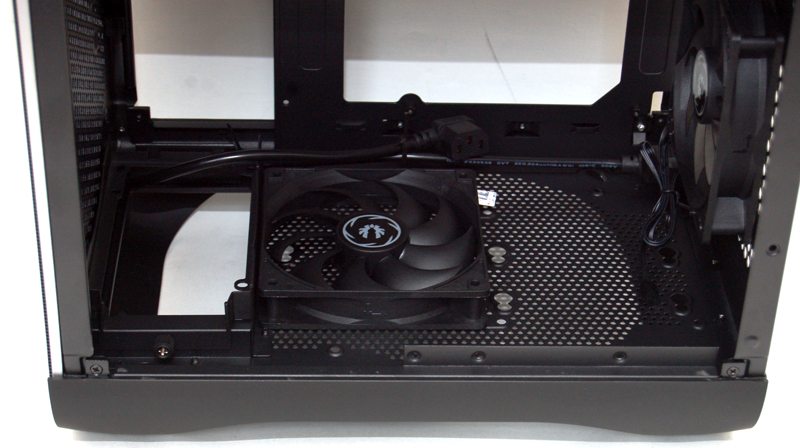
The unconventional airflow is at least helped by the fact that the chassis has plenty of ventilation at the front and rear.
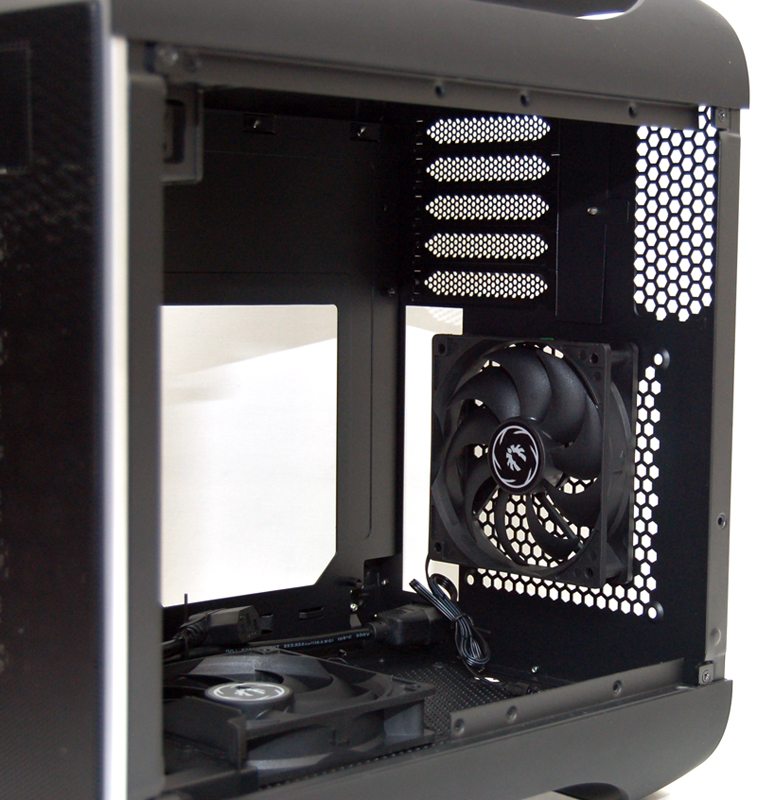
There are fan mount holes on the front panel, but that only seems to be because BitFenix have reused the same panel from the original Prodigy (to save costs?). This area will be mostly covered by the PSU once a system is installed. The short 5.25″ bay may not look much, but it will hold an optical drive if your graphics card don’t conflict, or more ideally a small fan controller such as the BitFenix Recon. However if you really need the space you can remove this 5.25″ bay completely.
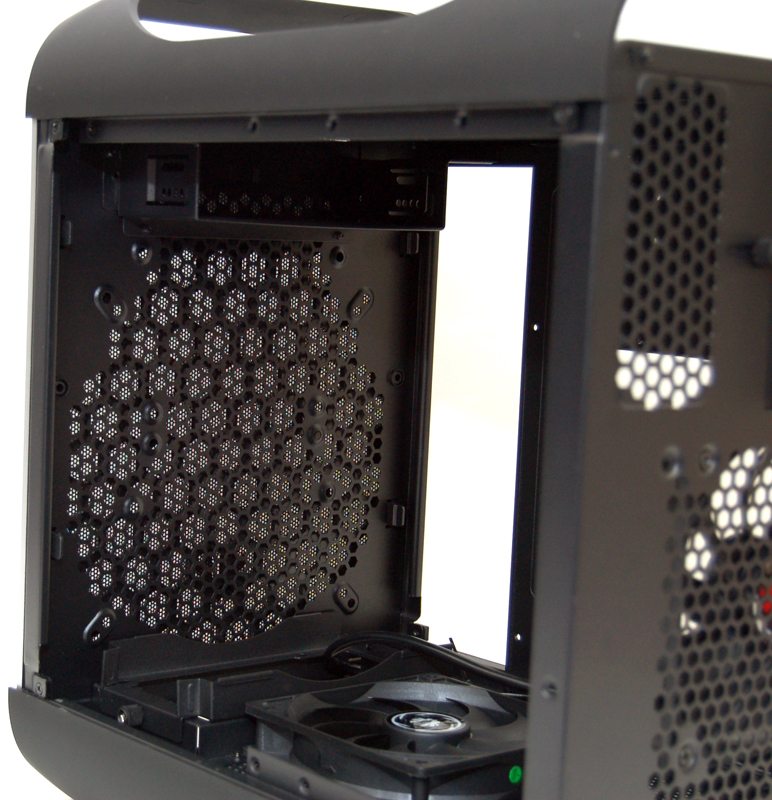
The two top fan mounts are vital for drawing air into the chassis and given your GPU will be inverted, any GPU fans will take air from this top section of the chassis.
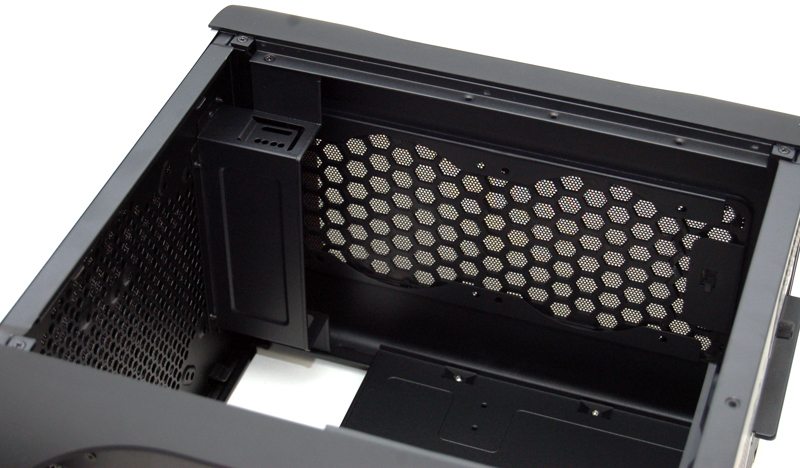
It is a little unconventional in terms of design, but lets get to the build section and put it to the test.
