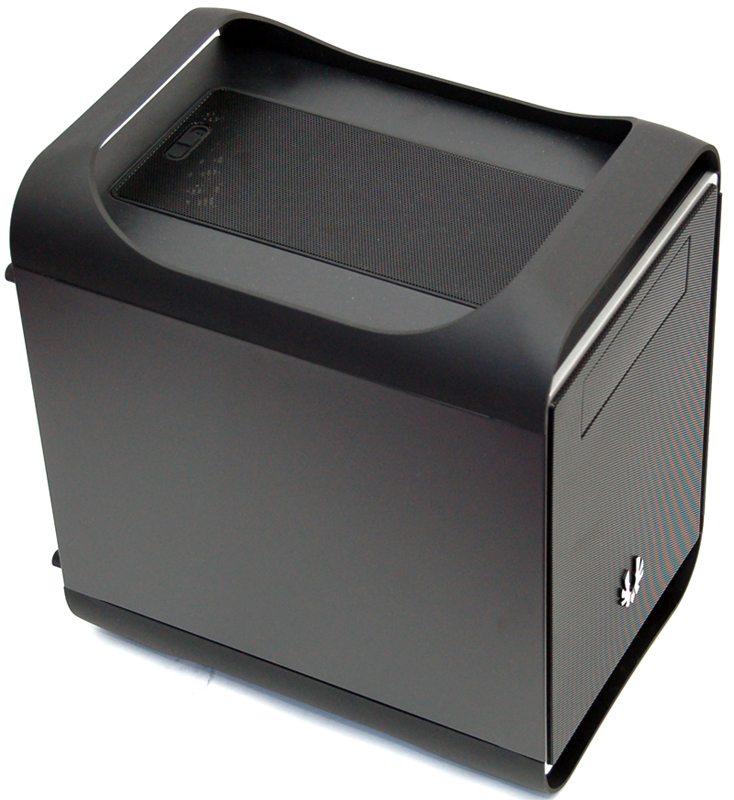
BitFenix Prodigy M Micro-ATX Chassis Review
Peter Donnell / 11 years ago
The Prodigy M presented me with an almost identical build to that of the Phenom M, along with the same conflicts. Cable management is limited at best, the top fan mounts can’t hold a 240mm radiator with two GPU’s installed, even then our H100i water hoses couldn’t get past the GTX 560Ti. A 120mm radiator will be ok in the back, but I found the H80i to be a little unhappy about being squashed in there, something with more flexible hoses should be ok though.
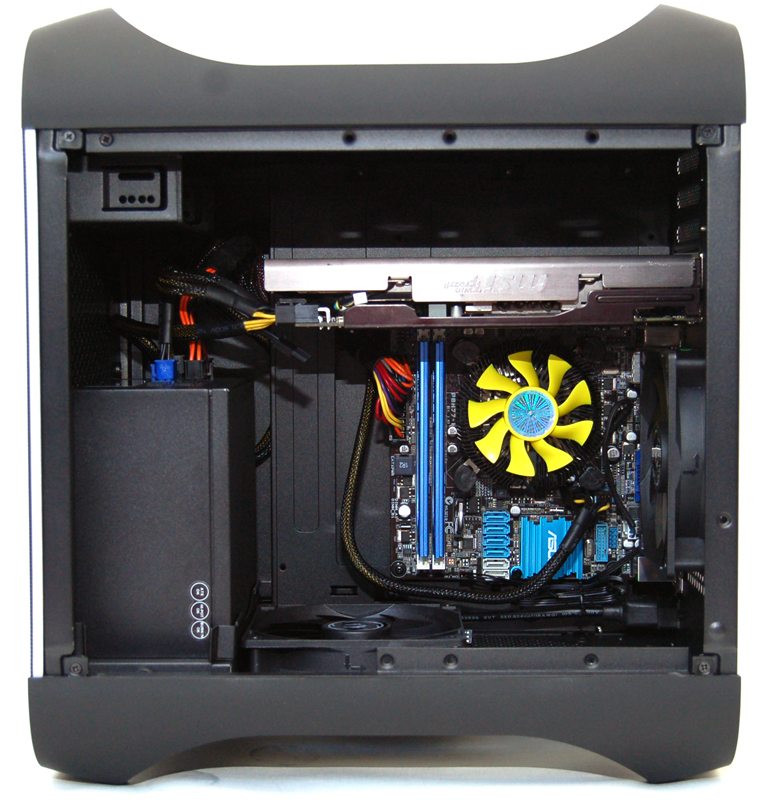
I’ve used our small Akasa cooler here, you could fit a larger tower cooler but I’d suggest aiming any CPU fans toward the rear of the chassis and perhaps removing the rear 120mm fan on the chassis.
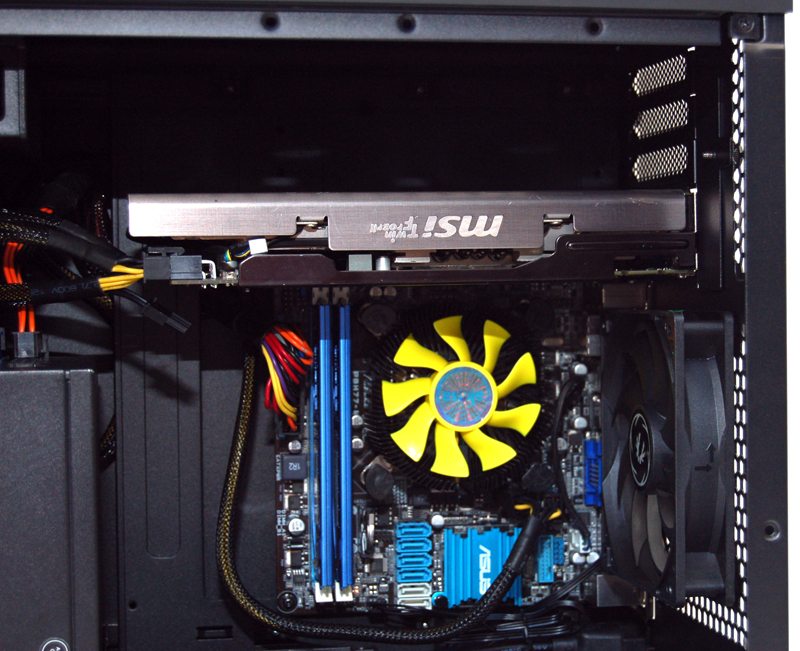
the ventilated front panel will supply the PSU with clean air and should also allow a little extra airflow into the chassis.
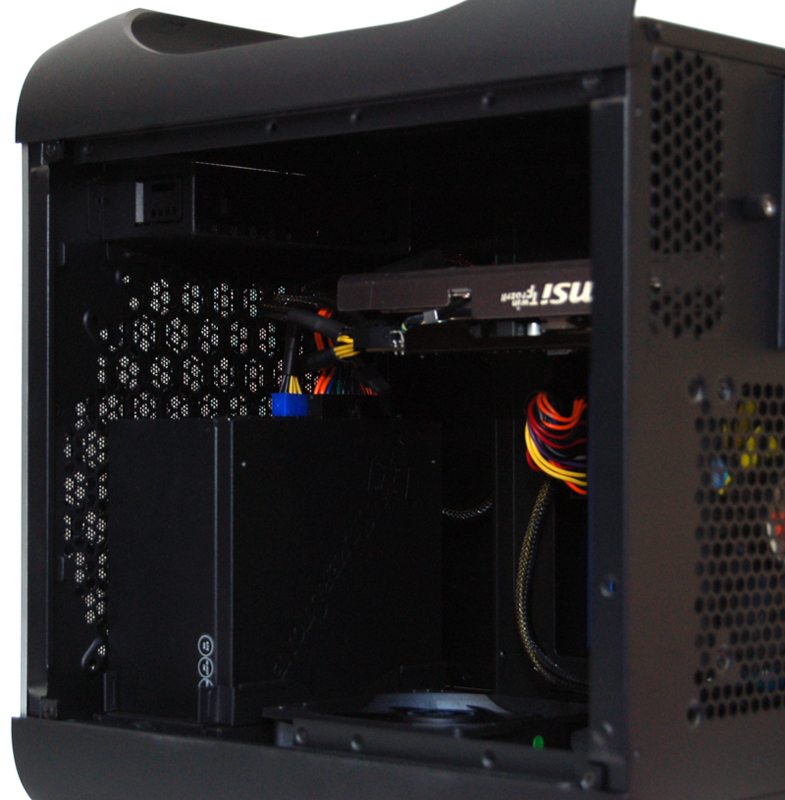
Having two top mounted fans will allow a lot of air into the case but this will mostly be taken up by the top GPU, the second GPU will then get less airflow and most of the case will no doubt struggle as the airflow is mostly blocked by the graphics cards anyway. In short, you’ll need to put extra care and attention to find the right balance of fans and fan RPM to get airflow at its best.
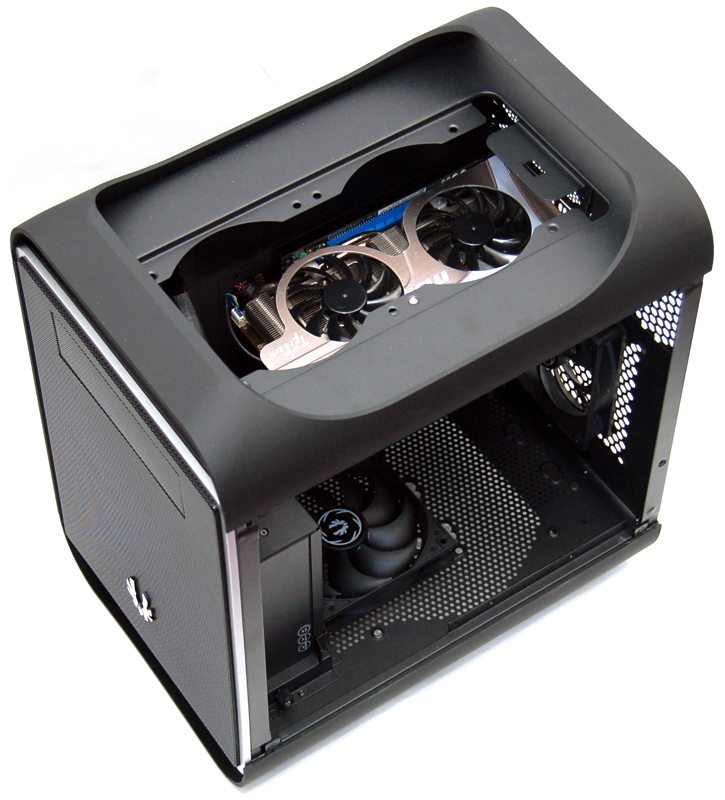
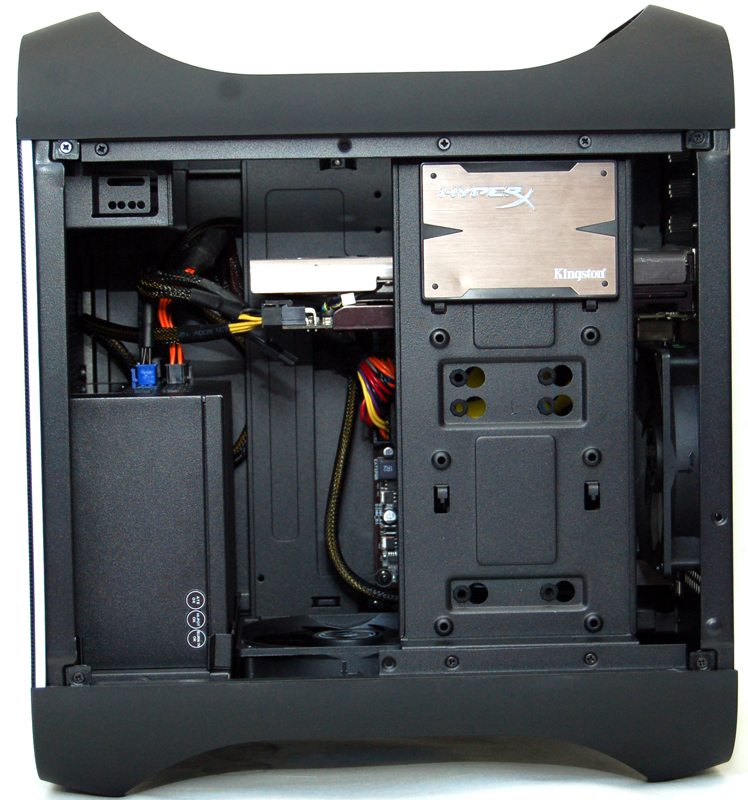
With the hard drive mount back in place the build is complete, cable routing will quickly becoming messy once you install a few hard drives, but since this chassis doesn’t feature a side panel window, that isn’t too much of an issue.
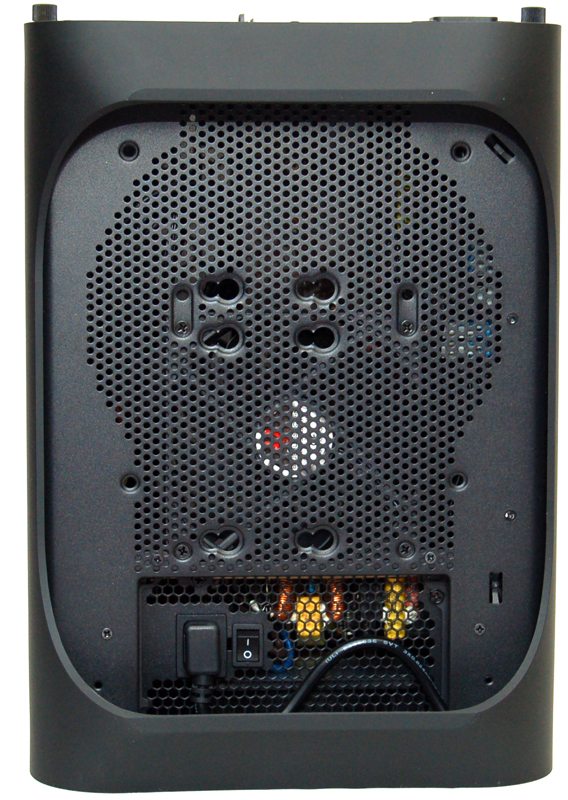
Here we can see the PSU extension cable running out of the case and hooking up our system. I have removed the heat shield completely as it just blocks any base mounted cooling.
All side panels back in place and you barely tell we’ve done anything with this chassis at all, just another Prodigy quietly going about its business.
