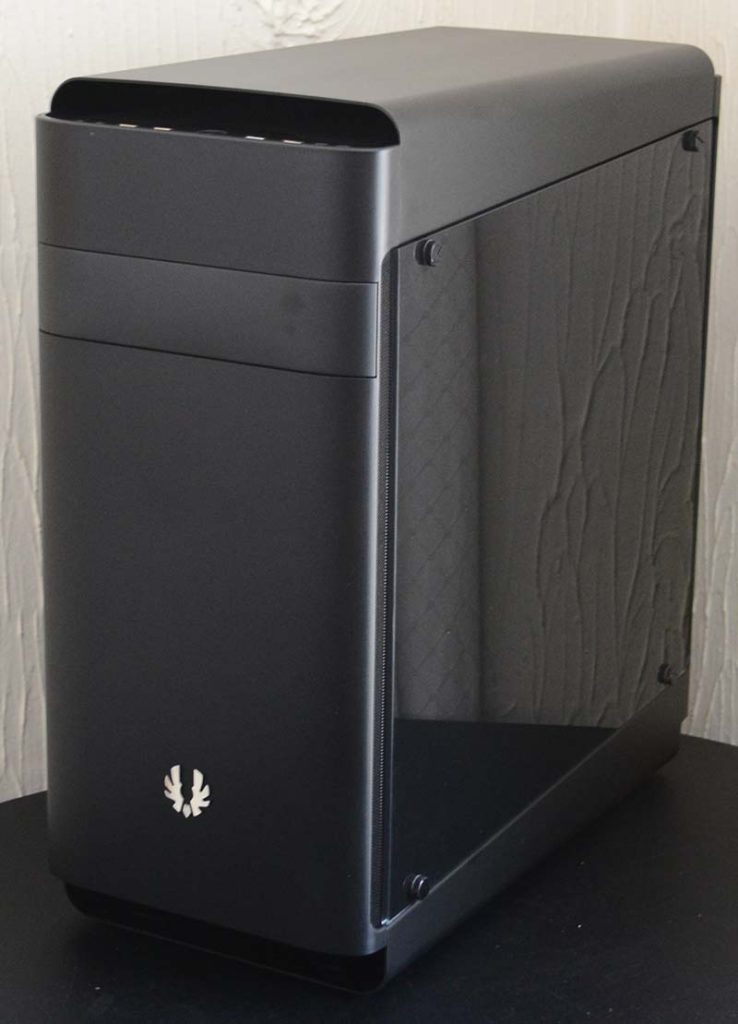
BitFenix Shogun Tempered Glass Chassis Review
Peter Donnell / 7 years ago
Complete System
Building our demo system inside this chassis couldn’t have been much easier. There’s a tremendous amount of space to work with on the interior. Of course, this means that it is very beginner friendly, despite it being well suited to enthusiast grade builds. Not only that, but the extensive cable routing holes, covers, and more, all make it easy to achieve a very clean looking build.

The dedicated RGB LED lit SSD mounts are super easy to use too. You simply slide the drives into the bay, and you’re good to go. Of course, we’ll turn those lights on in a moment.
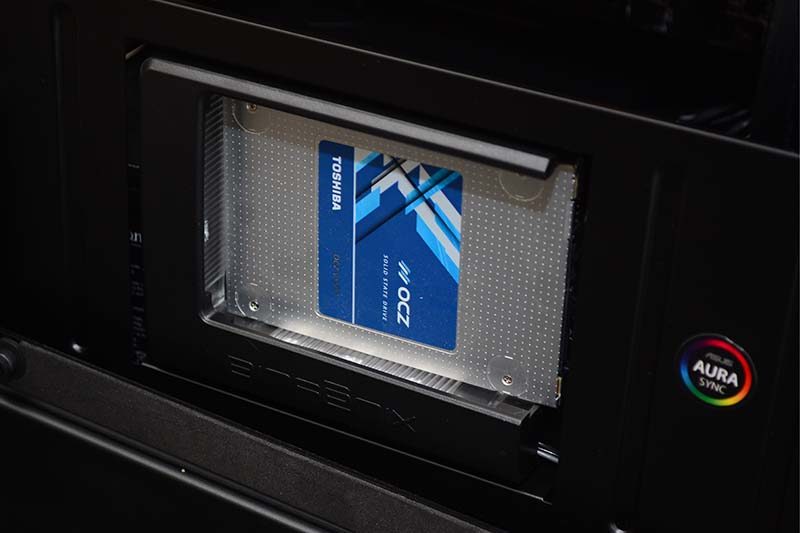
The GPU we used required us to remove one of the braces, but as you can see, the lower ones are doing a nice job of keeping a long GPU nicely propped up. No one likes a drooping graphics card, so this is a welcome touch!

The PSU sits in the lower section, and any enthusiast ATX PSU should fit with ease. Of course, that SSD mount panel covers up a lot of this section, so you can easily hide cables down here and they’ll be kept out of sight.

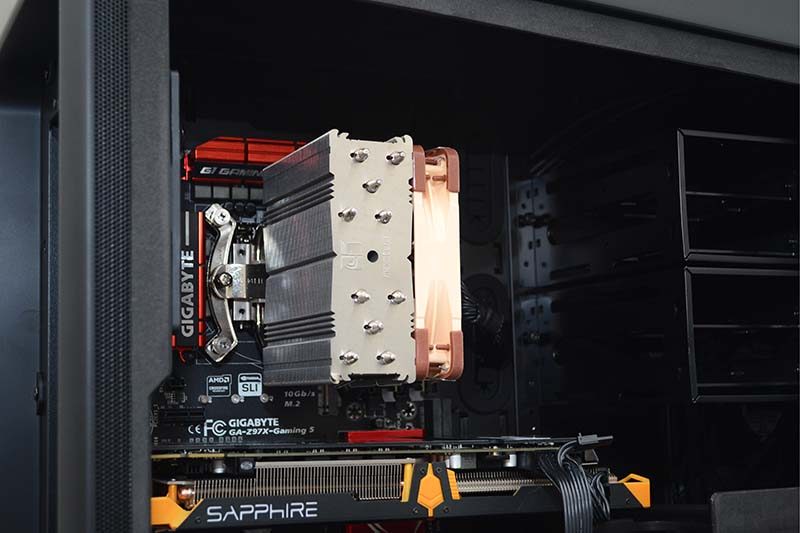
There’s room in here for even the biggest air coolers on the market. Of course, there’s also a lot of extra room for water cooling. If you’re putting radiators in the front, top and back, you’ll have no shortage of space for running the tubing.

With the side panels back in place, the built takes on a new life. Everything looks super neat and tidy on the interior. Of course, that’s a good thing, as with tempered glass windows, it’s all out on show.

Firing up the power, the RGB LED SSD mounts come to life. You can tweak the colour with the front panel controls. If you have an AURA Sync motherboard, you can have these lights match those on your motherboard and other compatible hardware. This is awesome for those who like a unified colour scene and effects.
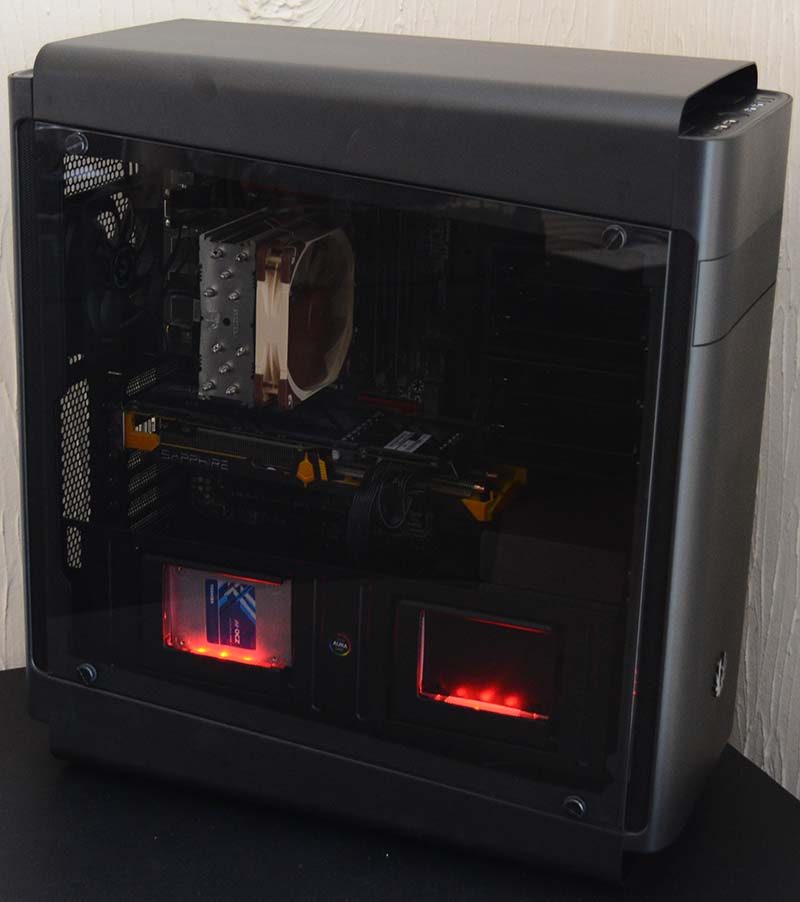

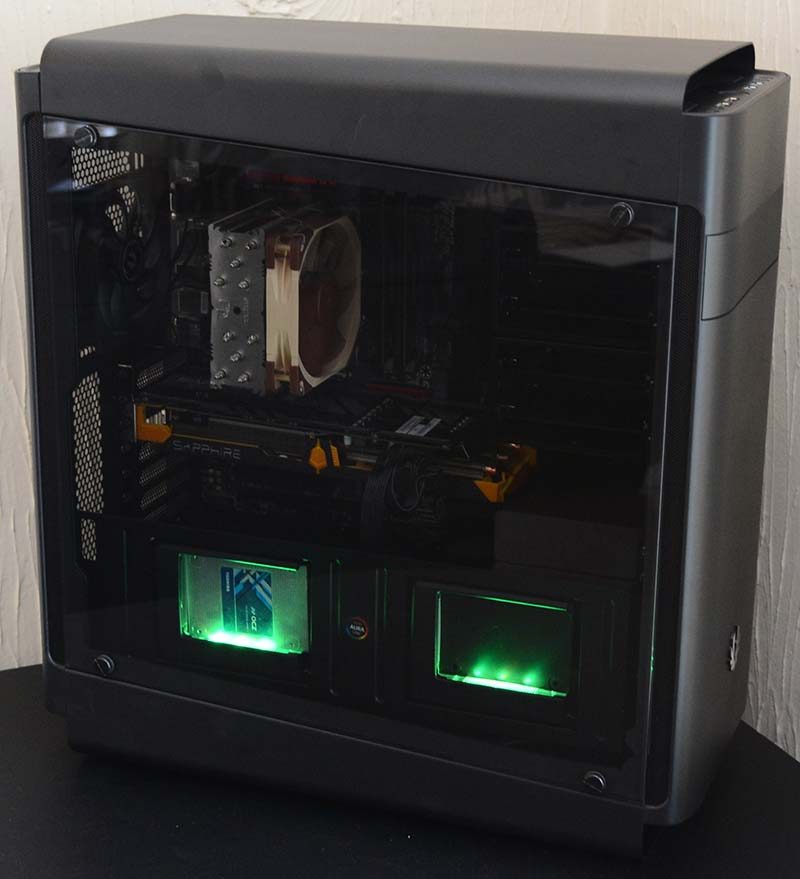
While you can’t see through the right glass panel, it does keep the build looking great from all angles; I’m hardly going to complain about that!
