BitFenix Survivor Case
Andy Ruffell / 14 years ago
Exterior
This case really lives up to its name; Survivor. I say this because i can only describe the case as a metal shell wrapped in a protective rubber material on the edges, thus meaning if it was dropped or kicked it would still survive.
The front of the case features this rubber like material to aid in protecting the case and giving it that rugged feel.
Taking centre stage on the front is the BitFenix logo which is cut out of the rubberized material.
This is fitted with an LED panel which lights up once the system is switched on.
Below the emblem are three 5.25 drive bays for installing your optical devices. A novel feature that has been added is the functionality for using the bottom panel for smaller devices such as floppy drives or a card reader.
Towards the bottom of the case are what can only be described as rubber slats which give ventilation to the front of the chassis.
More importantly, it gives breathing space for the whopping 200mm Red LED fan.
The included fan is indeed a beast in size but has got the ability to be swapped out for two x 120mm fans instead but this is all down to personal preference.
The left hand side of the case is simple and just features a solid black metal side.
The right is exactly the same and features no ventilation holes or fancy design features.
The back of the case follows on with the simple black styling and looks pretty standard to what we see on other cases on the market today.
Near the top we see two watercooling pass through grommets to place your tubes through when using watercooling. Just to the right of this is an oval shaped hole for passing the USB 3.0 cables to your rear I/O panel.
Just underneath these three holes is a completely ventilated section for a rear exhaust fan. This supports a 120mm optional fan but also looks as if it would cater for a slightly smaller 80mm fan if that is your preference.
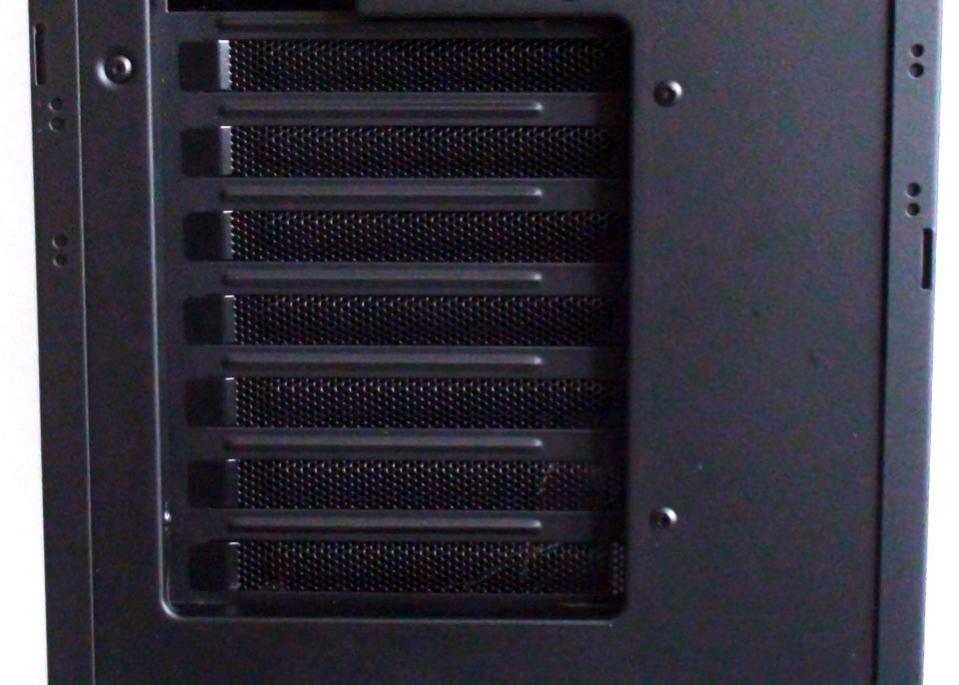
The case caters for lots of users with seven expansion slots for your graphics cards and other PCI type devices.
As per usual, the power supply will slide into place at the bottom of the case.
On the top of the case, you will see a panel which slides backwards to open and forwards to close.
Once opened, it will reveal a whole host of buttons, connections and lights. These include a power, reset and LED button as well as 2 x USB 3.0 ports, 2 x USB 2.0 ports, an eSATA port and also a headphone and microphone jack. You will also notice two LED’s to show activity etc…
Towards the back of the case are two ventilation ports to aid in the function of the 200mm fan.
It also showcases the red LED styling.
Between these ventilation panels is a convnient carry handle which pressed in allows the handle to pop out and lock into place and help in transportation of your computer system.
Due to the exterior rubber that surrounds the case, it allows the case to stand firmly in place and assists in anti-vibration properties. There are also six feet on the bottom to help raise the chassis off the floor and a dust filter which can only be removed once the bottom rear corner is removed.


