Boston Venom 2500-0P Gaming PC Review
John Williamson / 9 years ago
A Closer Look
On the top of the case, there is a fabric dust filter which easily pulls off and unveils the fan mounting options. However, the cover is extremely light and doesn’t really stay in a fixed position. Nevertheless, this only becomes an annoyance when transporting the case to another location. As a result, I can’t see many customers having to deal with this small niggle on a regular basis.

There is an assortment of radiator and fan mounting holes in the top section, which also enhances the case’s airflow capabilities.

The side panels are superbly made and easily slot into position without requiring any force. Also, the left panel features ventilation holes to improve system temperatures.

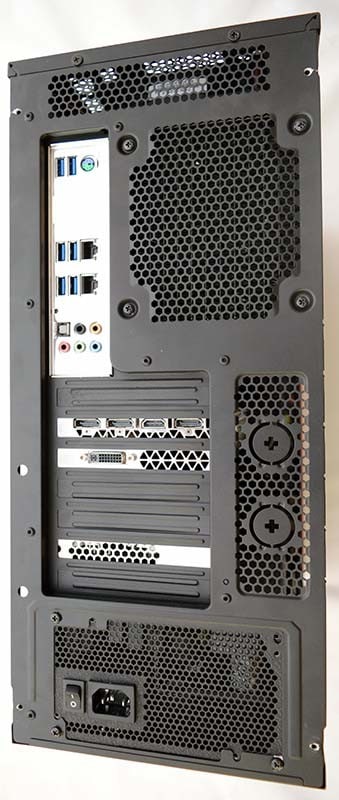
Moving onto the rear, there is an ample supply of ventilation holes and a strong mounting point for the rear fan. Furthermore, the I/O, power supply and graphics card are perfectly installed and I was unable to detect any evidence of poor workmanship; all the screws are fixed without applying too much pressure.
The bottom section features another dust filter, which helps reduce build-up around the PSU and makes cleaning a breeze. Also, there are 4 high-quality rubber feet to prevent unwanted sliding and elevate the chassis’ height.

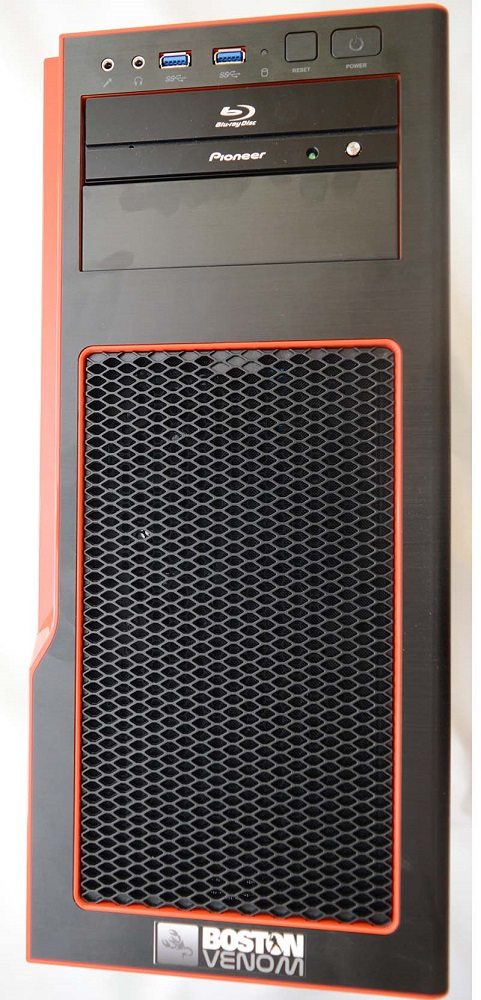
From an aesthetic standpoint, the red and black colour scheme is quite striking and accentuates the PC’s premium feel. On another note, the front panel contains 2 USB 3.0 ports, front audio connectors, a power and reset switch. Another inclusion is the HDD LED indicator which reminds me of PCs from many years ago. We can also see the beautifully constructed Pioneer Blu-Ray Writer which certainly looks the part and seamlessly fits with the case’s theme.
One major complaint though is the front dust filter which can only be described as flimsy. To eject the cover, you have to push firmly near the top and the filter should clip outwards. Unfortunately, the clip snapped off rather easily and despite my best efforts, couldn’t be repaired. This occurred using no force whatsoever. Although, the mechanism could have been partially damaged during delivery.
Once removed, there is enough space to house a 240mm radiator or dual-fan setup. Once again, Boston’s engineers fitted the fans without any problems and did an impeccable job.
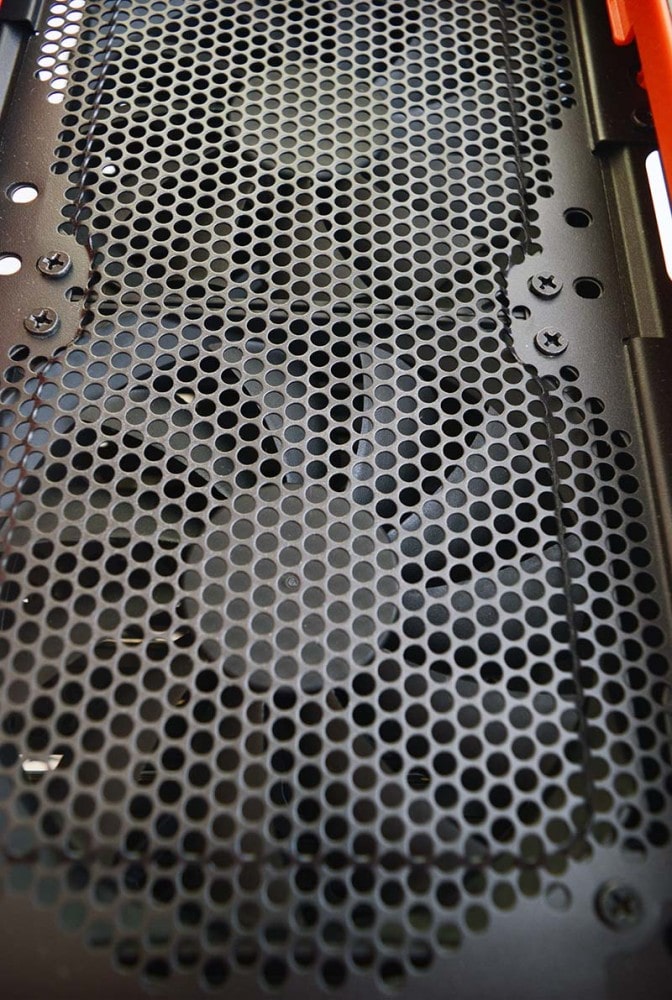
The front cover even utilizes a honeycomb structure to improve airflow and transfer heat in a more effective manner; it also adds a certain flair to case’s overall look.

On the bottom, there is an attractive yet subtle Boston logo containing the Venom branding; this can easily be removed if you find it a bit distasteful for a professional environment.

Consumers often regard cable management as the most difficult aspect of building a custom PC. This means it’s imperative to analyse the cabling job from companies as the labour cost from professional cabling reaps the greatest rewards. The cable management throughout this case is sensational and virtually leaves the CPU cut-out entirely free. Boston opted for the tightest cable runs, and used zip-ties to create an absurdly neat finish. In all honesty, I doubt many system builders could match cabling of this magnitude.

A closer look emphasizes how intelligently the cables have been routed and even unused SATA connectors are kept hidden. I’m also quite impressed with the lack of protruding cables which usually make closing the side panel an arduous task. On the Venom, there’s so much room to work with, and the side panel shuts without crushing into messy cables. Perhaps, Boston could have improved things by labeling the SATA data cables, SSD and HDD1/HDD2 to help with maintenance in the future.

Here we can see how the SATA power and data cables have been routed without any trailing wires. This requires thoughtful planning and lots of experience; the end result is a thing of beauty and puts my own cabling to shame.

Another snapshot exemplifies how tight the cable runs are, which makes for a practically perfect finish.

Finally, we can see the full system which is astonishingly beautiful. The selection of blue RAM compliments the motherboard’s colour scheme and goes rather well with the closed-loop liquid cooler. Also, the 24 pin and 8-pin EPS are obscured for the most part. Furthermore, the SATA cables are routed through the rubber grommets and hidden behind the GPU. The complete system is worthy of a side-panel window so it’s surprising to encounter such a clean build on a non-windowed system.
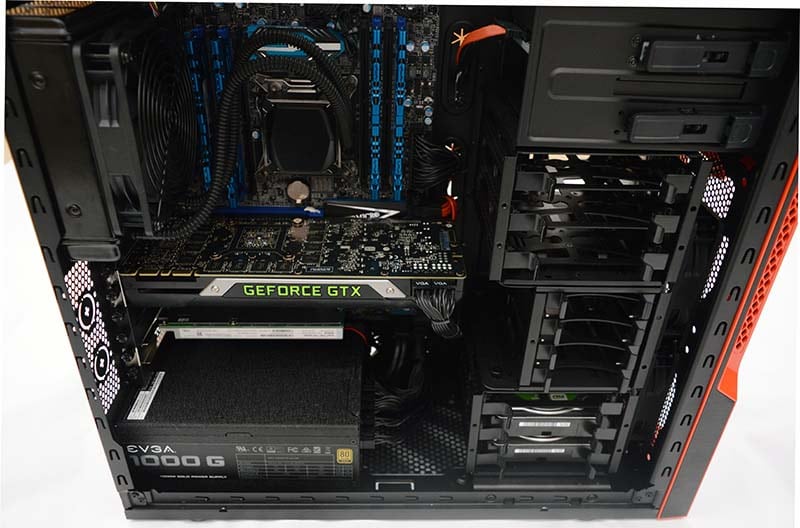
The mechanical disc drives simply slide into position and can be easily accessed near the front of the case.

I was pleased with pump’s fixture and tube placement which connects without any sudden kinks. Boston also reused the fan grill and tied the liquid cooling wiring behind the motherboard’s northbridge heatsink. While, I’m not too keen on corrugated tubing, it still looks spectacular and manages to tame the 5960X without any issues. According to my thorough testing procedure, the radiator fan operates between 1051 rpm and 2176 rpm.

The GTX Titan X and Intel 750 series SSD are installed without any droop and compliments each other. Furthermore, the zip-ties surrounding the PCI-e connectors demonstrates the high calibre cabling through this build.

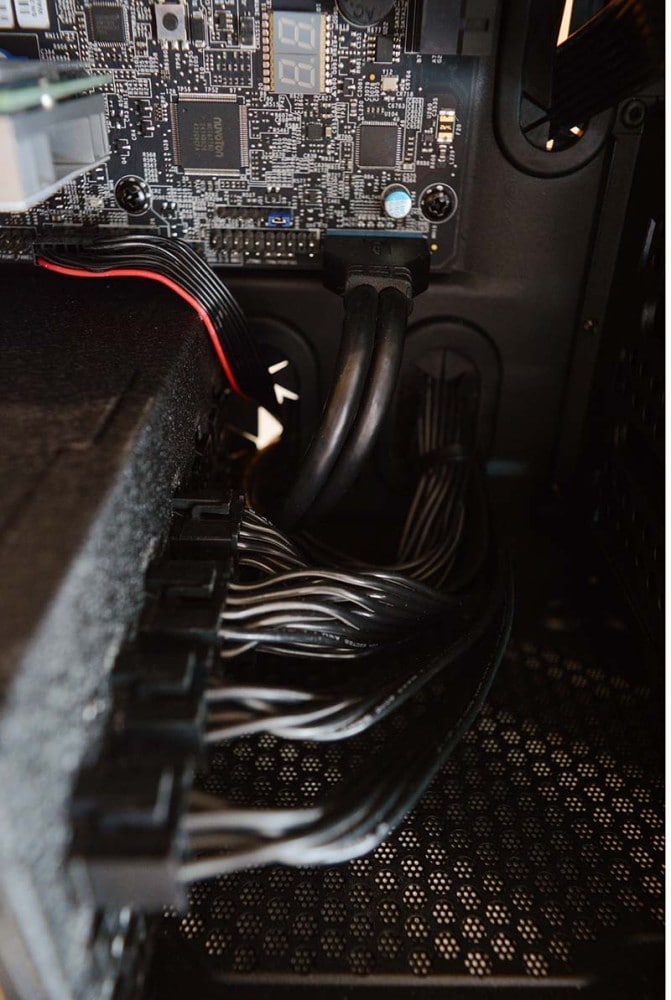
It can be quite tricky to tidily connect the USB 3.0 cable as its rubberised material isn’t very flexible. Despite this, Boston have done a stellar job and hidden it behind the power supply. Speaking of the power supply, the modular design allows for reduced cabling and a cleaner, more professional look. It seems like Boston focused their efforts on populating the top row. As such, this allows the cables to enter the rubber grommets at a similar height.
Another close-up illustrates the gorgeous RAM colour and textured black finish on the CoolIt pump.

Even the optical drive cabling is routed in a way which makes the SATA cable difficult to detect with the side panel off.

The Supermicro X99 features a debug LED, overclocking buttons and dip-switches for the PCI-e layout. Subsequently, this provides a wealth of information to acquire the best overclock possible.


