Buffalo 5810DN 8-Bay 32TB Preloaded NAS Review
Bohs Hansen / 6 years ago
The initialisation and User Interface
Locate Your Buffalo NAS
Locating your Buffalo NAS device is easiest with the NAS Navigator. It is a free download and the location is given in the included Quick-Setup guide.
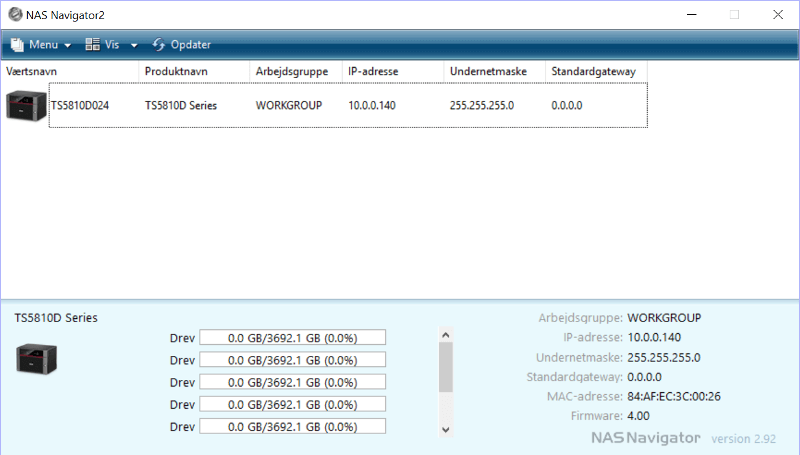
The initialisation of your New Buffalo TS5810DN
There is no need to initialise anything as such, everything is ready to use out of the box. That said, there are a few things you’ll need to do to get going. You need to decide how you’d like to pool your storage drives and change the default administrator password. The rest is optional, but you should take a look at it. We’ll go through the various options on the next page.
Welcome to your new Buffalo NAS
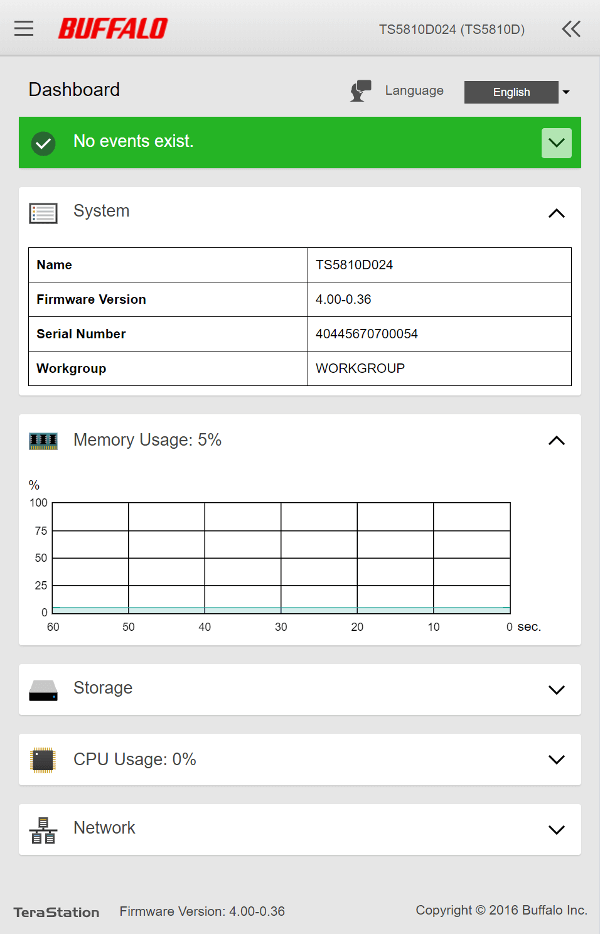
Before we dive into the available settings and options, let us have a look at the initial welcome dashboard. The GUI design is similar to that you know from network devices and as such, it should be easy to use for any system administrator.
The dashboard has various fields with hardware, file, and status information. The large banner at the top will also quickly notify you if there are events which you need to pay attention to.
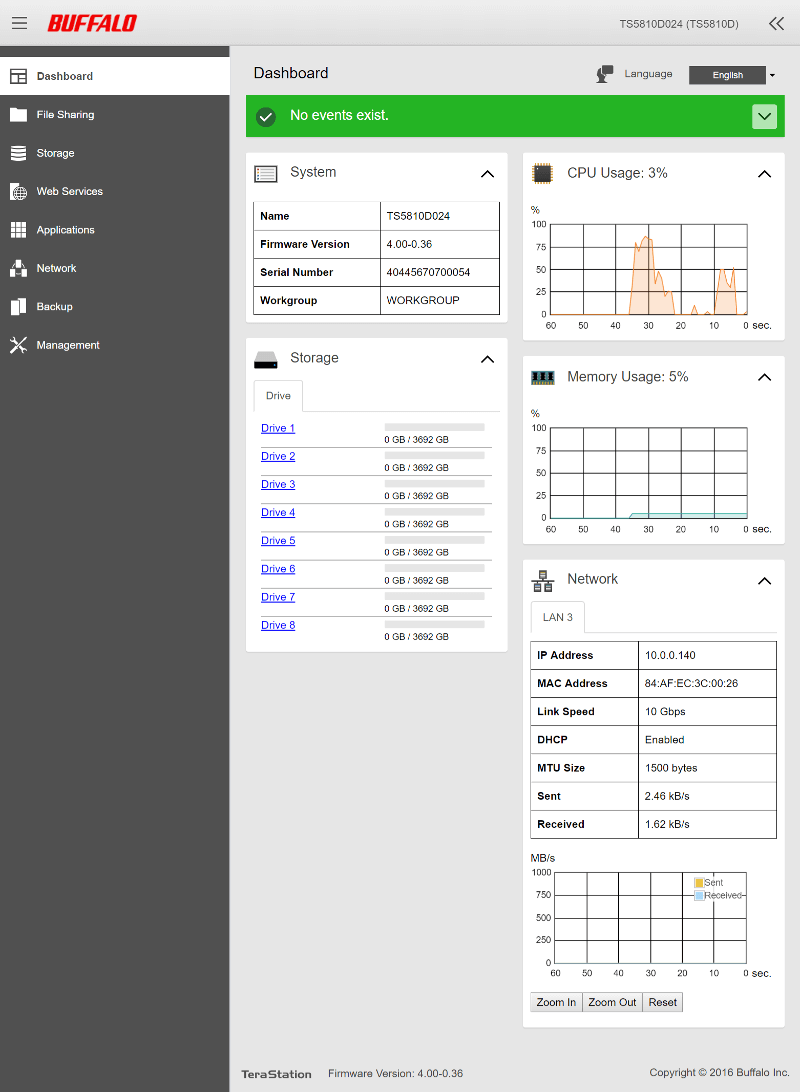
The fields can be rearranged and collapsed to your liking, allowing you to create the dashboard most useful to you. The navigation menu can also be collapsed for a wider content area.
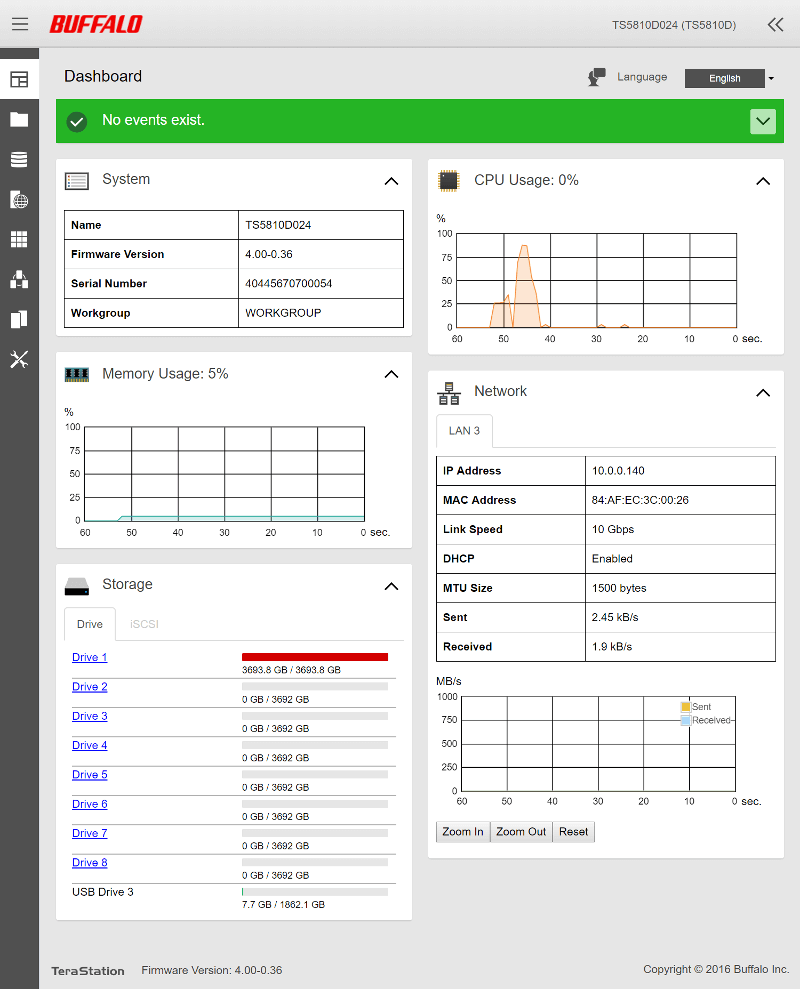
The layout will adjust to your screen width with a minimum-width requirement of 795 pixels. Most mobile systems have this today, making mobile control just as easy as using your computer.
The whole GUI is the control panel on this Buffalo NAS which is different than what we’re used to from other mainstream brands. Instead of allowing you to expand with lots of apps, Buffalo’s TS5810DN focuses on productivity and doing its job: serving files. After all, that’s what NAS stands for.


