Buffalo NAS Software Introduction
Bohs Hansen / 4 years ago
Device Management
The last page that we’re going to take a look at is the one for the device itself.
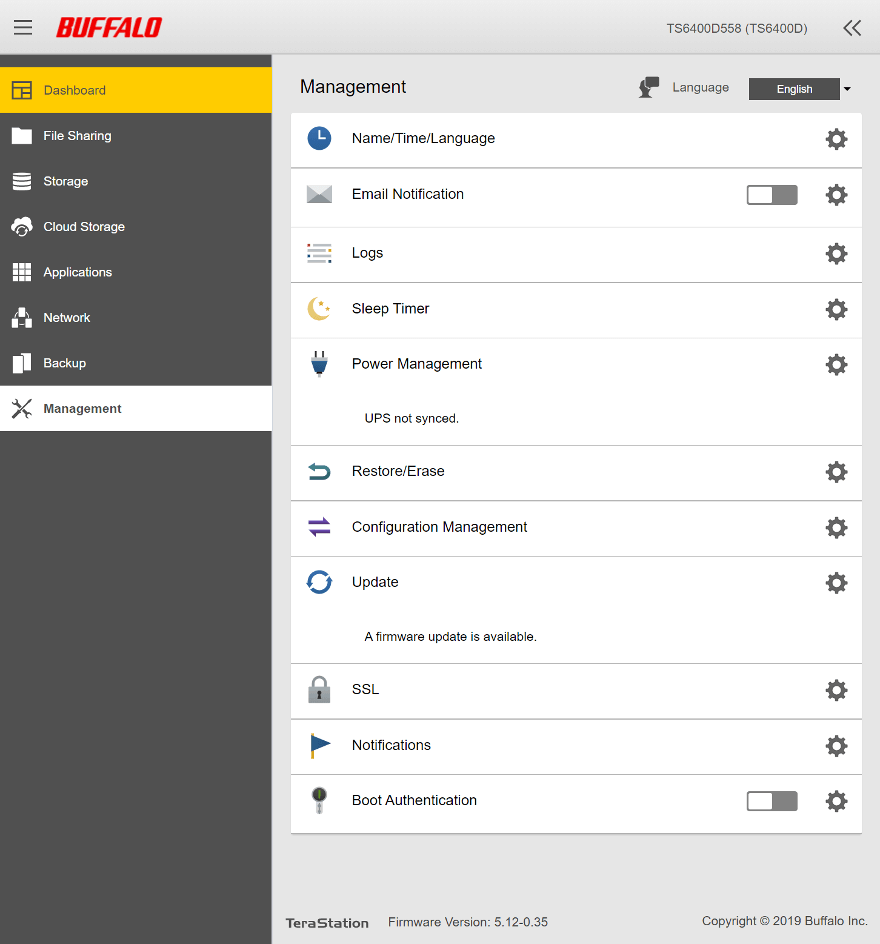
The available options might vary here depending on the unit you have and its hardware limitations. But most should be available on all devices.
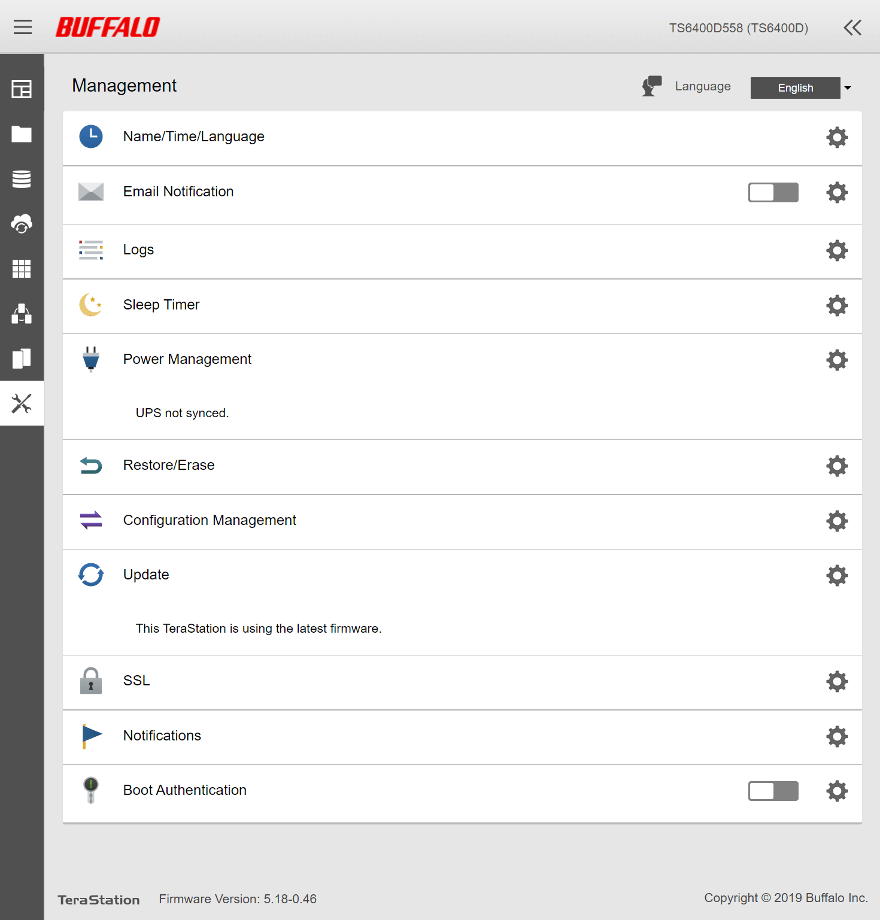
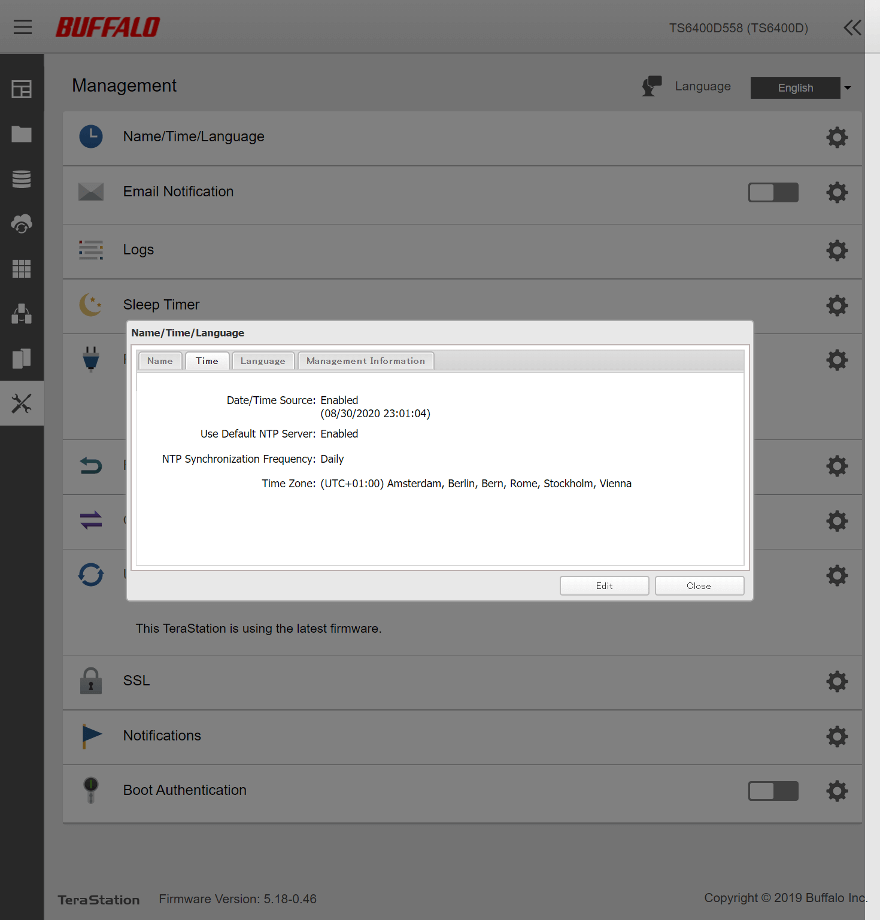
Among the first settings here are the device name and time as well as language settings. The time settings naturally include the option for NTP synchronisation.
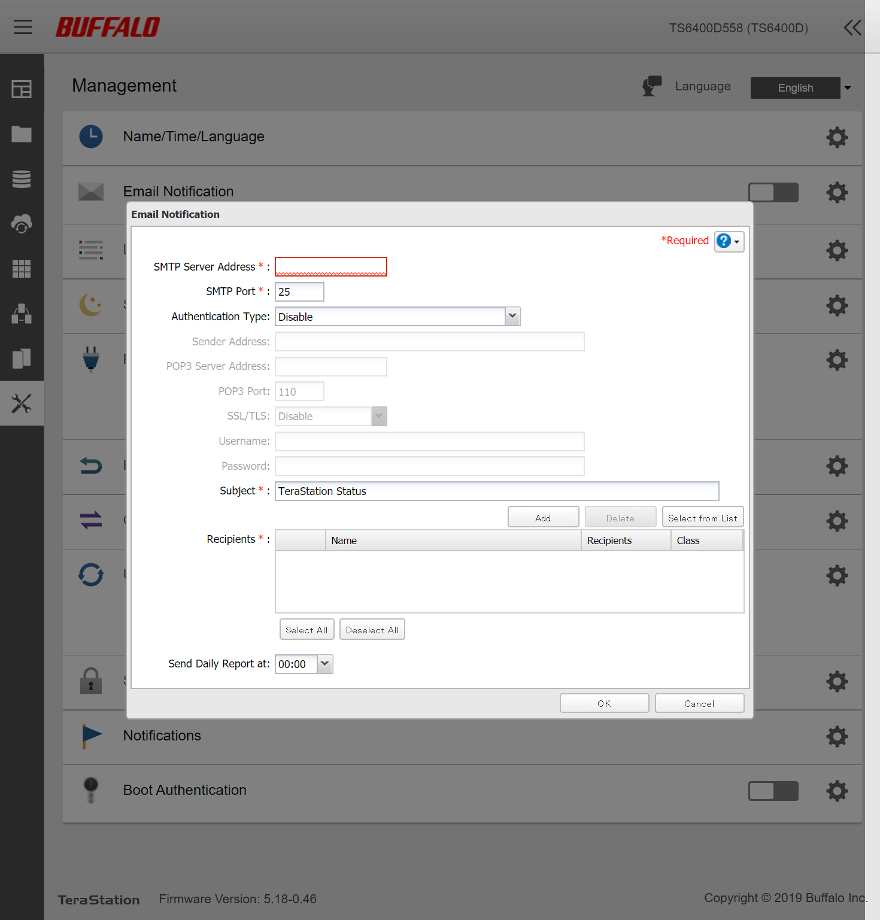
Email notifications are a great way to keep yourself informed about possible errors or trouble in general. That is, of course, unless the trouble is with the networking in which case it will have issues sending out emails.
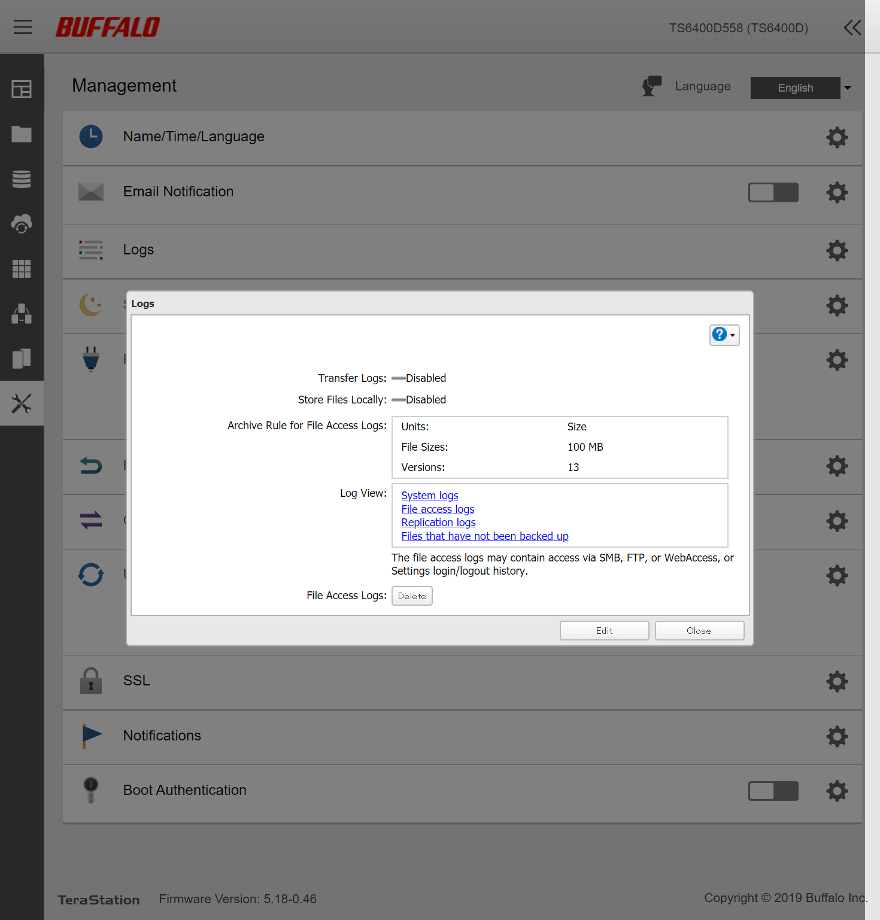
System, file, and replication logs can all be viewed from here too.
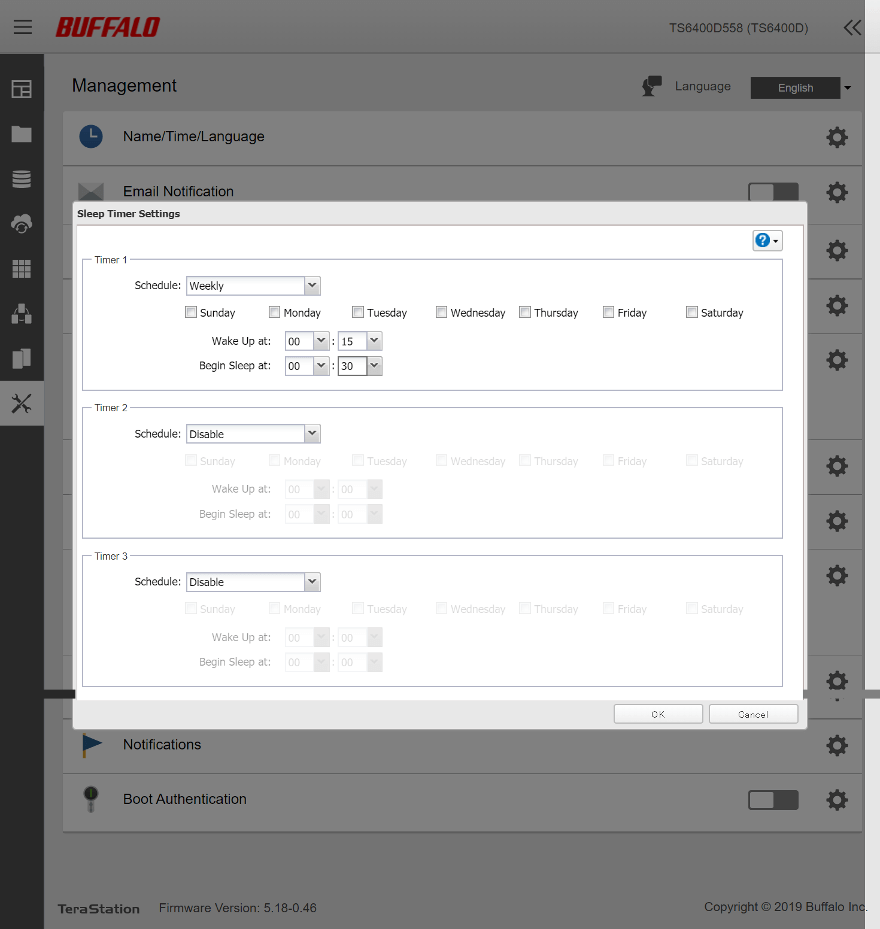
There are three timers available for the sleep mode. You’ll find the options such as days and times to work on and when.
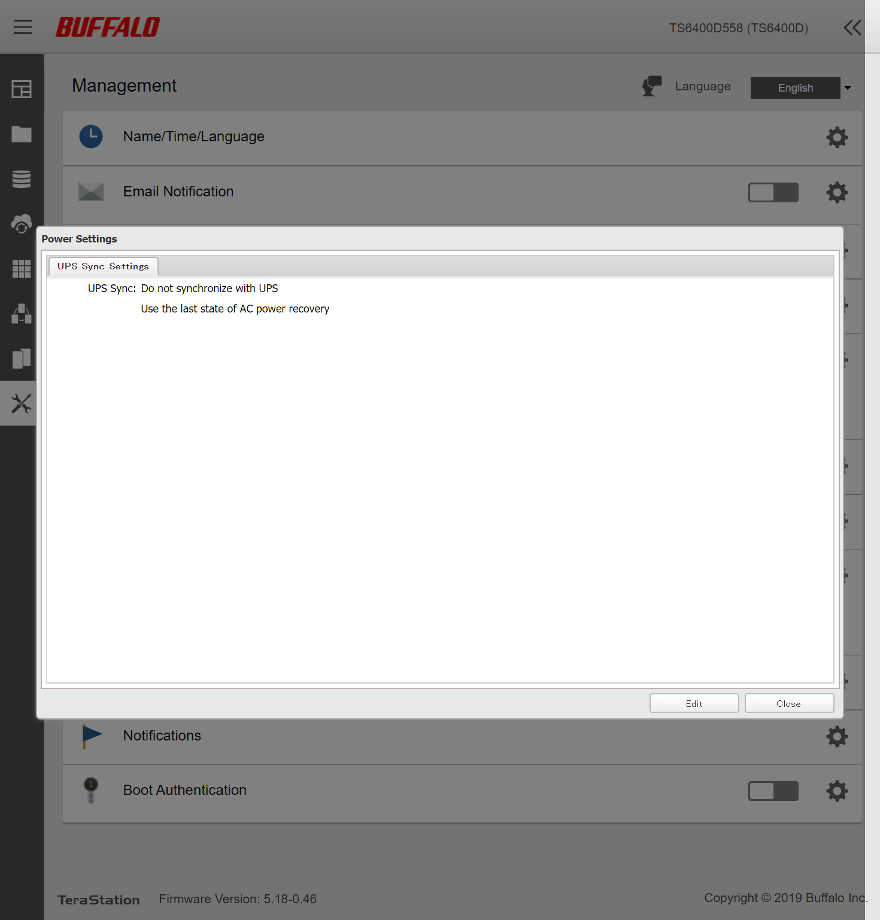
Naturally, you can also connect a UPS to the NAS, if you have one. Make sure that things keep running or shut down safely in the event of a power failure.
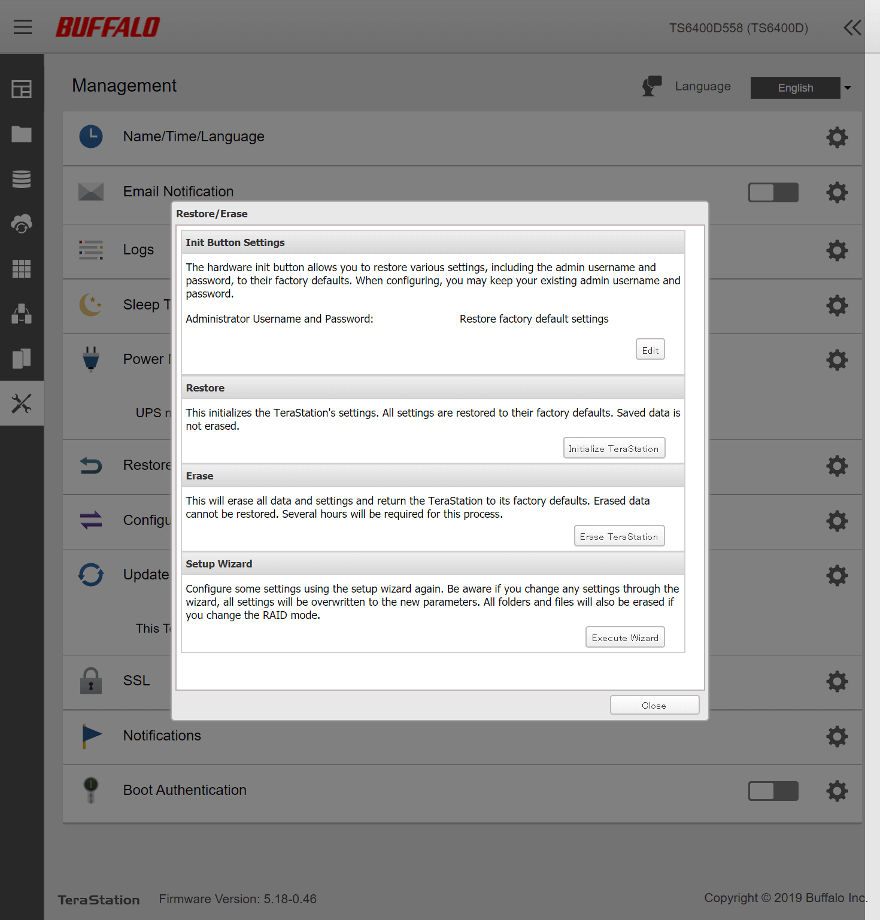
There’s also an option to erase or restore settings back to defaults.
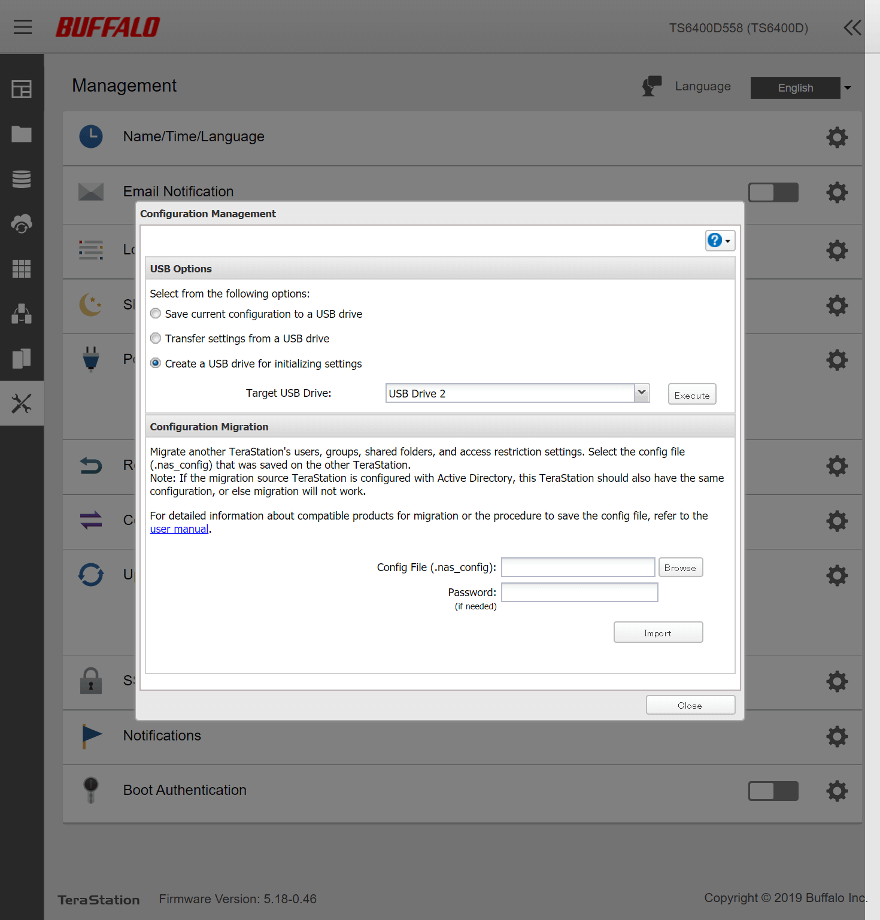
All settings can be stored and restored via USB drives. Those settings can also be migrated.
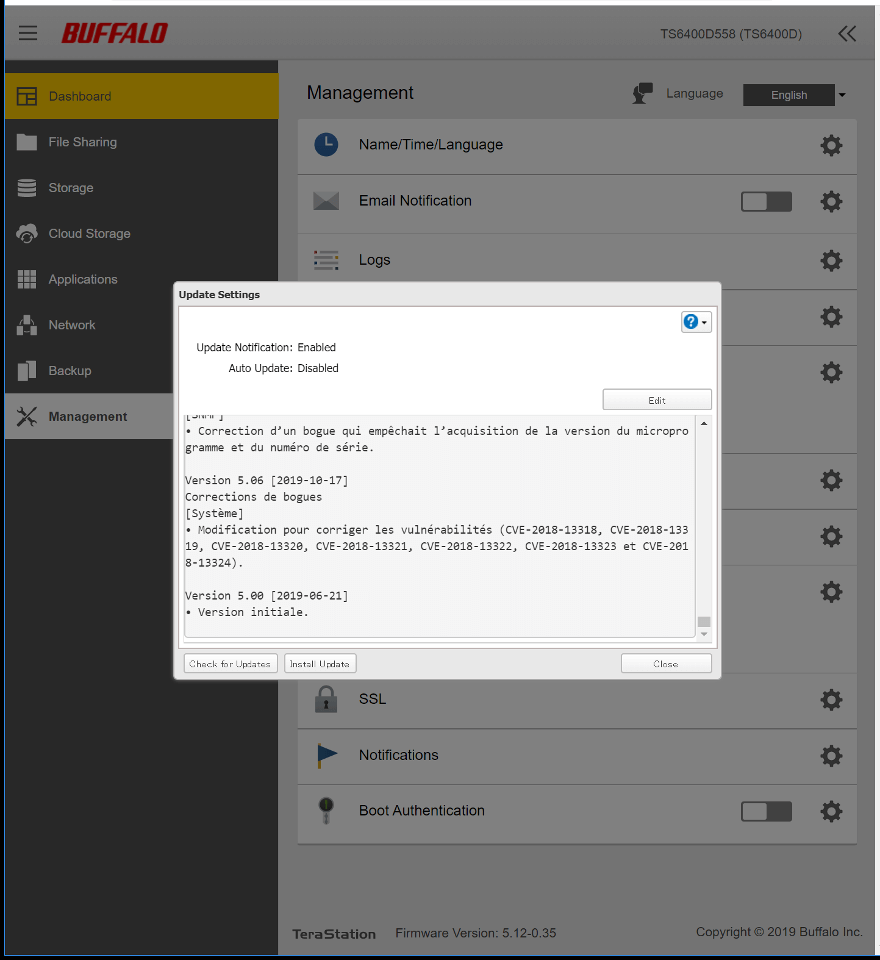
In the middle of it all is one of the most important settings and features, the firmware update. You should always run the latest version in order to reap the benefits of security patches and additions.
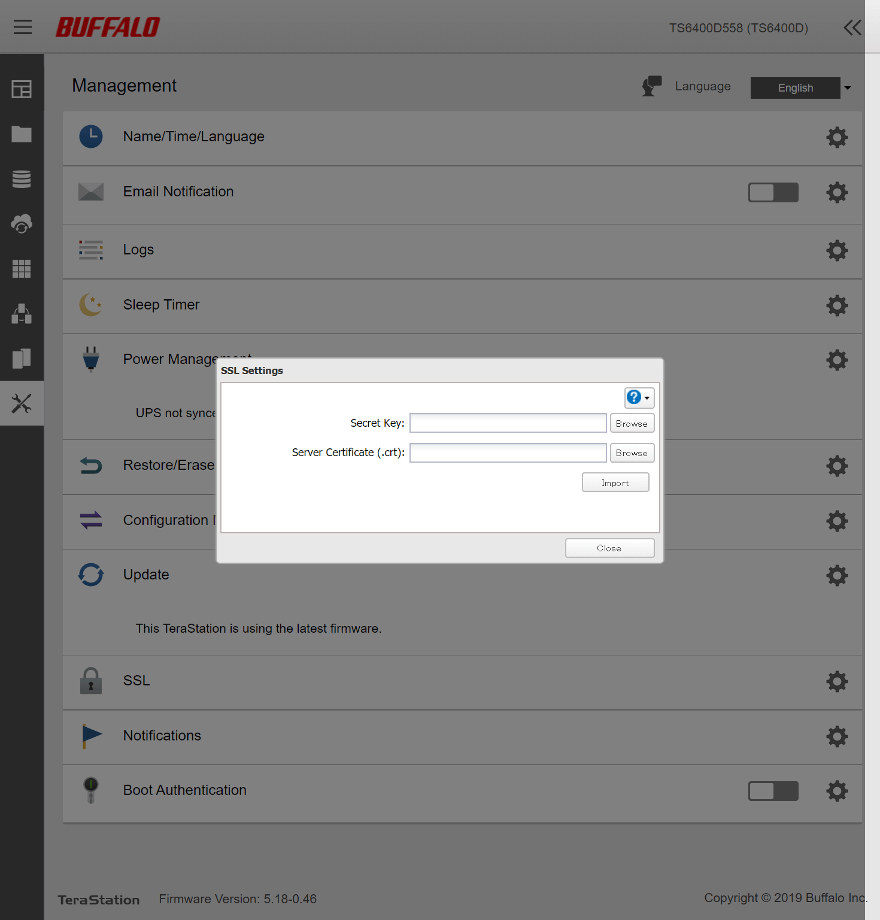
You can also upload your own SSL and server certificate to the NAS, if your company has their own. Keep those data connections secure is more important these days than ever before.
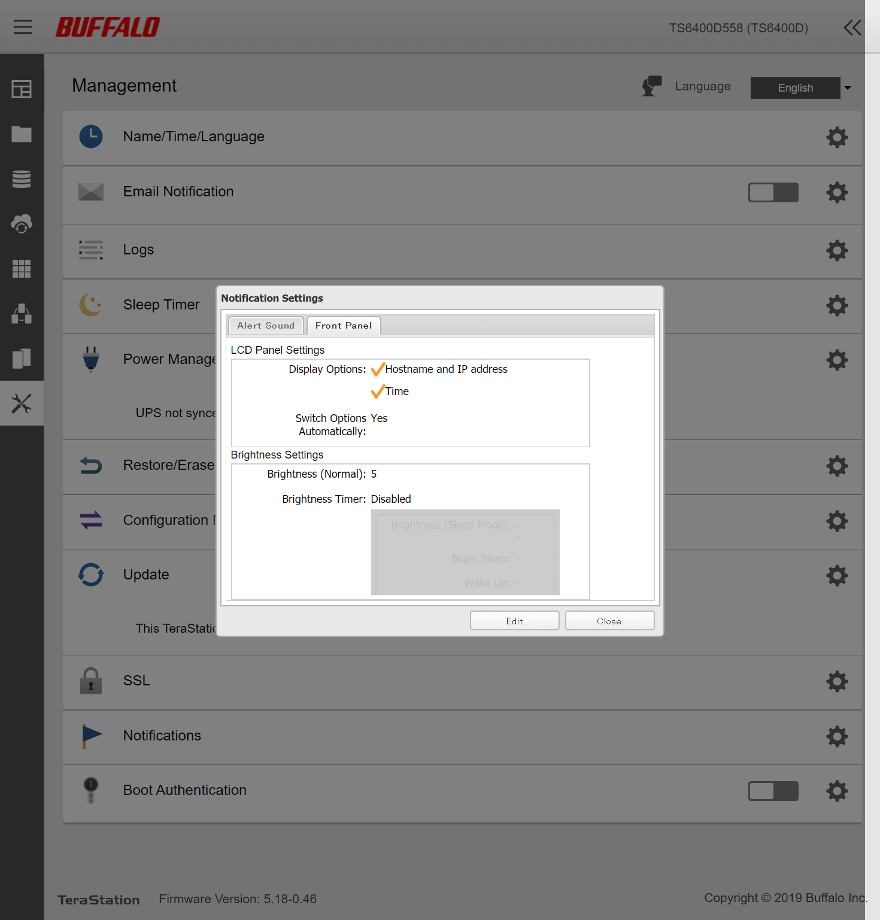
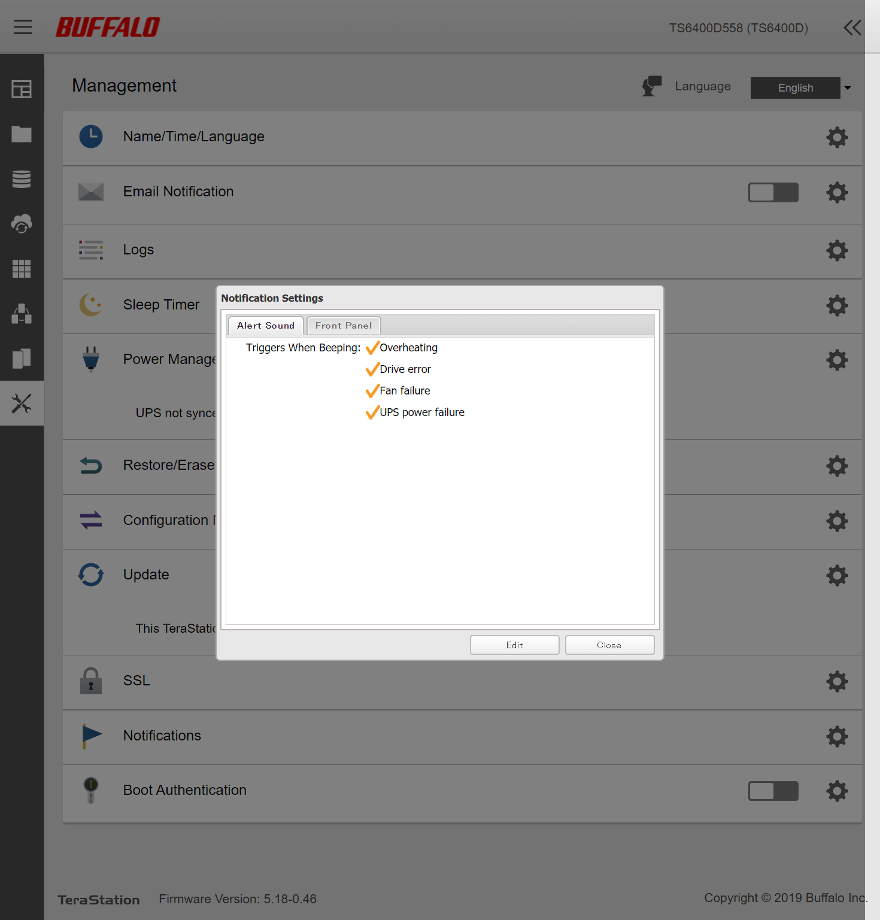
The notification settings aren’t software-based as such, as you might expect. Instead, these are the settings for the LCD panel and built-in speaker/alarm.
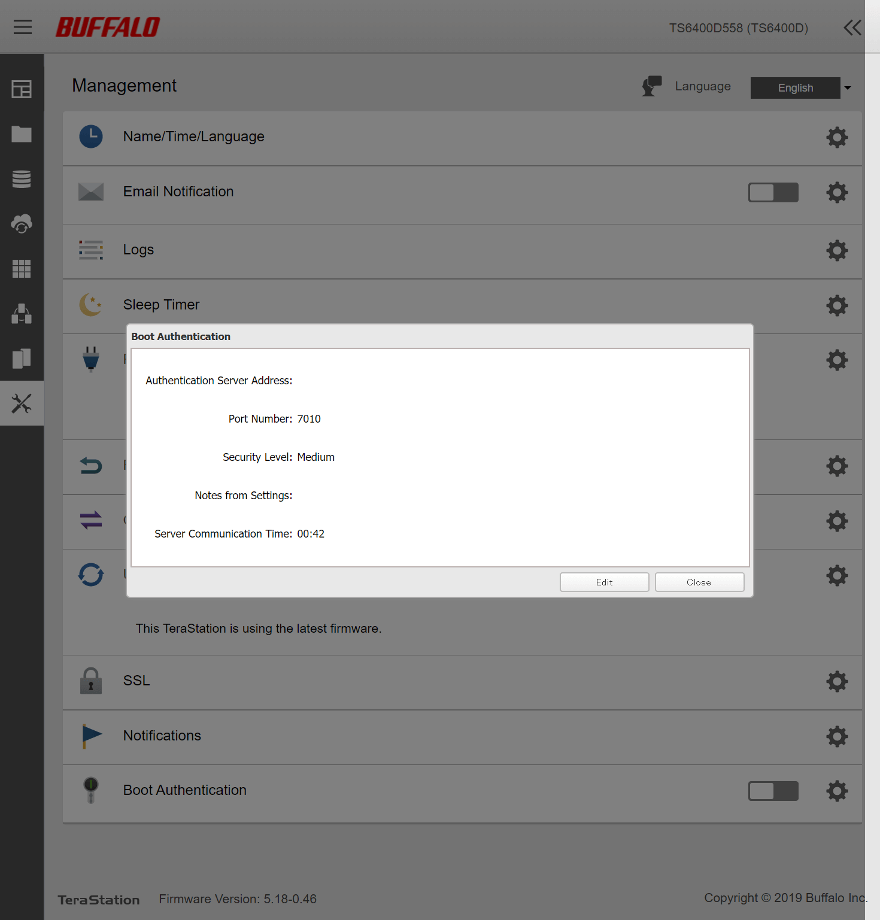
The last setting is for the boot authentification.
