Buffalo TeraStation TS6400DN 16TB SMB NAS Review
Locate and Install your New NAS
To get started with your new Buffalo NAS, you’ll need the NAS Navigator software which can be downloaded from the official website. At least that is the easiest way to do so. Once downloaded and installed, it will find all Buffalo NAS’ on your network and thus allow you to set up and configure your new device in just a few steps.
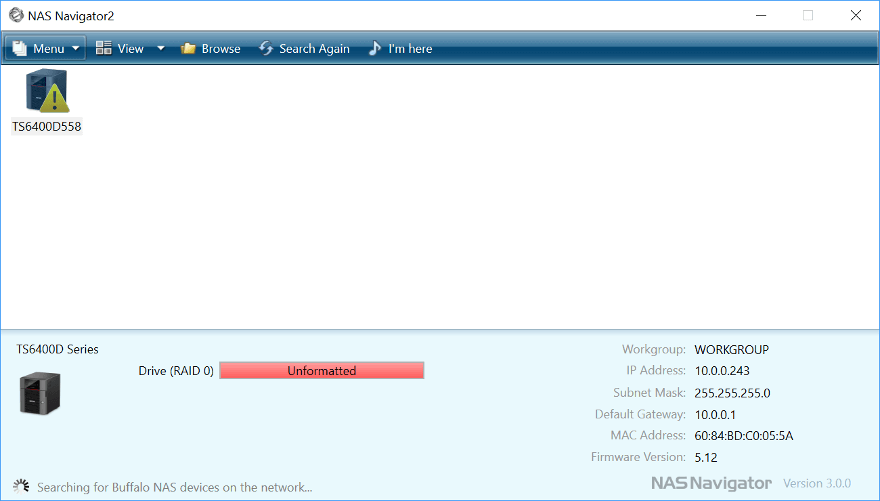
Initialization of the TS6400DN
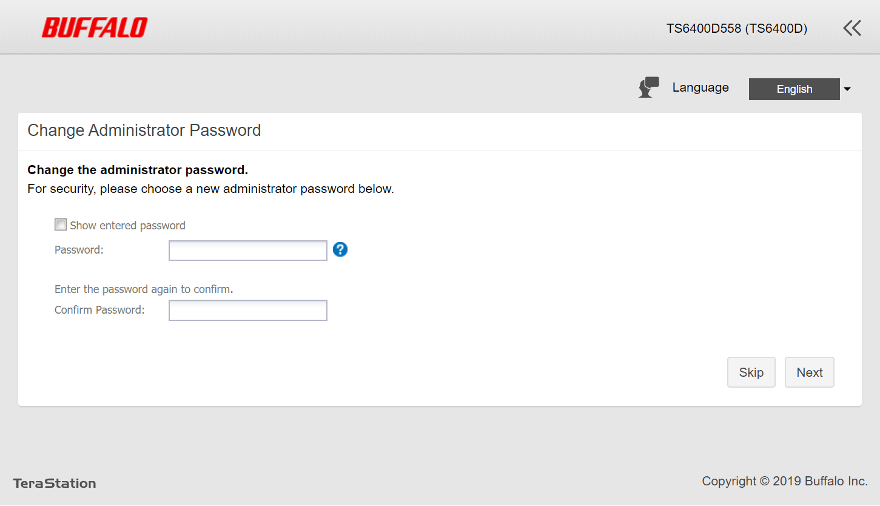
The initialisation of your new NAS will start in your default browser. The first thing you’re asked to do is to set your administrator password.
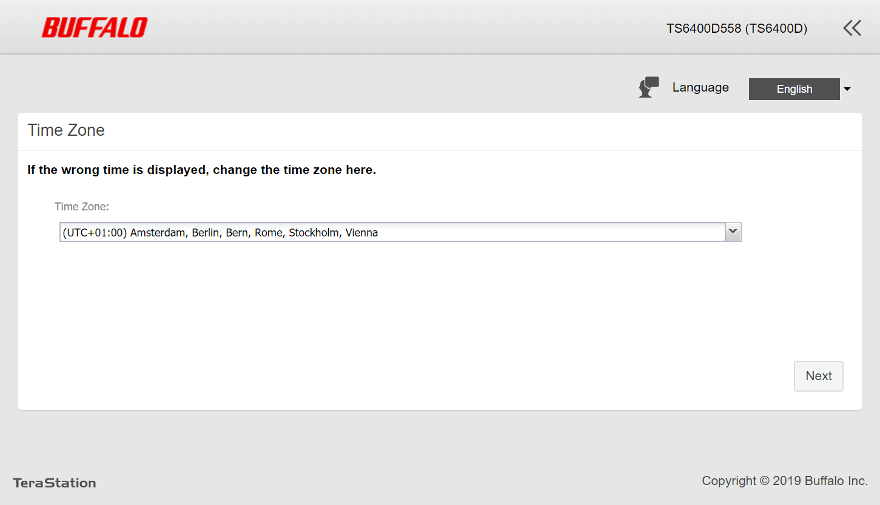
Next up is the timezone settings. While this might seem trivial, it is important for functions such as log files and scheduled settings.
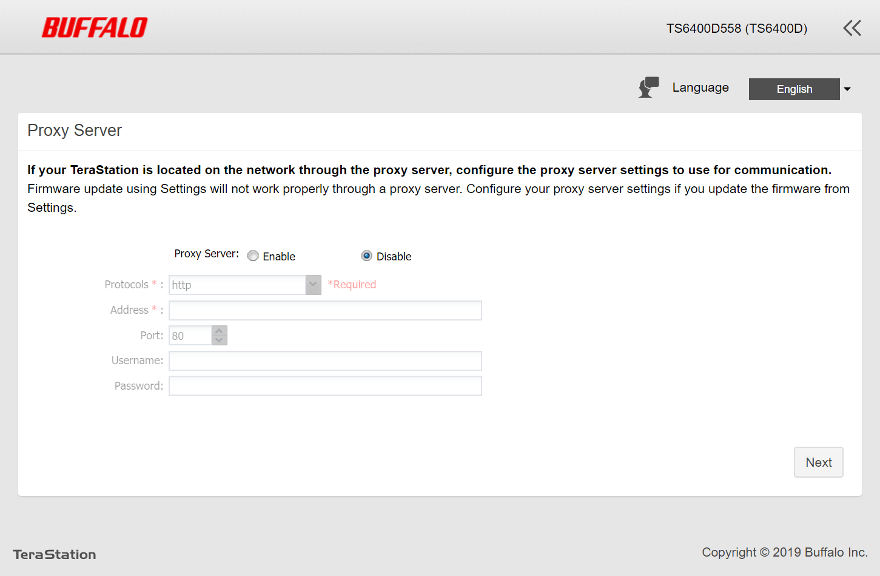
Proxy settings are important too if you use such one. That’s why it is the next step. I don’t have a proxy, so I’ll just skip this part.
The NAS comes pre-configured and is ready to use, but you don’t have to use it as it is. You can change the drive setup too, to another drive mode.
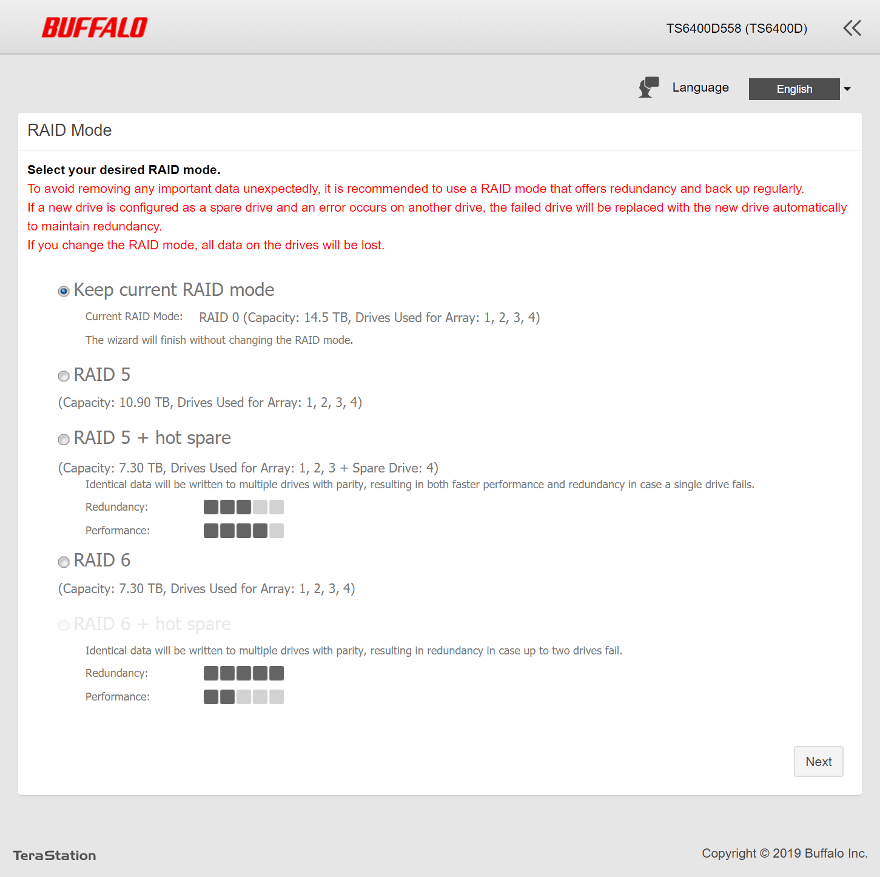
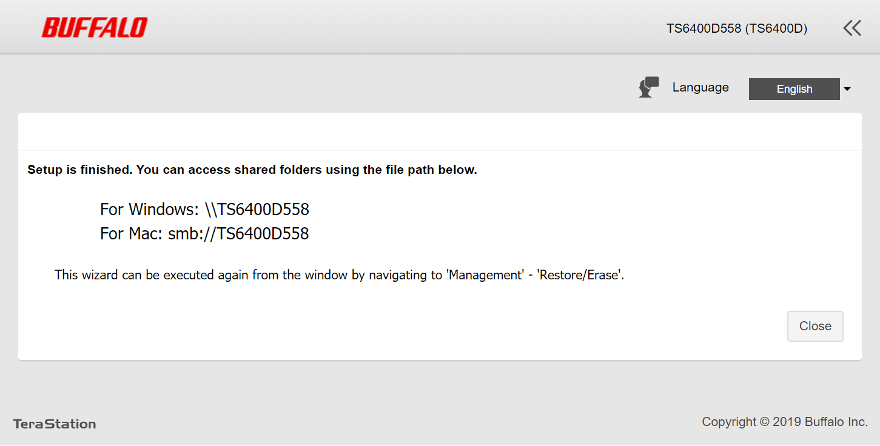
Once you’ve chosen your drive setup, you’re done. It will now tell you how to easily access the NAS in your file manager as the final step.
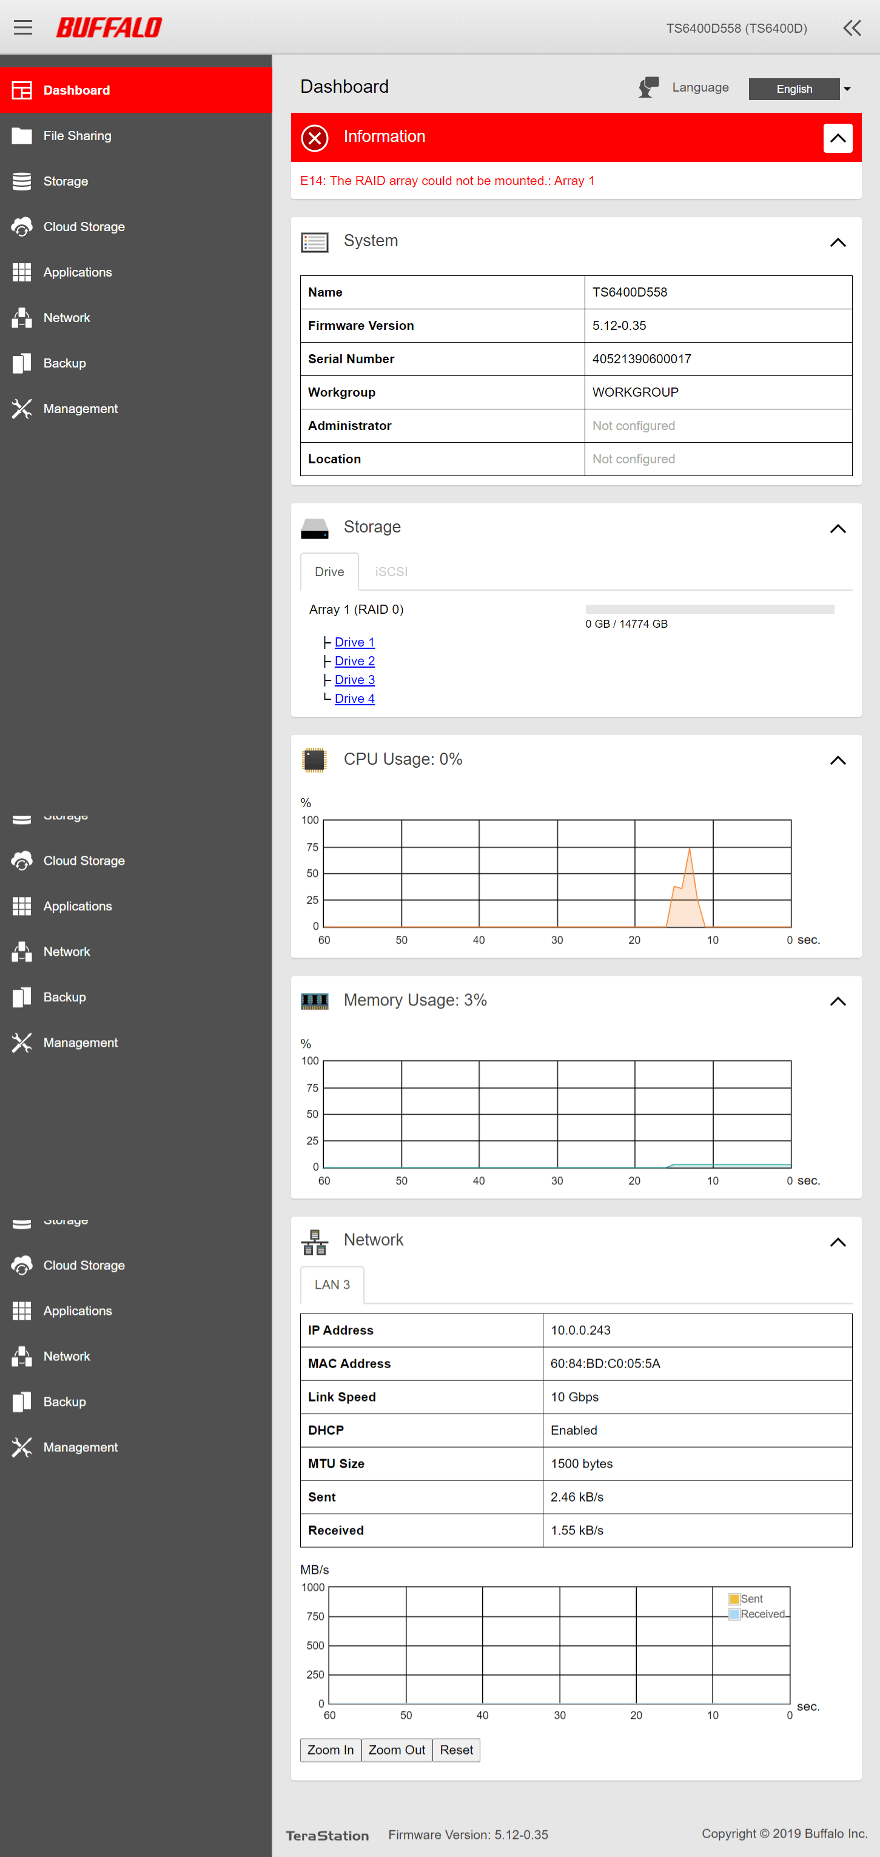
And then you’ll be greeted by something like this. The dashboard for the NAS OS. From here, you can continue to configure your new NAS with shared folders, users, and other settings.
Want to See More of the OS?
Instead of showing off the OS in every single review, we’ve made a separate article with it. This saves us time and allows us to bring you more tests, benchmarks, and reviews in general. You can check out the Buffalo OS article by clicking here.


