Cooler Master CM Storm Mech Aluminum Keyboard Review
Peter Donnell / 11 years ago
A Closer Look Continued
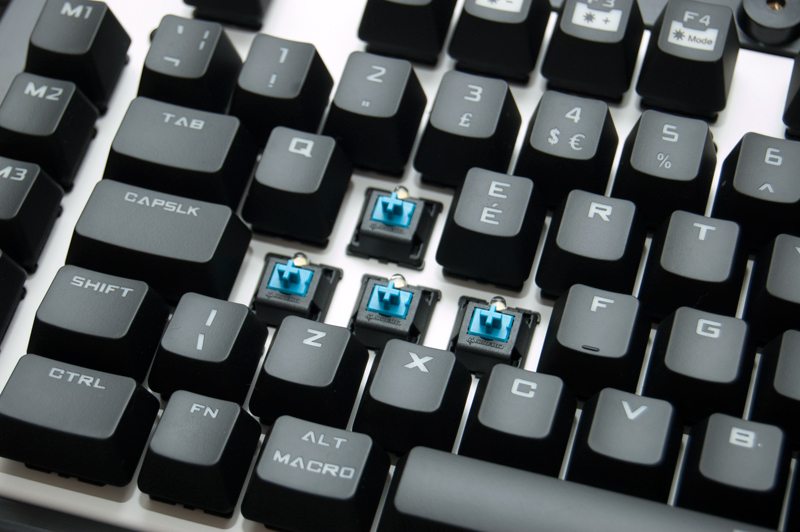
The key cap removal tool comes in handy, making it easier to maintain your keyboard, plus it allows us to get a nice look at those lovely MX Blue switches and the LED lighting.
Here we can see how the LED lights reflect from under the metal of the keyboard, very cool looking indeed.
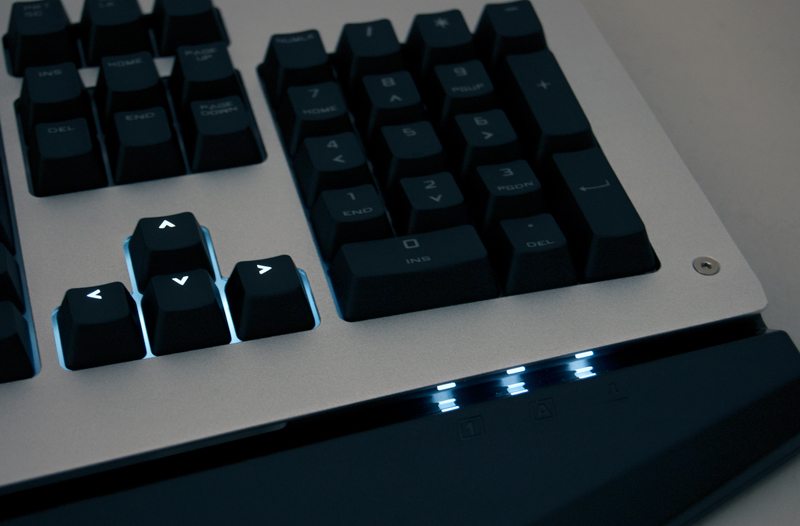
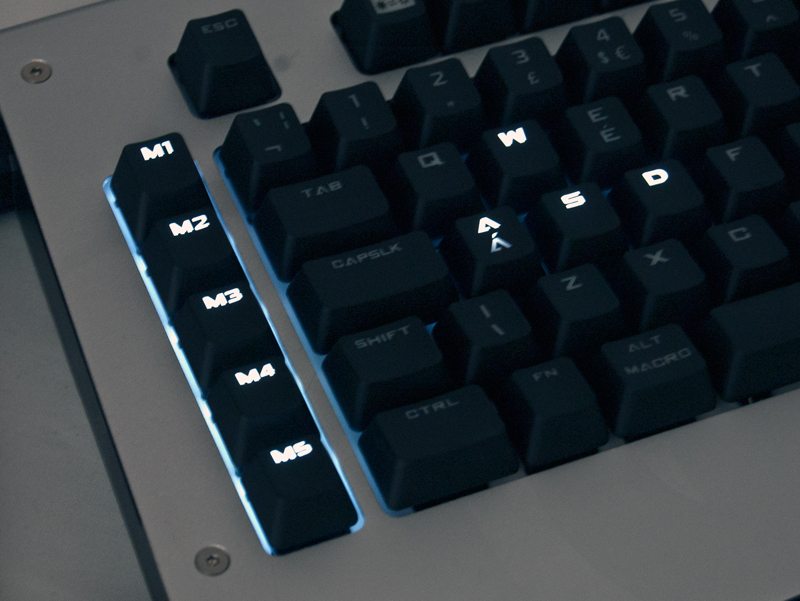
Here (and in the picture above) we can see the localised lighting setting, this allows you to illuminate just the M keys, arrow keys and the WASD keys, handy for gaming in the dark without too many lighting distractions.
If you’re looking for a more intense lighting setting you can fire them all up to their maximum brightness, which lights up all the keys, gives the keys a really nice under glow and even lights up a strip between the keyboard and the wrist rest.
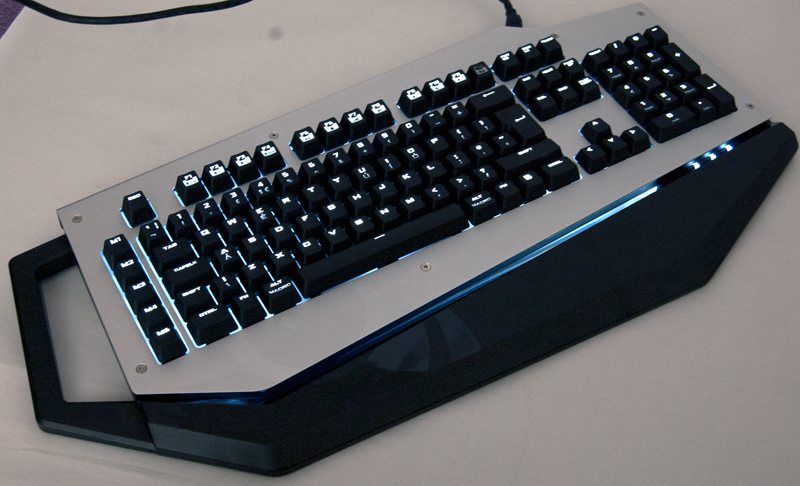
With the aluminium panel removed we can see the under glow of the LED lighting. This also allows you a lot of space to clean between the keys, handy if your constantly dropping crumbs in there.
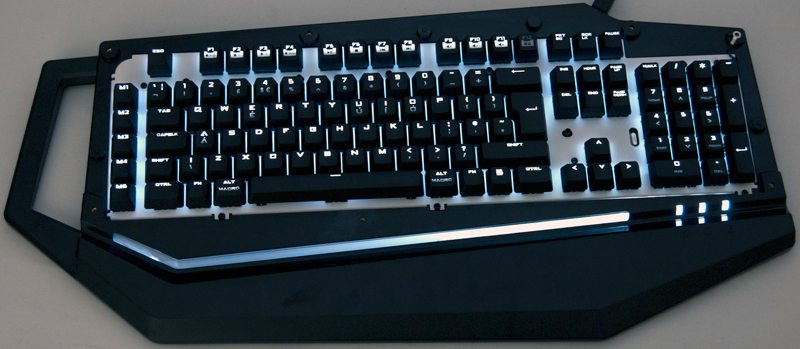
The top panel is a single piece that is held in place by 7 bolts, it’s fairly straight forward to remove and install and you don’t have to remove the key caps to do so.
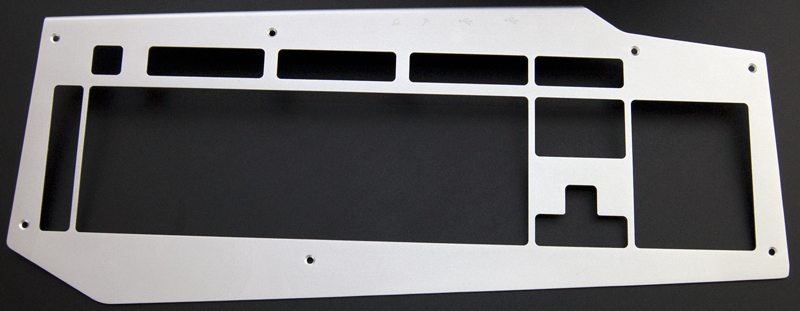
All the edges are nicely cut, rounded and smoothed, making it perfect to take to your local printing shop to get a new decal applied, or you could even just cover it in stickers, draw on it with permanent markers, spray paint it, your choice.
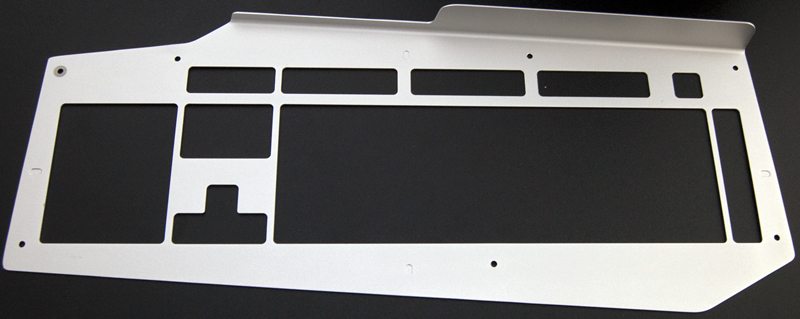
All kinds of designs could be applied, here I’ve just selected the area in Photoshop and done a simple overlay, but it just goes to show that you don’t have to settle for the standard look.


