Cooler Master H100 Mini-ITX Case Review
Complete System
Installing a system inside the H100 is pretty straight forward. However, I’ll have to show you in stages, as the PSU would otherwise hide build. It’ll support a mini-ITX or DTX motherboard easily enough.

Keep in mind the CPU cooler clearance is quite low, as the PSU will mount in front of the motherboard. Although I’ve got with the Noctua L9, there’s actually more room than that, even the RAM is taller than my choice of cooler.

In the bottom, there’s plenty of room for a bit of storage.
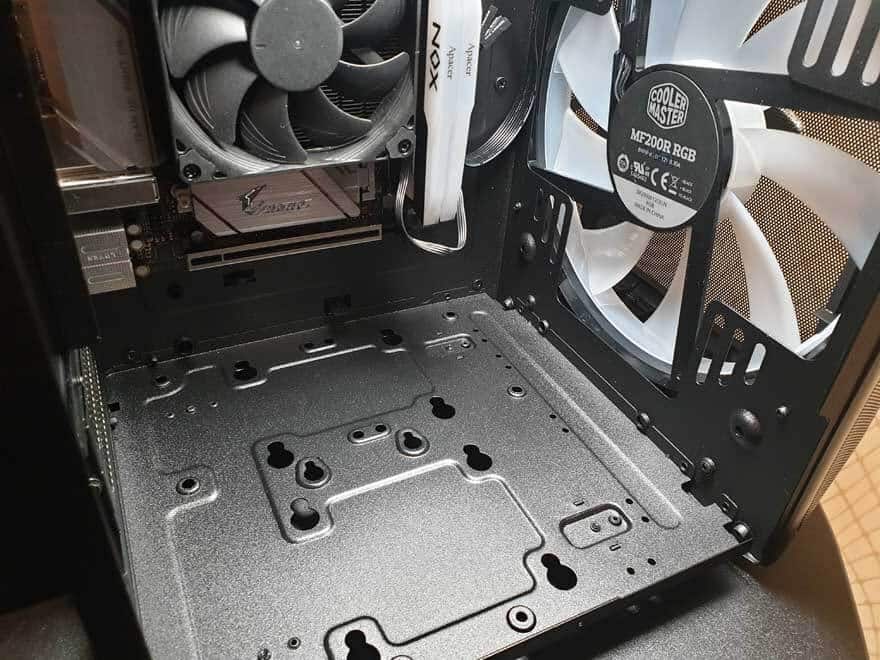
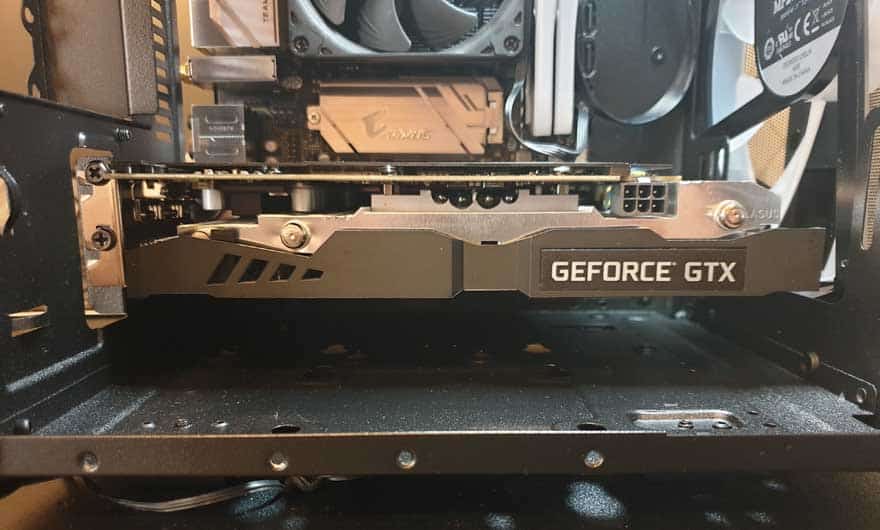
Once I installed the graphics card, I’d say there’s still room for a 3.5″ drive below the GPU. However, only if you use a 2x slot card, a 2.5x slot card will take up the HDD space.

The fit was TIGHT, but there’s a large cutaway at the rear of the case allowing you to wiggle the GPU in at an angle. I mean, if it fits, it fits, right!
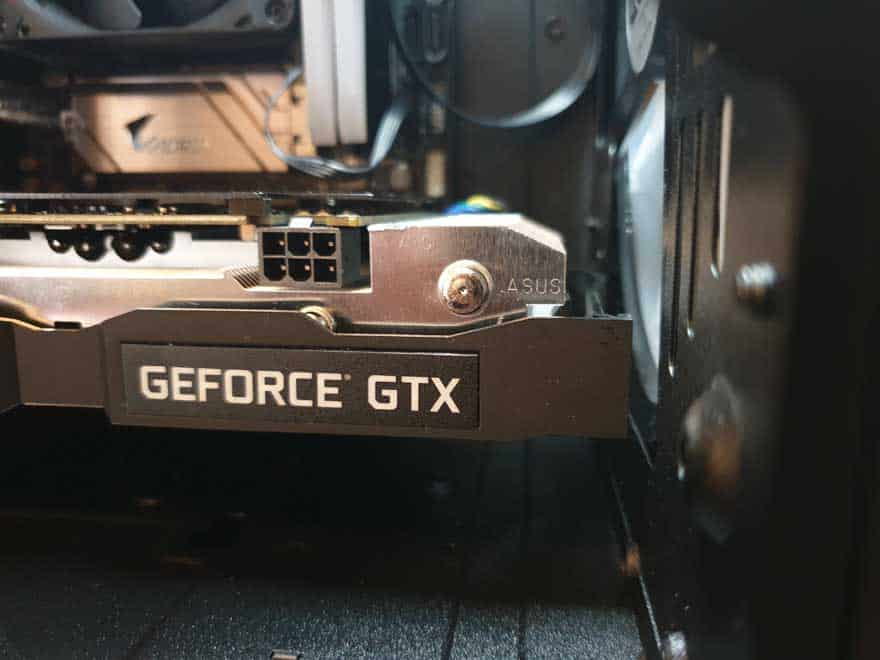
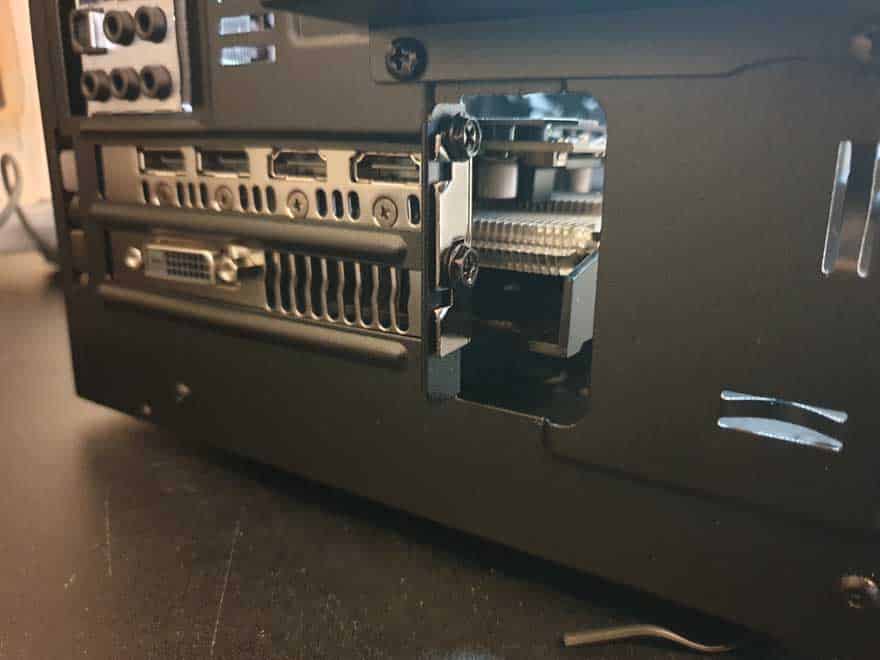
Airflow around the GPU looks really good too, and that huge fan pushing air towards it is really going to help keep temperatures in check.
The PSU can be installed directly from the side, or by removing the rear PSU bracket.
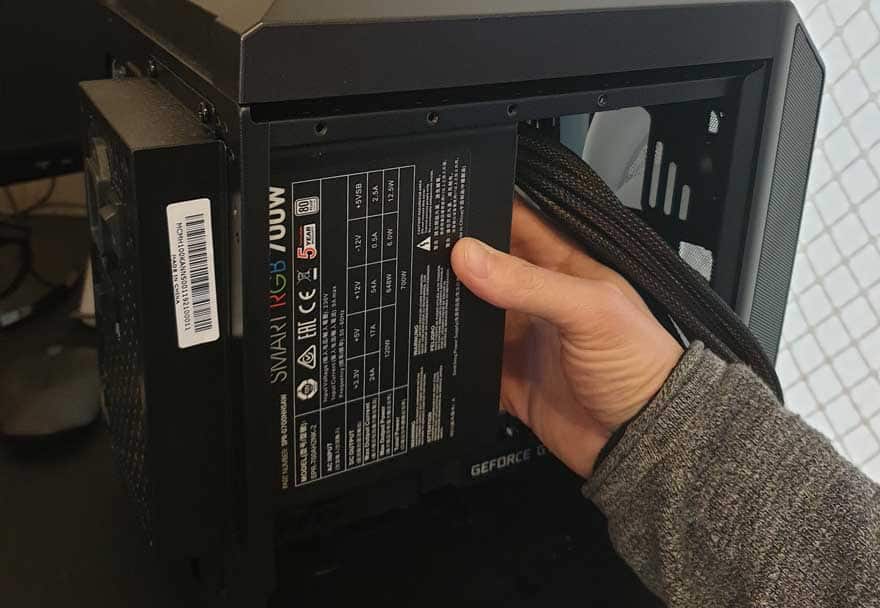
The PSU mount is quite clever, as it actually has about 30% of the PSU pushed out the rear of the case to save interior space.
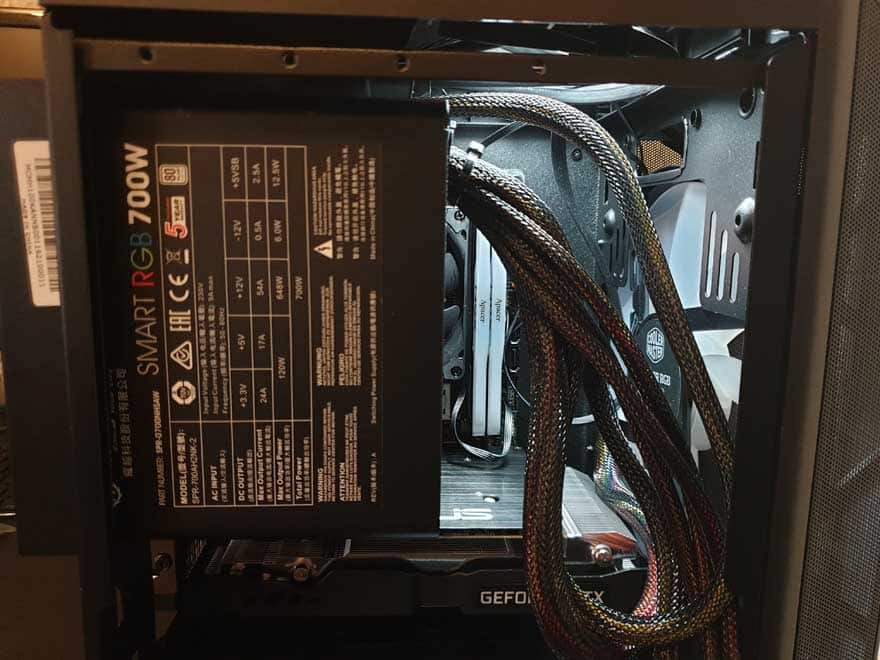
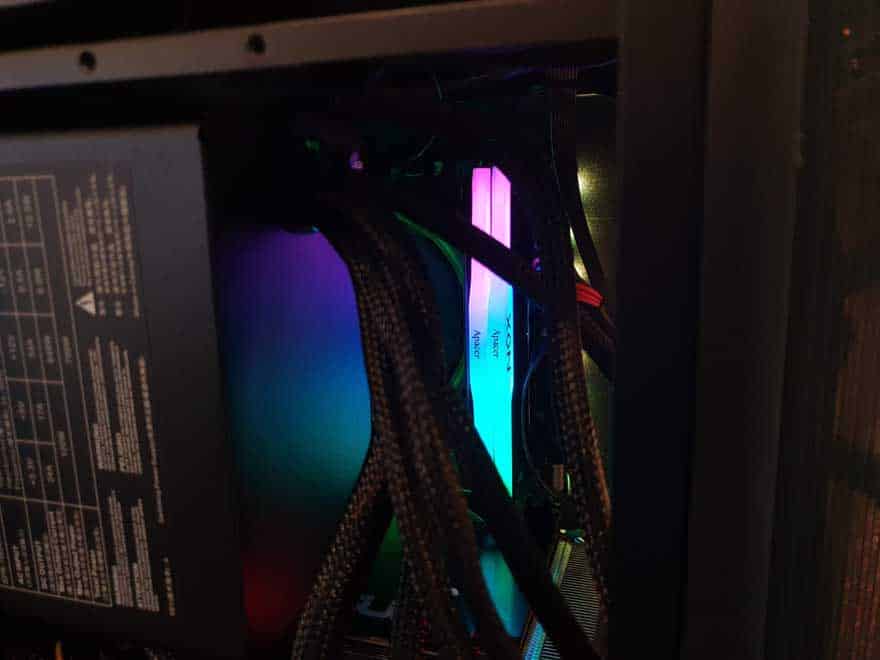
With the system powered on, you can just about see where the RAM lines up to the back of the PSU. Now, time to put the side panels back on.
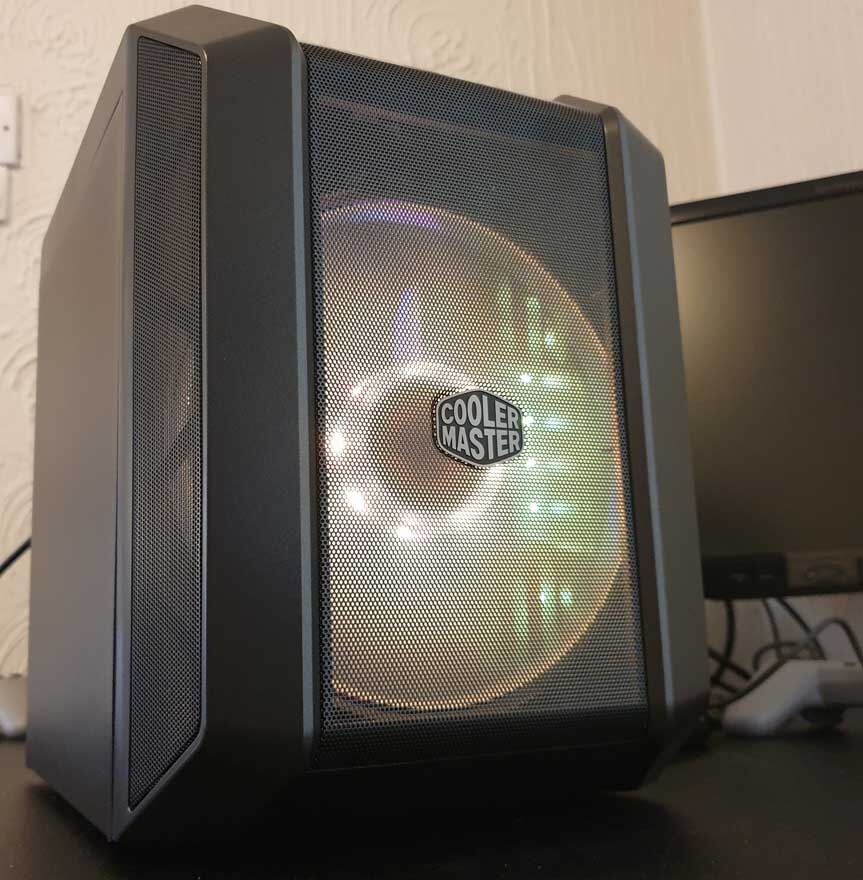
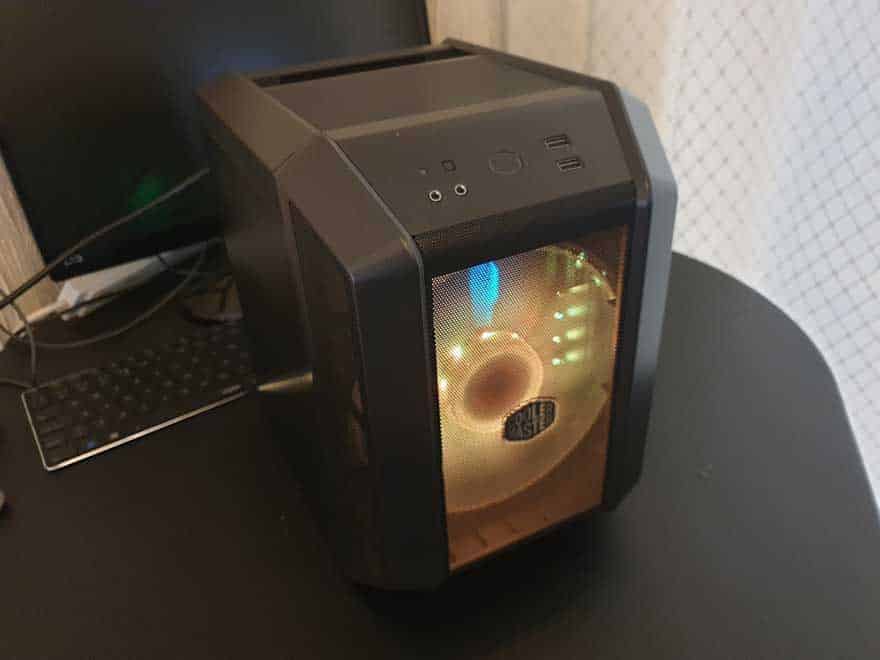
I love how clean and simple the exterior of the case is. It may be small, but there’s clearly a focus on airflow with all that mesh on the front.
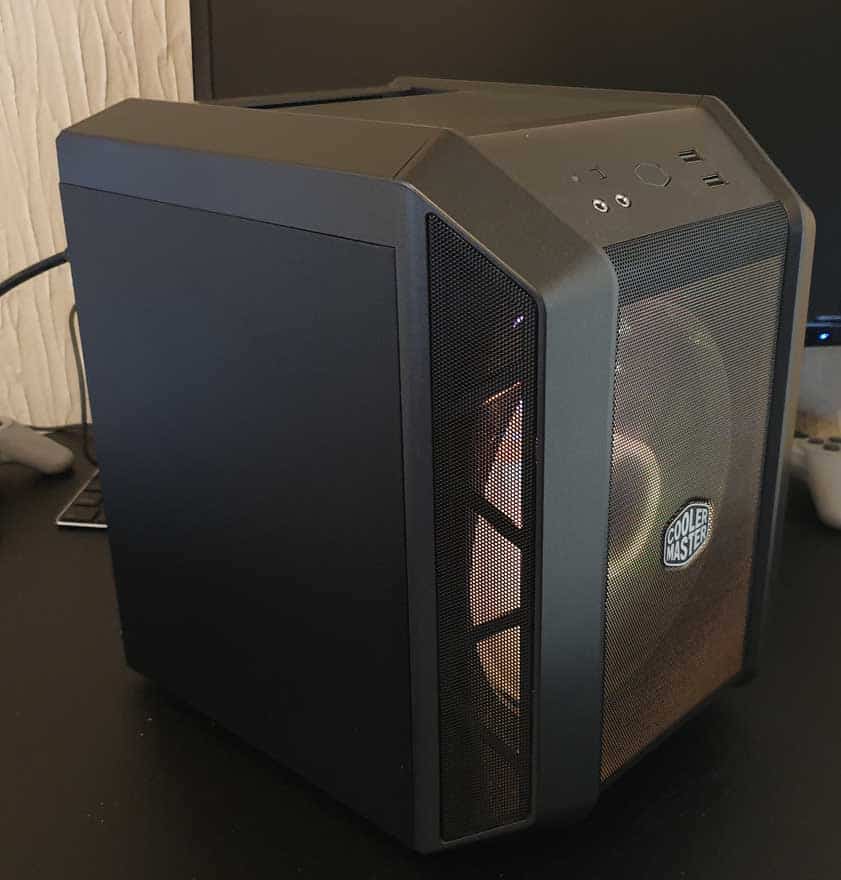
Plus, with the mesh, you can show off the fan RGB, but it’s also a pretty decent dust filter too. Rather than remove it, you’ll just get the soft brush attachment on your hoover and give it a clean that way.
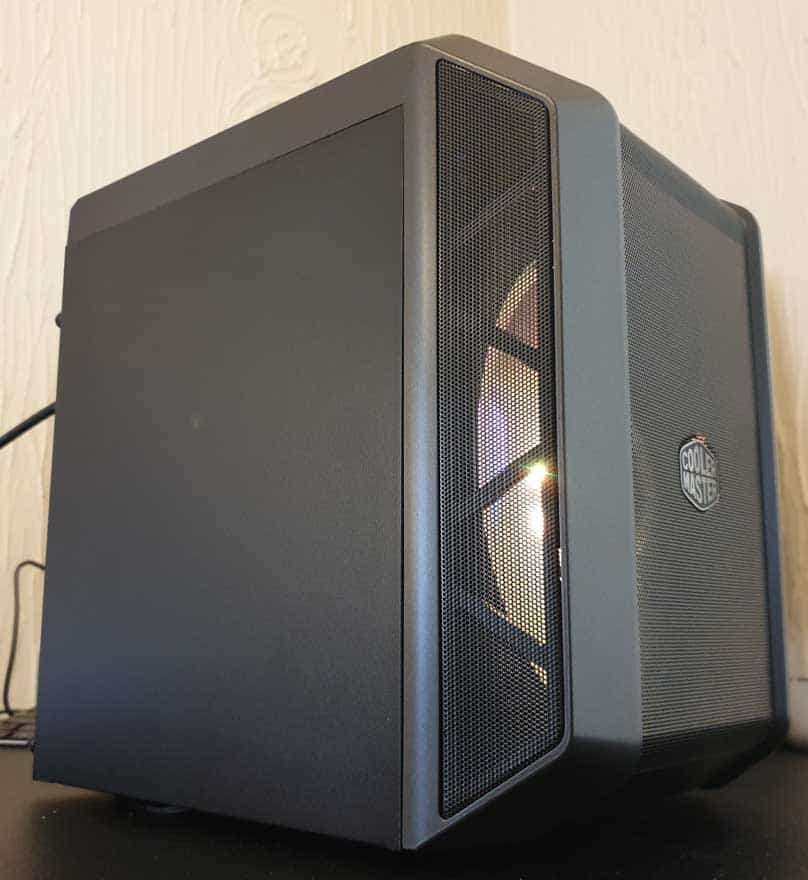
The RGB looks fantastic too, and with it being controllable using the included in-line RGB switch, or via your motherboard, you can very easily put your own spin on the theme.


consulta que grafica tiene instalada? y cual es la maxima maxima capacidad real de una grafica que le entra?