Cooler Master HAF 932 Advanced Full Tower Chassis Review
Henry Butt / 13 years ago
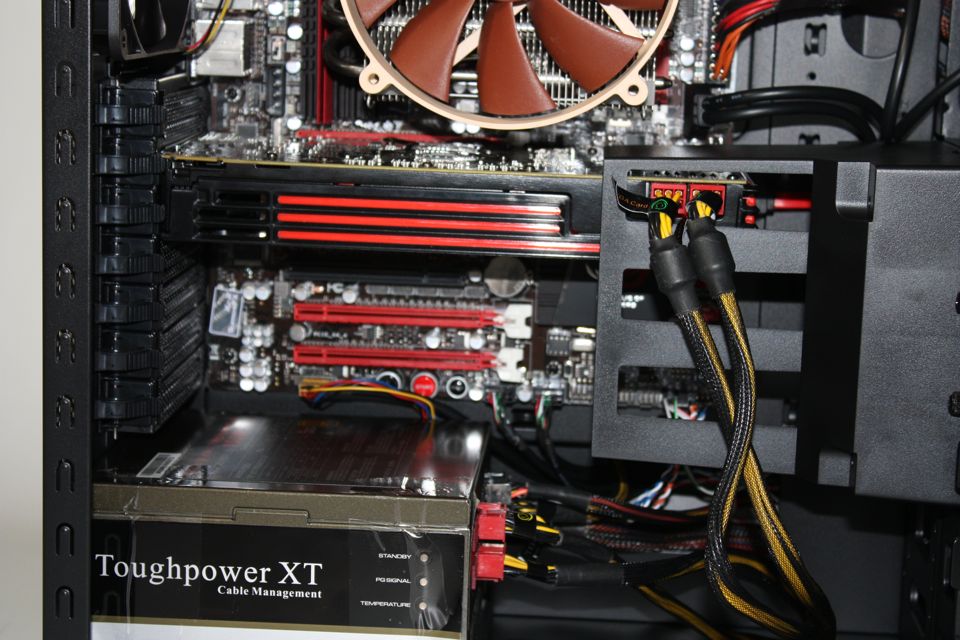
Completed SystemIt took us about 45 minutes to build our test system in the HAF 932 Advanced. There is plenty of room for cable routing behind the motherboard tray and there is an adequate number of holes cut into the motherboard for doing so. Unfortunately these don’t feature rubber grommets.
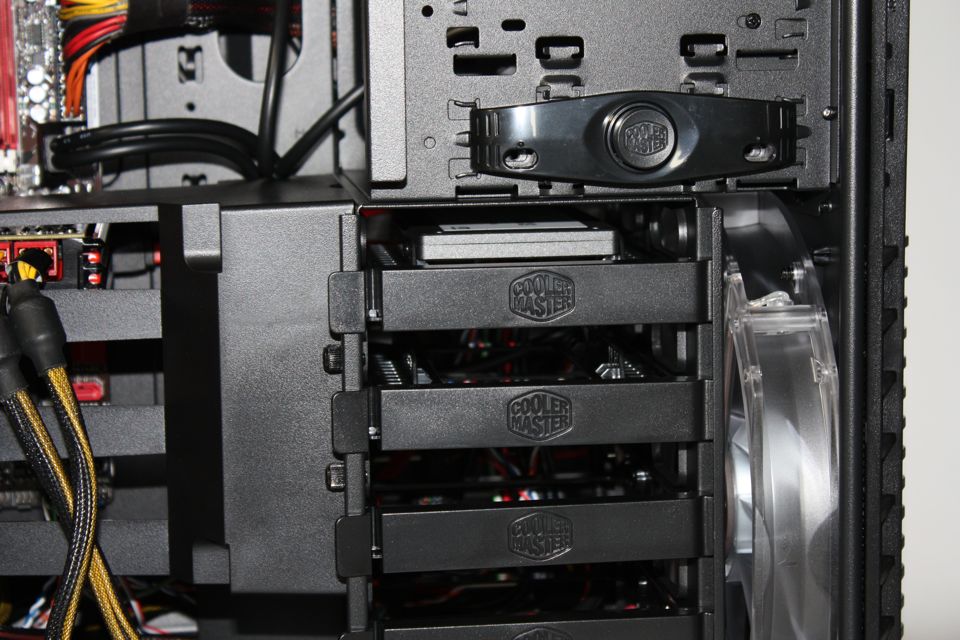
Installing our Mushkin Chronos solid state drive was a very simple process although it required us to secure the drive to the bracket using the supplied screws. 3.5 hard drives can be installed tool-lessly, though.
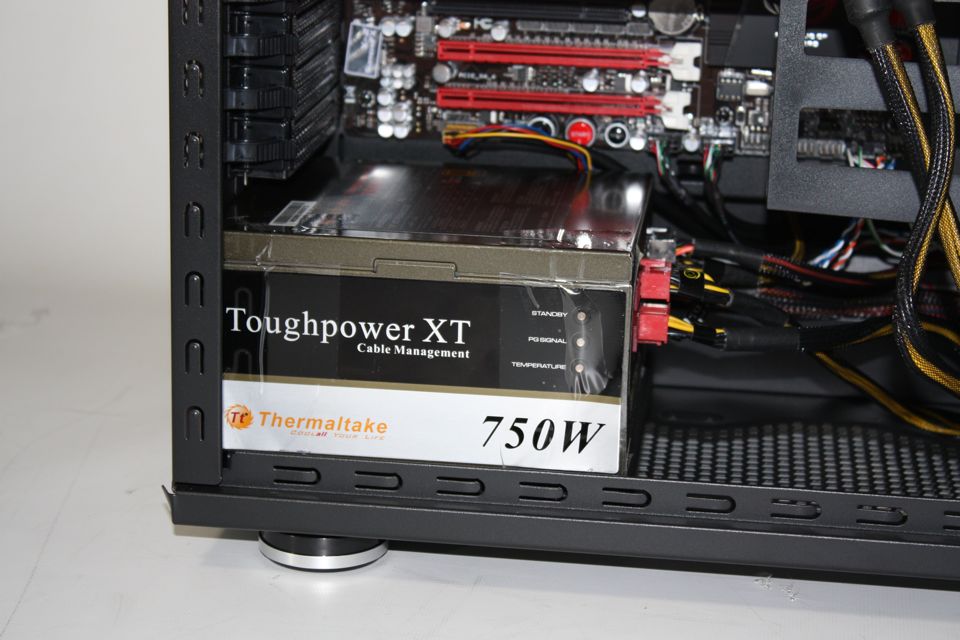
When installing the power supply into the system we are required to secure it to the back of the case using the provided screws. There is a large hole next to the power supply for cable routing.
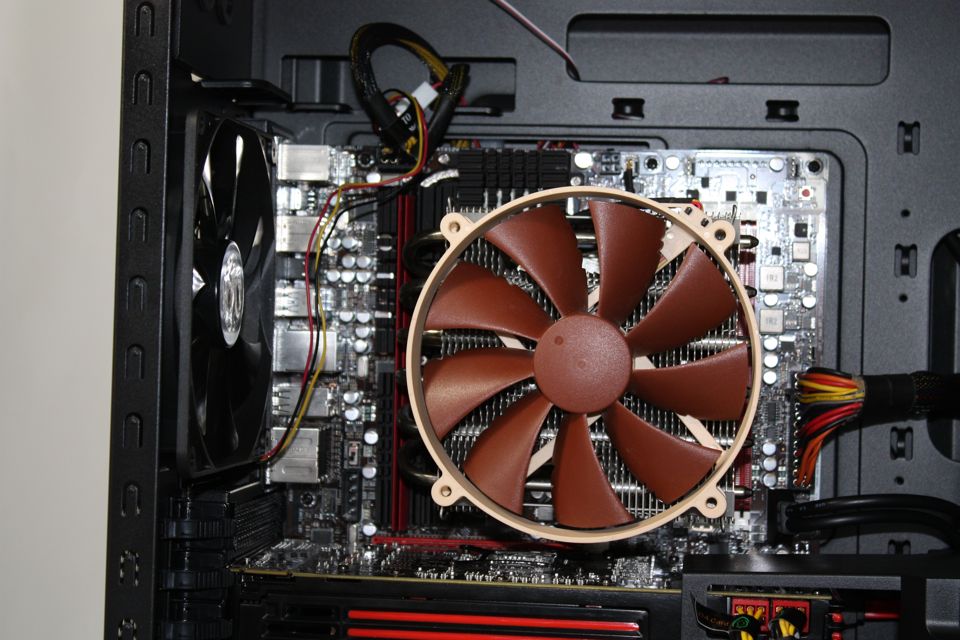
Before installing the motherboard we are required to install the standoffs onto the motherboard tray in the appropriate locations. We are then able to screw the motherboard down into position. We found that the hole in the motherboard tray wasn’t ideally placed or sized for installing a CPU cooler on our motherboard so we would like to see Cooler Master adapting this on future models to bring it inline with other cases like those from Corsair which have better compatibility.
We secured the GPU in place using the tool-less brackets that come preattached to the case. These seem to work very well and hold the expansion devices in place almost as well as screws. We also installed the GPU airflow shroud that Cooler Master supply which directs airflow from the front fan to the GPU.


