Cooler Master Hyper 103 CPU Cooler Review
Peter Donnell / 11 years ago
Installation
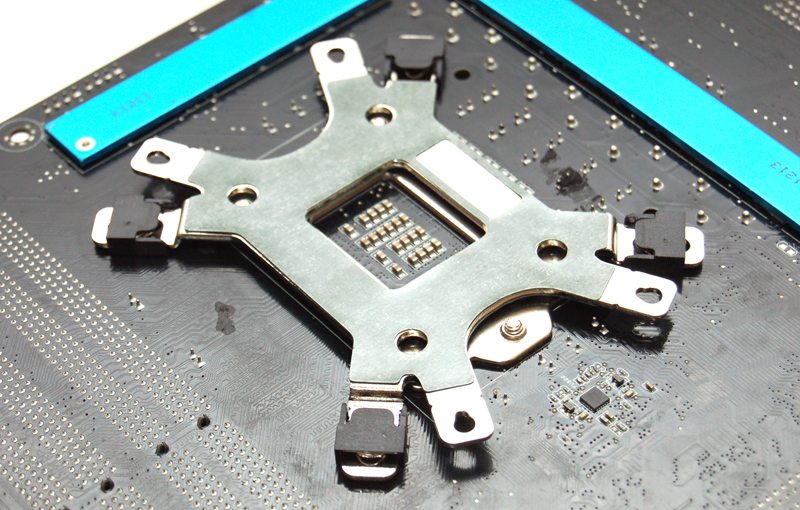
The back plate sits on the back of the motherboard and four long screws are put through, the four plastic clips hold the screws in place when you flip the motherboard over to mount the rest of the cooler.

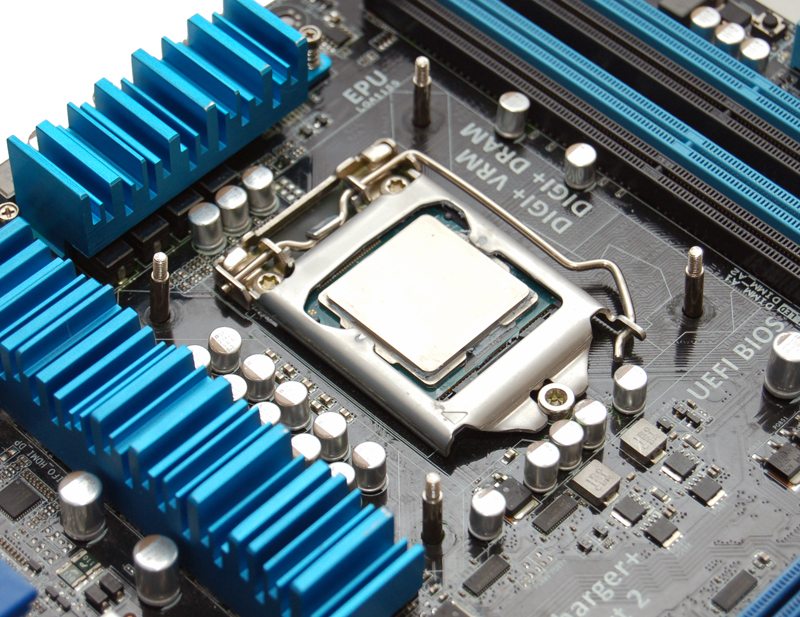
Here we can see the four long screws are in place ready to mount our cooler.

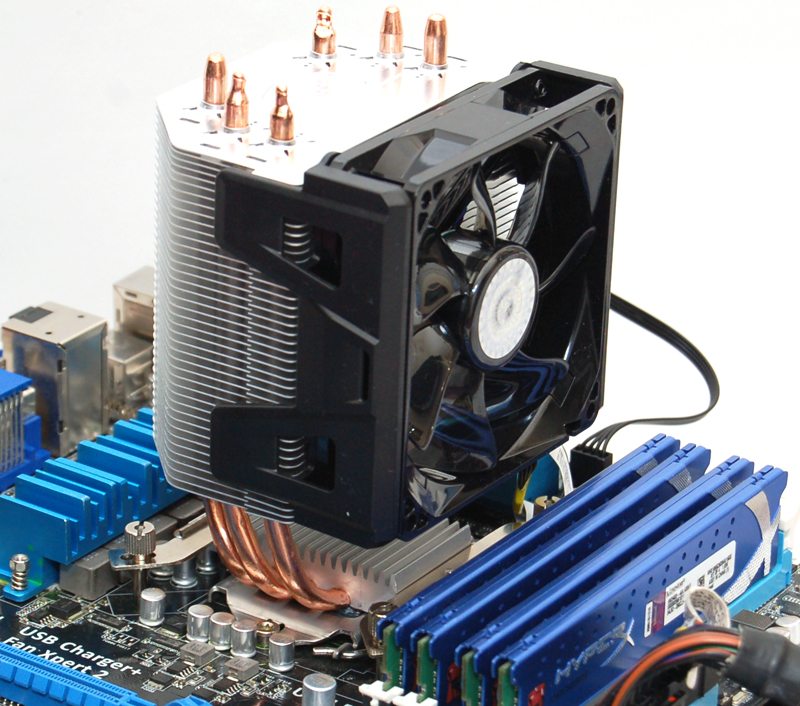
The two brackets screw onto the cooling block under the cooler and four thumb screws join that to the mounting screws, it only takes a couple of minutes and is one of the easier mounting solutions I’ve ever had to deal with. There is load of clearance from the memory blocks too and this will ensure conflicts with ram modules are kept to a minimum.

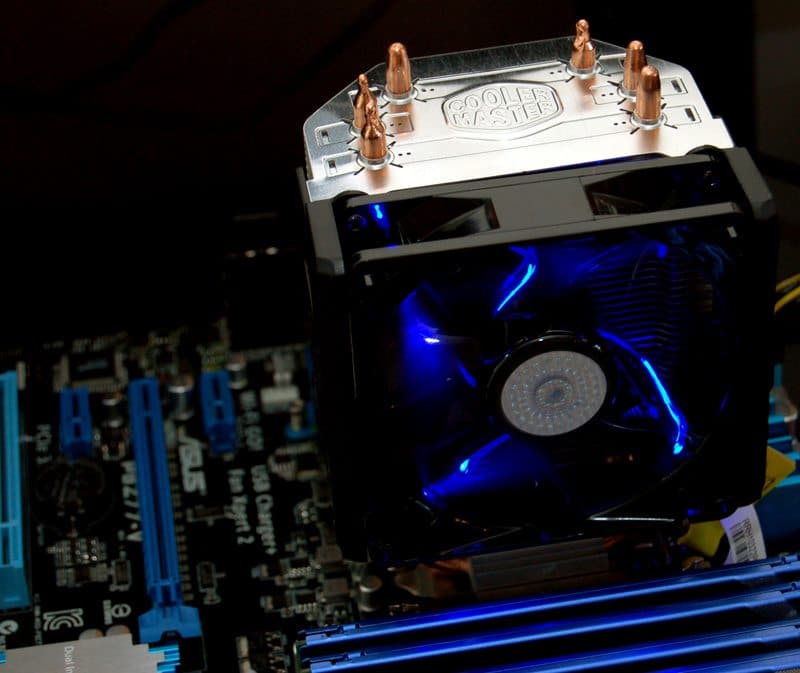
Dimming the lights and powering up the system allows us to see the gorgeous deep blue lighting from the mounted fan.


