Cooler Master Hyper 412 Slim CPU Cooler Review
Ryan Martin / 12 years ago

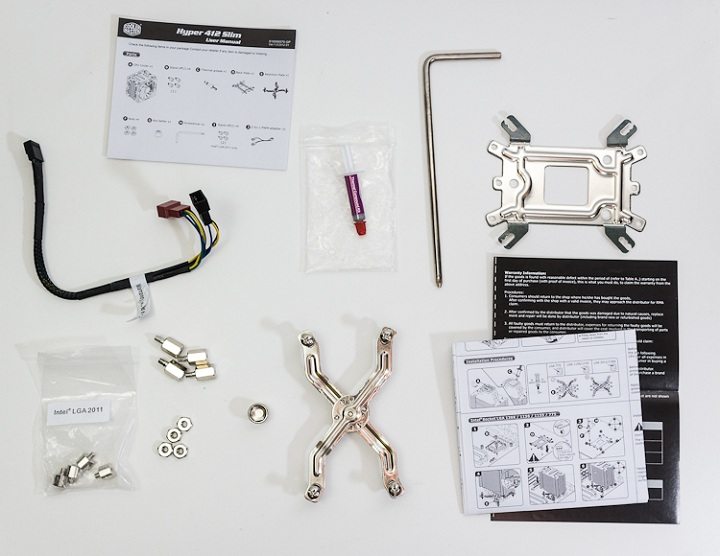
To help with mounting Cooler Master included a lot of accessories. You can mount this kit with almost any consumer socket in recent existence, the overall principle of installation remains same for all. First you must attach the backplate using the nuts and thick-topped locking bolts. Cooler Master even provide a screwdriver and spanner/wrench screwdriver adapter to assist you if you don’t have any tools.
The Cooler Master installation was fantastically easy, since you can secure the backplate firmly into place without having attaching the cooler at the same time. Once the backplate is secured in place, you need to remove the fans from the CPU cooler and put this on top of your CPU, with the required thermal paste (which Cooler Master provide, but you can use your own). Next you have to set the mounting “legs” to the correct setting which is clearly labelled for your socket in the manual. Once you’ve slid the mounting legs across the base plate, you then simply screw the screws into the backplate bolts which have screw threads on top of them. The mounting legs have spring loaded screws for extra pressure to keep the mount secure.
Once you’ve secure the cooler to the processor you can reattach the fans. Note you do not have to install your RAM before installing the CPU cooler because it is so slim and doesn’t obstruct any RAM slots. The manual provides a clearer picture of how to mount the cooler, so make sure you refer to that.
Cooler Master include a dual 4 pin fan to single 4 pin fan adapter/connector since most motherboards have only a single 4 pin CPU fan header and this product includes two fans.


