Cooler Master Hyper 612 VER.2 CPU Cooler Review
Peter Donnell / 9 years ago
Installation
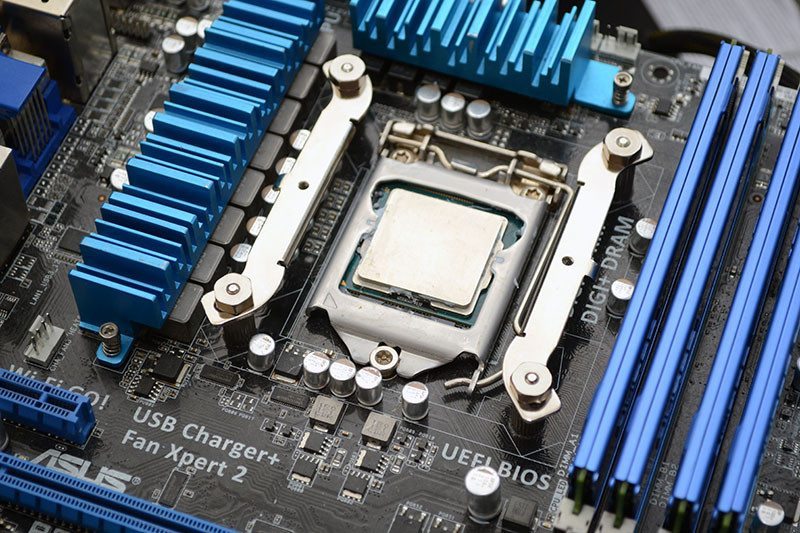
Installing the back plate is simple enough. You place the four screws through the required holes for your motherboard socket type, then hold them in place with the retention clips.
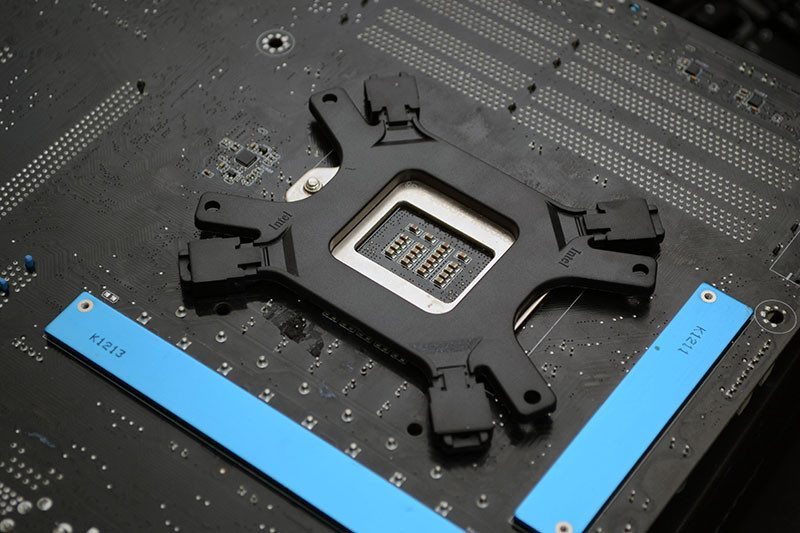
On the other side, thought thumb screws go into place and this will hold the backplate onto your motherboard.

Use the appropriate socket brackets and mount them using the four nuts; Cooler master include a special screwdrive>nut tool to help you do this.
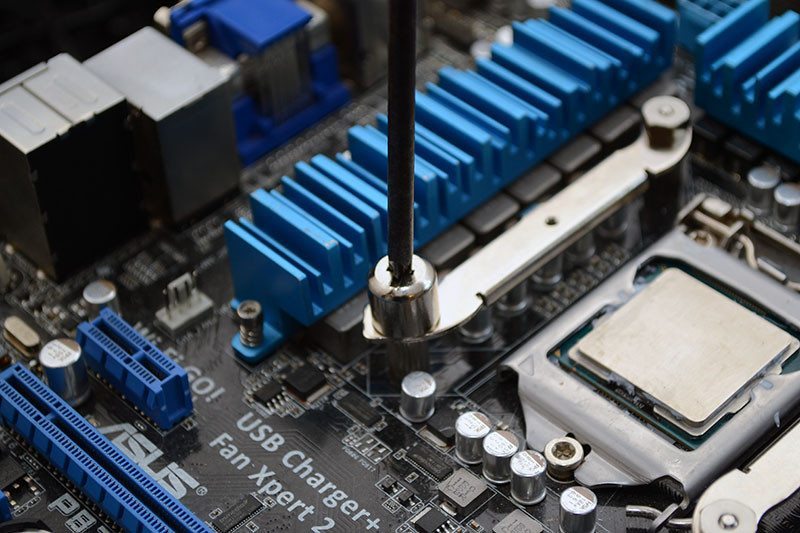
Now we’re ready to mount the cooler.
The fixing bracket comes pre-attached to the cooler. Simply clip one side over the motherboard bracket and screw the other end down; it’s all very easy.
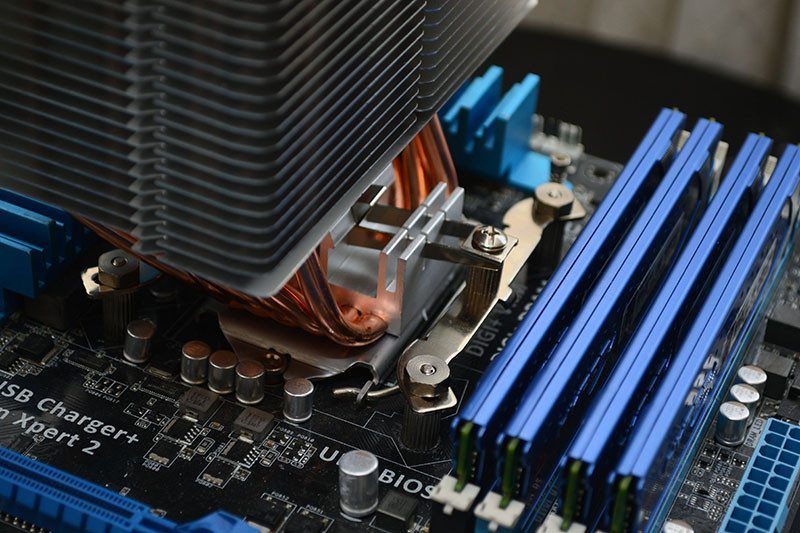
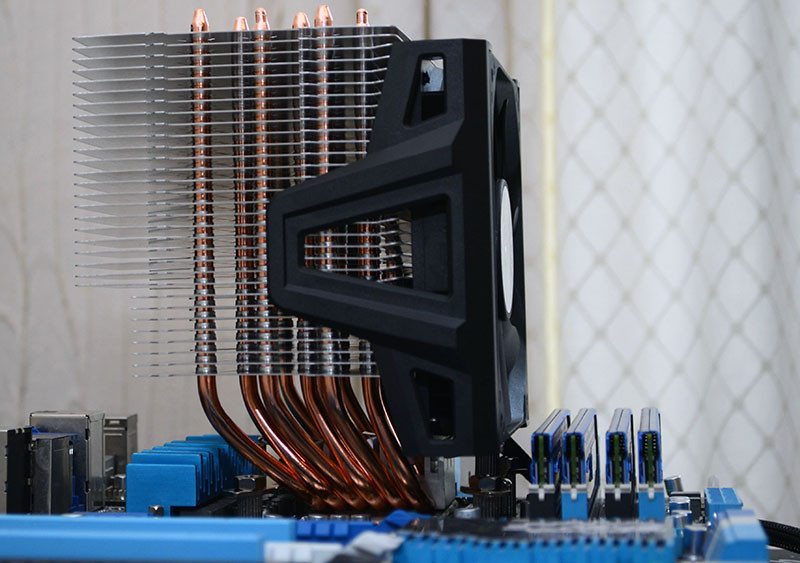
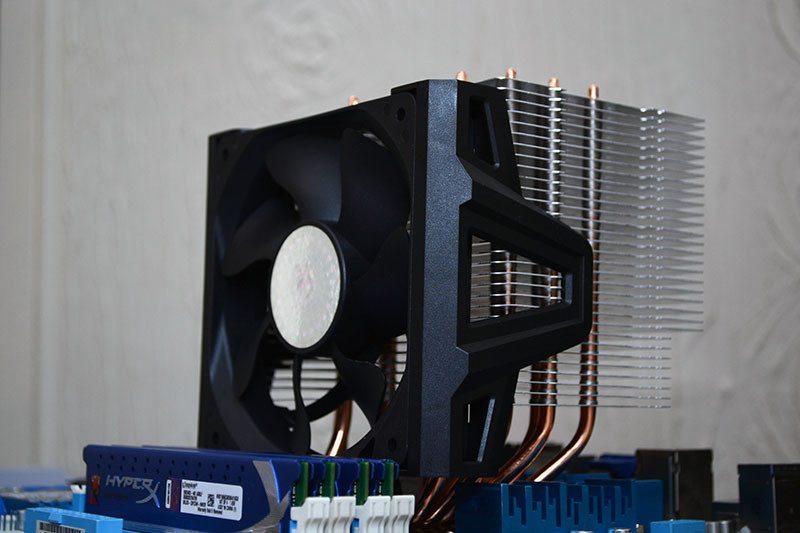
Once in place, you can see that there’s a huge cut-away to allow for tall RAM modules. I’m an idiot and didn’t see this, so it’s on the wrong side, but since I’m using an open air test-bench and low ram modules, it really doesn’t matter.
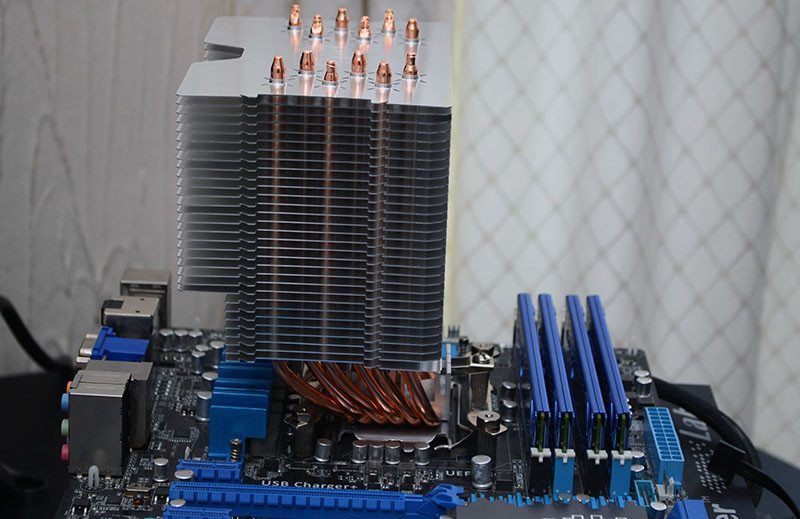
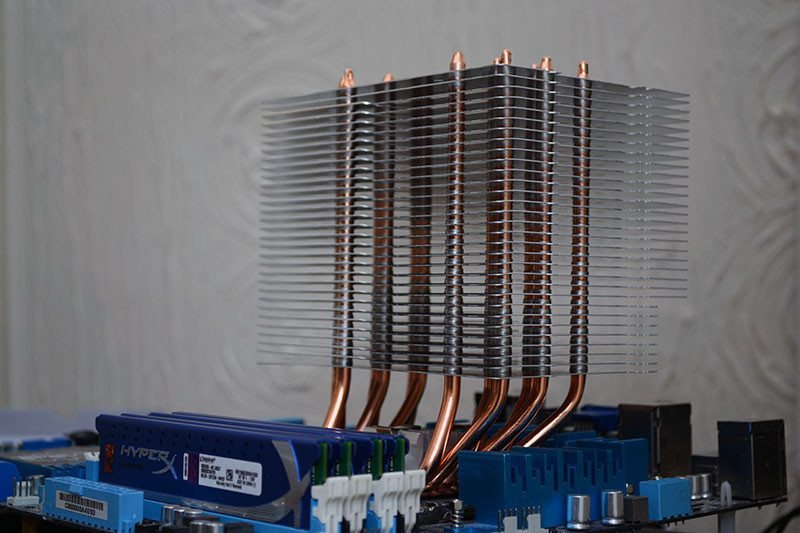
There’s two types of fan clip included, I’ve opted for the quick-release plastic mounts. There’s also four rubber pads included to help reduce vibration from the cooling tower and the fan.
